

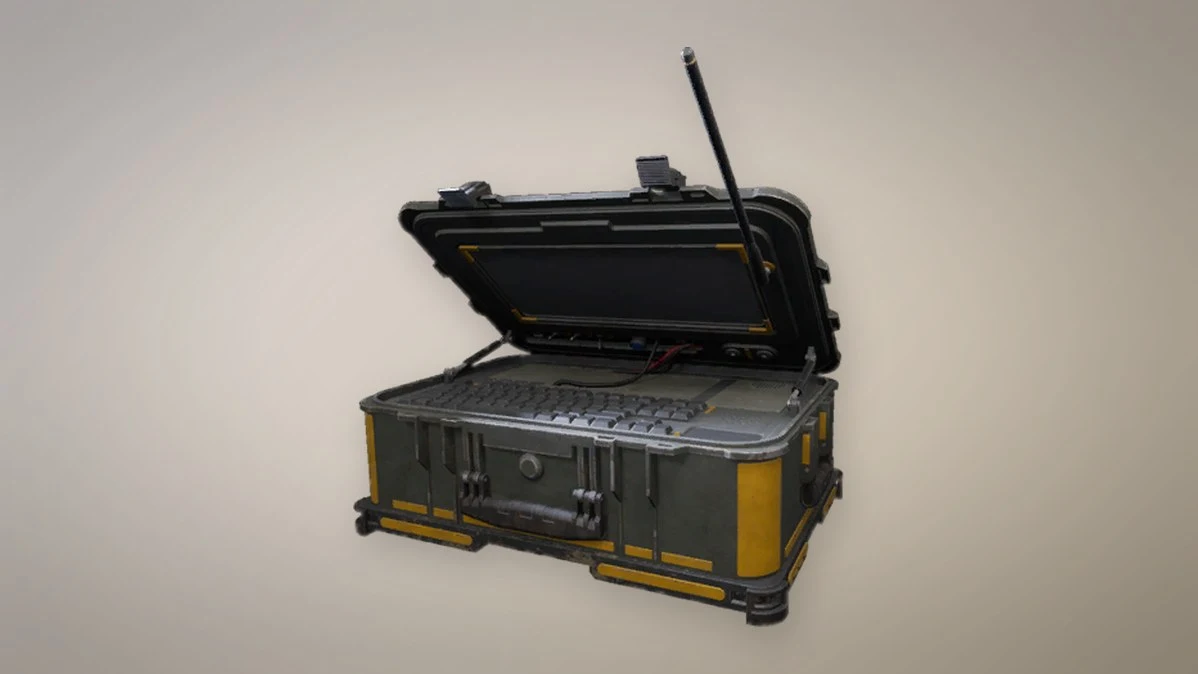
A Forward Operating Base is the single most expensive thing a team in WARDOGS will ever put on the ground, and it is also the softest target on the map once someone gets past the walls. One player, one cheap explosive, and the whole forward position — walls, gates, mortars, stored supplies — stops working.
Quick answer: Plant an Improvised Explosive Device on the enemy FOB terminal, back off behind cover, then detonate. Hit spawn vehicles first, the terminal second, mortars and AA guns last.
The $300 device against the $7,500 base
At $300, the Improvised Explosive Device weighs 1.5 kg and has no unlock requirement. This remotely triggered charge disappears after one use, so bring one for every base targeted in a raid. A Forward Operating Base already costs $7,500 before a single item is loaded into it.
| What it is | Cost |
|---|---|
 Forward Operating Base Forward Operating Base | $7,500 |
| Everything stored inside it | Whatever the team hauled out |
| Walls and emplacements in its radius | Build Supplies at $10 each |
| One Improvised Explosive Device | $300 |
No health figure has ever been published for a FOB, but players who have run this consistently report that a single device finishes one outright. Nothing else in the game does it in one go.
What a destroyed FOB takes with it
Removing the base is not the same as removing one structure. Four things go at once, which is why the terminal beats any individual emplacement as a target.
- The build radius, so no new walls, gates, doors or turrets can go up nearby.
- Every item and resource the team stored inside for others to draw on.
- The mortar’s ammunition, since the L81 converts the base’s supply into shells.
- Kamikaze drone stock, which runs off mechanical parts held at the base.
A mortar pit that survives the blast is a tube with nothing to fire. That is the whole argument for walking past emplacements to reach the terminal.
Teams can build bases without a set limit, subject to one placement rule: each new base must be outside the marked radius of any existing one. No other restriction has been reported, and players have observed nine during one match. Destroying a FOB is a raid rather than a knockout, so prioritize bases surrounded by mortars and turrets.
Solo FOB raiding loadout
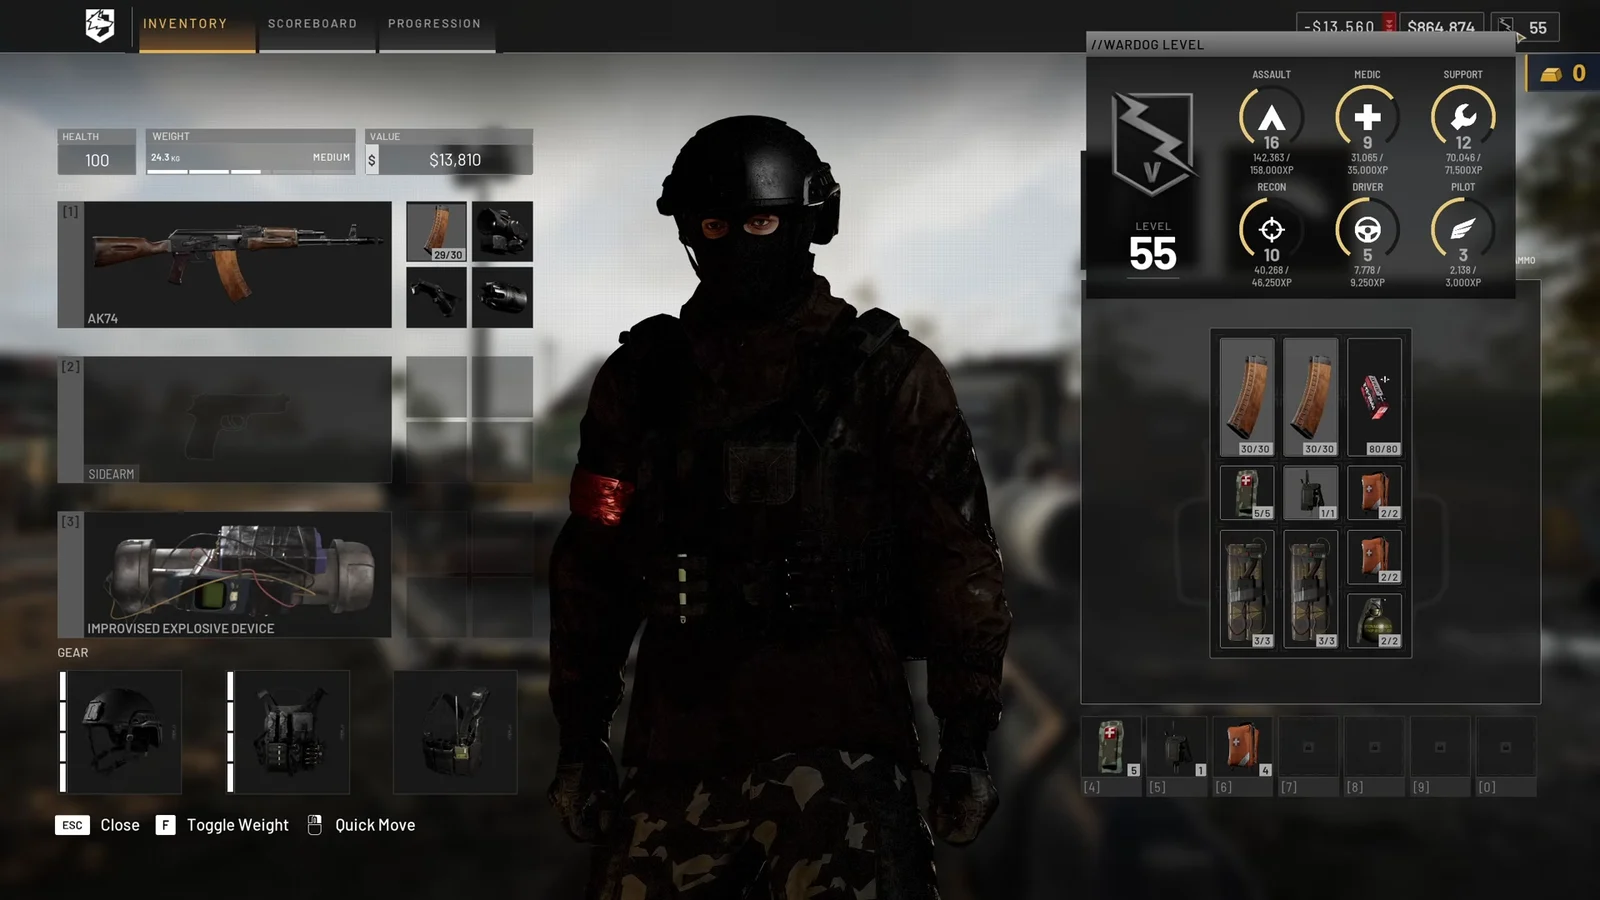
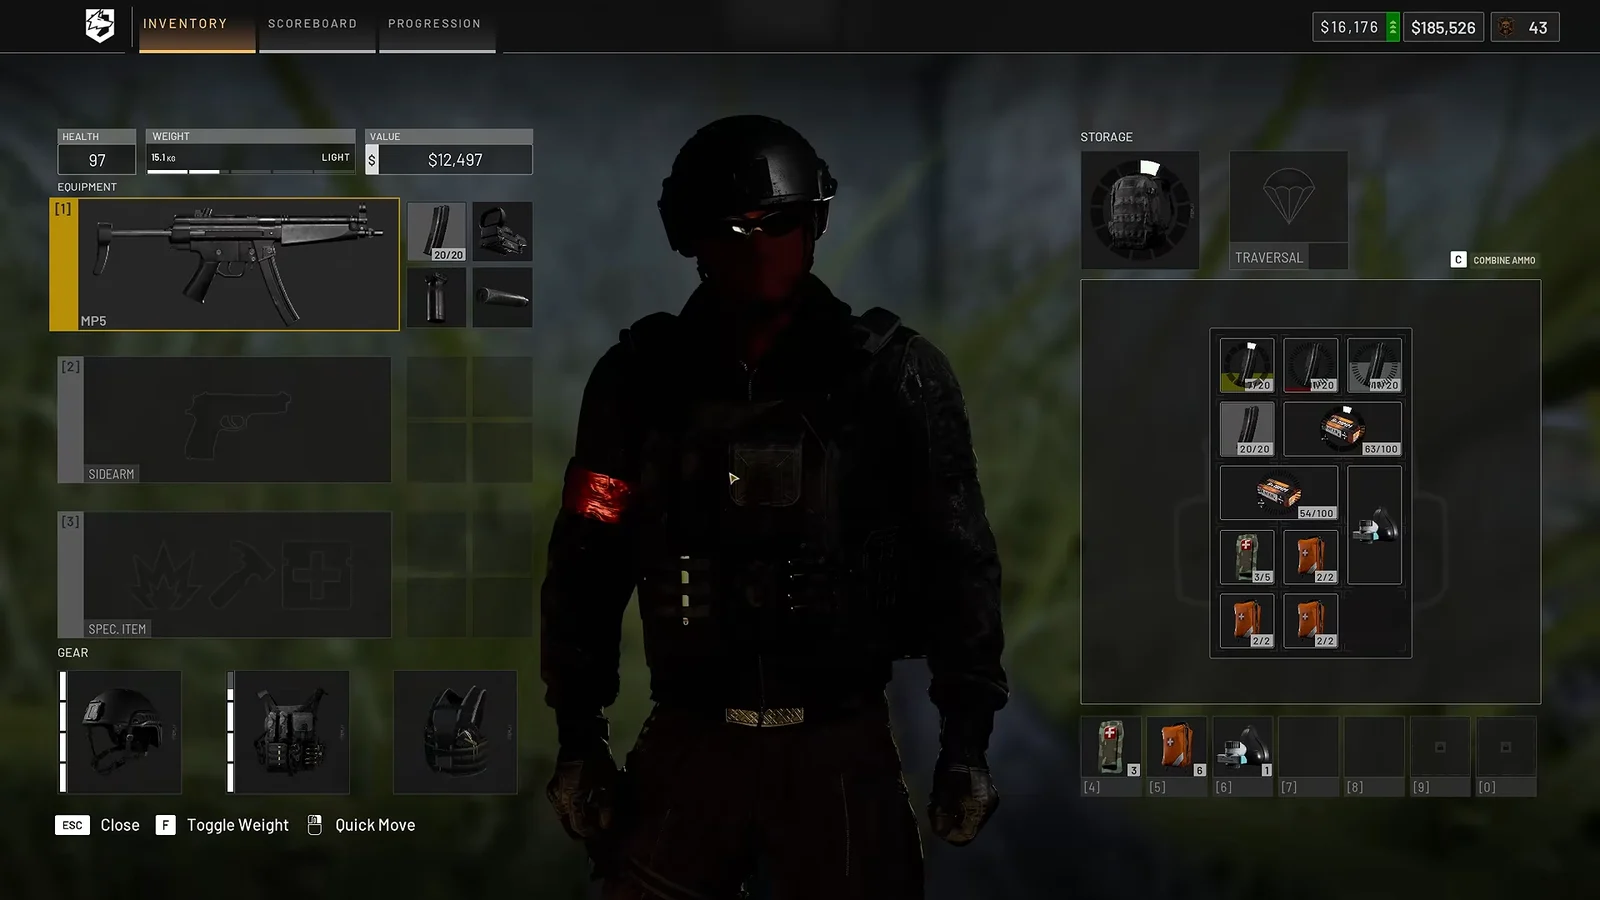
You are going in without a squad to cover you, so the kit has to handle a breach, several close-range fights and your own medical support. The working setup is level 3 armor (level 2 as an absolute floor), an Operator backpack or larger, a close-to-mid range rifle such as the AK74, one or two IEDs or C4 with at least six charges, two or three spare magazines, one or two stacks of IFAKs plus a stack of bandages, and frag or smoke grenades.
| Item | Price | Weight | Gate |
|---|---|---|---|
 Improvised Explosive Device Improvised Explosive Device | $300 | 1.5 kg | None |
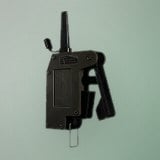 Remote Detonator Remote Detonator | $550 | 0.02 kg | Support 2, $15,000 unlock |
| Build Supplies | $10 | 0.02 kg | Needs a hammer |
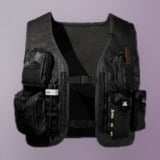 Level 1 Armor Level 1 Armor | $400 | — | Wardog 3, $10,000 unlock |
C4 Charges are the other way in, but they are inert on their own. You need the Remote Detonator, which sits behind Support level 2 and a $15,000 one-time unlock fee on top of its $550 price. The IED needs none of that, which is why it is the day-one answer for anyone who has not touched the Support track.
On armor, do not settle for what you scrape off a body. Level 1 Armor is tier 1 with 200 durability and only covers the upper, middle and lower torso, which is thin cover for a fight you will be starting at close range inside someone else’s compound.
The AK74 unlocks at Assault level 3 and covers the ranges you will be fighting at. Whatever you carry, bring more magazines than feels sensible — resupply inside an enemy base means looting bodies mid-firefight.
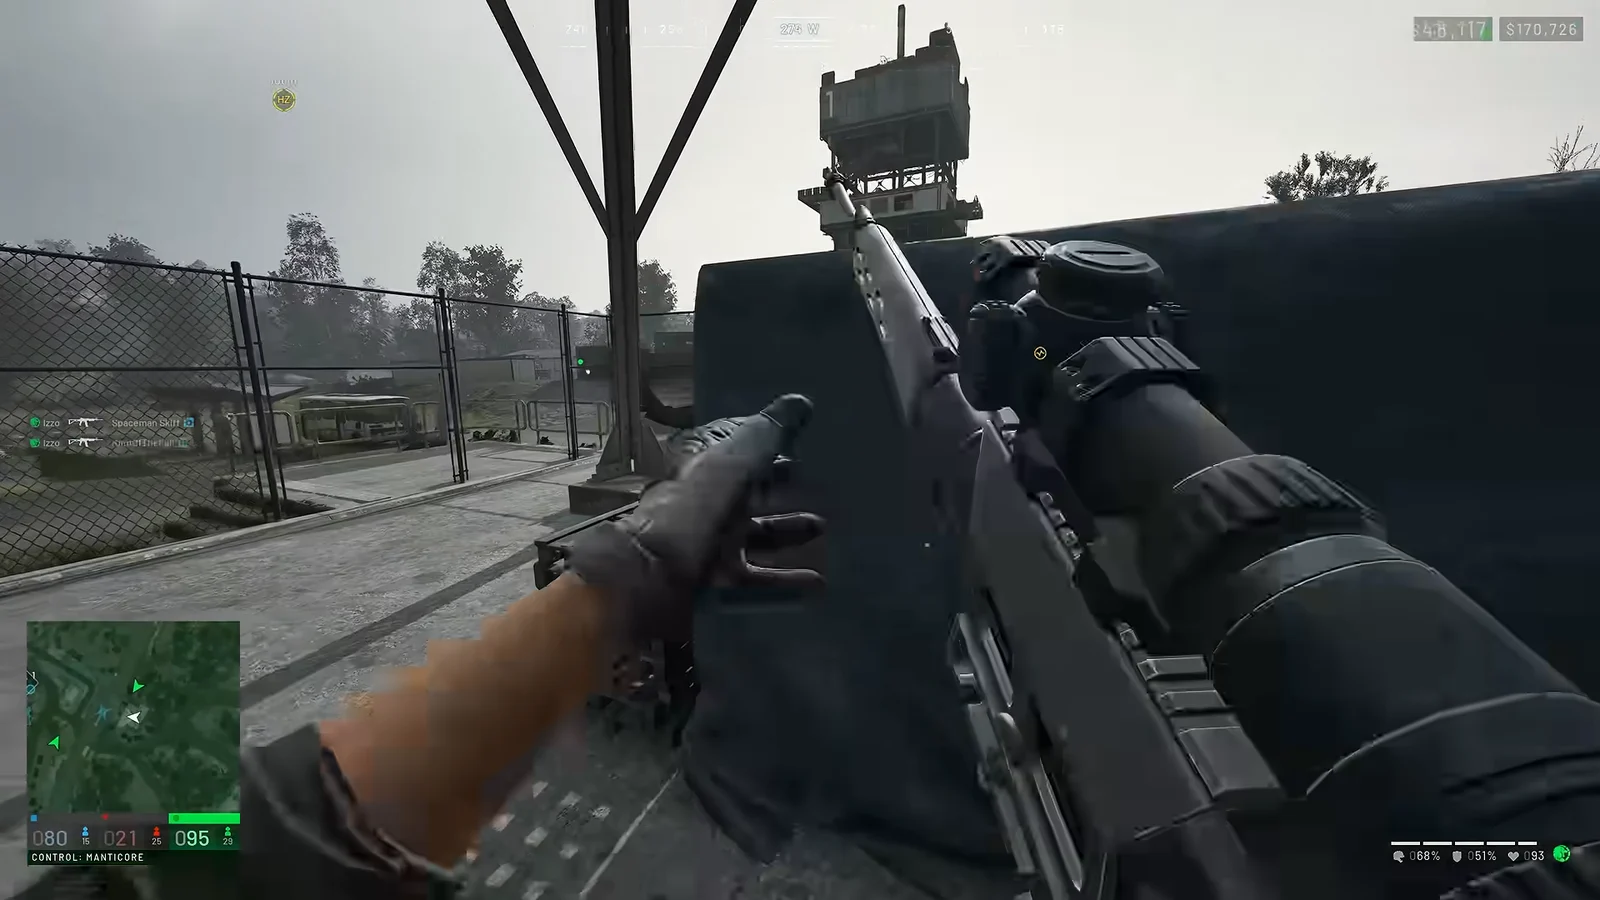
Three ways over or through the walls
Scout before you commit. Find the side nobody is watching, check the height of the perimeter, and pick one of these.
Climb the Hesco barriers they built wrong
Teams regularly stack Hesco barriers on the outside of their concrete walls, which hands you a staircase. Walk up the barriers, hop the wall, and drop into the compound without spending a single charge. It is the fastest entry in the game and it costs nothing.
Use a vehicle for height
Any vehicle parked against the perimeter does the same job. A van left beside the barriers is a firing platform and a jumping-off point in one — climb it, shoot whoever is standing in the open, then go over.
Blow a hole with C4
Three C4 charges thrown onto a double-stacked Hesco wall opens a gap big enough to walk through. C4 can be thrown and set off straight from the quick slot, so you never have to stop and equip the detonator by hand.
Target order inside the base
You will not get long before defenders react, so spend your explosives in a fixed order: spawn vehicles first, the FOB terminal second, then mortars and AA guns. Spawn vehicles come first because every second one survives is another enemy appearing behind you.
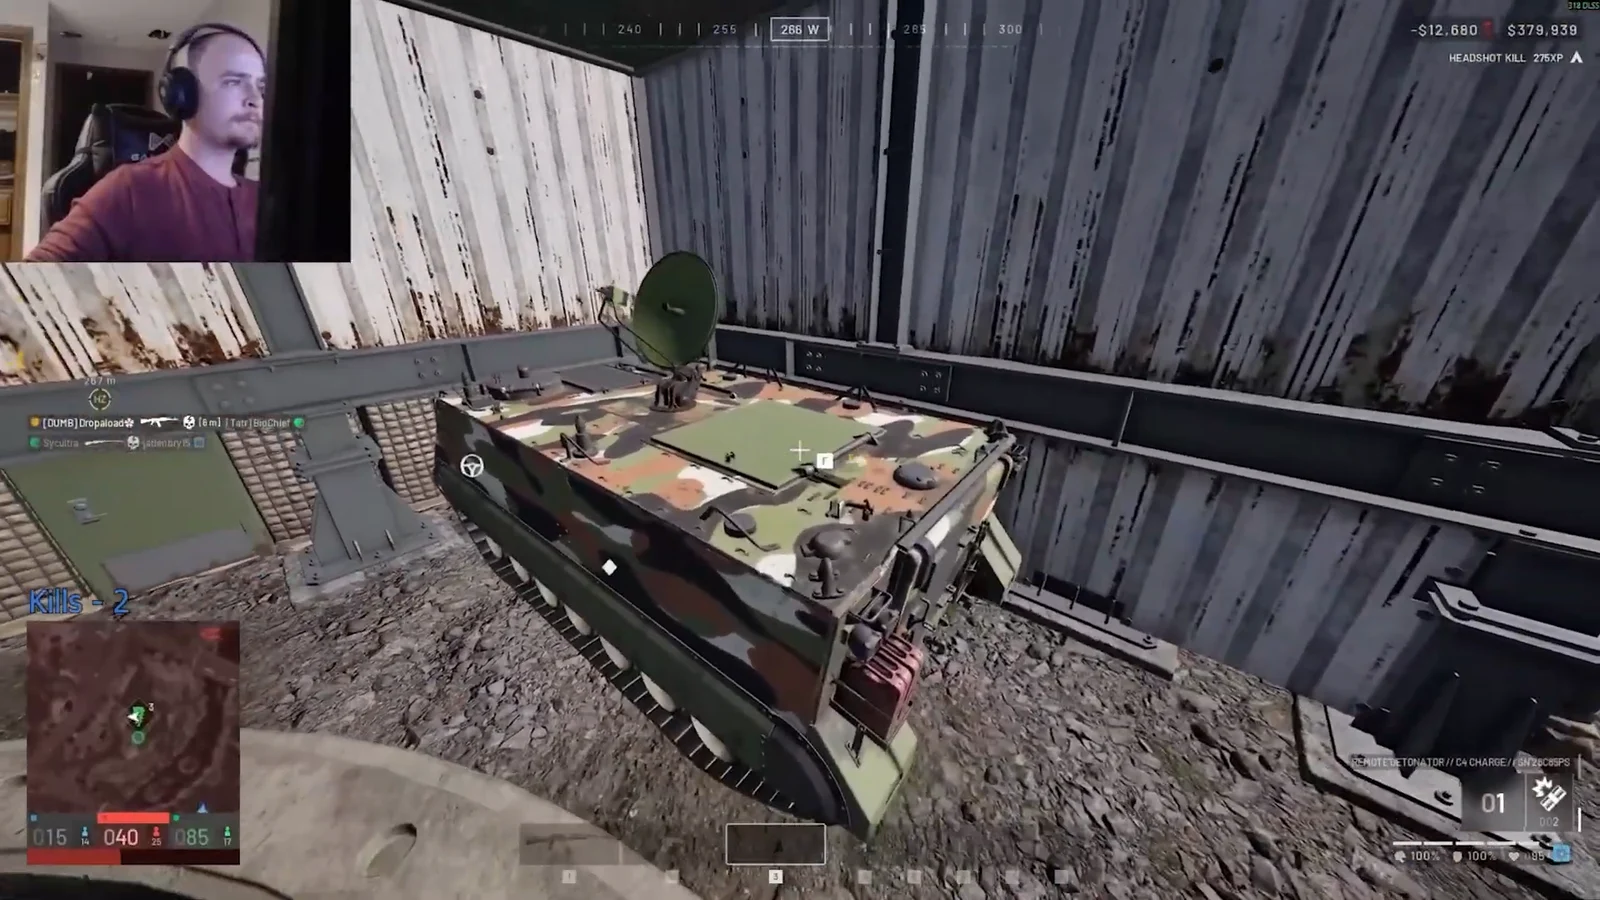
Spawn vehicles are often tucked behind Hesco barriers where direct fire cannot reach them. C4 thrown over the barrier solves that — you do not need line of sight on the vehicle body, only enough arc to land the charge near it.
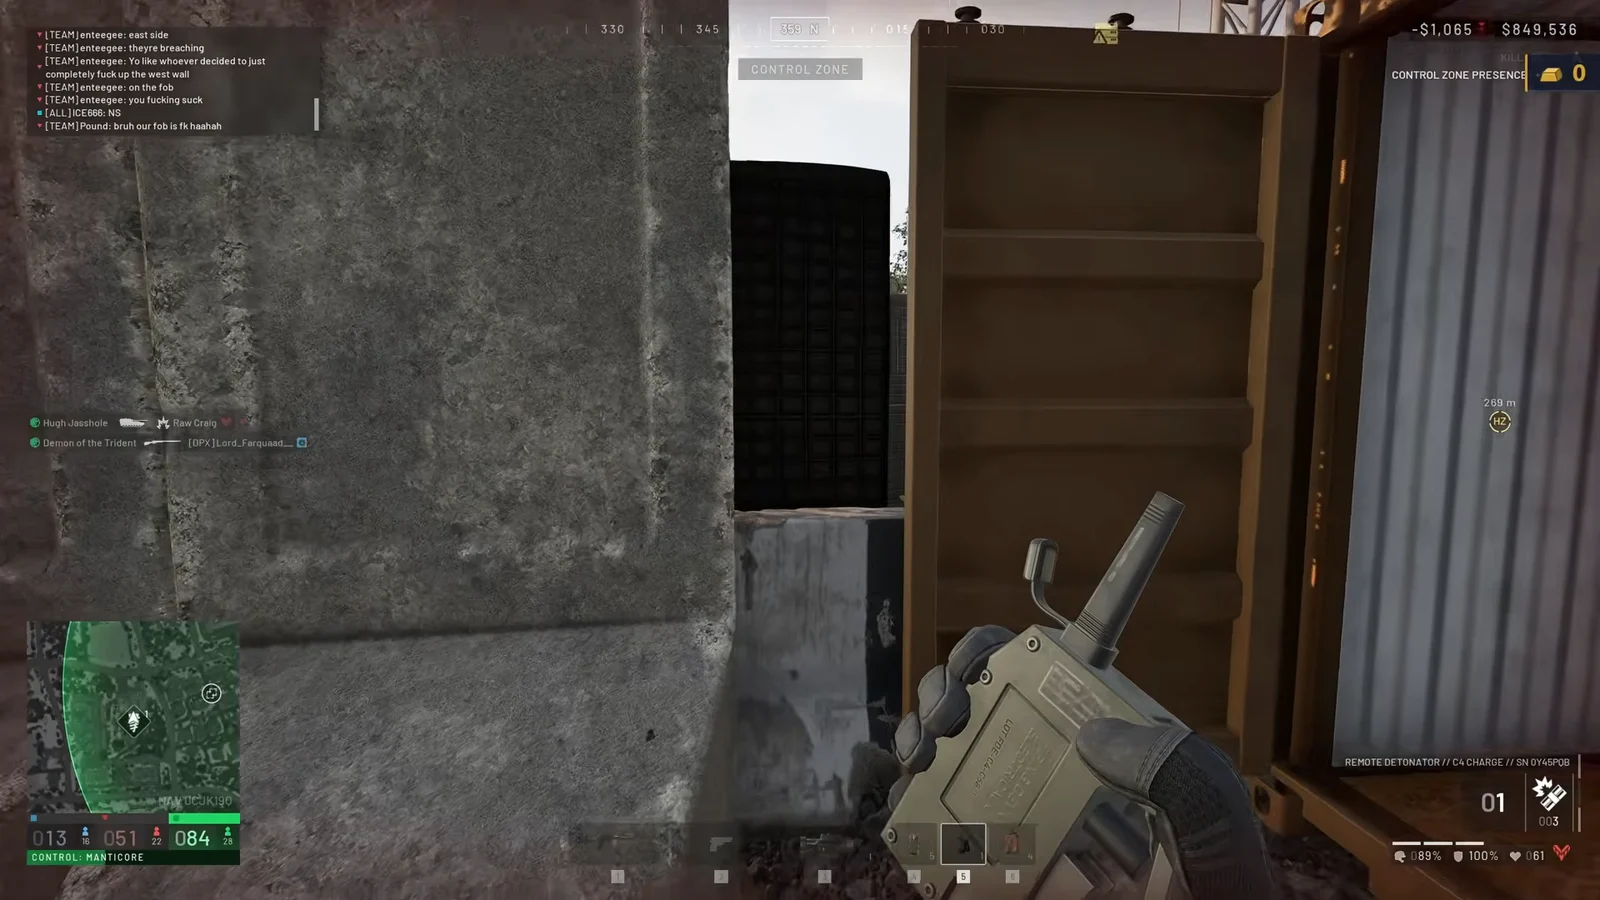
Tearing down defenses pays on its own. A destroyed Sandbag Wall returns $100 and Barbed Wire returns $75, which adds up while you are working your way toward the terminal.
Planting and detonating the IED safely
If you are downed after planting the device and a teammate revives you, you can still detonate it. Getting knocked down does not cancel the raid.
A FOB can be hacked instead of destroyed, but that is roughly 30 loud seconds of standing still on enemy ground. It is a squad play. Alone, you destroy.
Confirming the FOB is gone and what it pays
You will know it worked without checking a menu. The terminal detonates outright, the structure is gone from the ground where it stood, and the build radius it provided goes with it. Anything the team had stored inside is no longer there to draw on.
Destroying a base paid $2,500 and 500 Support XP in Closed Beta 02, when a FOB also cost $2,500 to buy. The Season 1 purchase price is $7,500 and no updated bounty figure has been published, so treat the payout as at least covering the device several times over rather than a fixed number. Either way, destroying vehicles and structures feeds the Support track, which is the fastest role track to level.
Holding a tower after the raid
Once the base is down, the nearest tower is the best place to be. Height gives you firing angles over the compound, and a stairwell is a corridor that funnels everyone who wants you dead into one line.
- Close every door behind you — hearing one open is your early warning.
- Throw C4 down the stairs and detonate as a group pushes up.
- Two frag grenades will not destroy a closed metal door, so do not waste them trying.
- Heal on a balcony or in a side room, not in the stairwell itself.
- Watch for gaps in stair flooring — enemies below can shoot up through them.
Loot the bodies that pile up. Magazines and armor off the defenders are what let you stay on the position instead of walking back for a fresh kit.
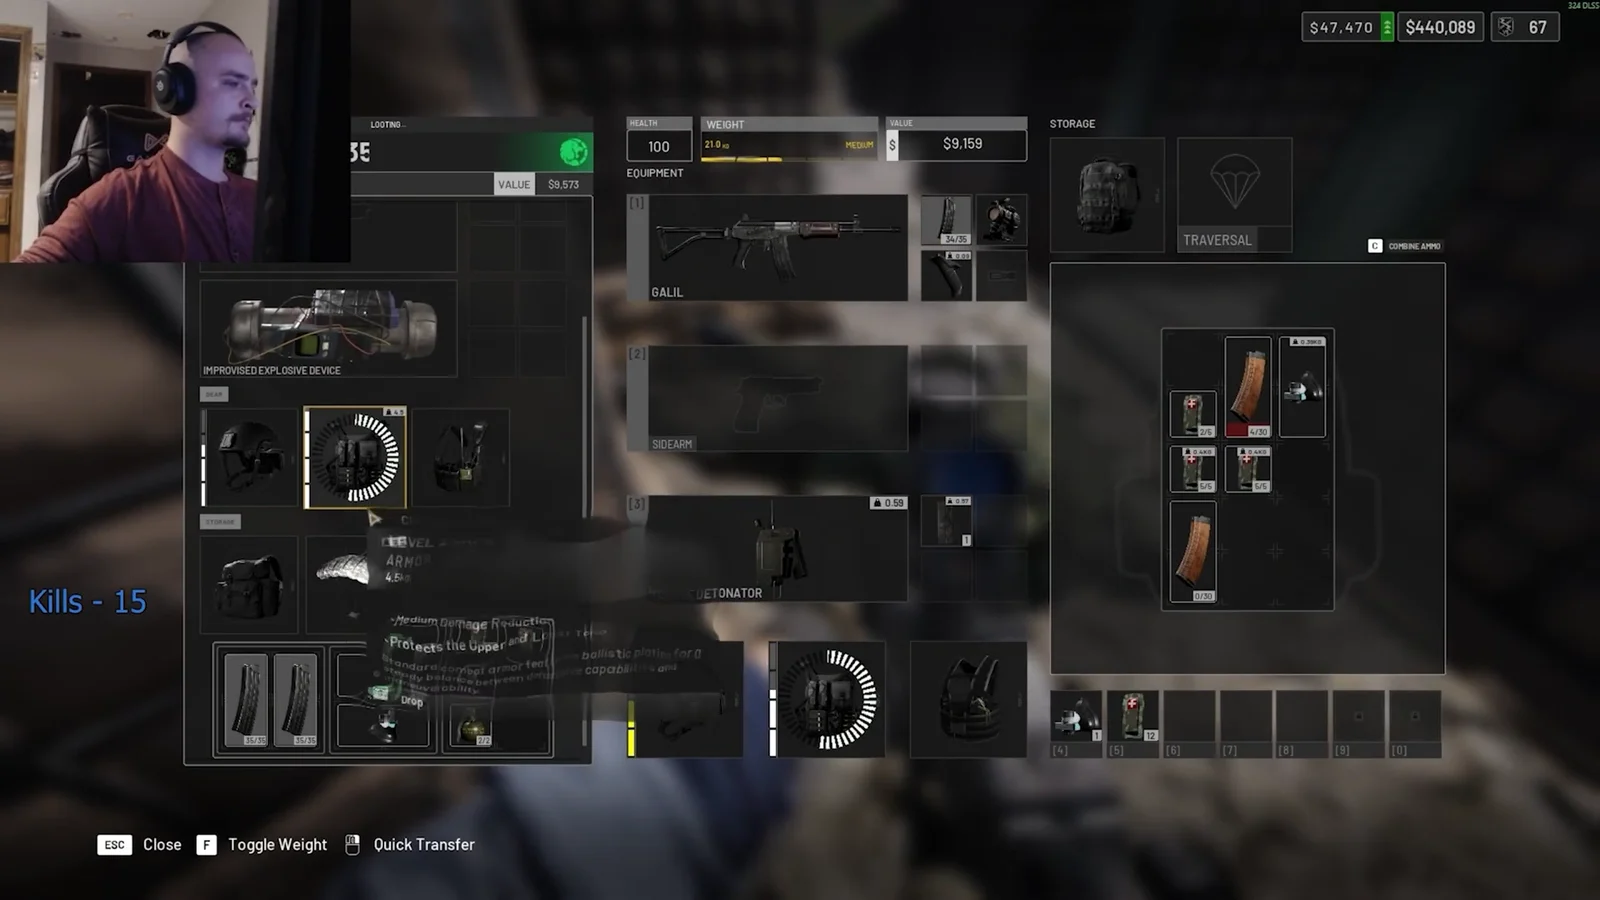
Repacking partially spent magazines is the other habit worth building. Do it behind cover before you step back out, not when a fight is already on you.
When you cannot get inside the walls
Some bases are too well held to walk into. The alternative is indirect fire, which means setting up your own position well outside their perimeter. The L81 Mortar reaches from 50 m out to roughly 700 m, with a 50-metre dead zone right around the tube where shells always land short, so around 600 m from the target is a sensible standoff.
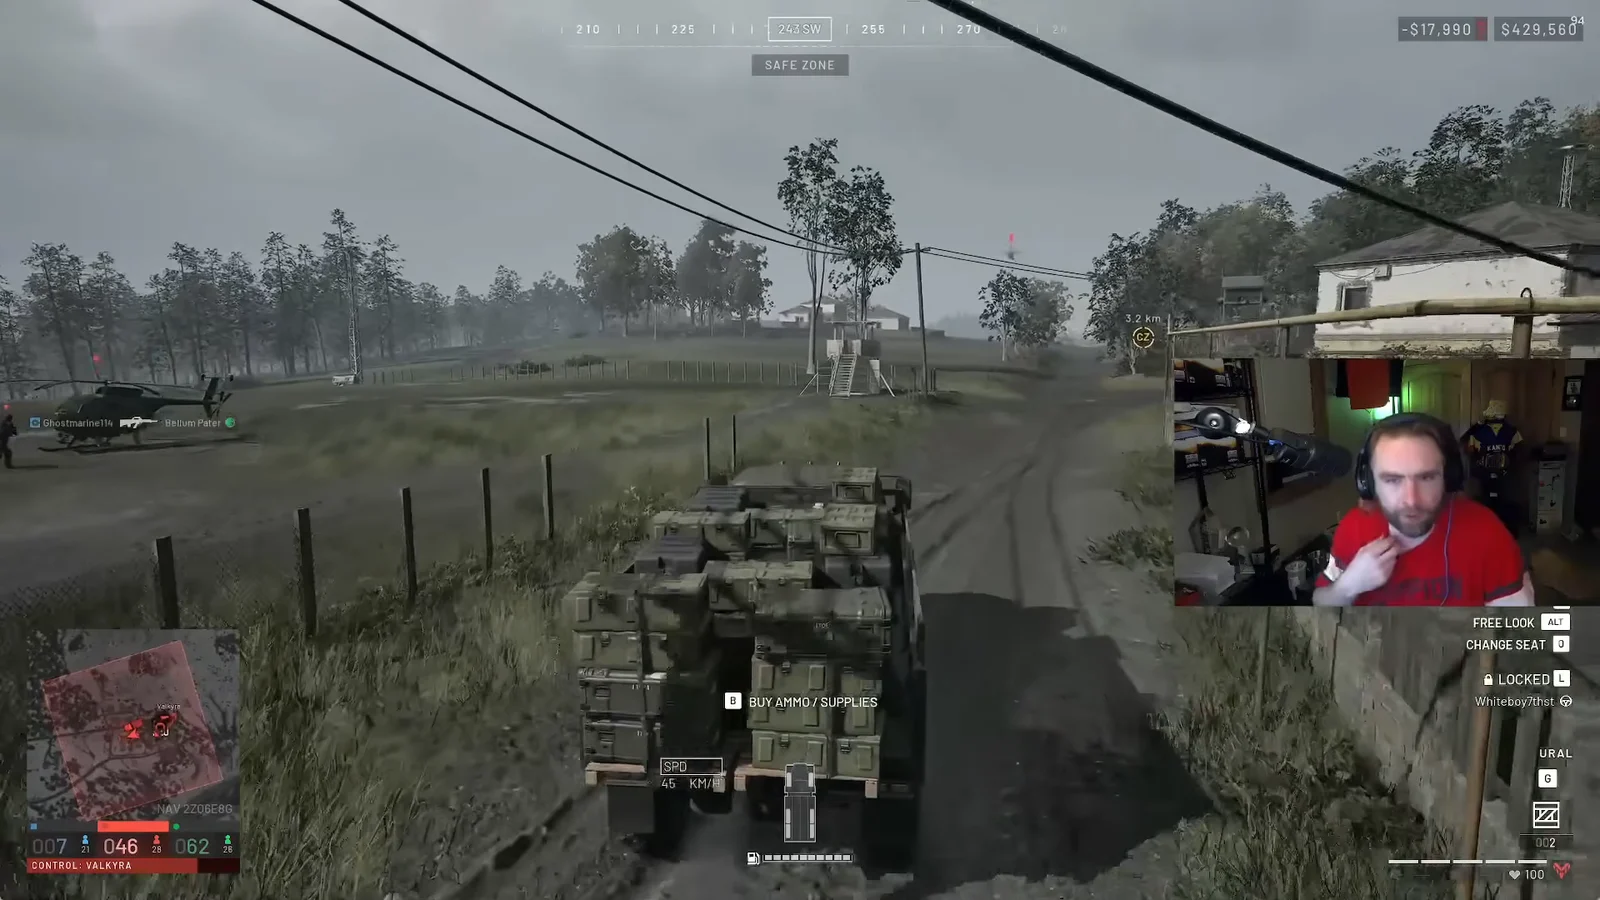
That turns the raid into a logistics job. You need a Ural truck to haul your own FOB, build supply pallets and ammo boxes, a Large Hammer to put walls up quickly, and a firing site the enemy cannot see — behind a ridge, or tucked inside a structure. Mortar shells draw from the ammo stock held in your FOB, so the supply you brought is the supply you have.
Both approaches come down to the same thing: enemy bases sit away from the main fighting, usually behind the lines, and neither route asks you to win a straight gunfight. Buy the device, come in from the side nobody is covering, put it on the terminal, and make the call from behind a wall.





