

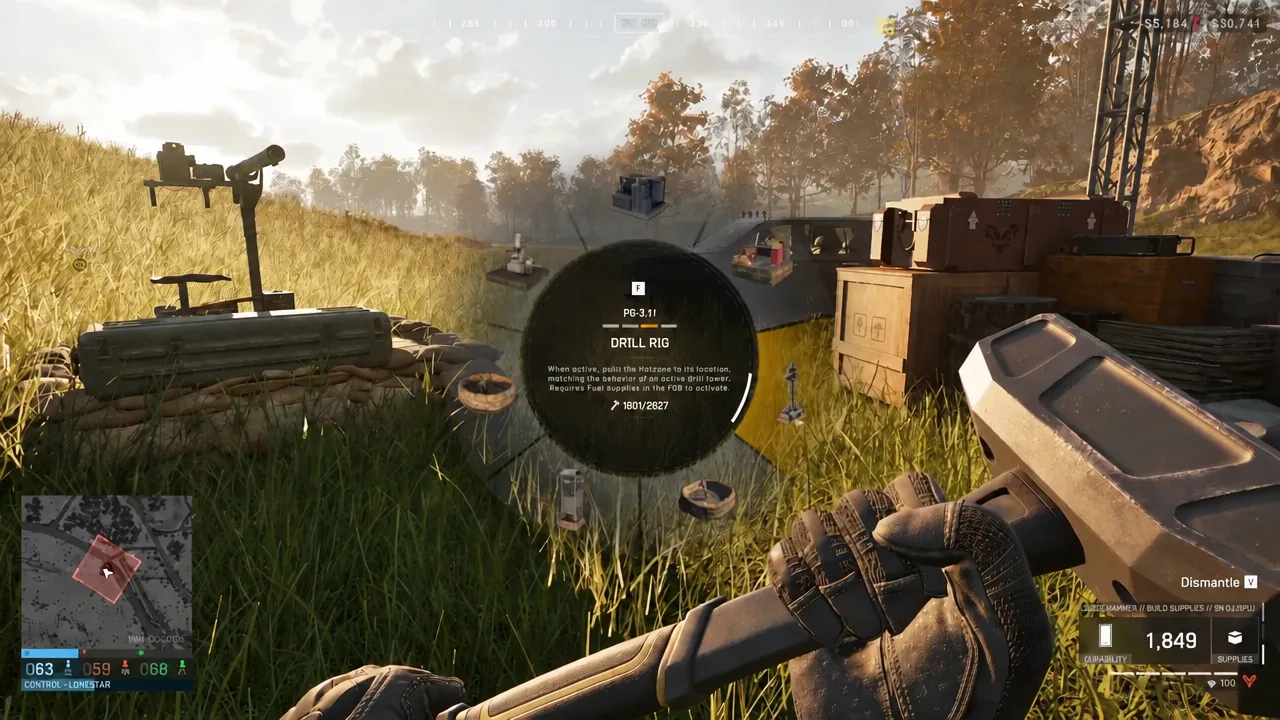
The Drill Rig is one of the heavier structures you can plant in a WARDOGS match, and it is gated behind a single tool rather than a quest or a special resource. If you have the right hammer, a Forward Operating Base, and enough build supplies in your pockets, the rig is a two-minute job. If you are missing any of those, the option simply will not appear on your build wheel.
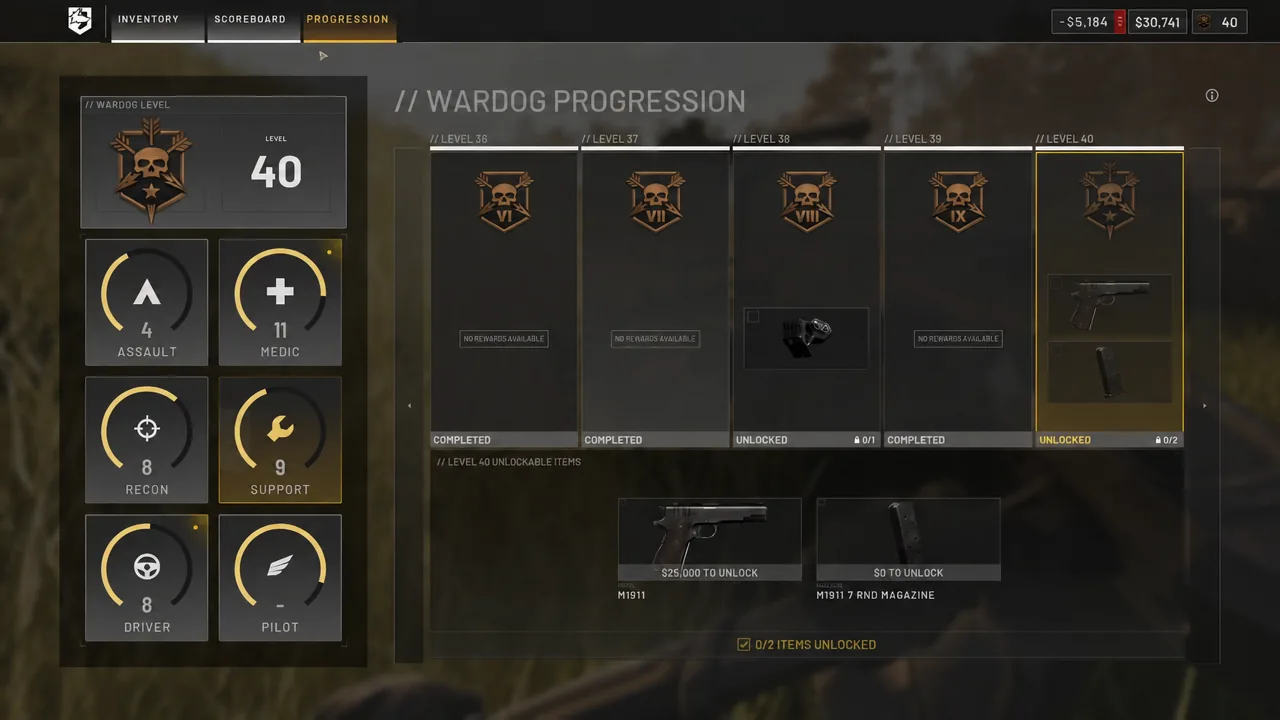
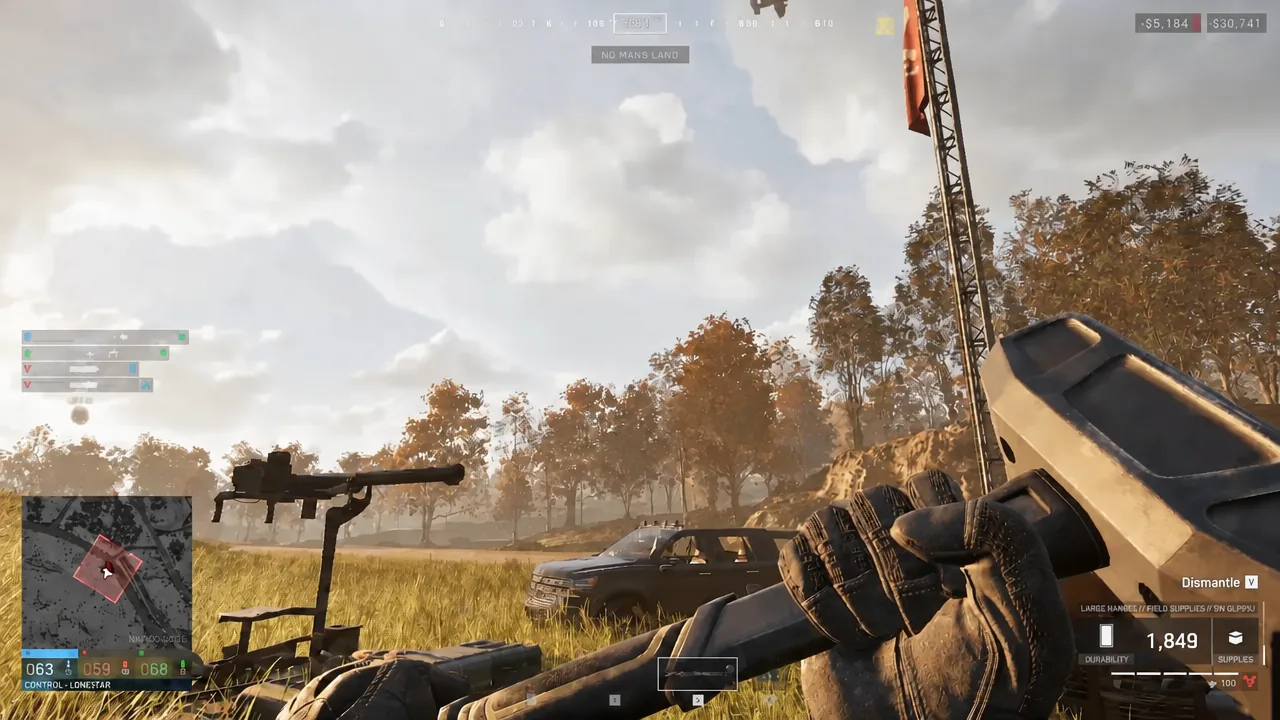
Quick answer: Reach Support level 8, unlock the Large Hammer for $75,000, buy it for $2,400, then right-click inside your FOB’s control zone, choose DRILL RIG, and spend 901 build supplies.
Drill Rig requirements and costs in WARDOGS
Everything the rig needs comes from the Support side of the progression tree and the FOB logistics loop. The hammer is the hard gate; the rest is money and carrying capacity.
| Item | Price | Weight | Why you need it |
|---|---|---|---|
| Large Hammer | $2,400 | 3.18 kg | Builds every buildable |
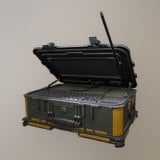 Forward Operating Base Forward Operating Base | $7,500 | 6.5 kg | Creates the build radius |
| Build Supplies | $10 each | 0.02 kg | Spent to raise the rig |
| Fuel Supplies | $10 each | 0.03 kg | Keeps the rig operating |
| Fuel Supply Pallet | $400 | — | Bulk fuel delivery |
The FOB is the anchor for the whole operation. It holds items and resources for your team, and it projects the radius that players are allowed to build inside. Note that the Large Hammer can build and repair every structure except FOBs, so the base has to be planted before the rig is ever an option.
Fuel Supply Pallets are destroyed by high-speed impacts, with roughly a 90m free-fall as the ceiling. Drop them short of that or drive them in.
Unlock and equip the Large Hammer
Place the Drill Rig inside the FOB control zone
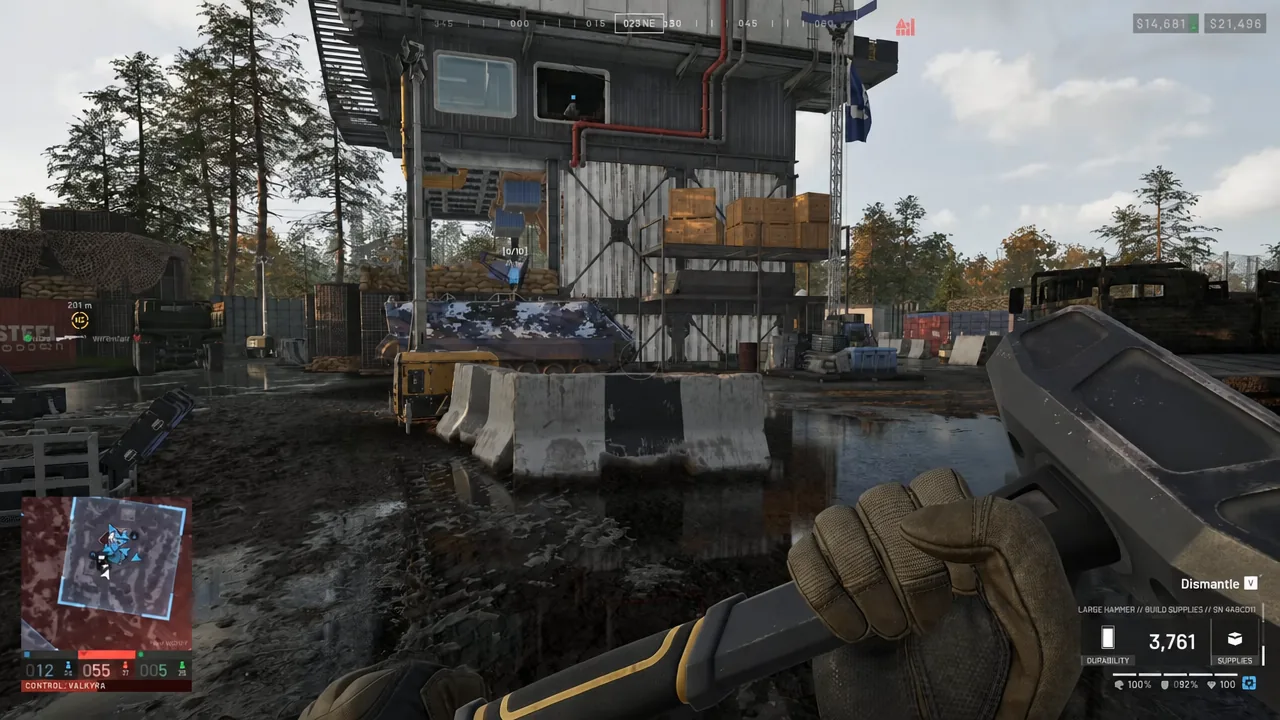
Fix a red blueprint: foundation obstructed and control zone errors
A red outline means the game has rejected the spot, and it tells you which rule you broke. Two messages come up during placement.
- FOUNDATION OBSTRUCTED — the footprint is clipping terrain or another object. Shift the frame onto flatter, emptier ground.
- MUST PLACE IN CONTROL ZONE — you are outside the blue circle. Move toward your FOB and try again.
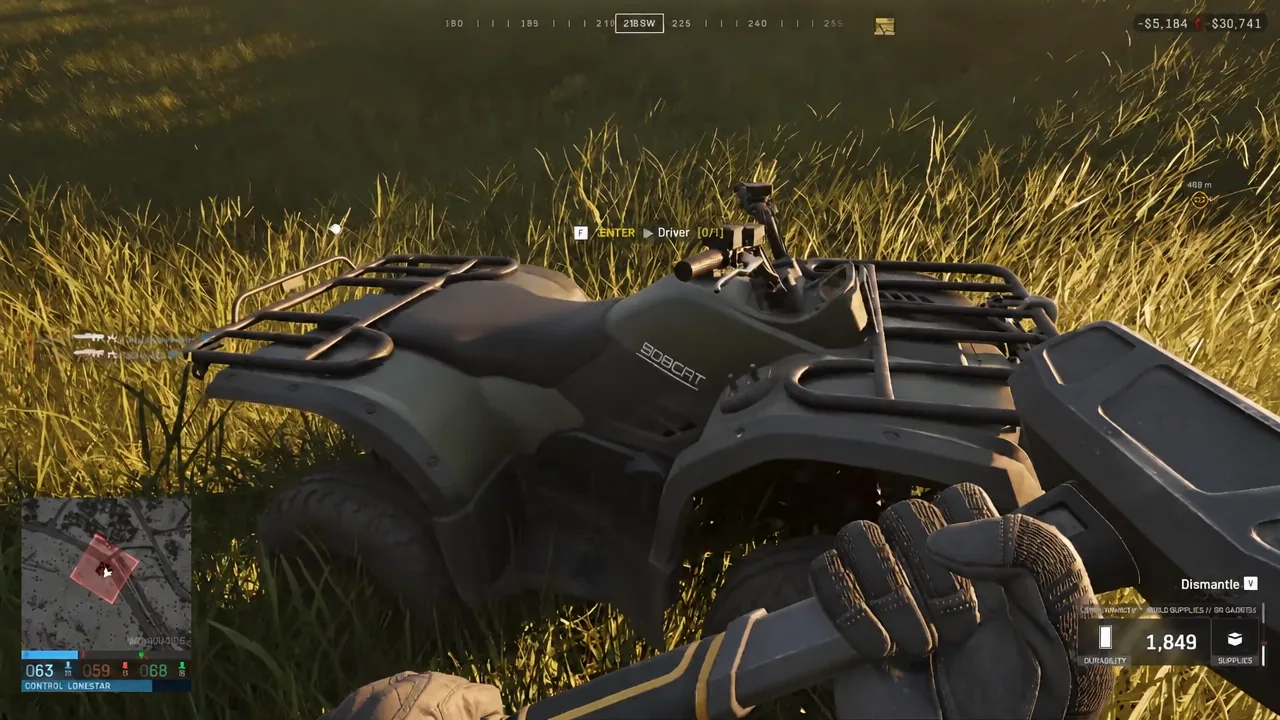
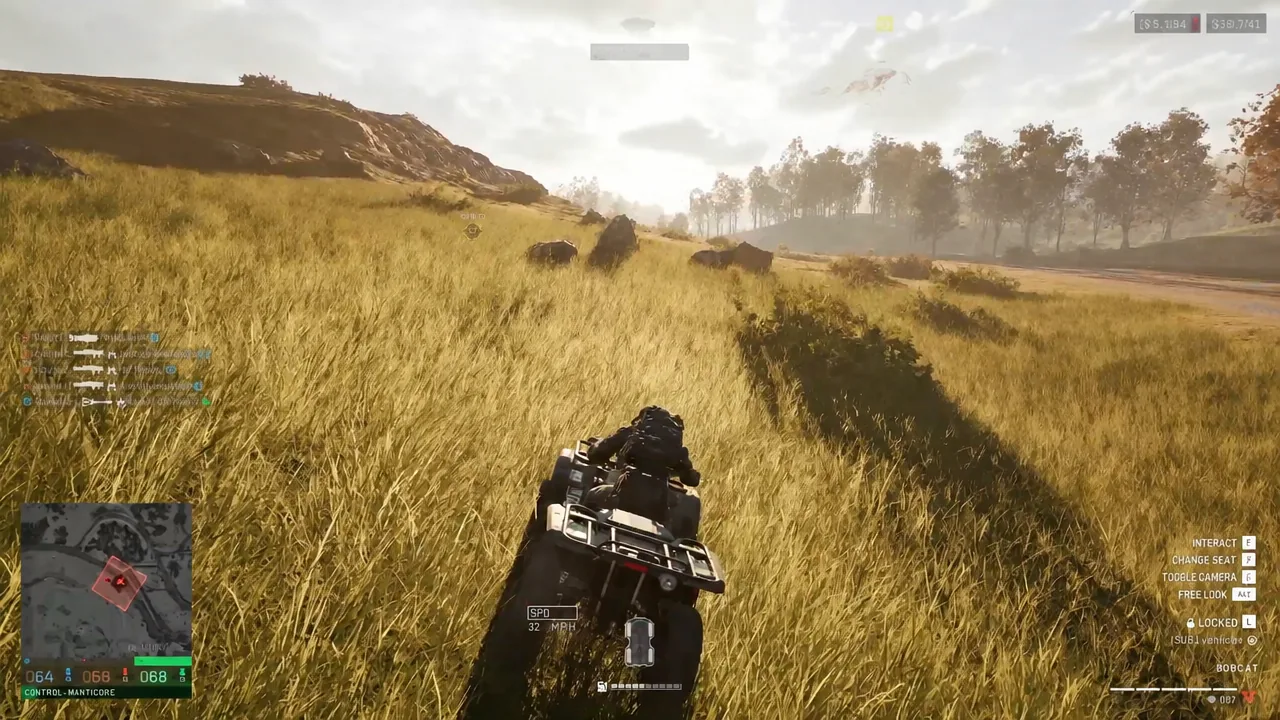
If both fire at once, the fastest fix is transport. Grab an ATV, check the map for the blue circle, and drive to ground inside it before reopening the build wheel.
Fuel the Drill Rig and upgrade it to Tier 3
Finishing construction does not make the rig useful on its own. Once active, it slowly drills into the ground to extract resources, and it burns fuel the whole time it is running. Fuel Supplies have to be inside the FOB radius to be used, so ask your logistics players for fuel specifically — a truck of ammo does nothing here.
The payoff is a steady supply at the base, which teams typically spend on keeping vehicles topped up at the FOB rather than hauling fuel in every few minutes. The rig can also be upgraded from Tier 1 to Tier 3 to improve its output, and each upgrade is another hammer job on the same structure.
Move fuel in by pallet rather than by hand. A Fuel Supply Pallet costs $400 and saves dozens of trips, since a single Fuel Supply weighs only 0.03 kg but you need a lot of them.
Drill Rig vs drill towers: not the same thing
WARDOGS also has numbered drill towers scattered around the map, and the name overlap trips people up. Those towers are existing map objectives with a terminal built into the upper interior. Capturing one reveals a single digit of a code, and assembling the full code lets you move the Hot Zone to that tower for a stretch of time. Towers also sit on a cooldown at the start of a match, so they cannot be captured the moment a round begins.
The Drill Rig is not that. It is a player-built structure that belongs to a FOB, costs build supplies, and runs on fuel. The game lists a separate Hotzone Magnet among its buildables for Hot Zone manipulation, so do not expect the rig’s own description to promise anything beyond resource extraction.
How to confirm the Drill Rig is built and running
You get three clear signals along the way. First, the blueprint outline stops glowing red and accepts placement, which means the foundation is clear and you are inside the control zone. Second, your build supply count drops by the rig’s cost and the construction percentage climbs with every hammer strike until the frame is filled in and the scaffolding gives way to the finished structure. Third, once it is fuelled and active, the rig starts drilling and its tier readout is available for the upgrade path.
If the DRILL RIG entry is missing from the wheel entirely, work backwards through the list. The hammer tier, the Support unlock, your build supply count, and your position relative to the FOB radius are the four things that control whether the option shows up at all.





