

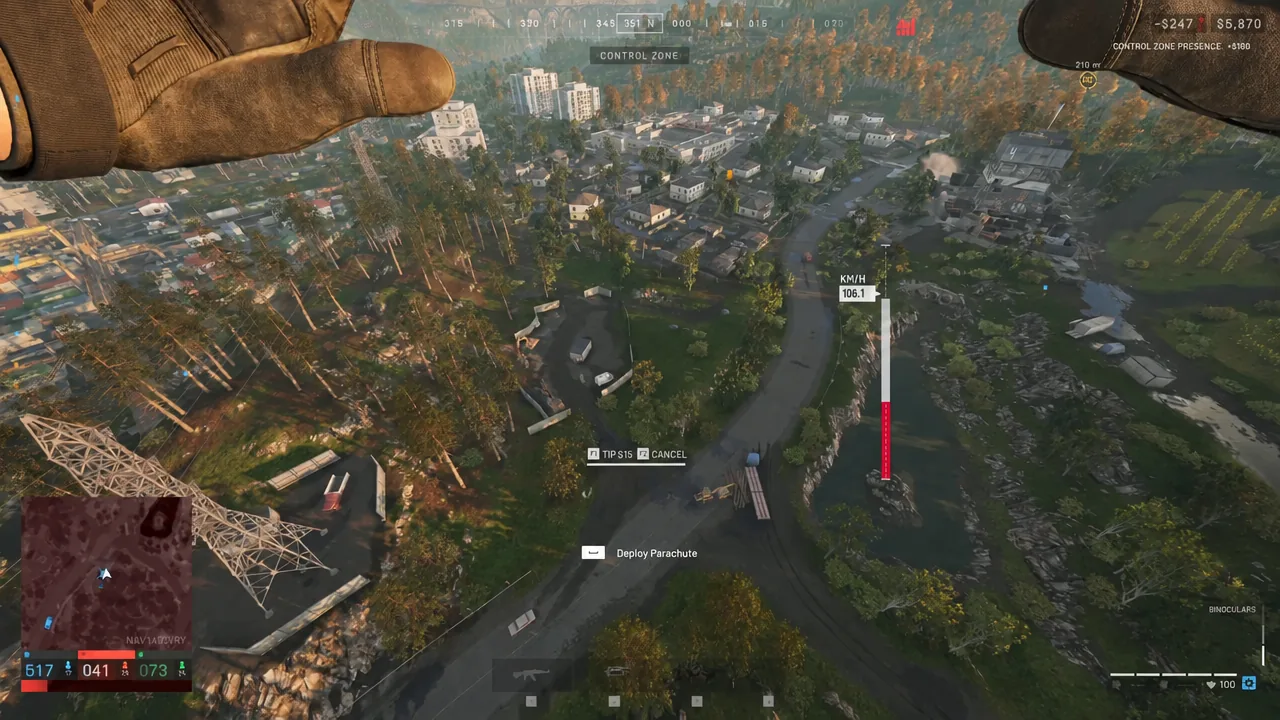
Riding in the back of a helicopter in WARDOGS is fast, but it only helps if the pilot knows where you actually want to go. Instead of typing in chat or hoping someone hears you over voice, the game has a built-in request that drops a marker straight onto the pilot’s map. It takes about three seconds from the passenger seat.
Quick answer: As a helicopter passenger, open the tactical map, right-click your destination, and pick Request Dropoff. Press F to exit over the spot, then Space to open your parachute.
What you need before the dropoff request works
The request is a passenger tool, not a pilot one. If you are the one flying, there is nobody to signal, so the option does nothing for you.
- You have to be inside a helicopter, in a passenger seat rather than the pilot seat.
- Another player has to be flying, since the marker is placed on their map.
- You need the tactical map open, because the request is made by right-clicking a point on it.
- Press
Cto change seat if you spawned into the wrong one.
How to request a dropoff in WARDOGS
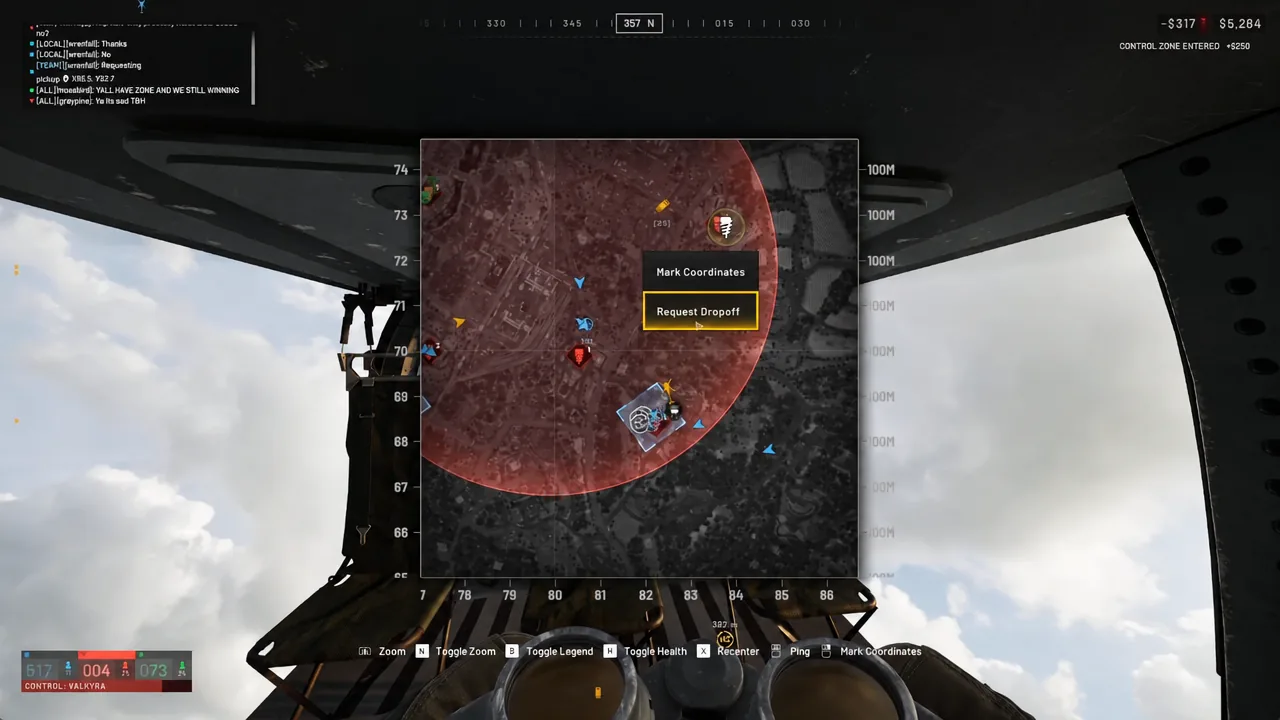
Pick a point the helicopter can reach in a straight line and still leave. A pilot who has to circle a contested position is an easy target for anti-air.
How to confirm the request registered
A yellow waypoint with a dropoff icon appears on the map and on the HUD once the request goes through. That same marker shows up for the pilot, which is the whole point of using it instead of calling the location out loud. If you do not see the yellow icon after closing the map, you clicked Mark Coordinates instead, so open the map and right-click again.
Dropoff and parachute controls
| Action | Input |
|---|---|
| Open the dropoff menu | Right-click on the tactical map |
| Send the request | Click Request Dropoff |
| Exit the helicopter | F |
| Deploy parachute | Space |
| Change seat | C |
A Cut Parachute prompt is also available once the canopy is open, for when you want to drop the last stretch quickly instead of drifting.
Getting out and landing safely
F, the same key used for interacting.F over your marker to jump. You free-fall for a moment before the parachute becomes available, so do not panic-spam the key.Space to deploy the parachute and glide in. You keep some steering control on the way down, which is enough to correct onto a hillside or clearing rather than a rooftop.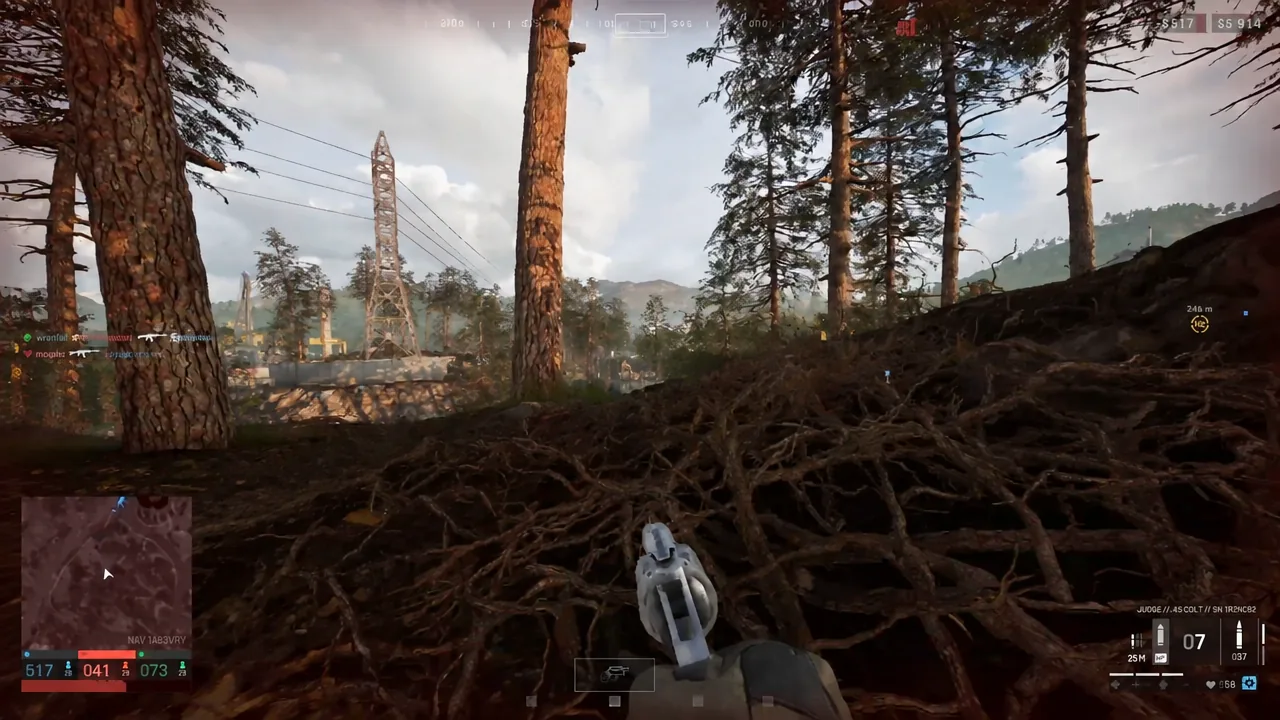
Choosing a dropoff point that pays off
The Control Zone is a randomly selected 2×2 km area, and the first team to 100 points wins, so the marker you place should serve that objective. Inside it sits the smaller Hot Zone, where players count double toward control and earn double cash. Dropping just outside that circle, on approach cover rather than in the open, usually beats landing directly on top of it.
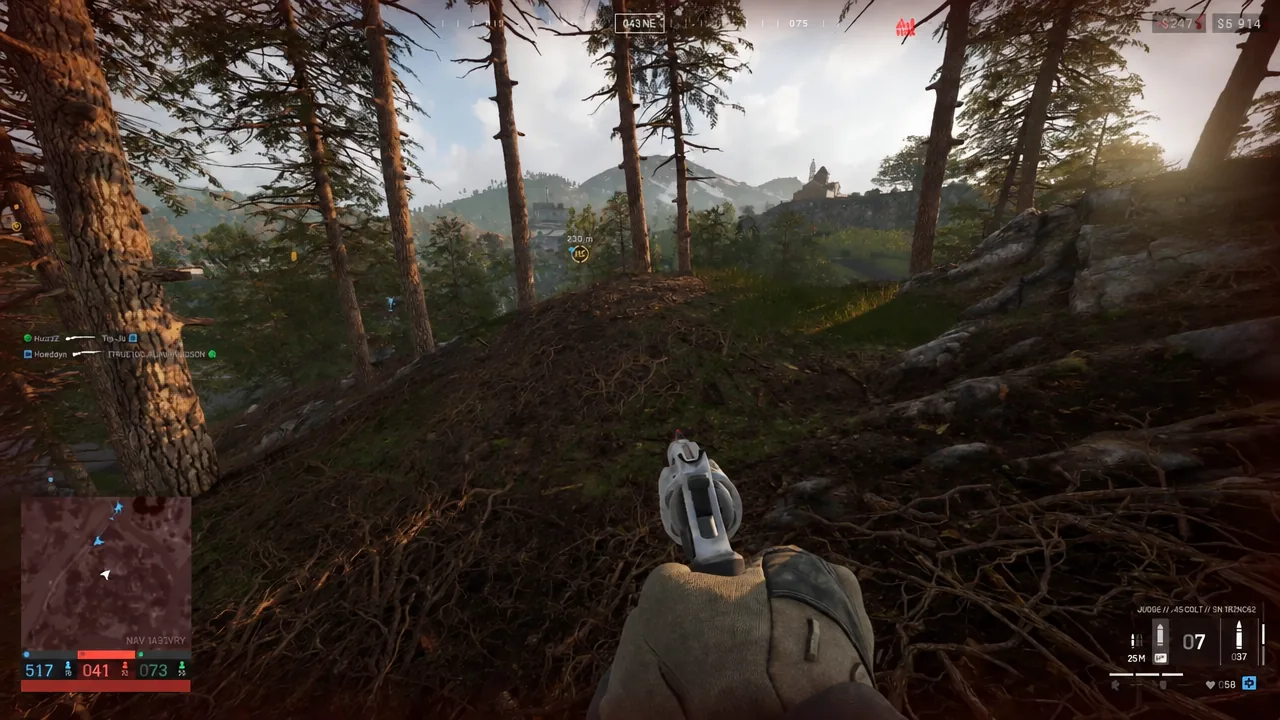
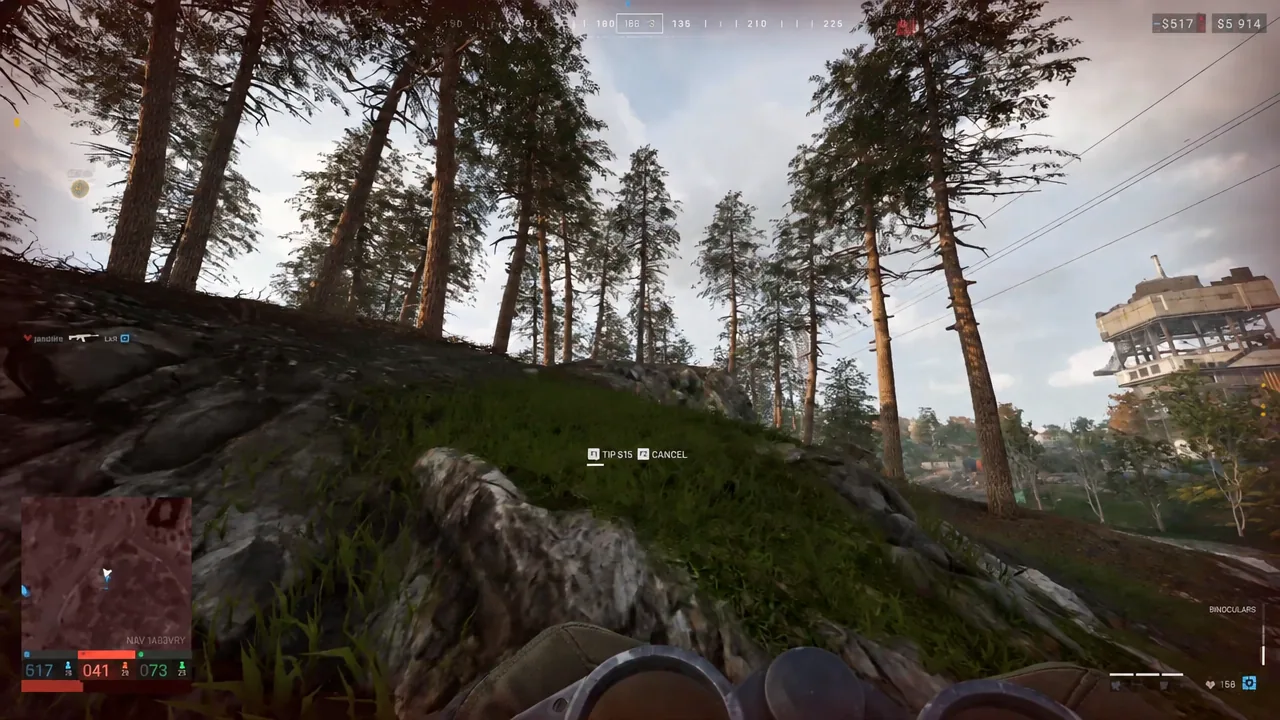
Once you are down, spotting enemies is one of the actions that pays cash, alongside reviving squadmates, transporting friendly players and holding the objective. Glassing the treeline from your landing spot before you move is worth the few seconds it costs.
Ground vehicles do not use dropoff requests
Only helicopter passengers get the request option. If you are riding in a Bobcat, Dune Buggy, Humvee, Kodiak or Ural, you simply exit when the driver stops, and every one of those is bought from the vehicle vendor in your faction’s safe zone rather than found on the map during a match.
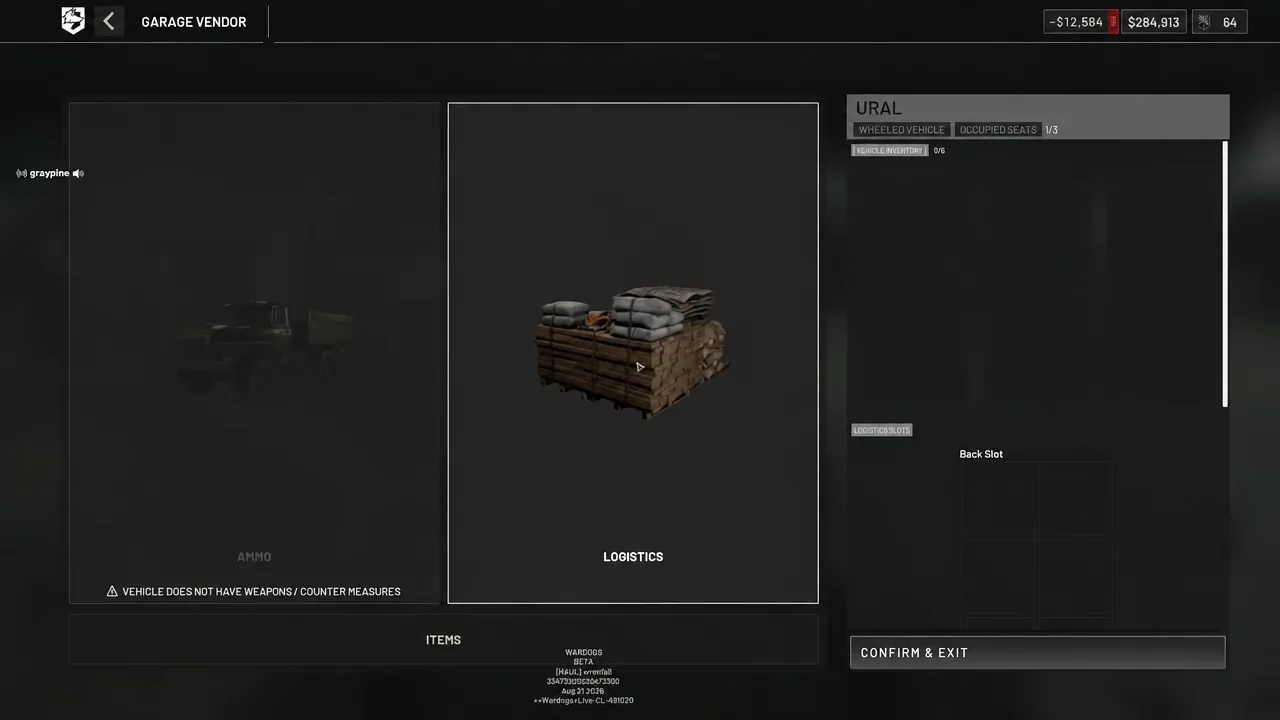
It is easy to mix up the two systems because trucks have their own in-vehicle screen. Pressing B in a Ural opens the Garage Vendor logistics interface for crates and supply pallets, which handles cargo, not passengers.
If you are the one flying, treat an incoming dropoff marker as a short contract: fly the route, hold steady long enough for the jump, and get clear. Transporting friendly players earns cash, while killing a teammate costs $1,500 per player, and that includes passengers lost to a crash. Learning a helicopter’s handling alone before you start carrying a squad is the cheapest way to avoid paying that fee.





