

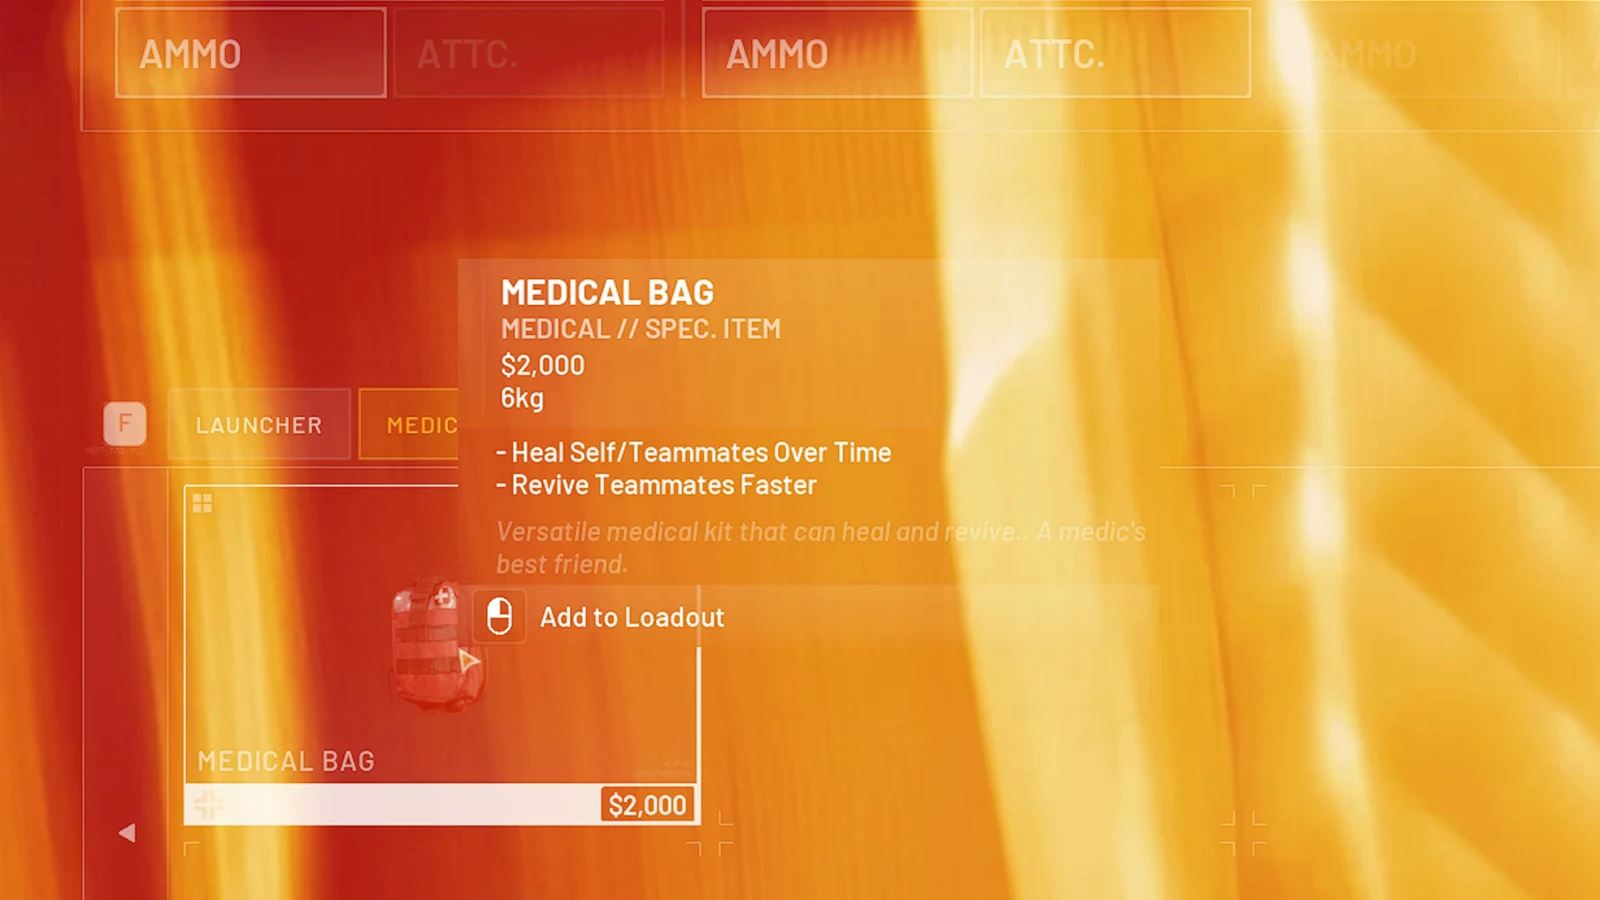
WARDOGS does not lock you into a class at spawn. The class trees level off the actions you perform, so the tools you carry decide which trees pay out. Bring one item from several trees in a single life and you collect Medic, Building, Vehicle, Recon and Support XP in the same match instead of grinding one tree at a time.
Quick answer: Put a specialty item on your tac vest belt for each tree you want to level — defibrillator, small hammer, wrench, rangefinder, C4 detonator — and every action you take that match feeds a different class.
Wardog Level is the sum of your class levels
Assault, Medic, Support, Recon, Driver and Pilot each level independently, and your Wardog Level is those levels added together. That is the number the game checks for the biggest unlocks, which is why spreading XP across trees moves you forward faster than pouring every match into one role.
The practical effect is that a fifteen-minute match where you revive two teammates, repair an APC, build a wall, spot a vehicle and blow a charge pays into five separate trees at once. A pure gunfight match pays into one.
Which tool pays into which XP tree
Every specialty item lists the tree it rewards on its own item card. These are the ones worth carrying together.
| Item | Where it sits | Rewards |
|---|---|---|
| Defibrillator | Quick slot | Medic XP |
| Remote Detonator / C4 | Quick slot | Support XP |
| Small Hammer | Specialty item | Building XP |
| Large Hammer | Specialty item | Building XP |
| Wrench | Specialty item | Vehicle XP |
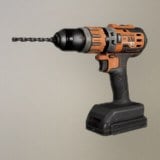 Light Drill Light Drill | Specialty item | Vehicle XP |
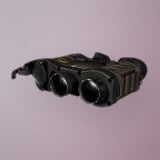 Infrared Range Finder Infrared Range Finder | Recon specialty | Recon XP |
| Monocular / Binoculars | Recon specialty | Recon XP |
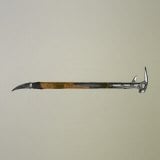 Halligan Bar Halligan Bar | Quick slot | Assault XP |
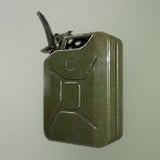 Fuel Can Fuel Can | Logistics specialty | Refuelling vehicles |
The defibrillator revives a downed teammate instantly, but it needs a battery to charge and use, so pack one. Batteries also recharge drills, which makes a single battery stack useful across two trees.
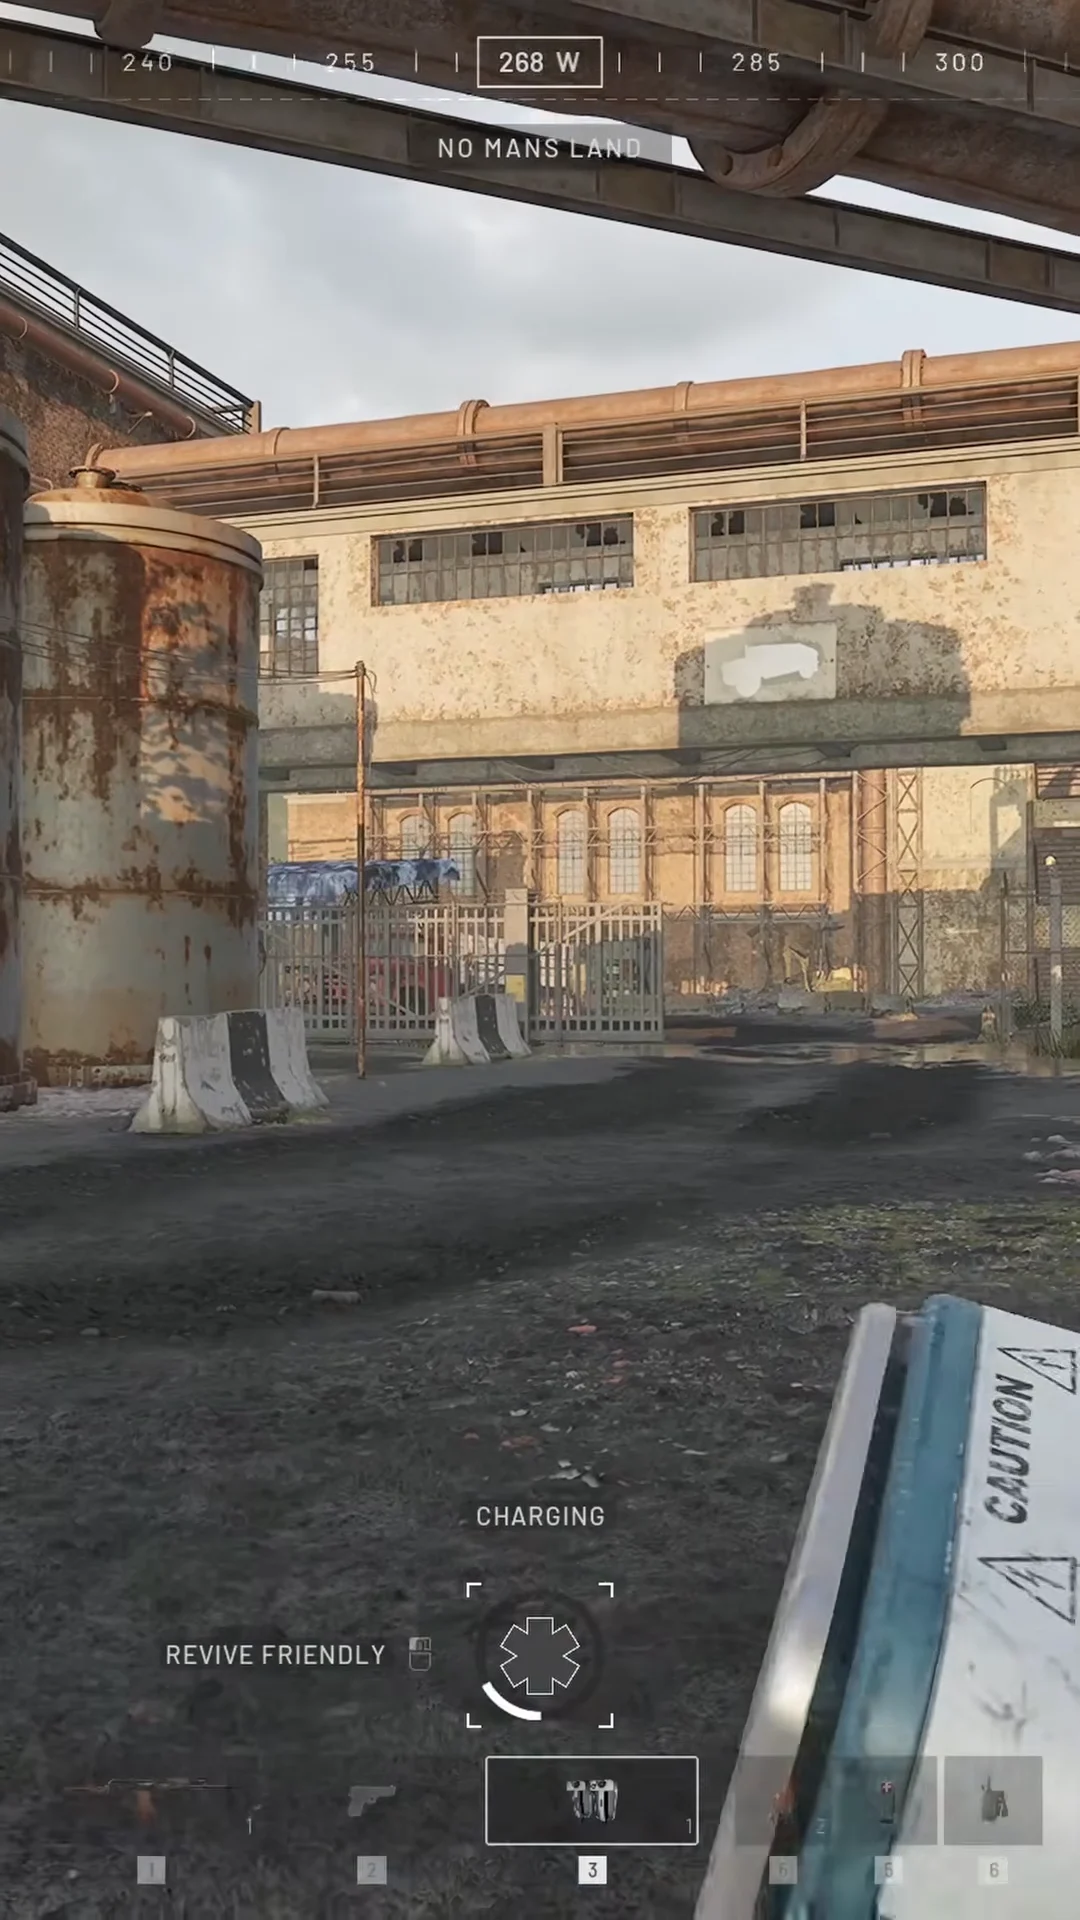
What the tac vest belt will and will not hold
The tac vest is what makes multiclassing workable. It lets you map specialty items to number keys — a defibrillator on 3 and the remote detonator on 6, for example — so you swap tools in a second instead of stopping to open your backpack in the middle of a fight.
Two restrictions shape the rest of the kit:
- The Small Hammer is the only hammer that fits on the belt. It builds all Tier 1 structures.
- The Wrench is the only vehicle repair tool that fits on the belt. The Light Drill repairs faster but takes a specialty slot and burns batteries.
- Fuel cans, recon optics, the IED and the Halligan Bar all sit on the belt without argument.
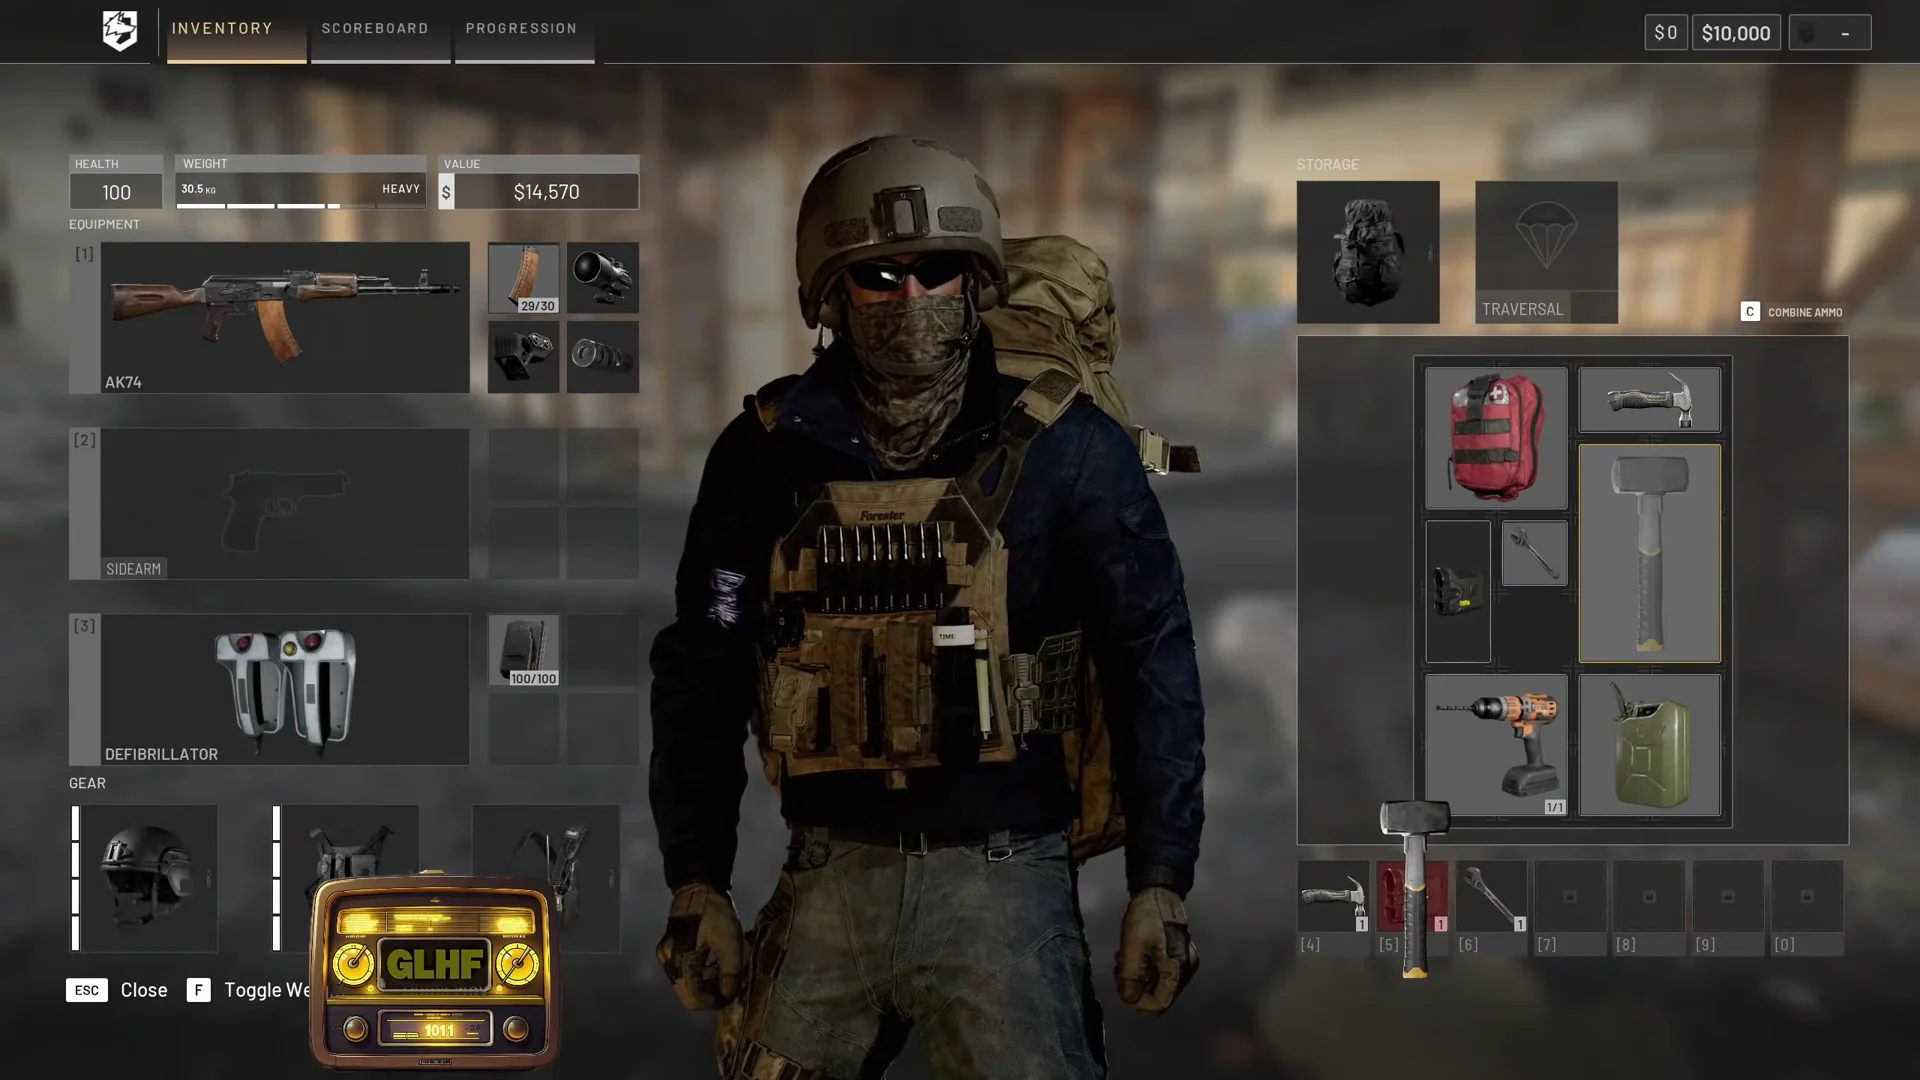
The Improvised Explosive Device costs $300, weighs 1.5 kg and is a remotely detonated, single-use charge. It is a cheap way to keep a demolition option on the belt when you have already spent on armour.
Building a multiclass loadout at the equipment vendor
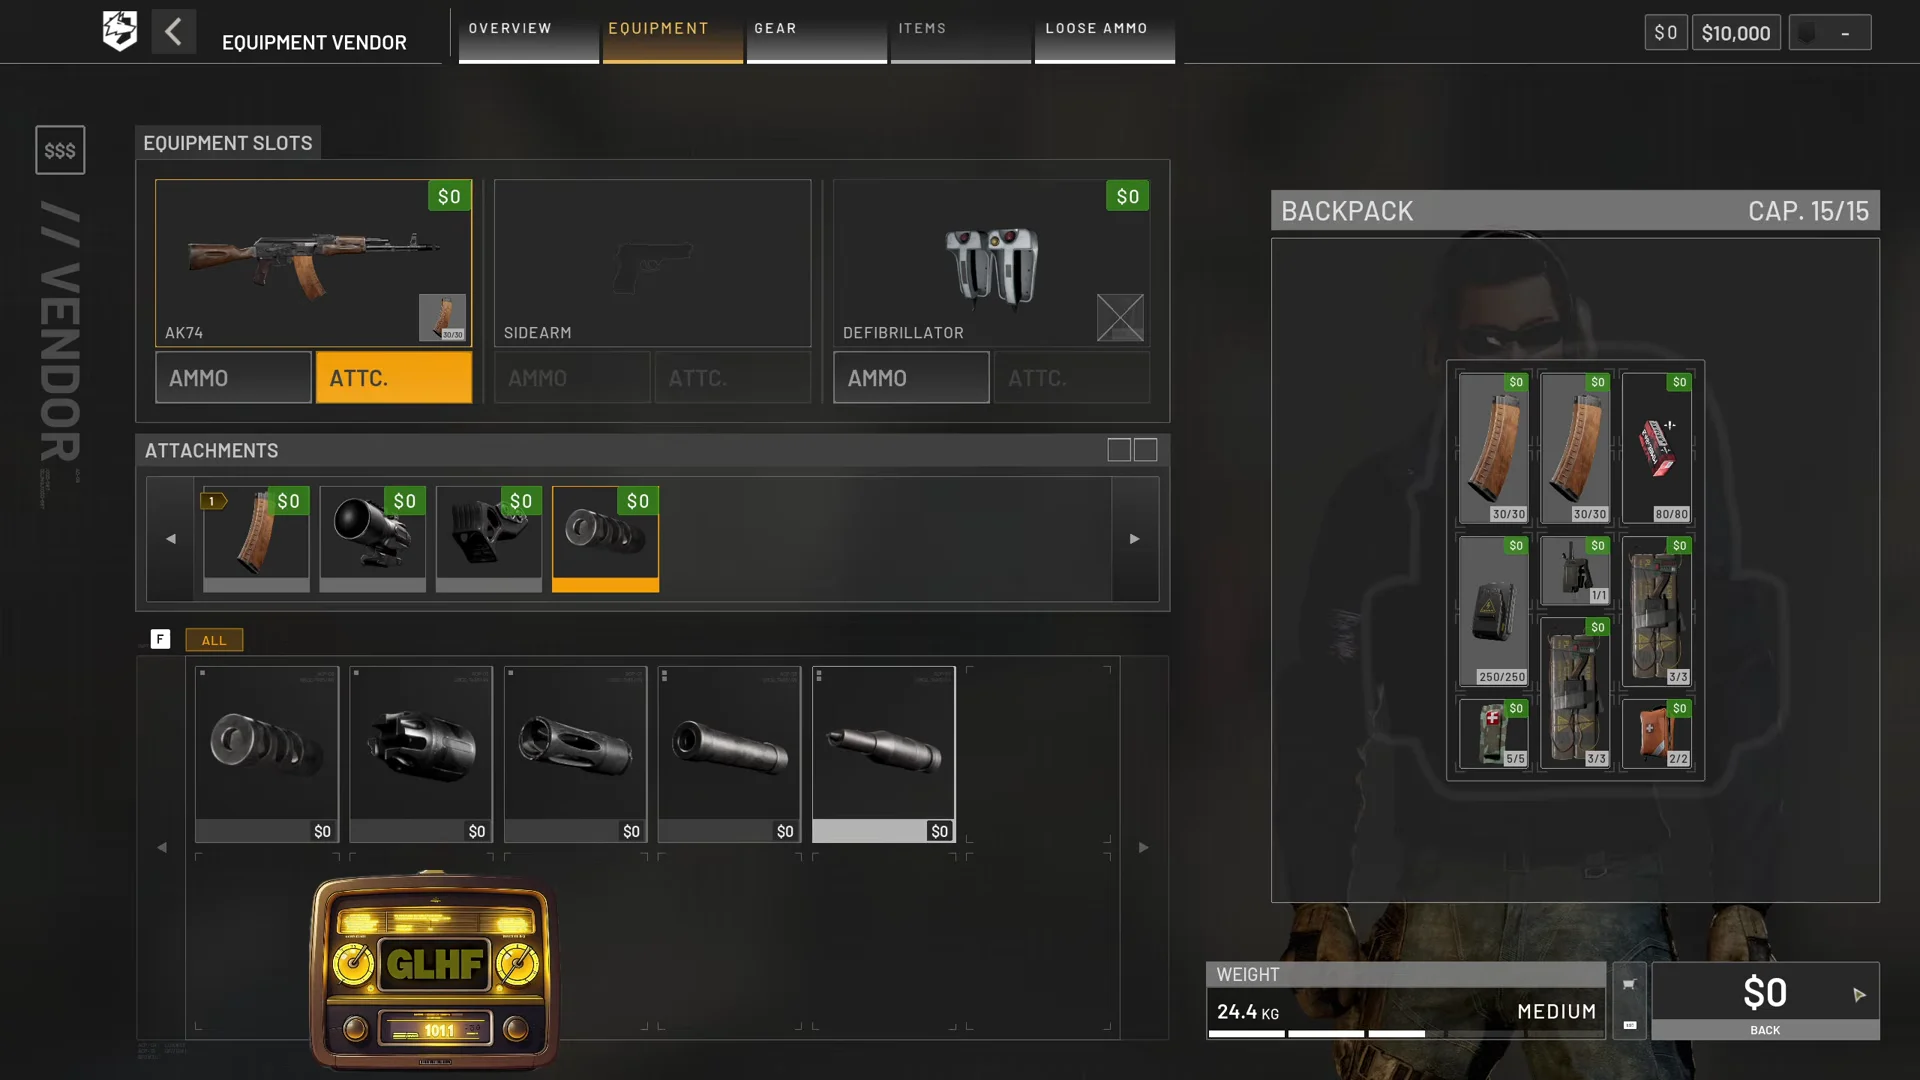
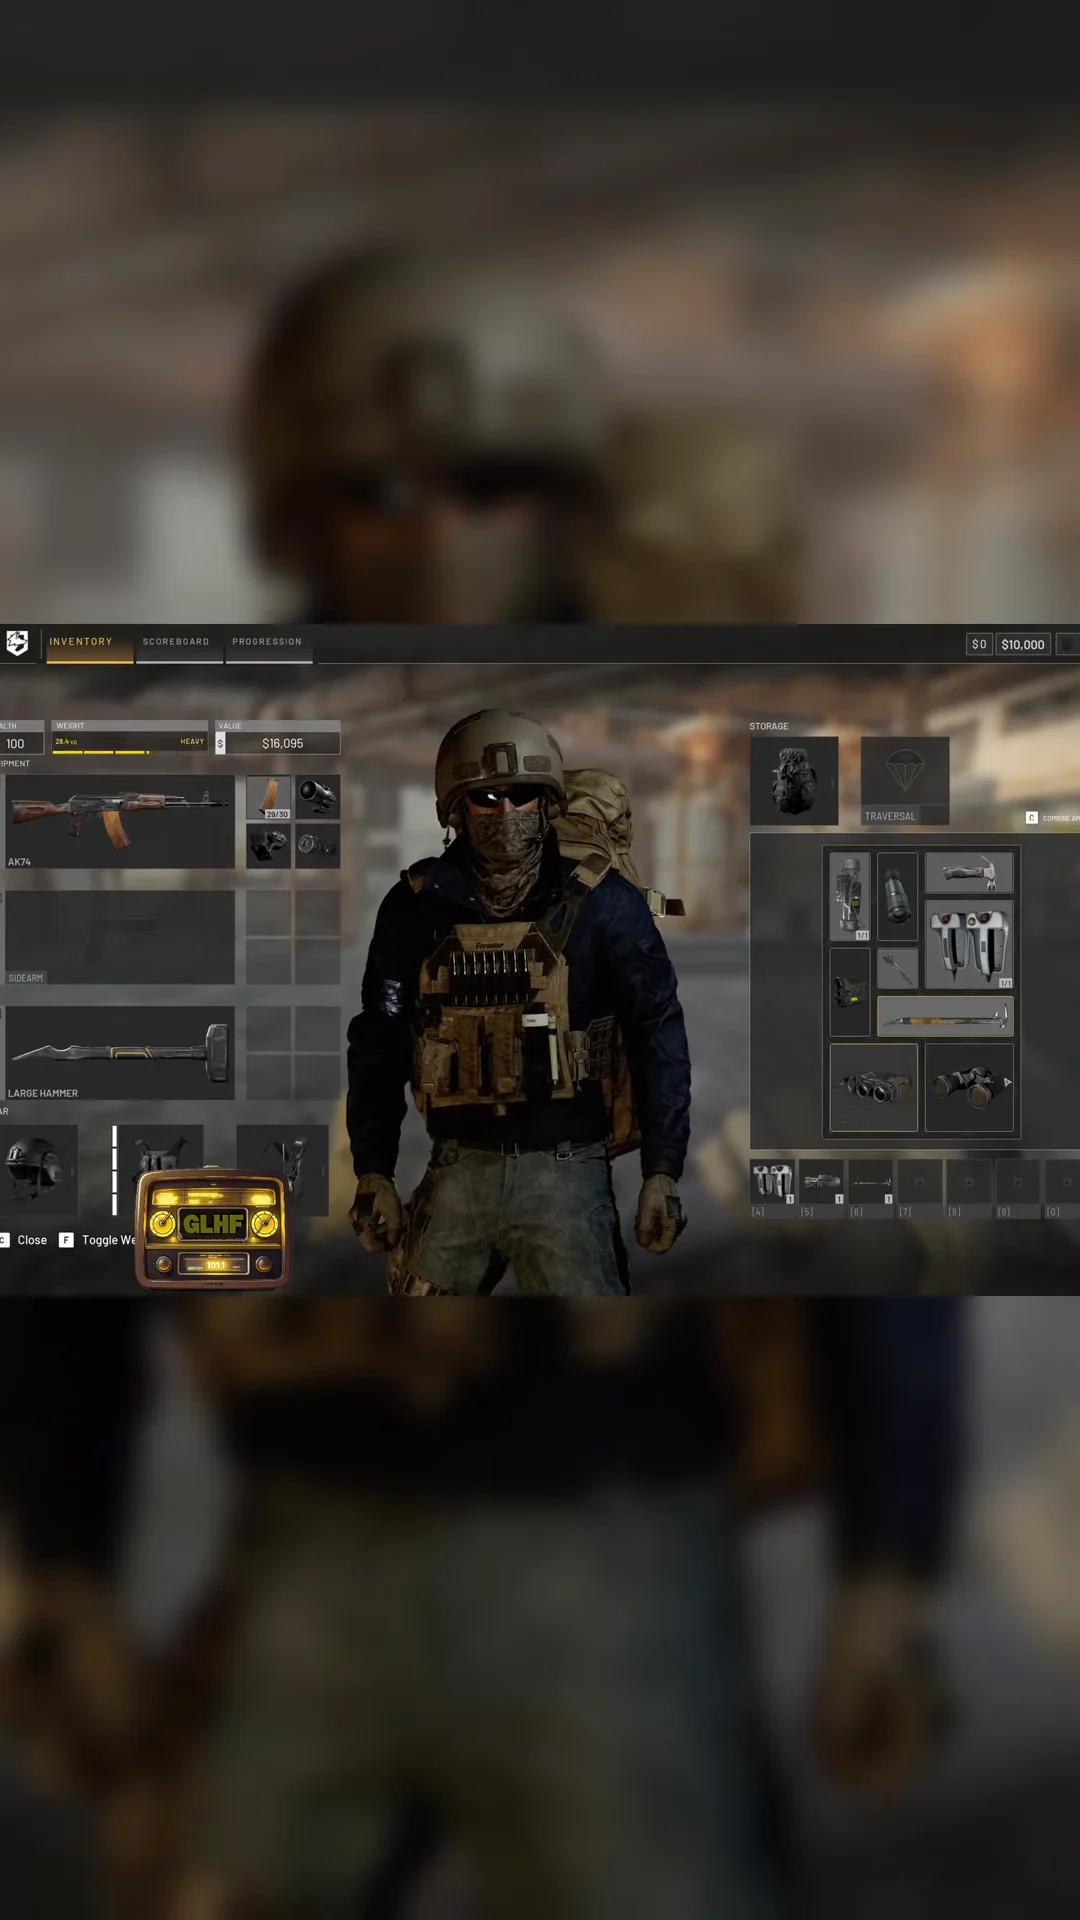
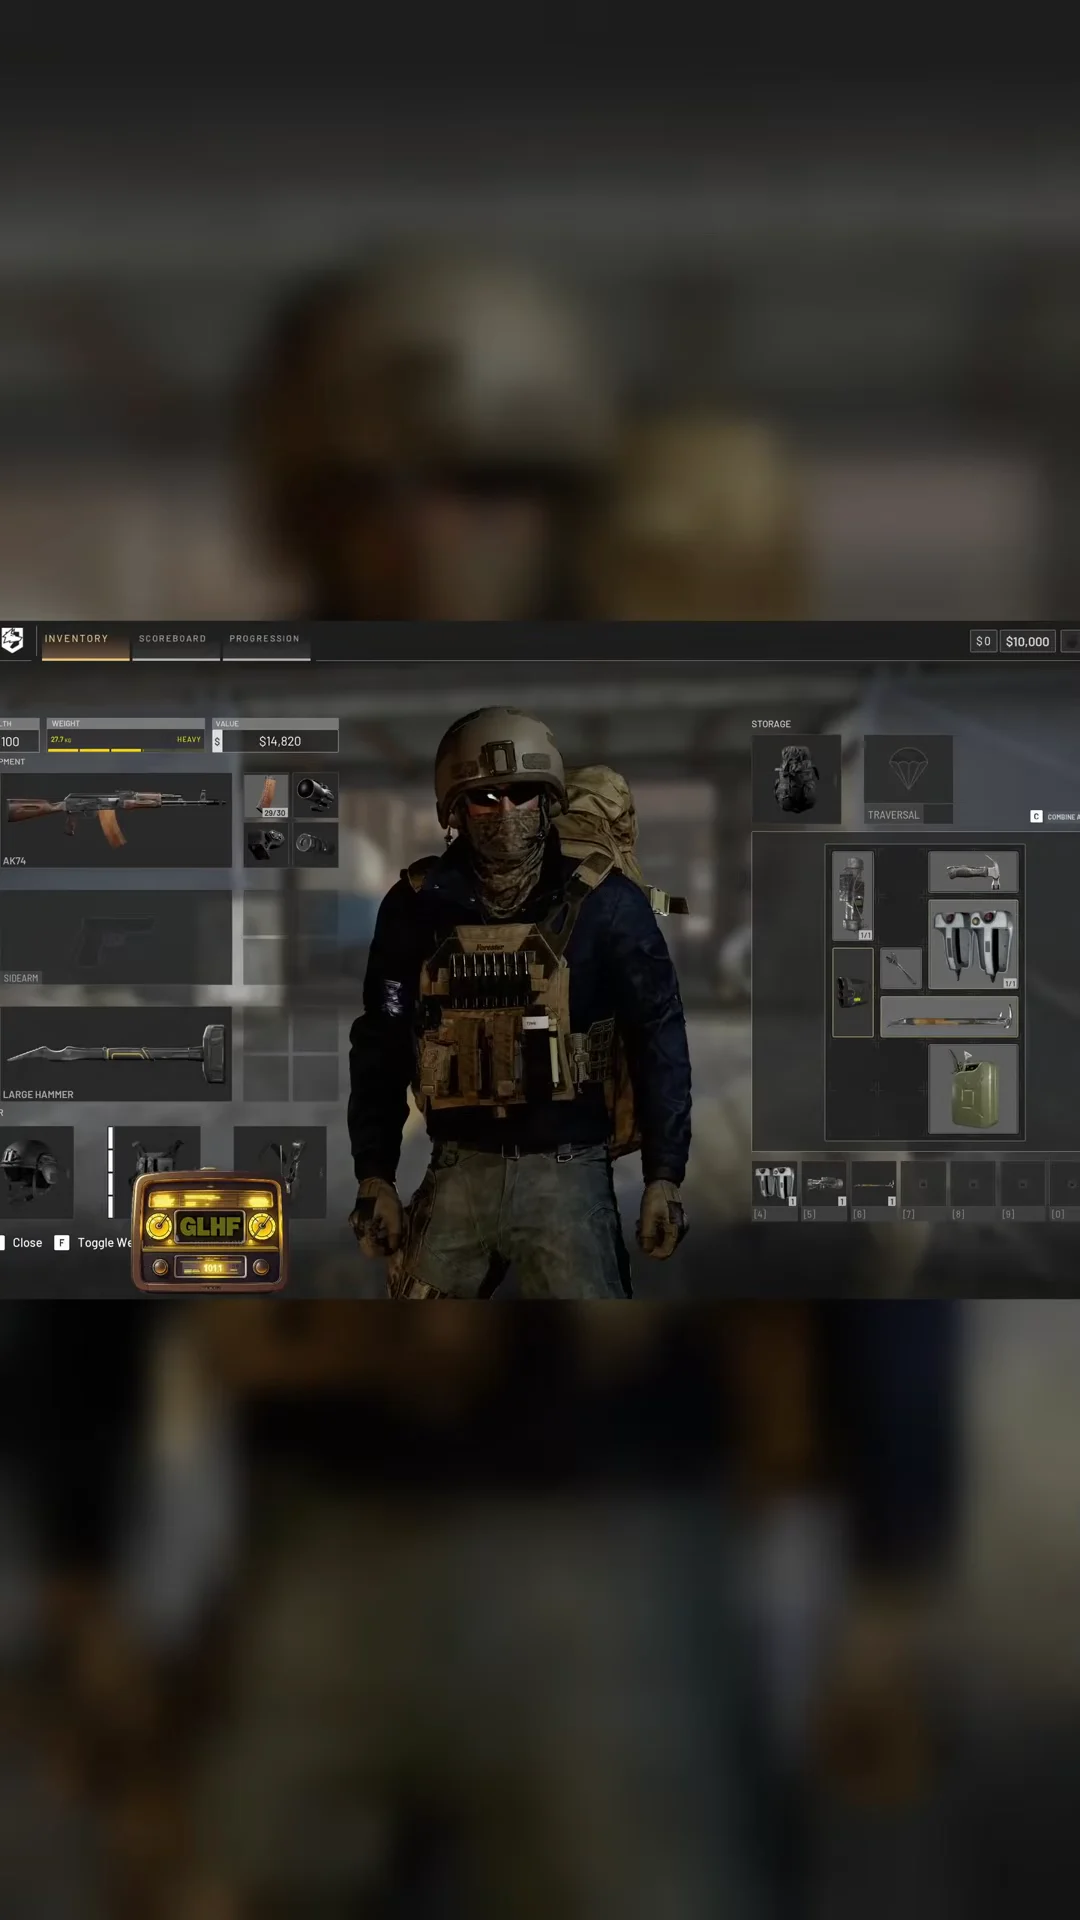
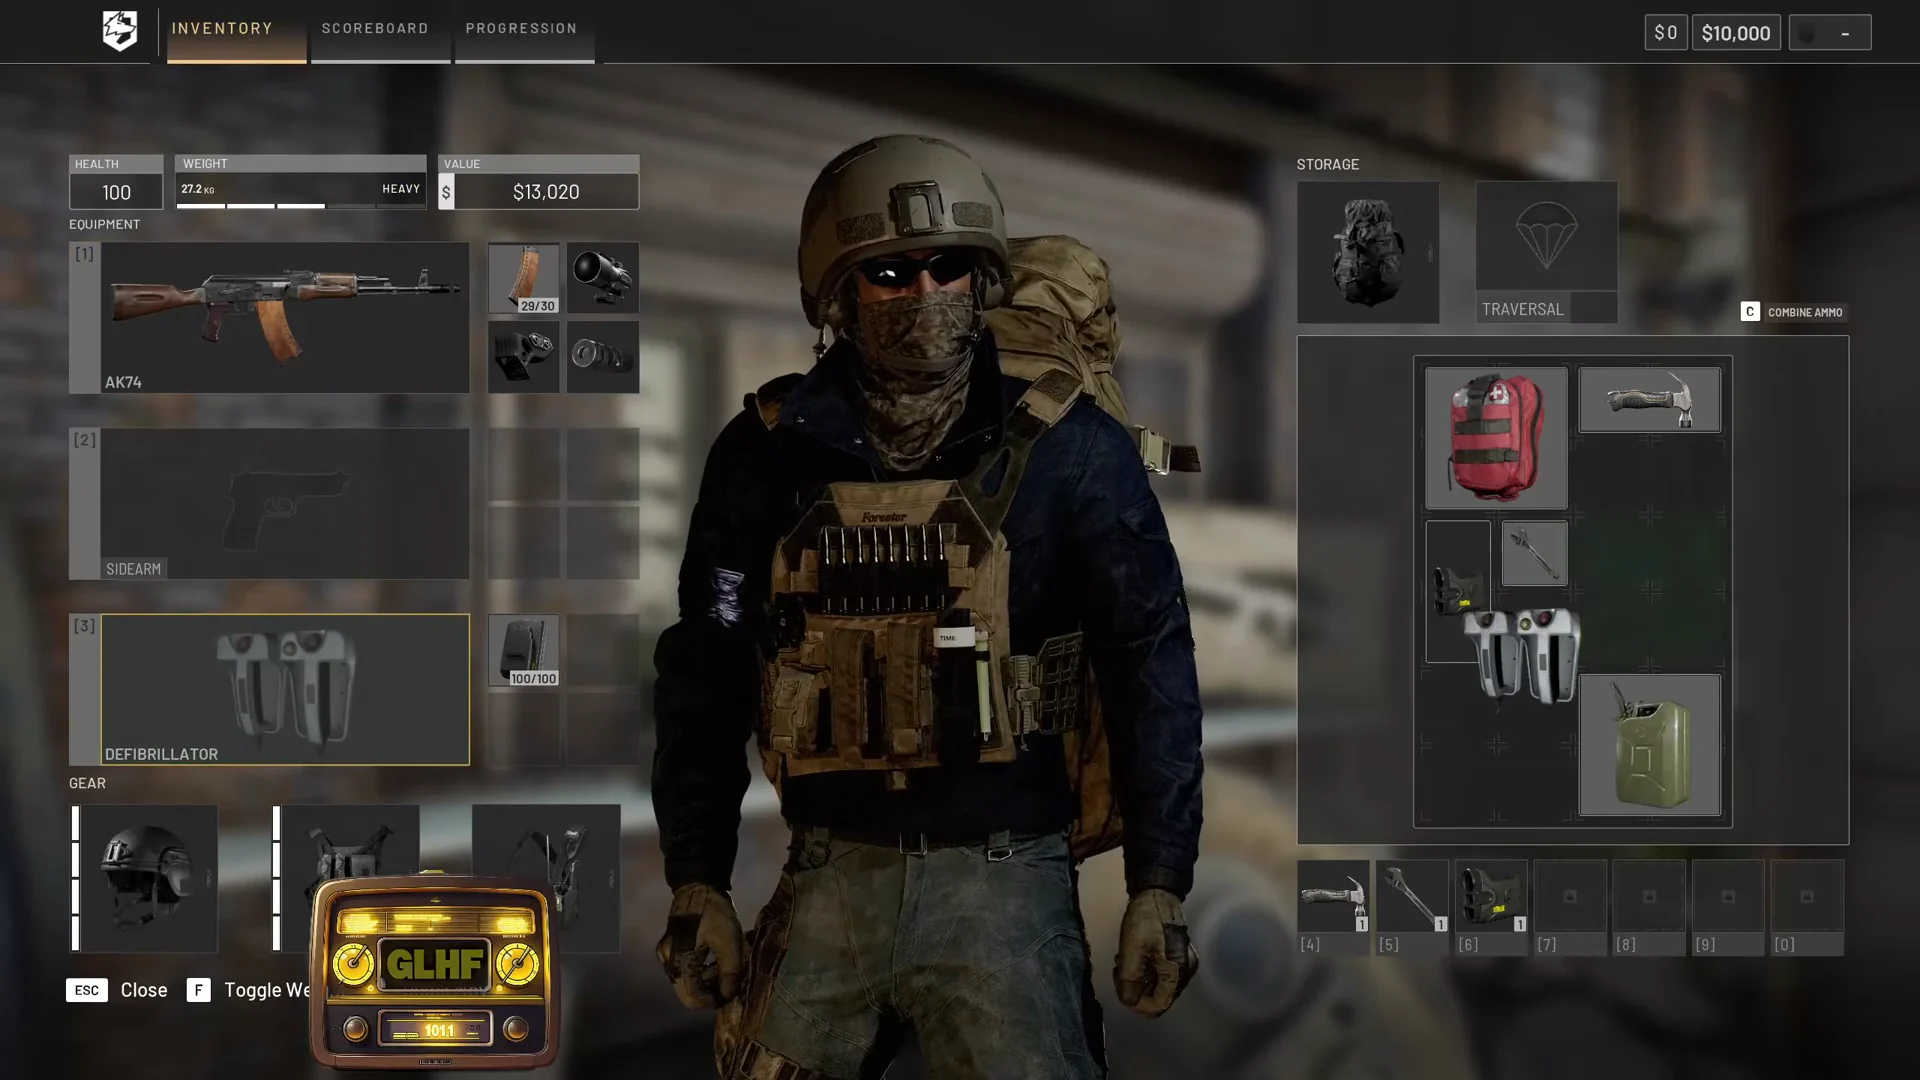
The Large Hammer doubles as a crowbar, so it pries doors open without you carrying a separate breaching tool. That is one belt slot back for something else.
Tools you can find in the field for free
You do not have to buy everything. Every Armored Personnel Carrier spawns with a wrench and a fuel canister sitting in its vehicle inventory. If your squad is running an APC, that is Vehicle and Logistics coverage at no cost, and you can spend the saved money on a defibrillator battery or better armour instead.
Fuel cans hold a limited amount and can be topped up again at a refuel point, so one can serves a whole match if you plan routes around the refuel locations.
Unlocks gated behind class level and Wardog level
Some of the best multiclass tools are themselves gated, and most carry a one-time unlock fee on top of the vendor price.
| Unlock | Requirement | Fee |
|---|---|---|
| Light Drill | Support 1 | $10,000 |
 Remote Detonator Remote Detonator | Support 2 | $15,000 |
| Large Hammer | Support 8 | $75,000 |
| Defibrillator | Medic 11 | $50,000 |
| Monocular | Recon 2 | $7,500 |
| Infrared Range Finder | Recon 32 | $50,000 |
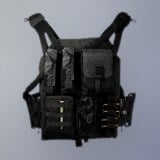 Level 2 Armor Level 2 Armor | Wardog 30 | $50,000 |
Level 2 Armor is the clearest reason to care about the combined number. It costs $1,000 at the vendor once unlocked, carries 220 durability, protects the upper, middle and lower torso, and is exactly the kind of purchase that keeps a cheap kit profitable. Further up the ladder, the Artillery Truck needs Wardog Level 90, which is not realistic on a single tree.
Confirming the XP is landing in multiple trees
Each specialty item states the tree it feeds on its item card before you ever use it, so read the “Rewards” line when you buy. In the match, the reward notification names the tree as it pays out — Medic XP for a revive, Building XP for a placed structure, Vehicle XP for a repair, Recon XP for a spot.
After the match, check the individual class levels rather than the headline number. If three or four of them moved instead of one, the loadout is doing its job, and the Wardog Level on your profile will climb by the same total.
One last piece of practical advice on the money side: the medic kit is the strongest earner in the game, and the PP-19 Vityaz at $1,200 pairs cleanly with it. Keeping a defibrillator on the belt while you do everything else means you are banking cash and XP from the same actions.





