The Level 100 Liminal Ascension Hero’s Realm sends a full raid against two bosses in order: Bai Chuyu, the Veiled Lady, and then Halcyon. Both fights are built around talent conditions, and hitting every one of them is what unlocks the complete reward payout. Each boss has two talent tiers, and both revolve around avoiding specific attacks and executing a shared mechanic cleanly.
Quick answer: Assign two portal runners for Bai Chuyu, then use Chirpy (the G key) for Halcyon’s polarity puzzles. Full rewards require clearing both talent tiers on each boss, not just defeating them.
Entry requirements for Liminal Ascension
This is a two-boss gauntlet gated at gear level 100. Before queuing, confirm your group meets the stat threshold, because the talent checks assume everyone can survive the raid-wide pressure in both encounters.
- Level 100 gear requirement.
- Recommended Martial Mastery of 34,000 (the sample clear ran at 36,803).
- Two players designated as portal runners for the Bai Chuyu phase.
- Everyone comfortable with the Chirpy
G-key controls for Halcyon.
Veiled Lady (Bai Chuyu): portals, vines, and illusions
The first encounter is driven by a rage gauge next to the boss’s health bar. When one bar fills, red portals open at ground markers 1 and 3. When two bars fill, blue portals open at markers 2 and 4. Your two runners handle every portal entry while the rest of the raid manages damage and clears vines.
Avoiding Heaven Cleaver and Blazing Cleave (Talent 1-1)
Bai Chuyu opens with readable area attacks. Heaven Cleaver is a red line that travels across the floor, and Blazing Cleave is a yellow circle. Dodging both every time clears Talent 1-1. She also uses two dual-weapon attacks: Colossal Blade fires four cones, while Hheng Blade places a large circle that is followed by arena-wide damage, so leave that circle early.
Trap Generation and the Blossoms buff
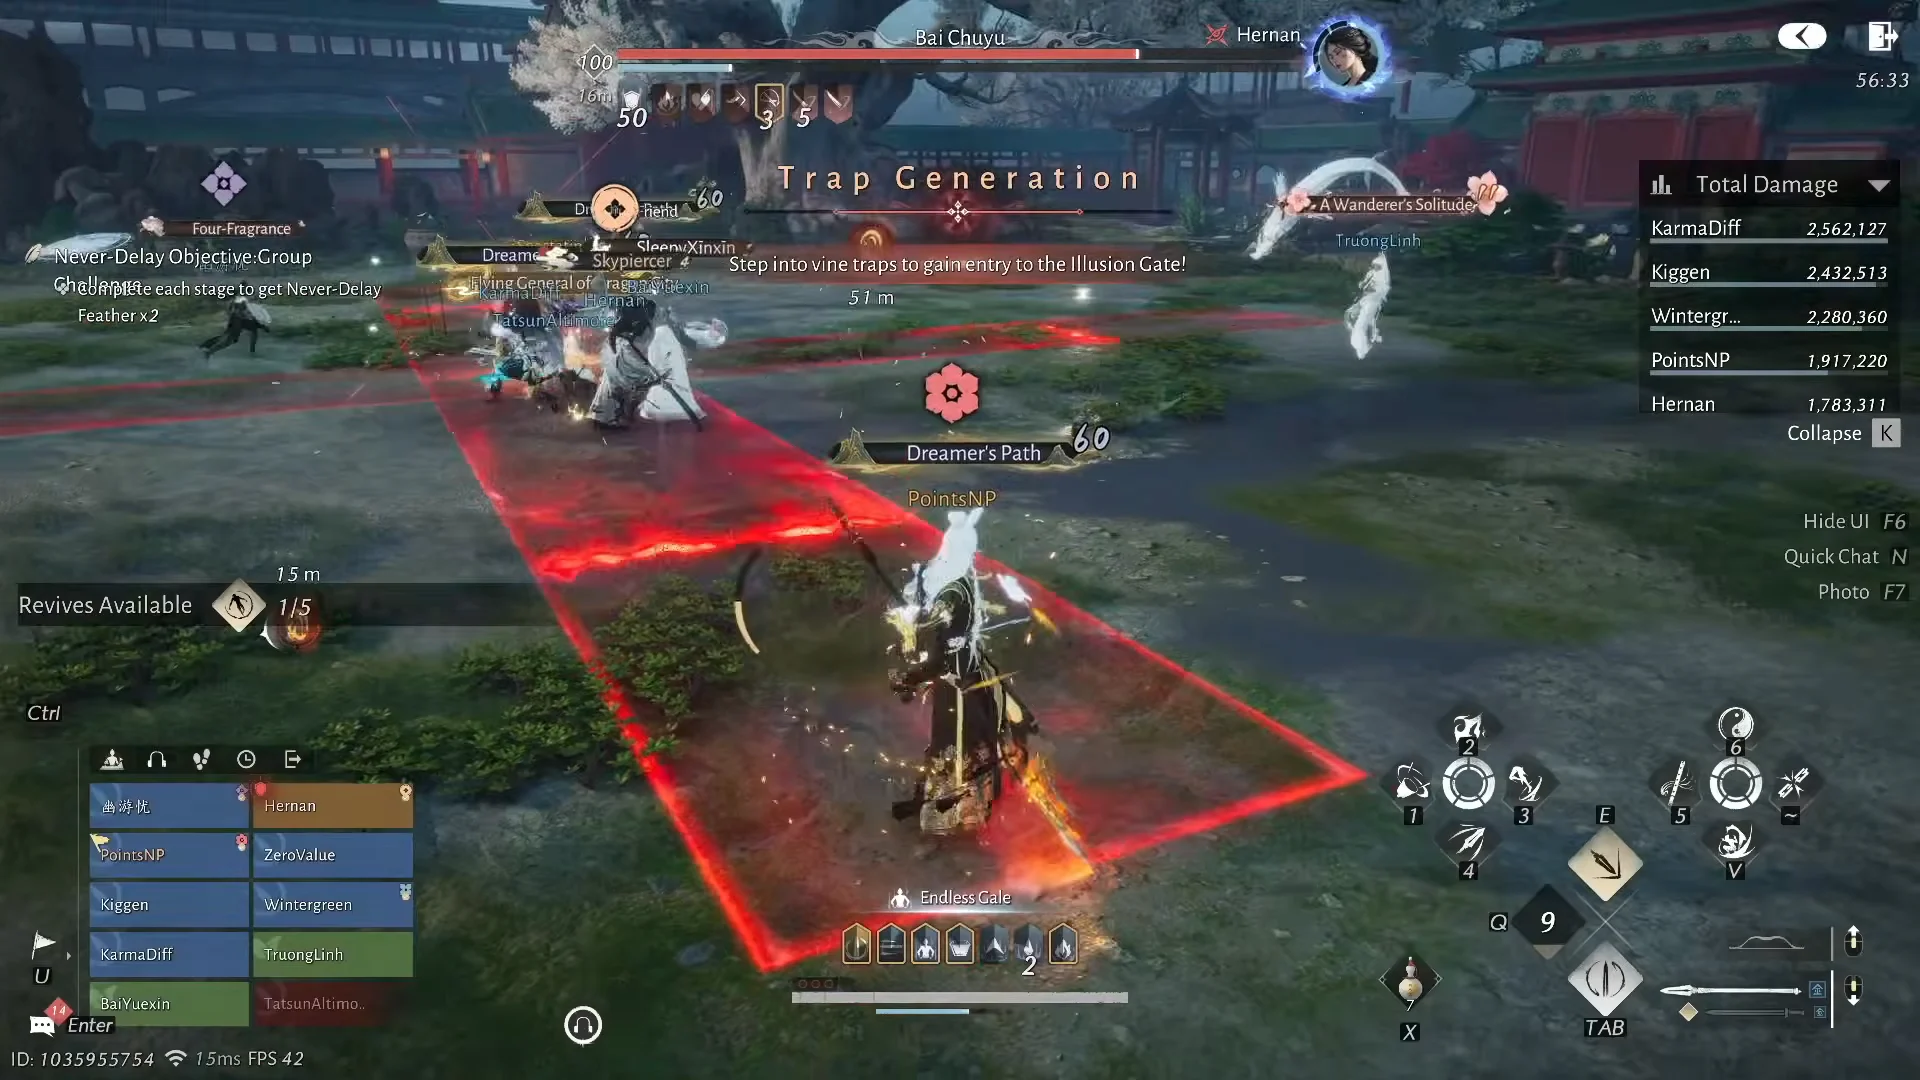
When Trap Generation casts, a red cross appears on the floor. Your two runners each stand on a separate tip of the cross and get wrapped in vines. Teammates then destroy those vines to free them, which grants the Blossoms buff. Only with Blossoms active can the runners enter the red portal.
Red portal: win the illusion and take the extra skill
G key and completes Talent 1-2.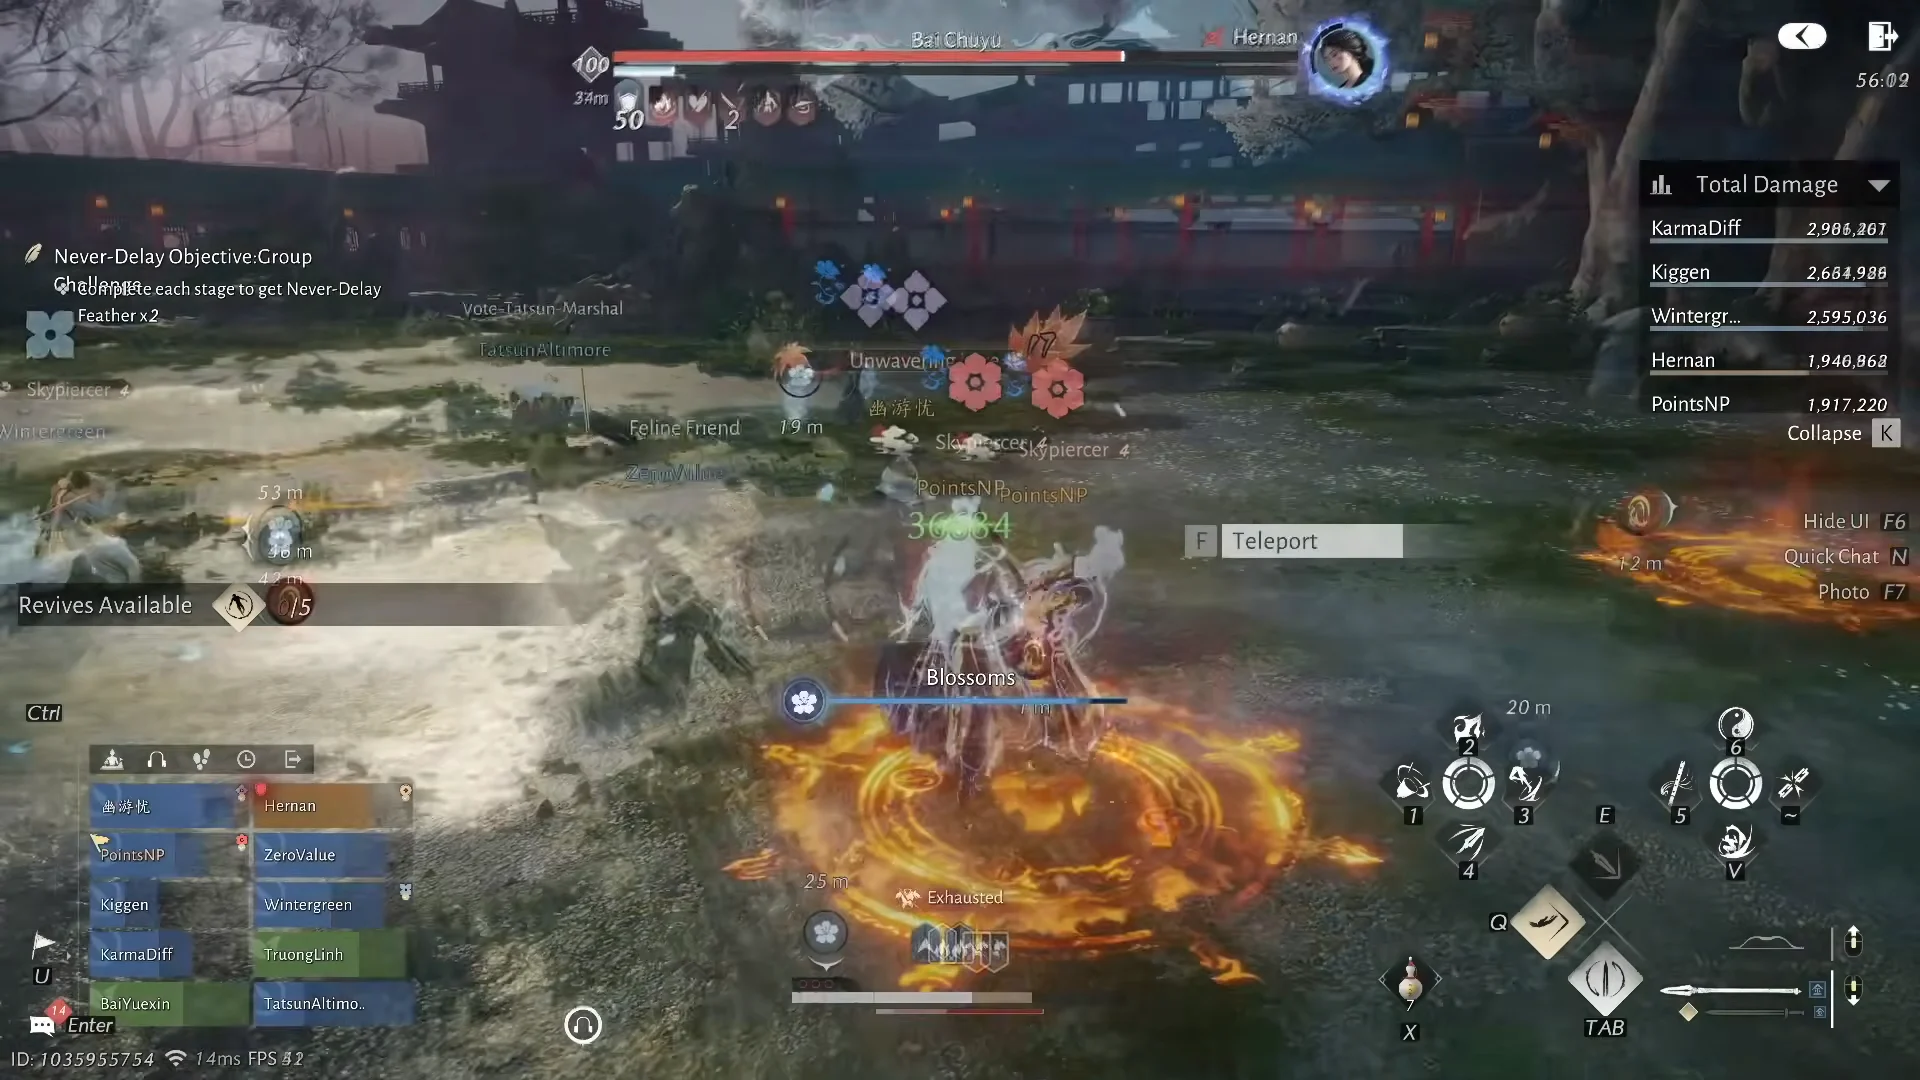
When Colossal Blade lands while the arena is covered in vines, runners press G to burn the surrounding vines and open a safe pocket.
Twin Vines and the blue portal
Twin Vines places yellow stack markers that must be shared rather than soaked alone. For the blue portal, runners first stand in Spawning Fire patches to pick up the Ablaze buff, which needs sustained healing to hold. They then enter the blue portal together and stay close during Vine Binding.
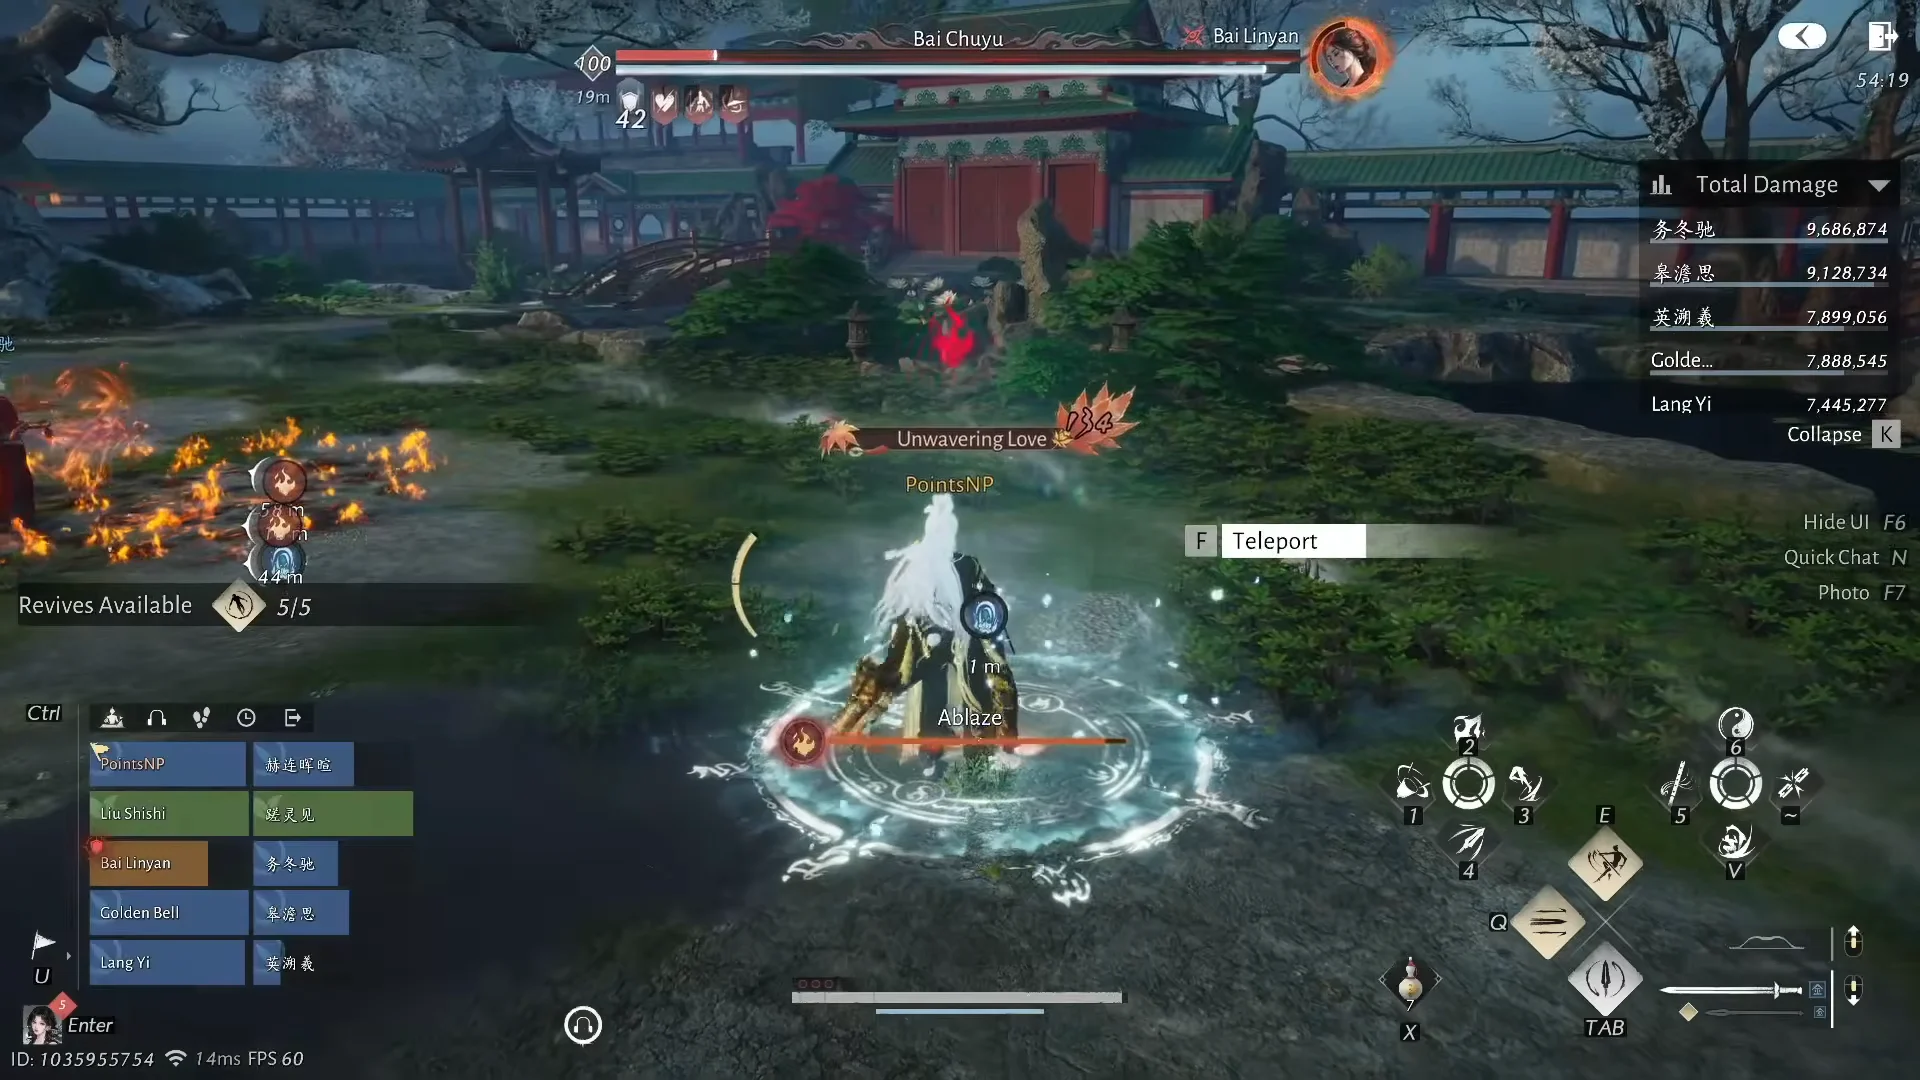
Winning the blue portal illusion hands over an Ice Staff skill that raises defensive barriers to block incoming fireballs. Keeping both buffs intact across every illusion fight, with no one taking Vine Bind or Blazing Circle damage, is what clears the demanding Talent 1-3.
Veiled Lady talent conditions
| Talent | Condition |
|---|---|
| 1-1 | Take no damage from Heaven Cleaver or Blazing Cleave |
| 1-2 | Win the illusion battle and acquire the extra skill |
| 1-3 | Win all illusion battles with no Vine Bind / Blazing Circle hits and no lost Blossoms or Ablaze buffs |
| 2-1 | Guide Heaven Cleaver or Blazing Cleave into the Illusion Gate once |
| 2-2 | Share Twin Vines damage or block Blazing Flame fireballs twice |
| 2-3 | No solo Twin Vines hits and no unblocked fireball in Blazing Flames |
Halcyon: Chirpy polarity and arithmetic puzzles
Halcyon runs on a single tool called Chirpy, mapped to the G key. Holding G switches your polarity, which lifts you upward when grounded and drops you down when airborne. Tapping G opens an aiming reticle so you can fire a Chirpy charge. Every mechanic here is some combination of levitating, grounding, and shooting.
Magnetic attacks
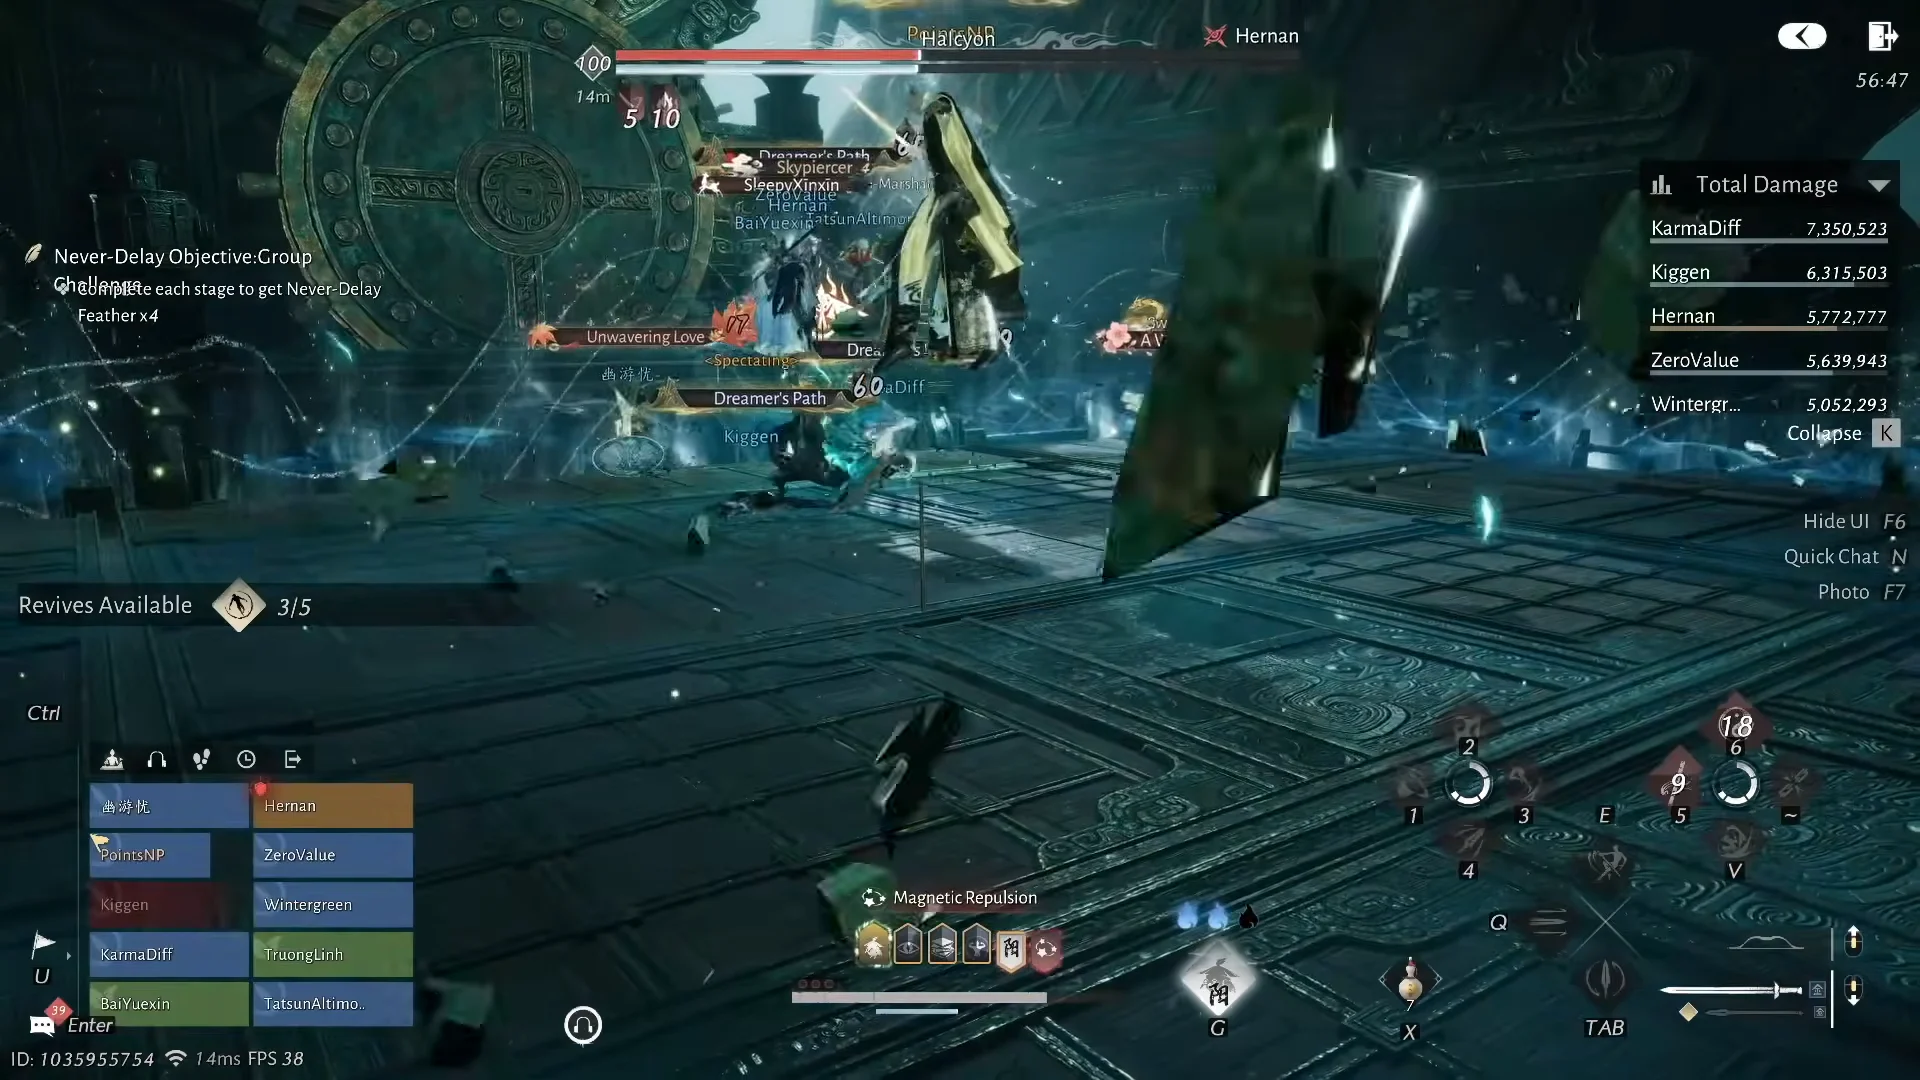
Magnetic Pole Spread lifts the raid into the air, and you must immediately use Chirpy to drop back to the ground before the blast triggers.
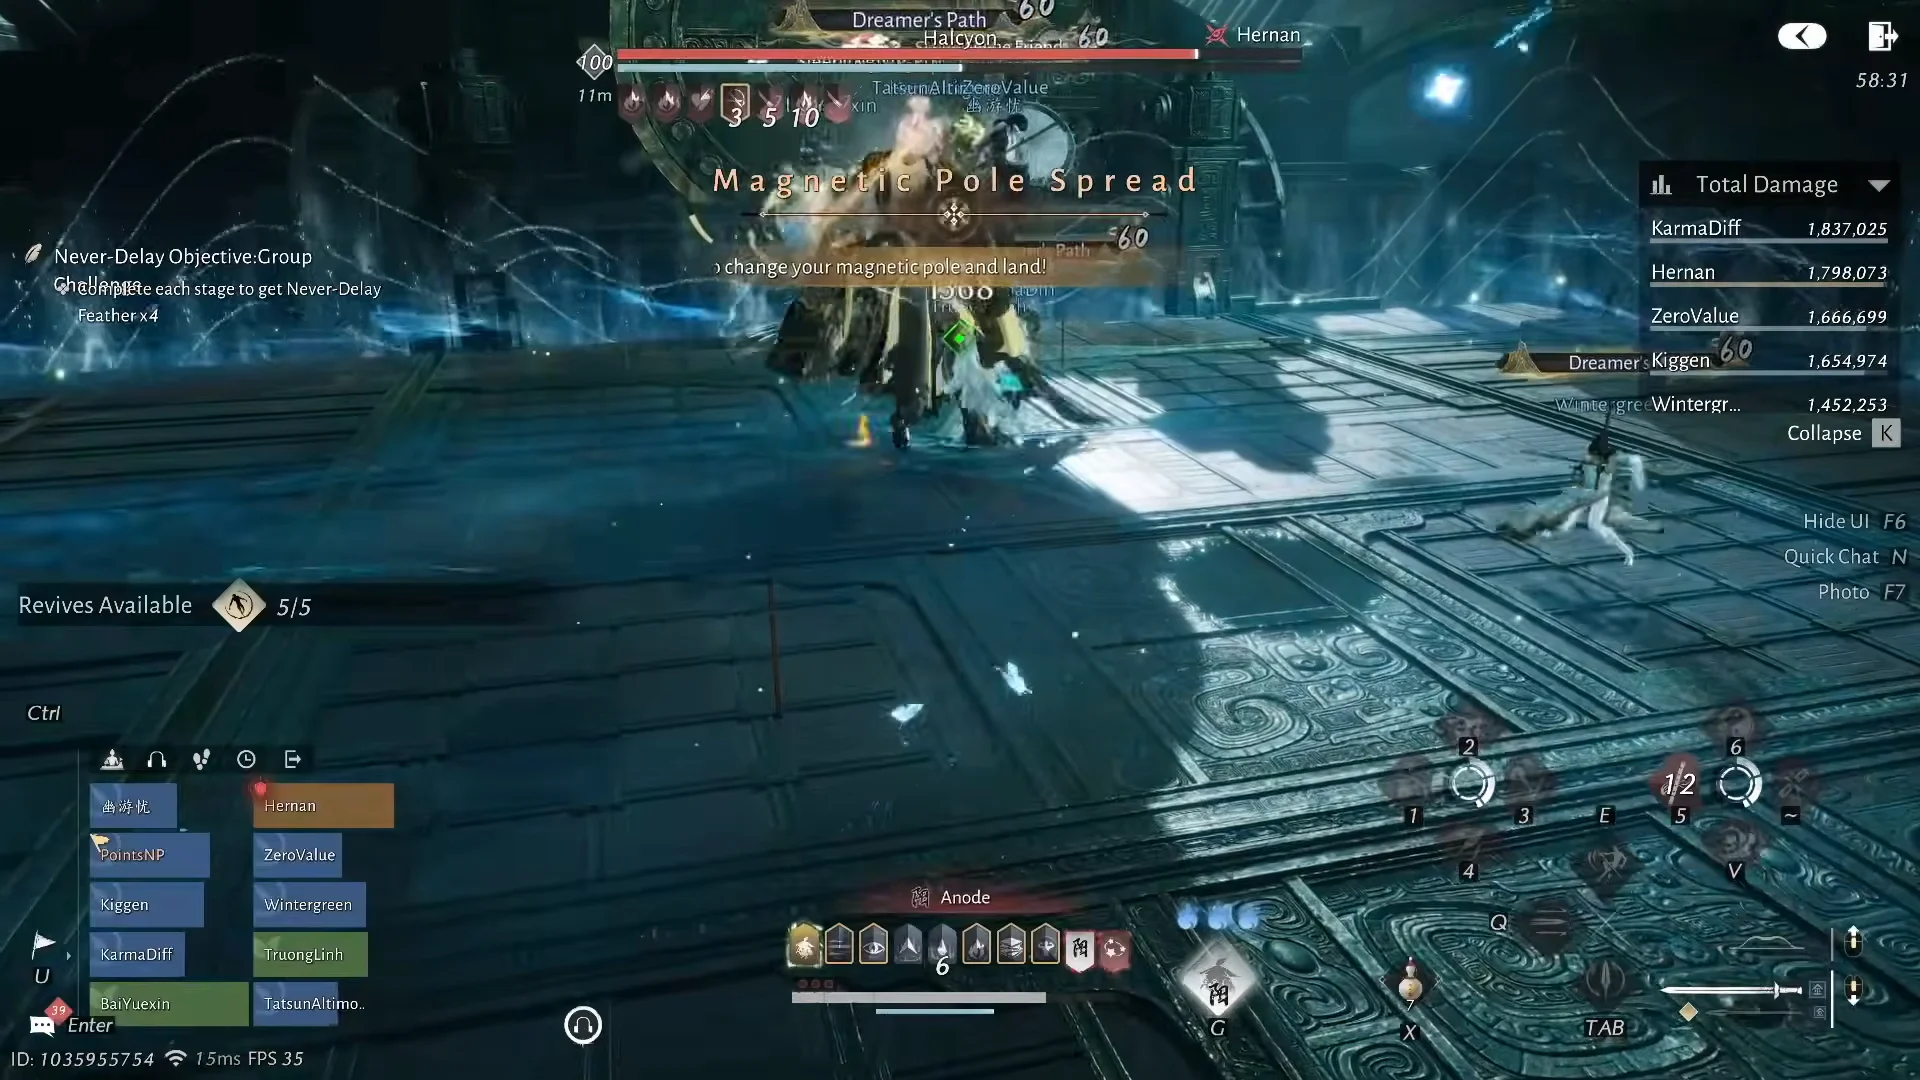
Magnetic Outburst is the opposite. When it casts, the whole raid holds G to float above the ground and stays airborne until the cast bar finishes, dodging the lethal ground damage. Clean handling of these timing checks clears Talent 1-1.
Azure Sword Shadow rescue
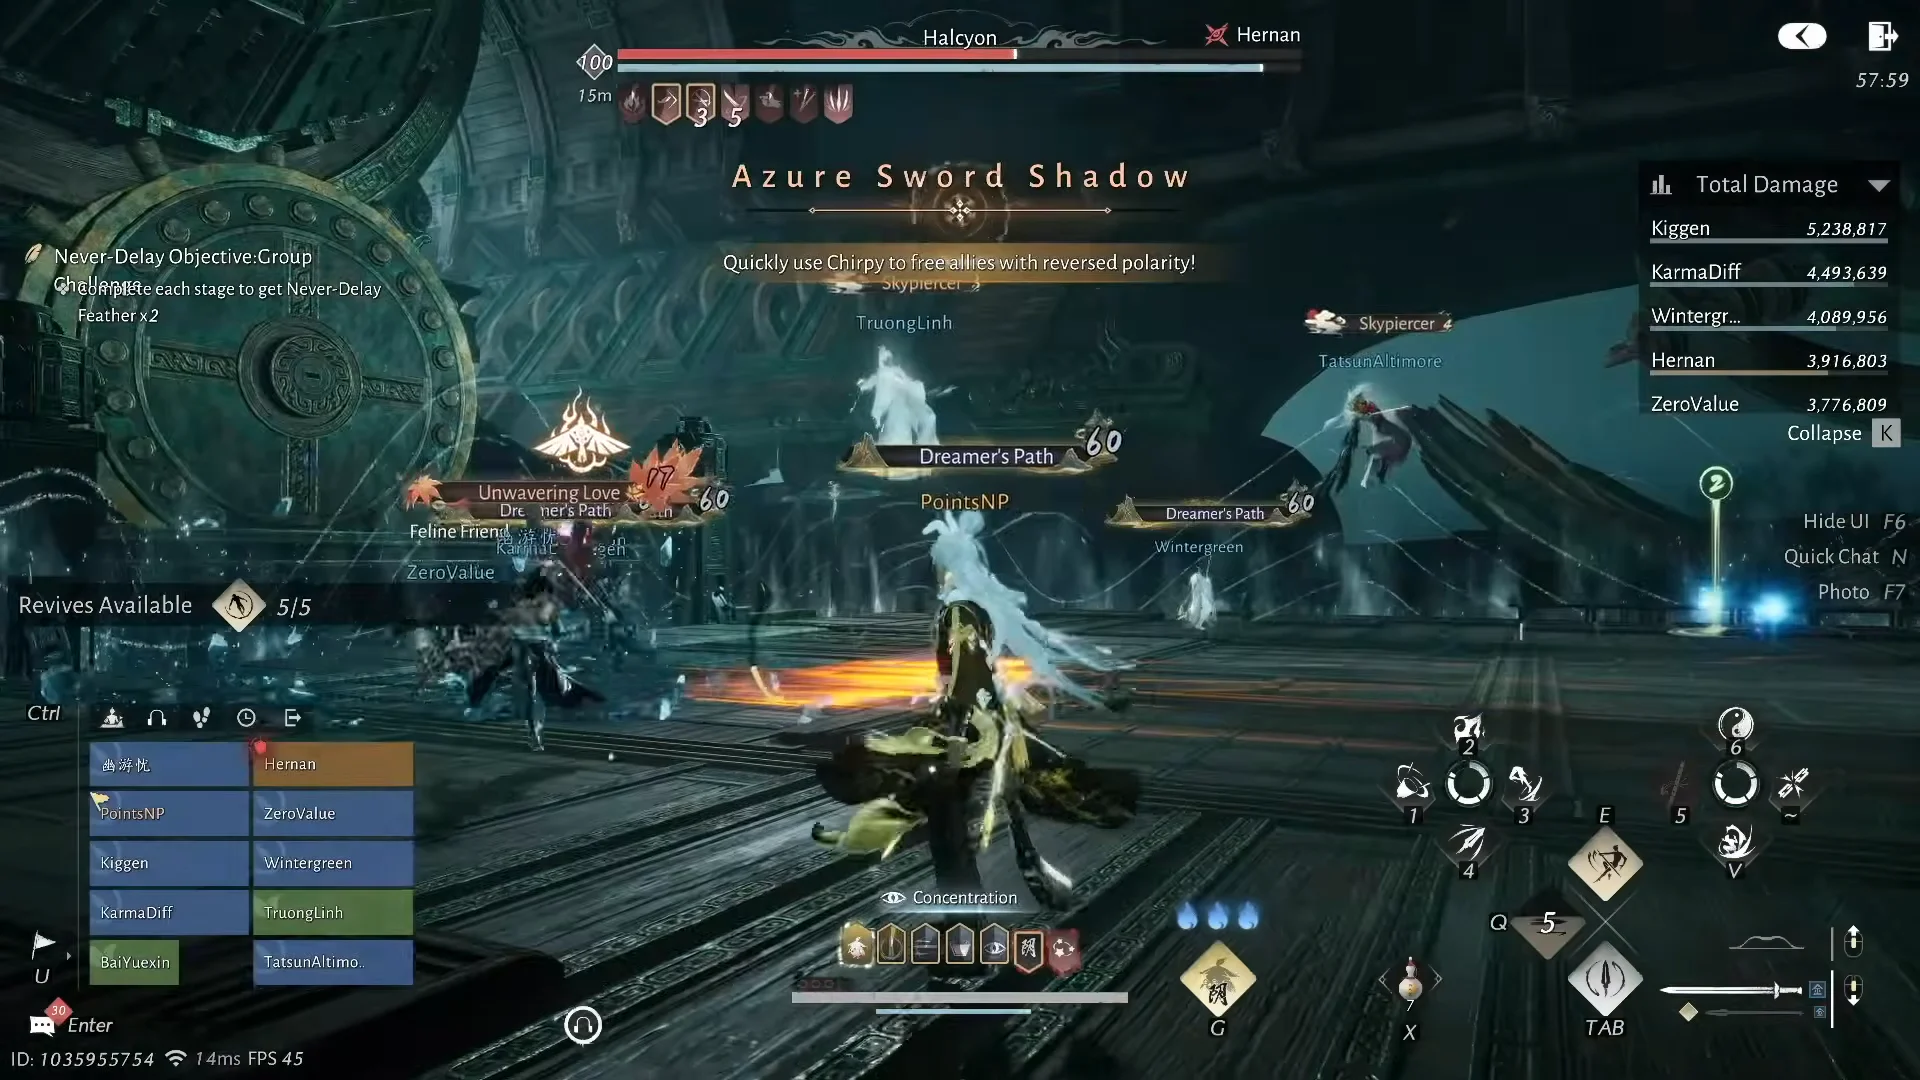
Azure Sword Shadow lifts three players into the air and marks them for line attacks. Before lethal damage lands, teammates press G and launch Chirpy charges at the airborne players to release them.
Basic Algorithm and Advanced Arithmetic
Both puzzles work the same way. Calculation pillars appear on the left and right side of the arena, and interacting with one raises its number. Balance the total on each side so they match, then step away before the pillars slam together. Dodging the charging Calculation Units clears Talent 2-2, and collecting five Chirpy Energy from Basic Algorithm mechanisms clears Talent 2-1.
Advanced Arithmetic uses five pillars instead. To earn Talent 2-3, balance both sides to a sum of exactly 9.
Sky-Shattering Halcyon and Iron Bulls
Sky-Shattering Halcyon sends the boss airborne behind a golden health shield. The raid fires at least six Chirpy charges at the boss to break the shield and pull it back to the ground.
During Iron Bull’s Expel Mode, a pair of bulls appears with the same polarity. A player hits either one with a Chirpy charge to switch it to the opposite polarity. Players with markers line up their yellow indicators to send the bulls charging into each other head-on, which removes both shields. Defeat the bulls within 15 seconds to clear Talent 1-2. Spend at most 5 seconds in Magnetic Repulsion to clear Talent 1-3.
Halcyon talent conditions
| Talent | Condition |
|---|---|
| 1-1 | Take no damage from Magnetic Storm or Vertical Swordcut |
| 1-2 | Iron Bulls do not survive more than 15 seconds |
| 1-3 | Finish without being in Magnetic Repulsion for more than 5 seconds |
| 2-1 | Obtain 5 Chirpy Energy from Basic Algorithm mechanisms |
| 2-2 | Take no damage from the charging Calculation Units |
| 2-3 | Balance both sides to a sum of 9 during Advanced Arithmetic |
Confirming a full clear
Halcyon’s defeat ends the run, and the raid drops onto the end summary screen showing the clear status. The summary lists each talent tier so you can confirm which conditions registered during the fight. If every talent on both bosses shows as satisfied there, the full reward payout is yours. Any talent that failed to trigger will be marked on that same screen, telling you exactly which mechanic to retry on the next attempt.