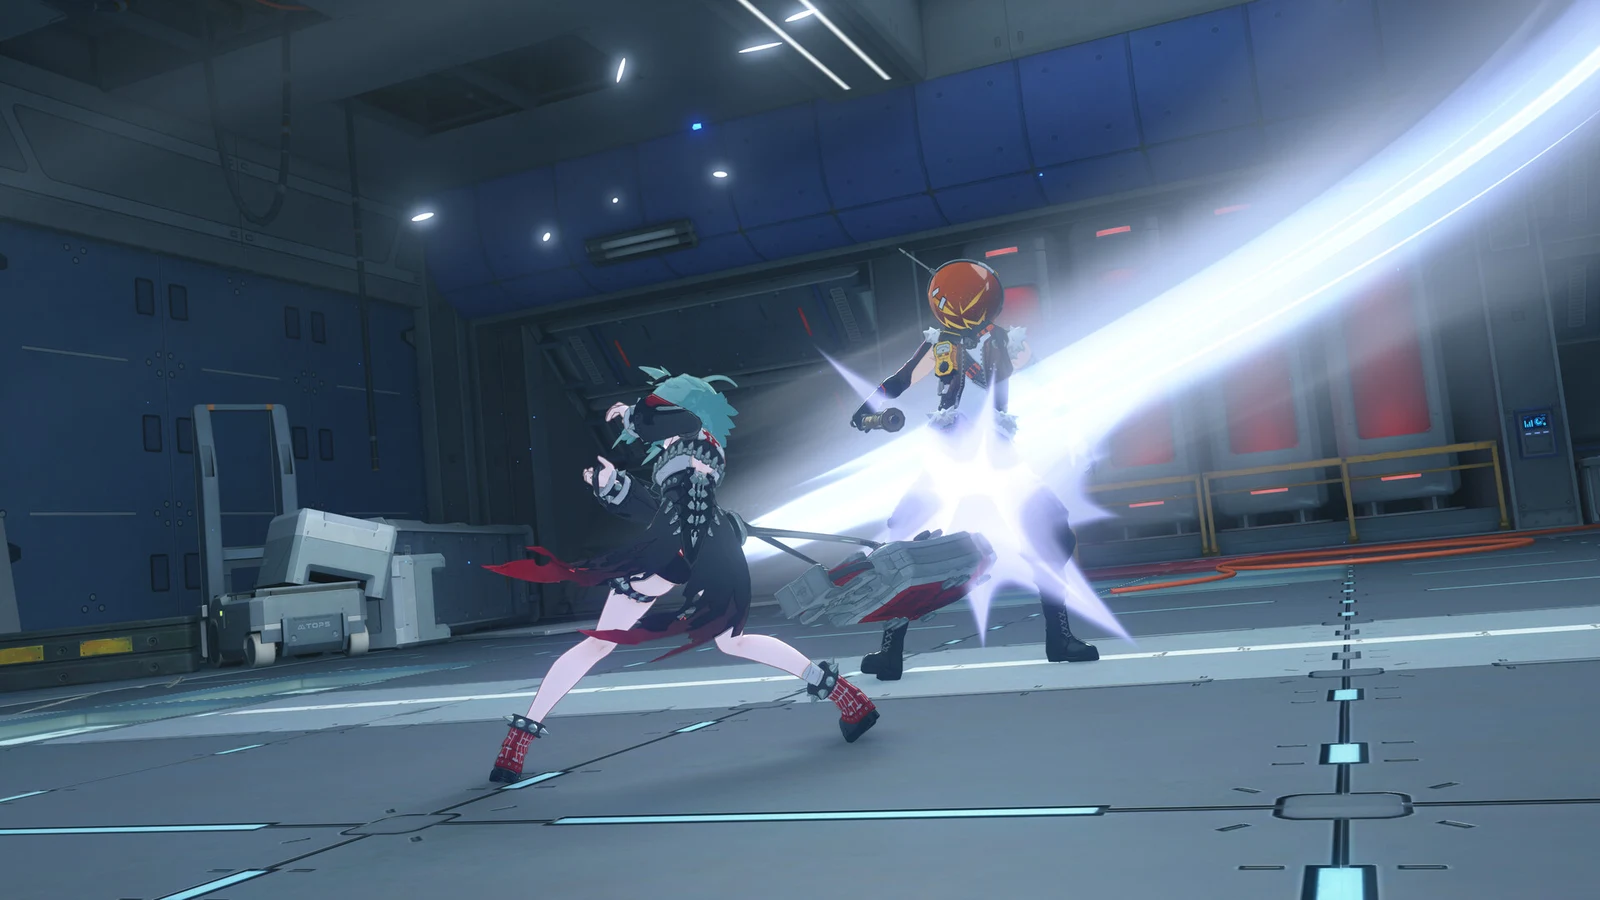
Nothing currently available in Zenless Zone Zero is tougher than Adversity Mode. This Deadly Assault option pits you against one exceptionally durable boss rather than three. It awards no Polychrome; the prizes are a title, a namecard, a dynamic avatar, a limited-time weapon, and a leaderboard slot. The active cycle reset on Friday, September 25, restarting the stage list, buff cards, and everyone’s top total score together for a two-week run.
Quick answer: First collect 9 stars in the current season’s Deadly Assault Trial Mode; the Adversity tab then becomes available. Resetting your lineup afterward won’t lock the mode again.
Current Deadly Assault rotation and the Adversity boss
Check the challenge details for each boss’s weaknesses and resistances before choosing your team. A session contains three Trial bosses followed by one Adversity boss. Agents and Bangboo used in one Trial stage are unavailable for the other Trial stages in that session, so the team you field first cannot be used again on that side. This cycle’s Adversity opponent is Integrated – Scorched Horizon, with an Electric weakness and strong resistance to Physical.
| Mode | Boss | Weakness | Resistance |
|---|---|---|---|
| Trial | Kusarikku | Fire, Electric | Ice |
| Trial | Miasmic Fiend – Unfathomable | — | — |
| Trial | Ye Shiyuan the Thrall | Physical, Ice, Wind | — |
| Adversity | Integrated – Scorched Horizon | Electric | Physical |
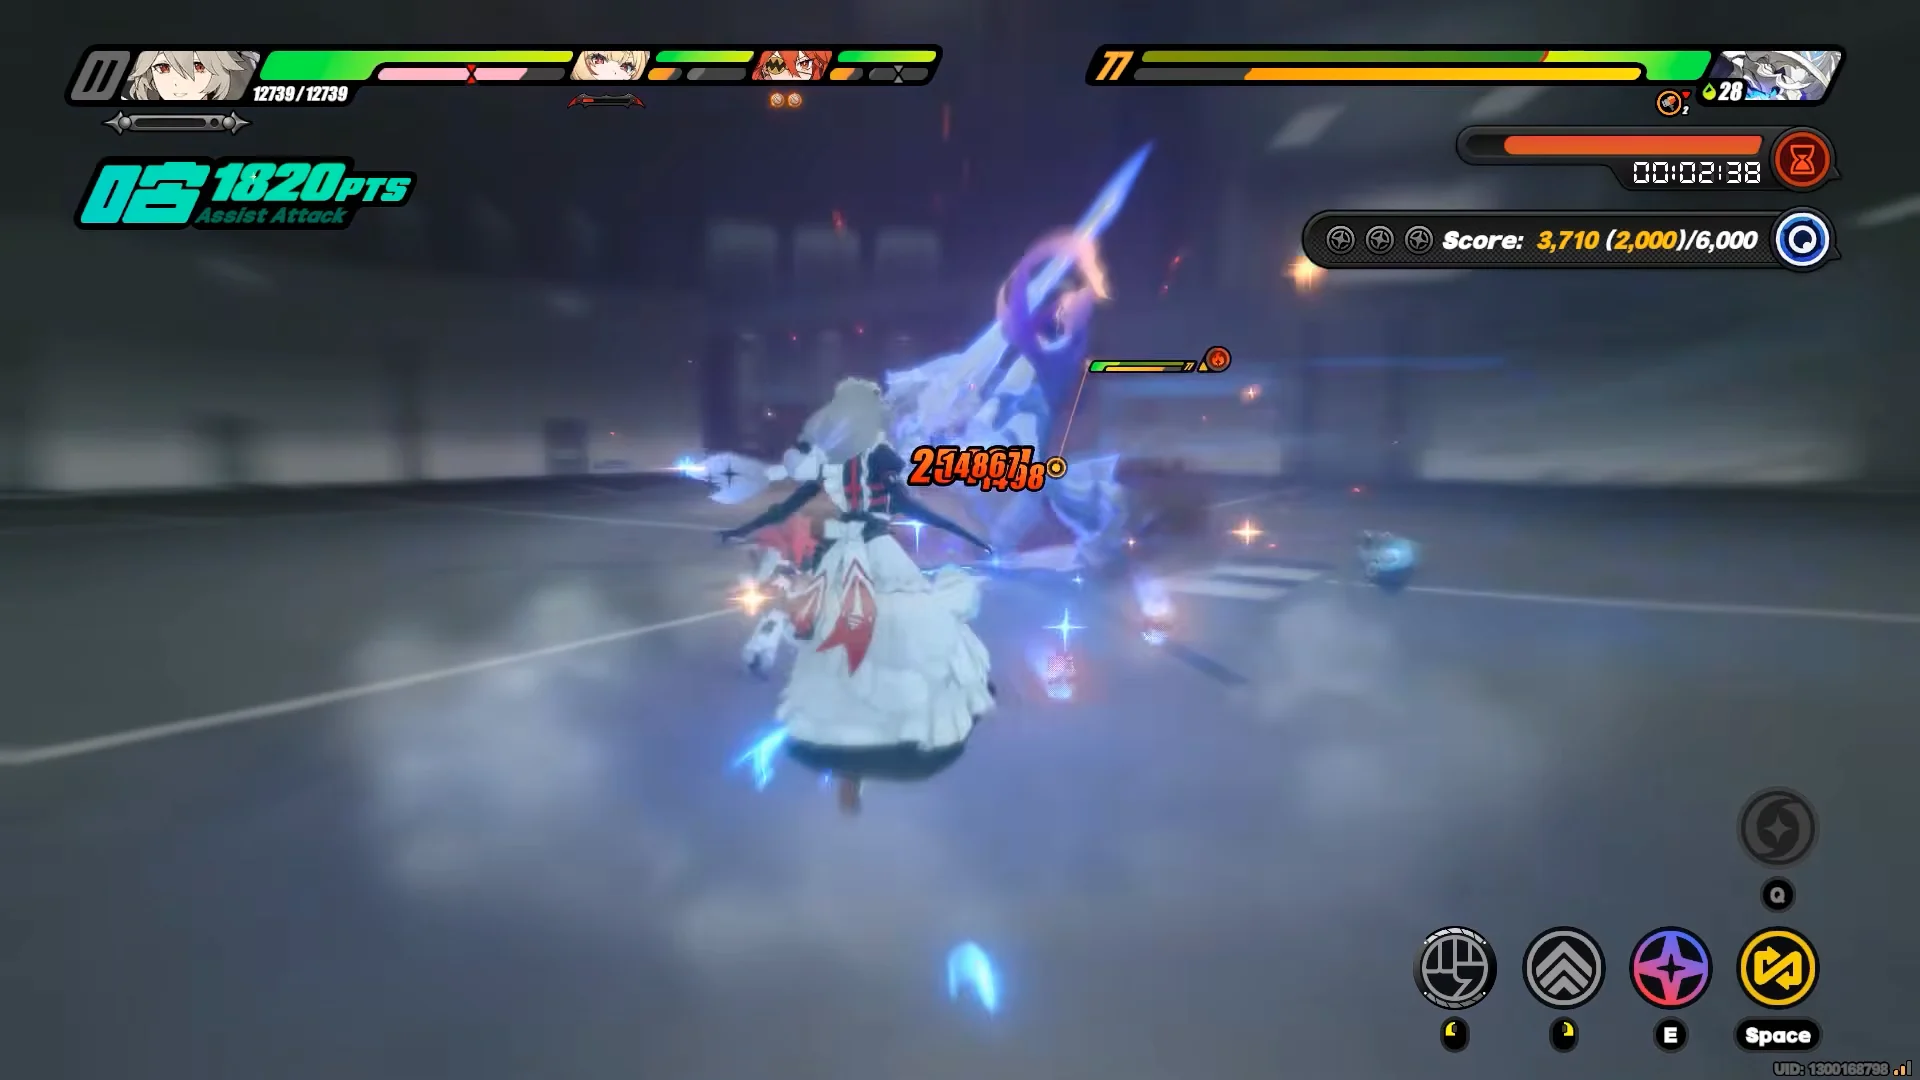
Before queuing for Miasmic Fiend – Unfathomable, note that its flying swords leave miasma pools: draw the red targeting circles into those pools to set them off, or the boss will keep replenishing its Miasmic Shield. Ye Shiyuan the Thrall switches phases with Sobek. Parrying Sobek restores energy; a parry against a fusion attack applies a weakened state.
Buff cards this cycle
Choose a new buff for every fight; selections do not carry over from one stage to the next. For an Adversity boss vulnerable to Electric, Ultimate Edge is the top pick, since it cuts Electric RES.
| Buff | Effect |
|---|---|
| Ultimate Edge | Sharp DMG +15% and DEF +200. After an EX Special, Special, or Ultimate, attacks ignore 20% of enemy Electric RES for 15s. |
| Cinders of Corrosion | With 2/3 Anomaly-specialty agents, squad Anomaly Proficiency +35/60 and Anomaly Buildup Rate +15%/30%. |
| Collapse | Ether and Physical DMG +25%, Stun-specialty Daze +20%. Stunning an enemy raises its Stun DMG Multiplier by 25%. |
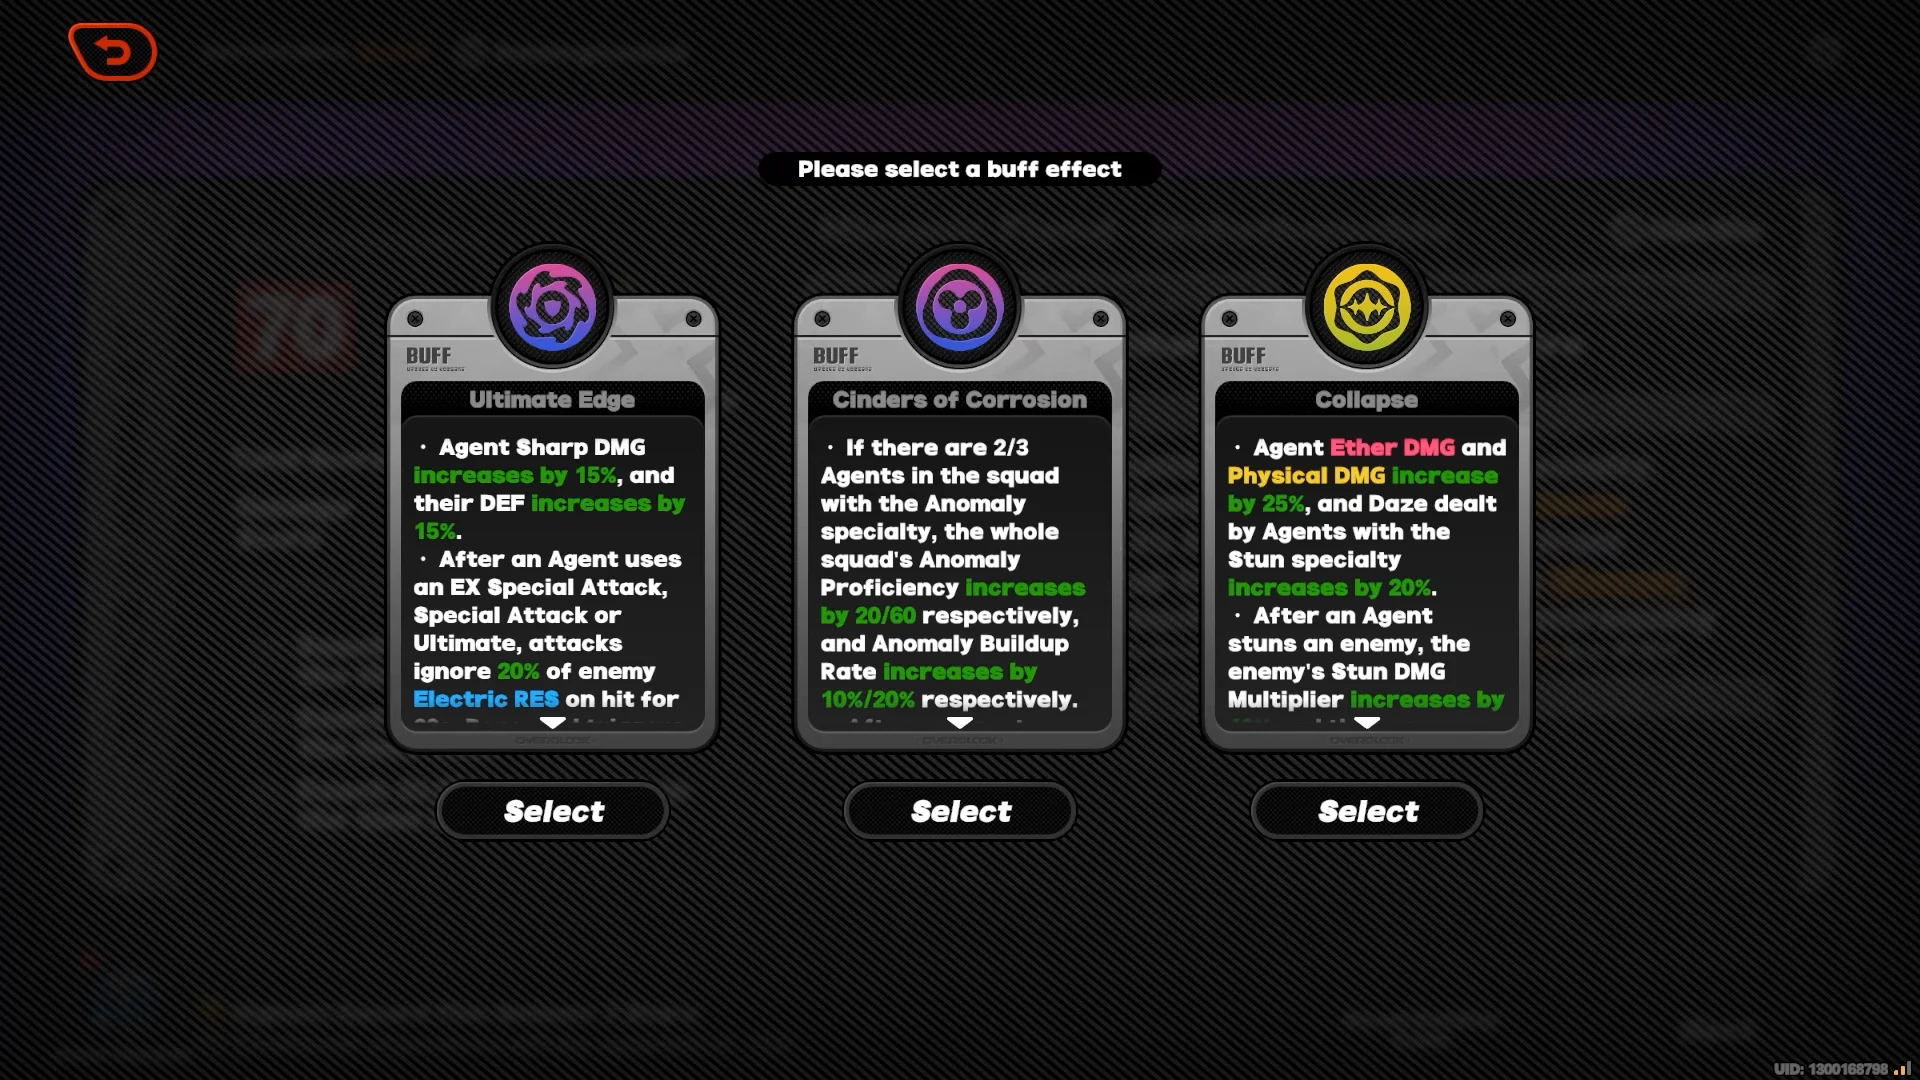
Match the buff to your squad’s specialty spread when possible. These cards boost damage and resistance shred, so that fit can matter more than changing an agent; they do more than provide flat stats.
How to unlock Adversity Mode
Deadly Assault becomes available at Inter-Knot Level 40 after you unlock Shiyu Defense and finish the Deadly Situation commission. Access to Adversity depends on your Trial progress: you need a set number of stars, not a particular clear.
Resetting your Trial lineup removes earlier battle scores, but your record for the most stars, claimed rewards, and Adversity access remain intact. Trying different squads won’t take the mode away.
How Adversity Mode scoring works
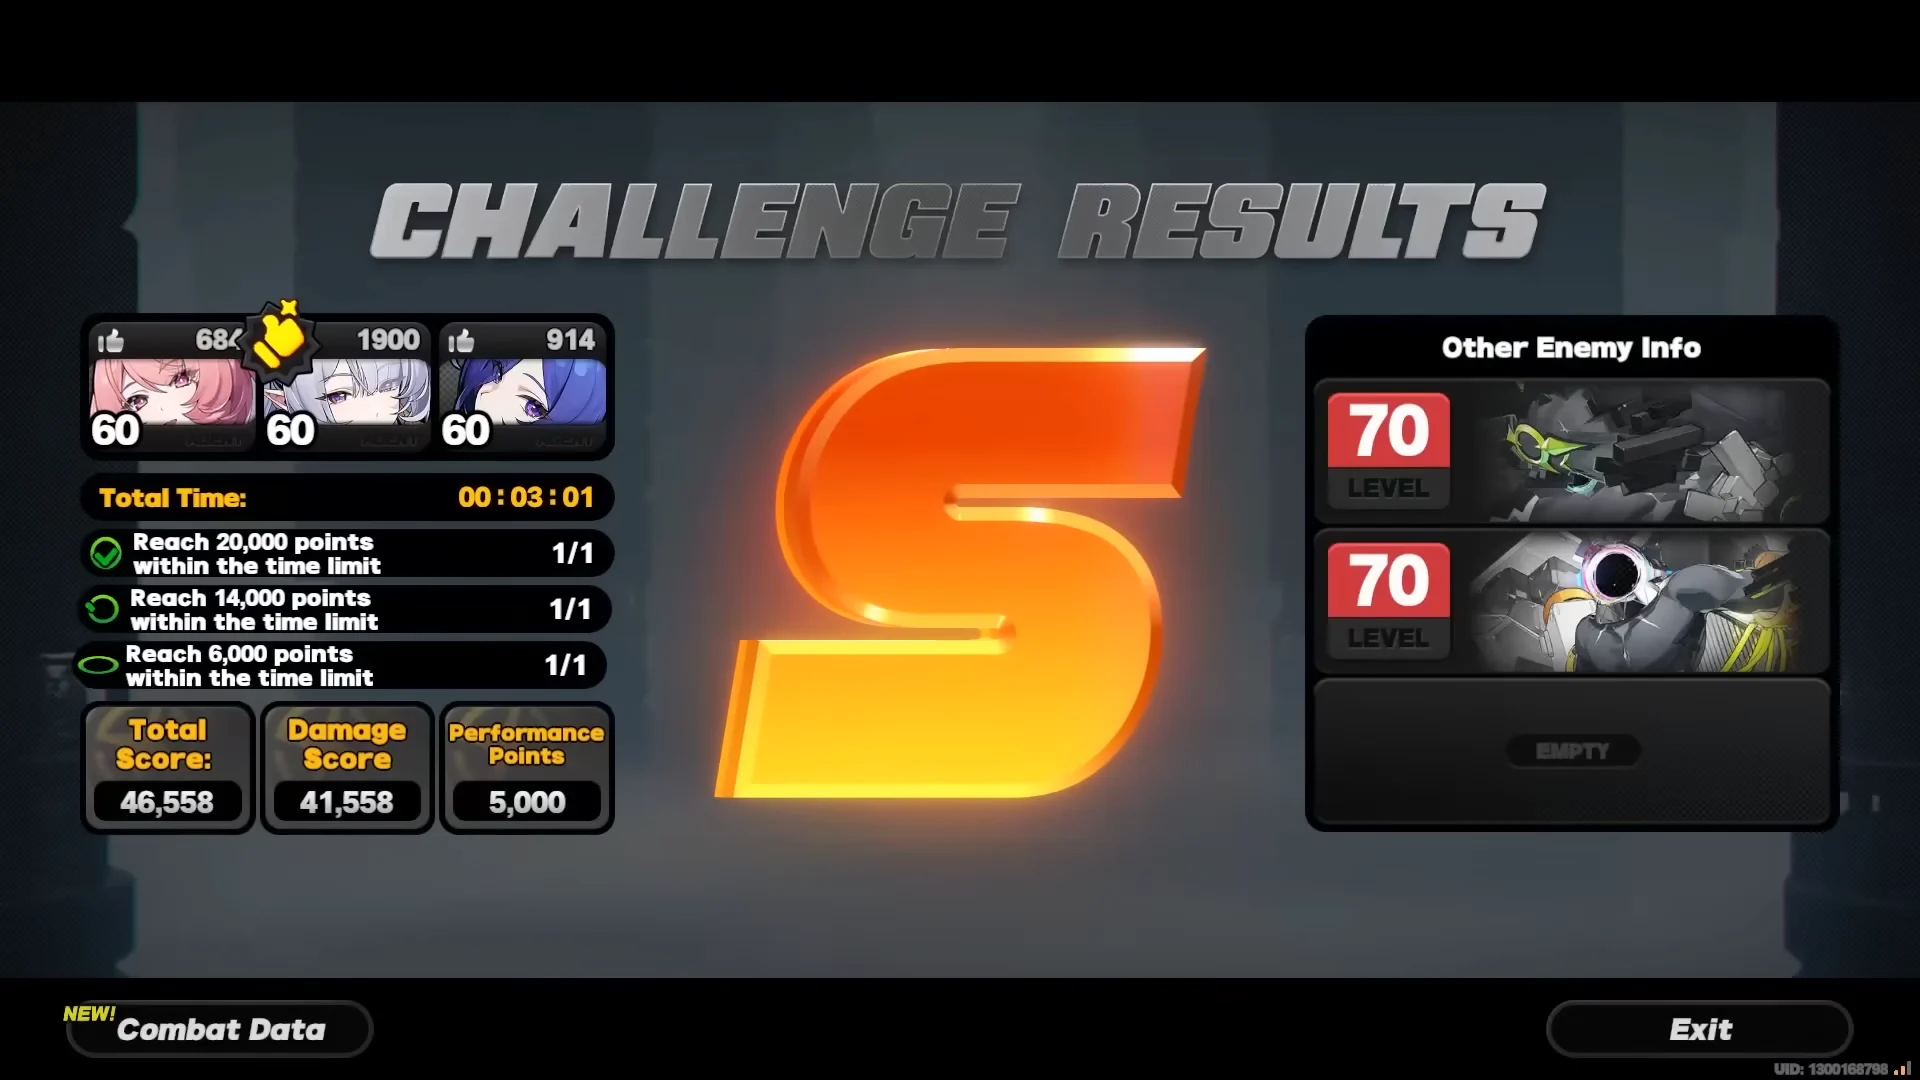
Your score combines Damage Score with Performance Points. Damage Score accounts for most of the total and reflects the damage you deal. Defensive actions during combat earn Performance Points, up to a 5,000-point limit; at the low end, players whose damage totals differ greatly can still end up only a few thousand points apart.
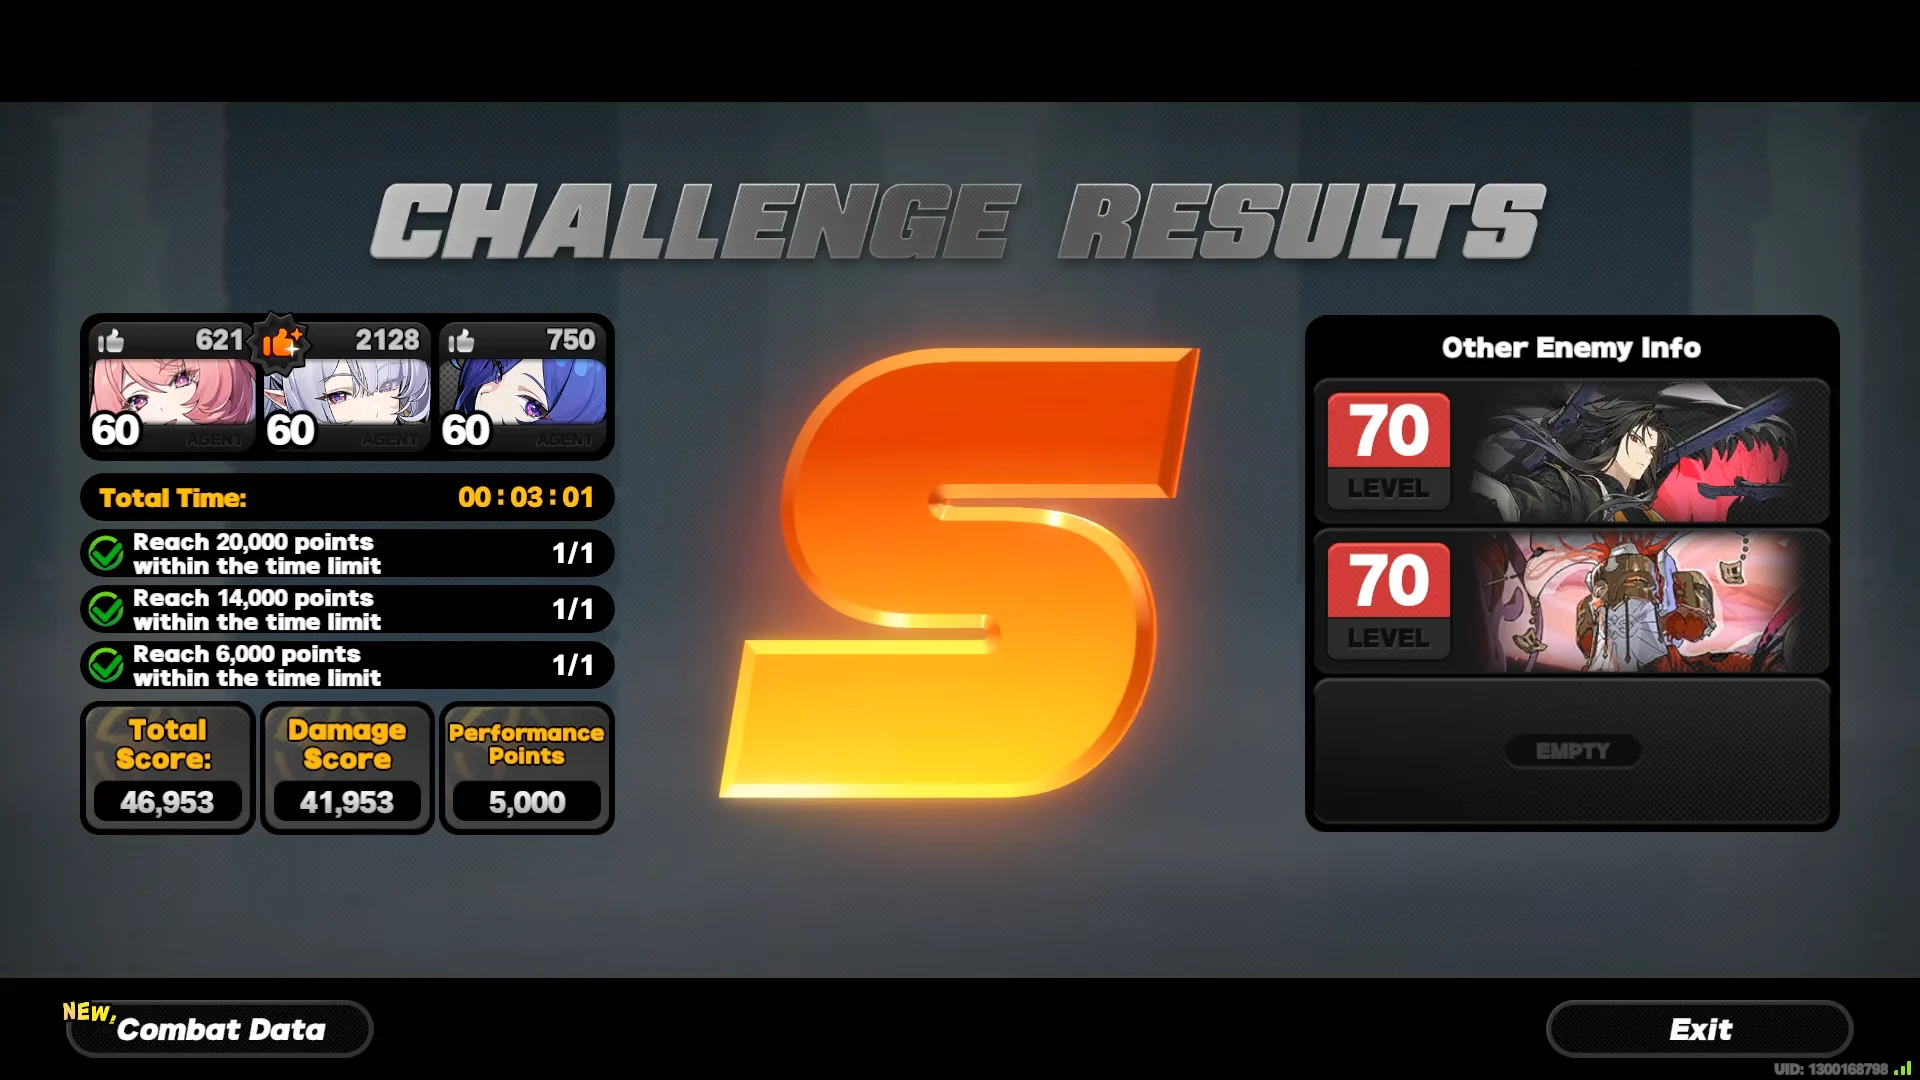
Performance Points accumulate throughout the fight, so when you act makes a difference. The defensive trigger may coincide with a boss skill you need to attack through; fail the parry and you miss both the points and the opening that follows. Each stage gives you three minutes, and the fight ends when time runs out even if the boss still has HP.
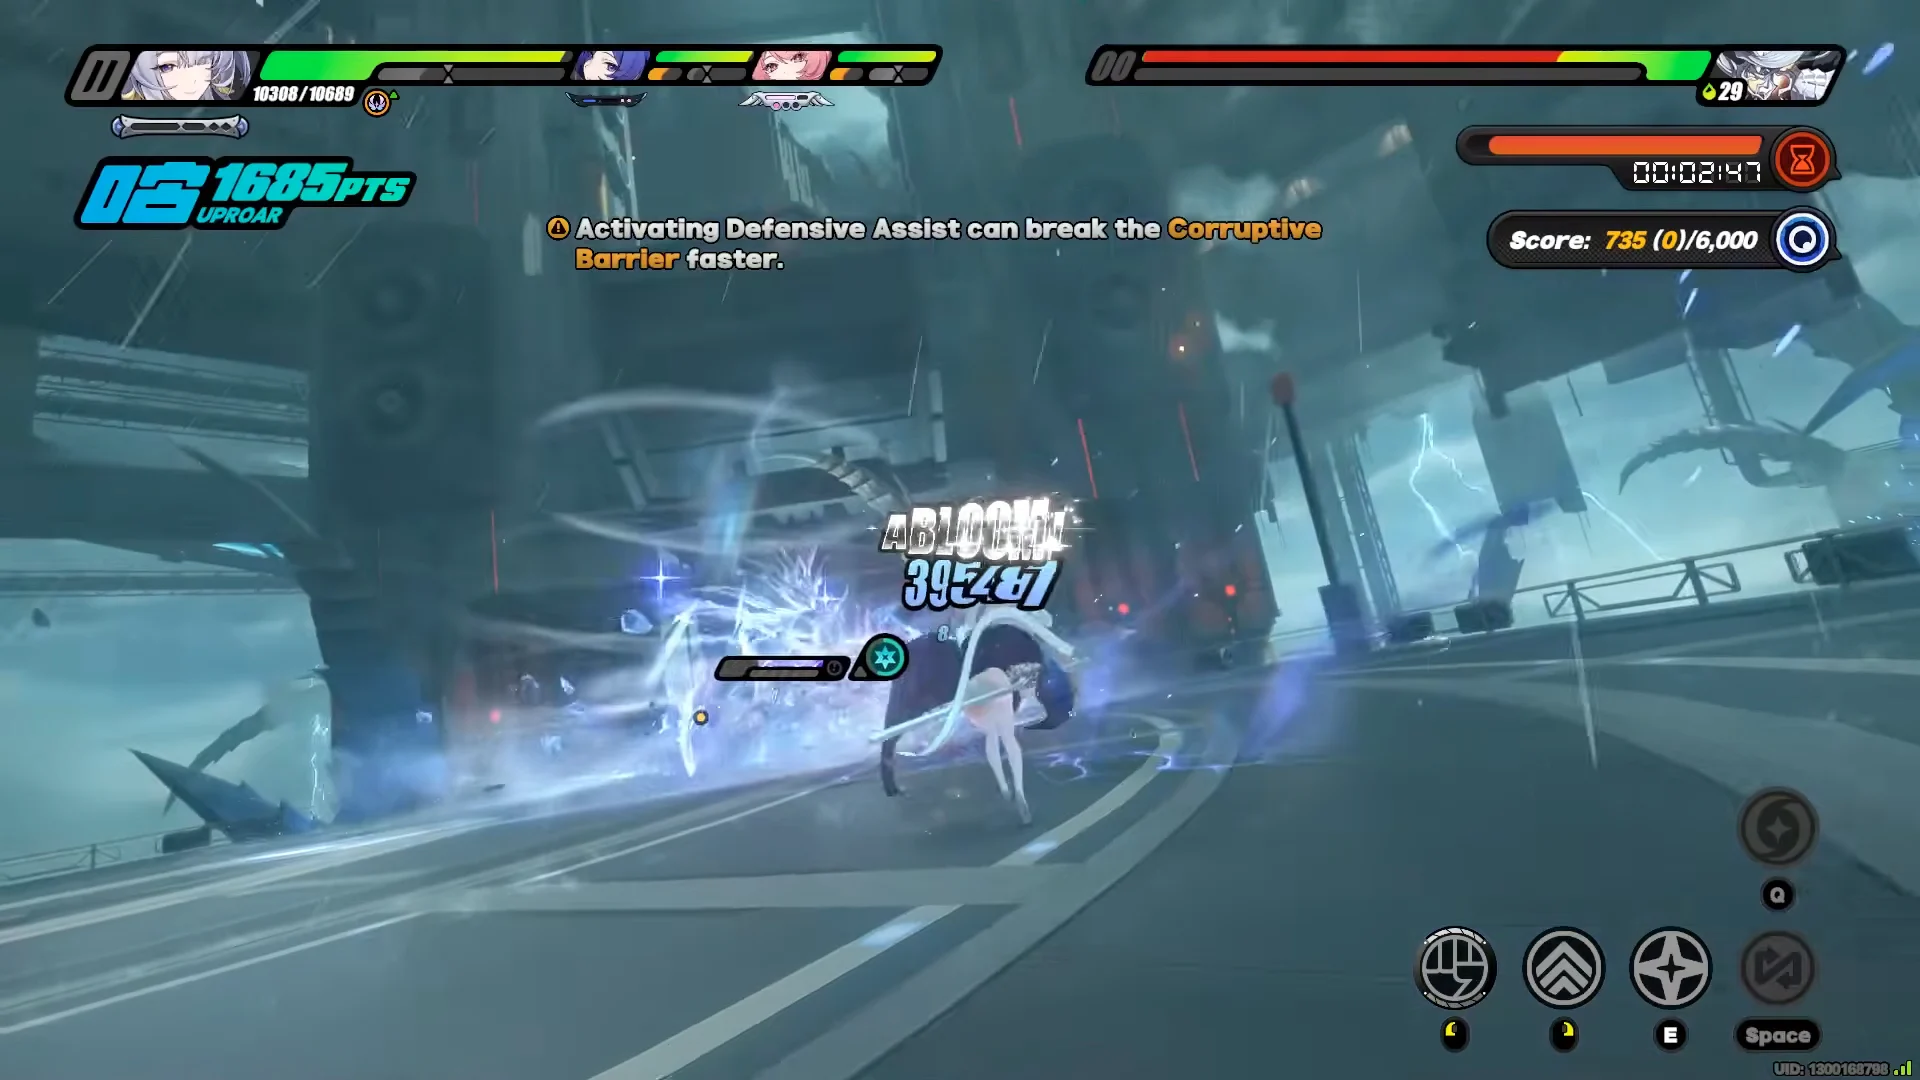
Two additional mechanics shape each run. The boss gains power as its HP falls, so the fight’s later portion becomes harder. Your season record stores your best score from one run; resetting the lineup or posting a weaker result later does not overwrite it. The season leaderboard becomes available at 3 stars as well. This stage lists point thresholds of 10,000 and 30,000, and 27,496 points awards 2 stars.
Beating Integrated – Scorched Horizon
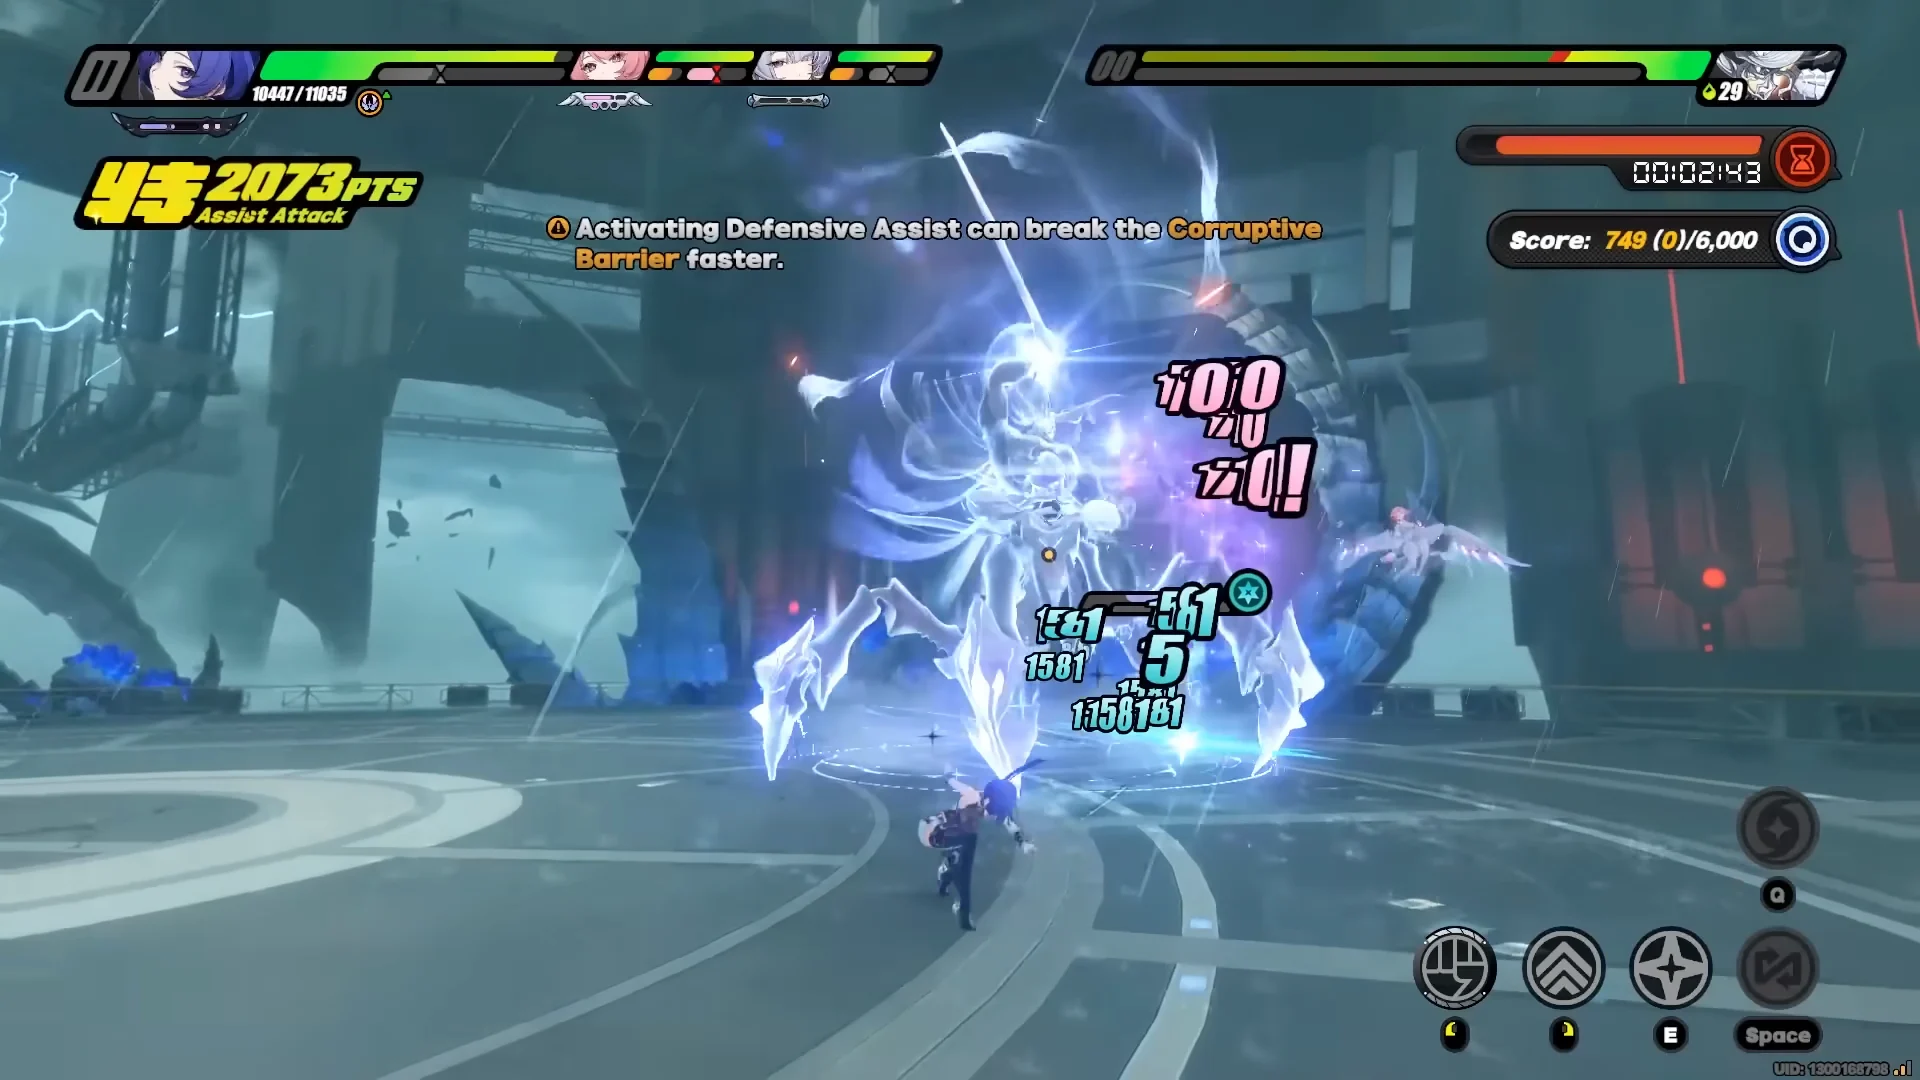
Against Scorched Horizon, defensive execution matters alongside damage. While it is in the Misty Veil state, countering its attack with a Defensive Assist and impairing it earns 1,500 Performance Points. A Shutdown against its Control Skill is worth 2,000. With a 5,000-point cap, two successful counters and a Shutdown make up most of the available defensive score.

Alongside Misty Veil, the boss raises a Corruptive Barrier, shown as a purple bar replacing its HP gauge. Perform a Chain Parry while the barrier is up to strip a chunk of it and inflict Impaired. Its Control Skill is telegraphed when the boss floats and charges a large limb — listen for the audio cue, dodge the first hit, and note the delay before the second. With an Armorer such as Claret on the team, the second hit still produces the golden Counter Assist flash, and a successful Counter Assist lets you skip the rest of the skill.
What a competitive score looks like
A strong Trial sweep on this rotation lands around 135,449 across the three bosses, running Ultimate Edge on each stage. On the current run, an S-rank breakdown reads 35,278 on Kusarikku, 51,868 on Miasmic Fiend – Unfathomable, and 48,303 on Ye Shiyuan the Thrall.
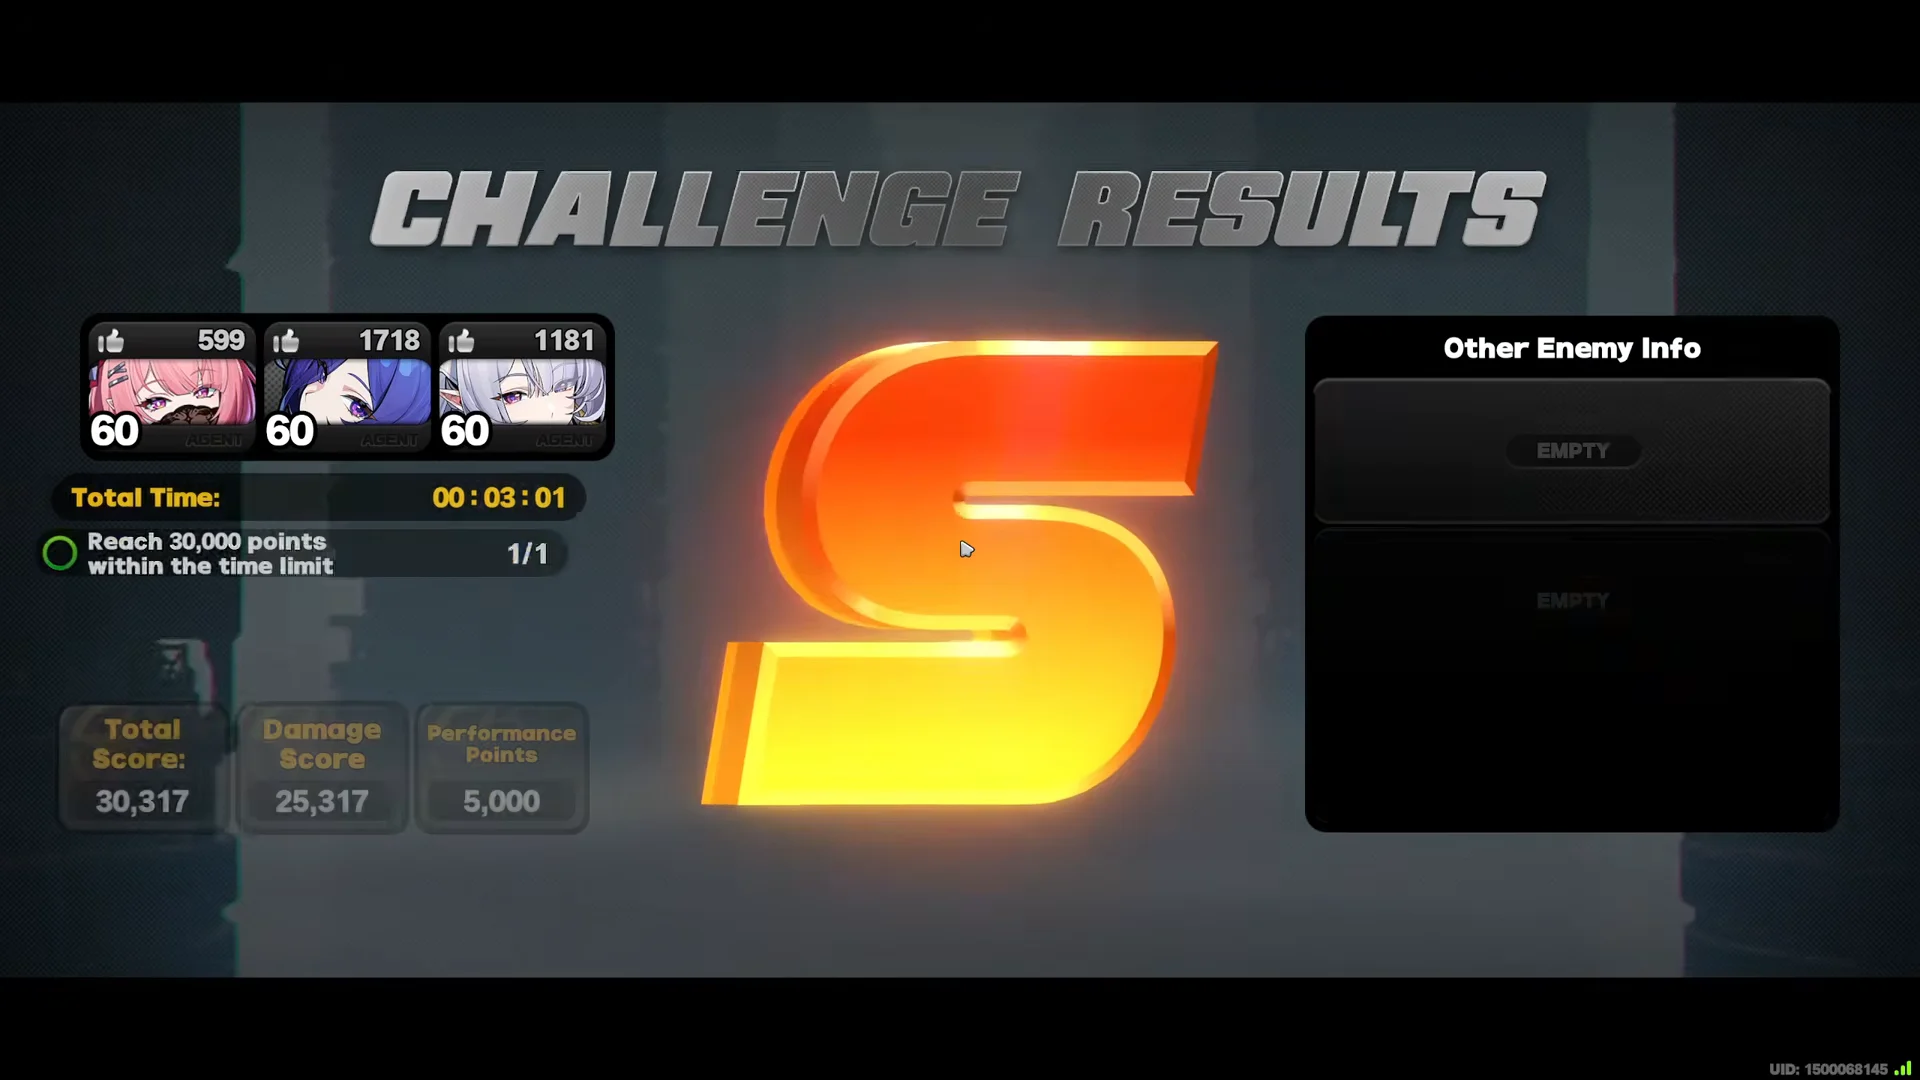
Adversity is a much steeper wall. An Electric-focused squad built around Remielle at M2W1 with the rest of the team at M0W1 posts 27,496 (A-rank) against Integrated – Scorched Horizon, enough for 2 stars and the Starforged Sword. A closely comparable Remielle and Velina core has reached 30,337 on the same stage, near the top of what the fight allows.
Players taking on Adversity for the first time generally score 6,000–16,000. Even strong teams for standard Deadly Assault often get stuck near 11,000, while some full-dupe squads have taken all three minutes to win. The mode tests how much players have invested, a reading the community adopted almost right away.
The community’s view has narrowed beyond simply calling it “whale mode.” Clearing at M0W1 can be done, provided you bring a current meta squad, Drive Discs with strong rolls, and precise play; unlike a standard Deadly Assault stage, brute force won’t get you through. Unless your Trial scores are already near their maximum, earning 3 stars in Adversity is improbable.
Adversity Mode star rewards
No Polychrome is awarded here. You receive Investigation Certificates and cosmetics, with the 2-star and 3-star prizes arriving as soon as your result is finalized.
| Stars | Rewards |
|---|---|
| 1 Star | Title “Crisis: First Edge”, 300 Investigation Certificates |
| 2 Stars | Starforged Sword plus time-limited namecard and dynamic avatar, 300 Investigation Certificates |
| 3 Stars | Tempered Crown, 100 Investigation Certificates |
The 2-star and 3-star tiers grant a namecard and dynamic avatar that expire with the current season. For a 14-day season, the avatar lasts 14 days; earn it again before the existing one expires and 14 more days are added to its remaining duration.
Confirming a run counted
A registered attempt appears on the Challenge Results screen with its rank and total score, while the Adversity tab reflects your top score. If the new run falls short of an earlier one, the higher score remains, so retries cost only your time. You can reset the lineup whenever you want to build around another core before the cycle changes.