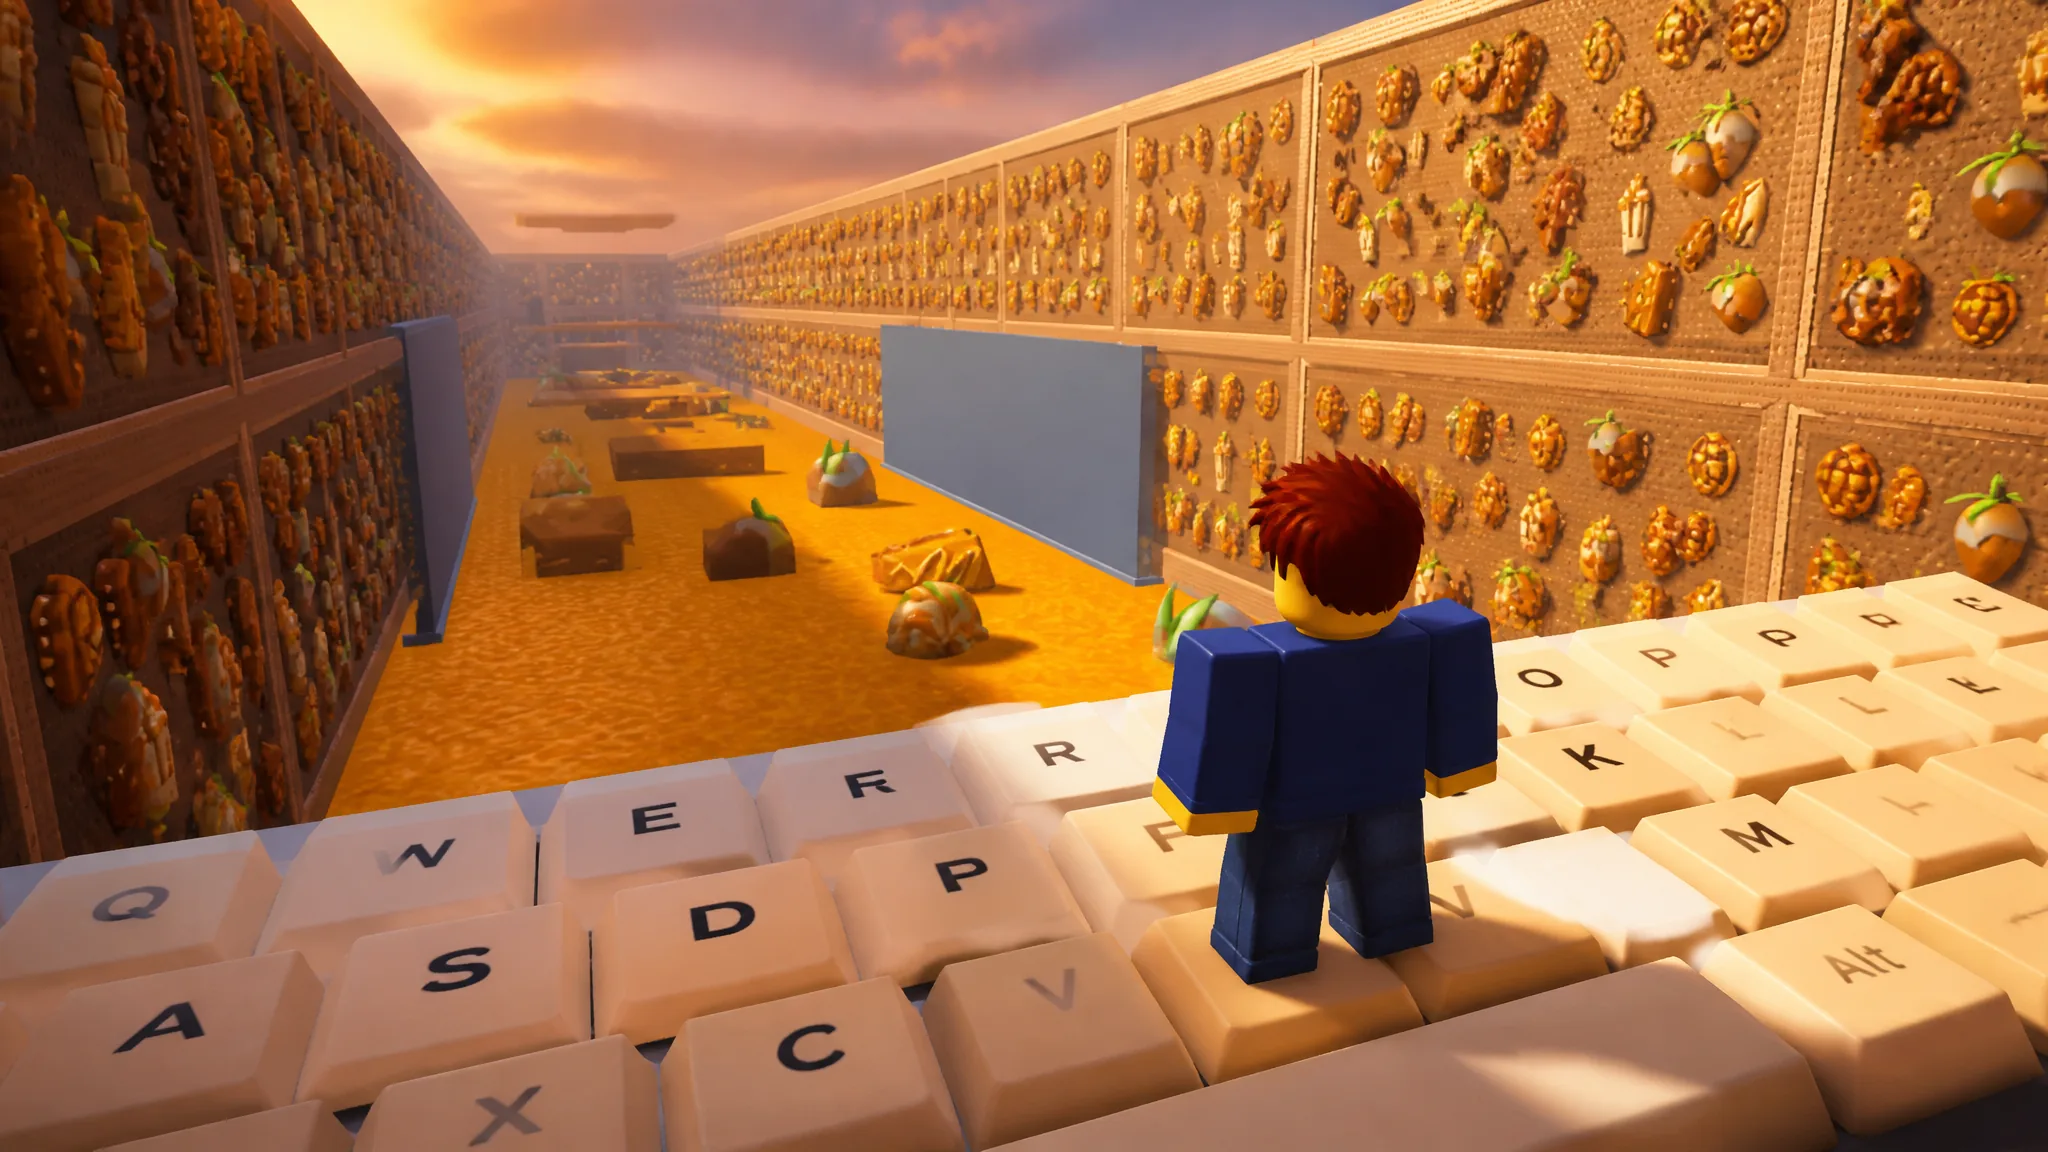
Galaxy 2 is the newer branch of +1 Speed Keyboard Escape, and its back stretch has been reworked. Stage 16 no longer breaks its wall-run halfway through, and Stage 20 has been torn down and rebuilt as a narrow corridor full of moving lasers, wall jumps, and an inverted-gravity section, with a faster boss chasing you the whole way. Here is what each change means and what the stages pay.
Quick answer: Stage 16 now has one continuous wall-run with no mid-course gap, and Stage 20 is rebuilt with moving lasers, wall jumps, and inverted gravity, paying +15M Wins at Level 155.
Stage 16 wall-run is now continuous
Stage 16 used to split its wall-run into two pieces. The surface had a gap in the middle, so you had to leap from one side to the other partway along the ride to keep going. That jump is gone. The wall-ride surface now runs the full length in one unbroken stretch, so you can hold the ride from start to finish without the mid-course swap.
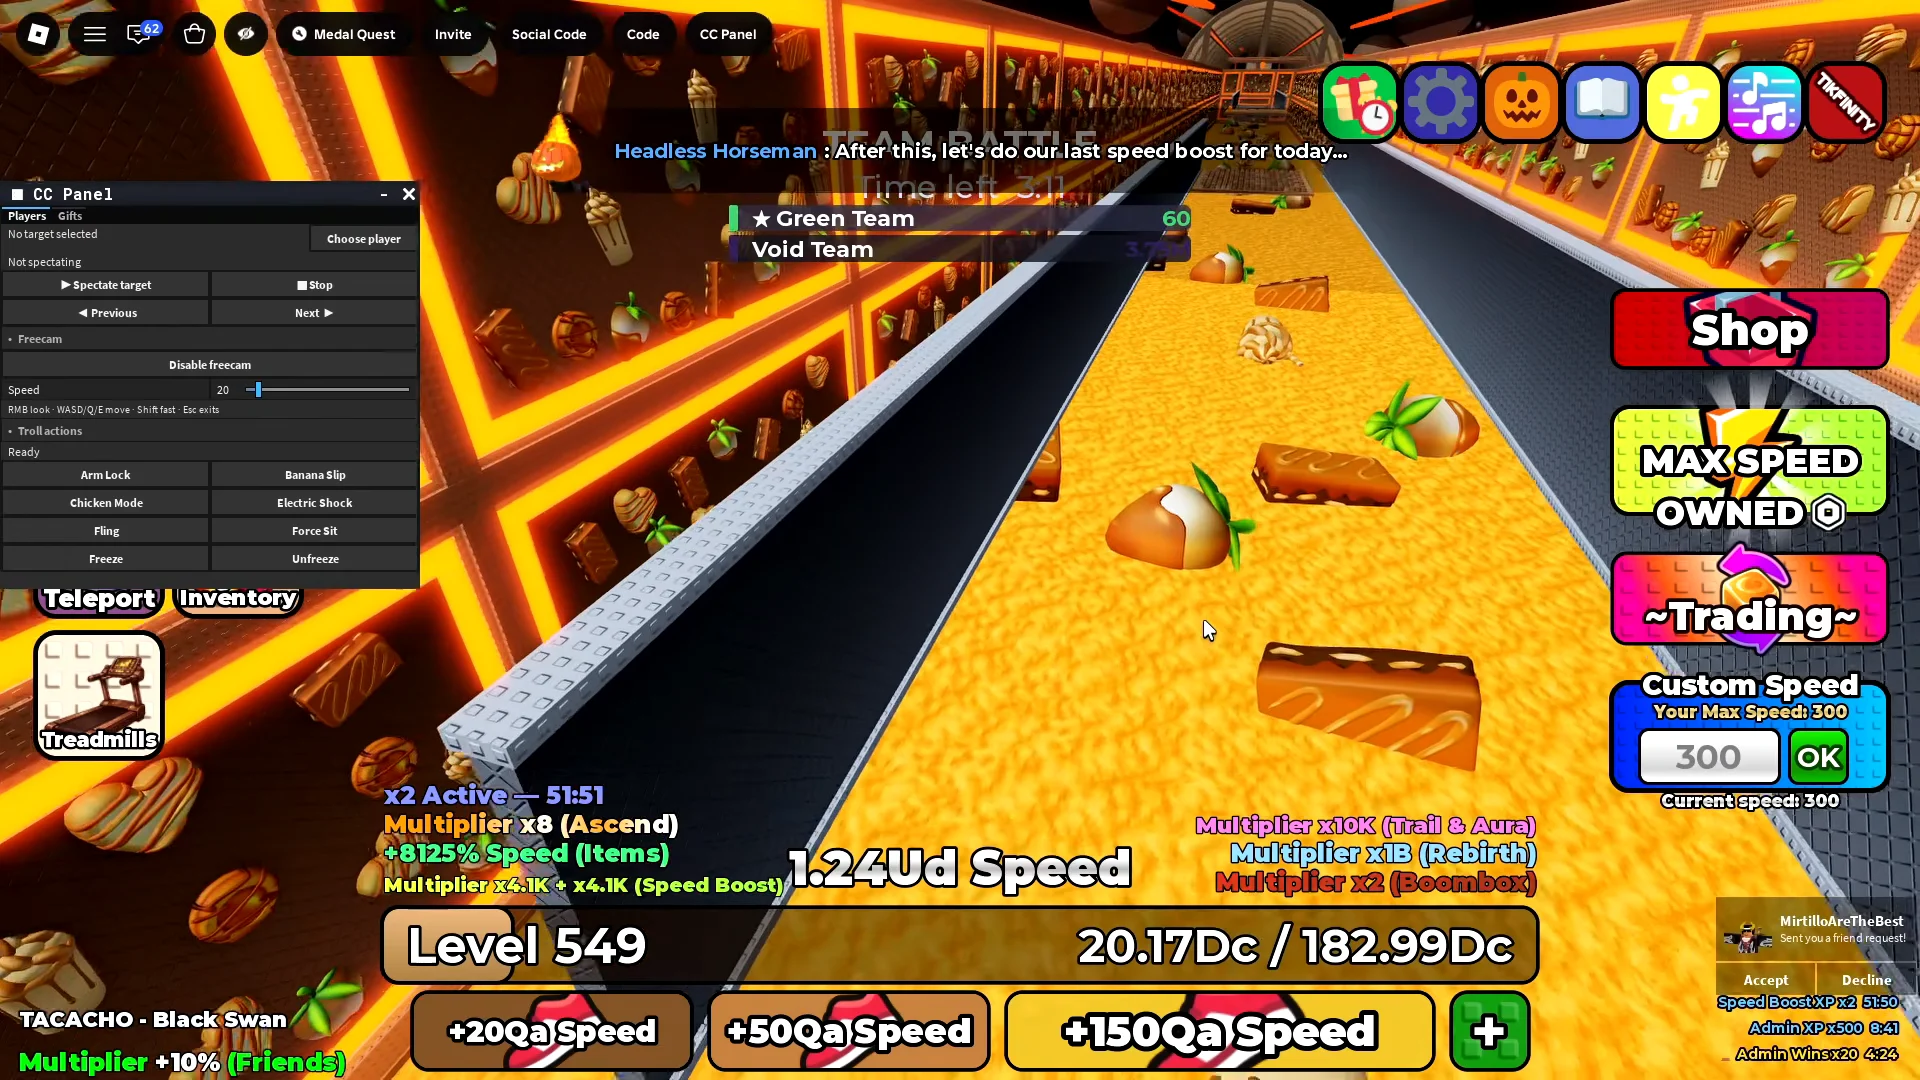
The stage still asks for precise timing on the side-panel wall jumps and flip pads before the final gap, and that last jump is where most runs end. Missing it does not drop you back to the Stage 16 checkpoint. It sends you all the way back to Stage 1. Because of that, a Revive is effectively part of the plan here, since buying one or watching an ad puts you straight back at Stage 16 instead of forcing the long run through Stages 1 to 14.
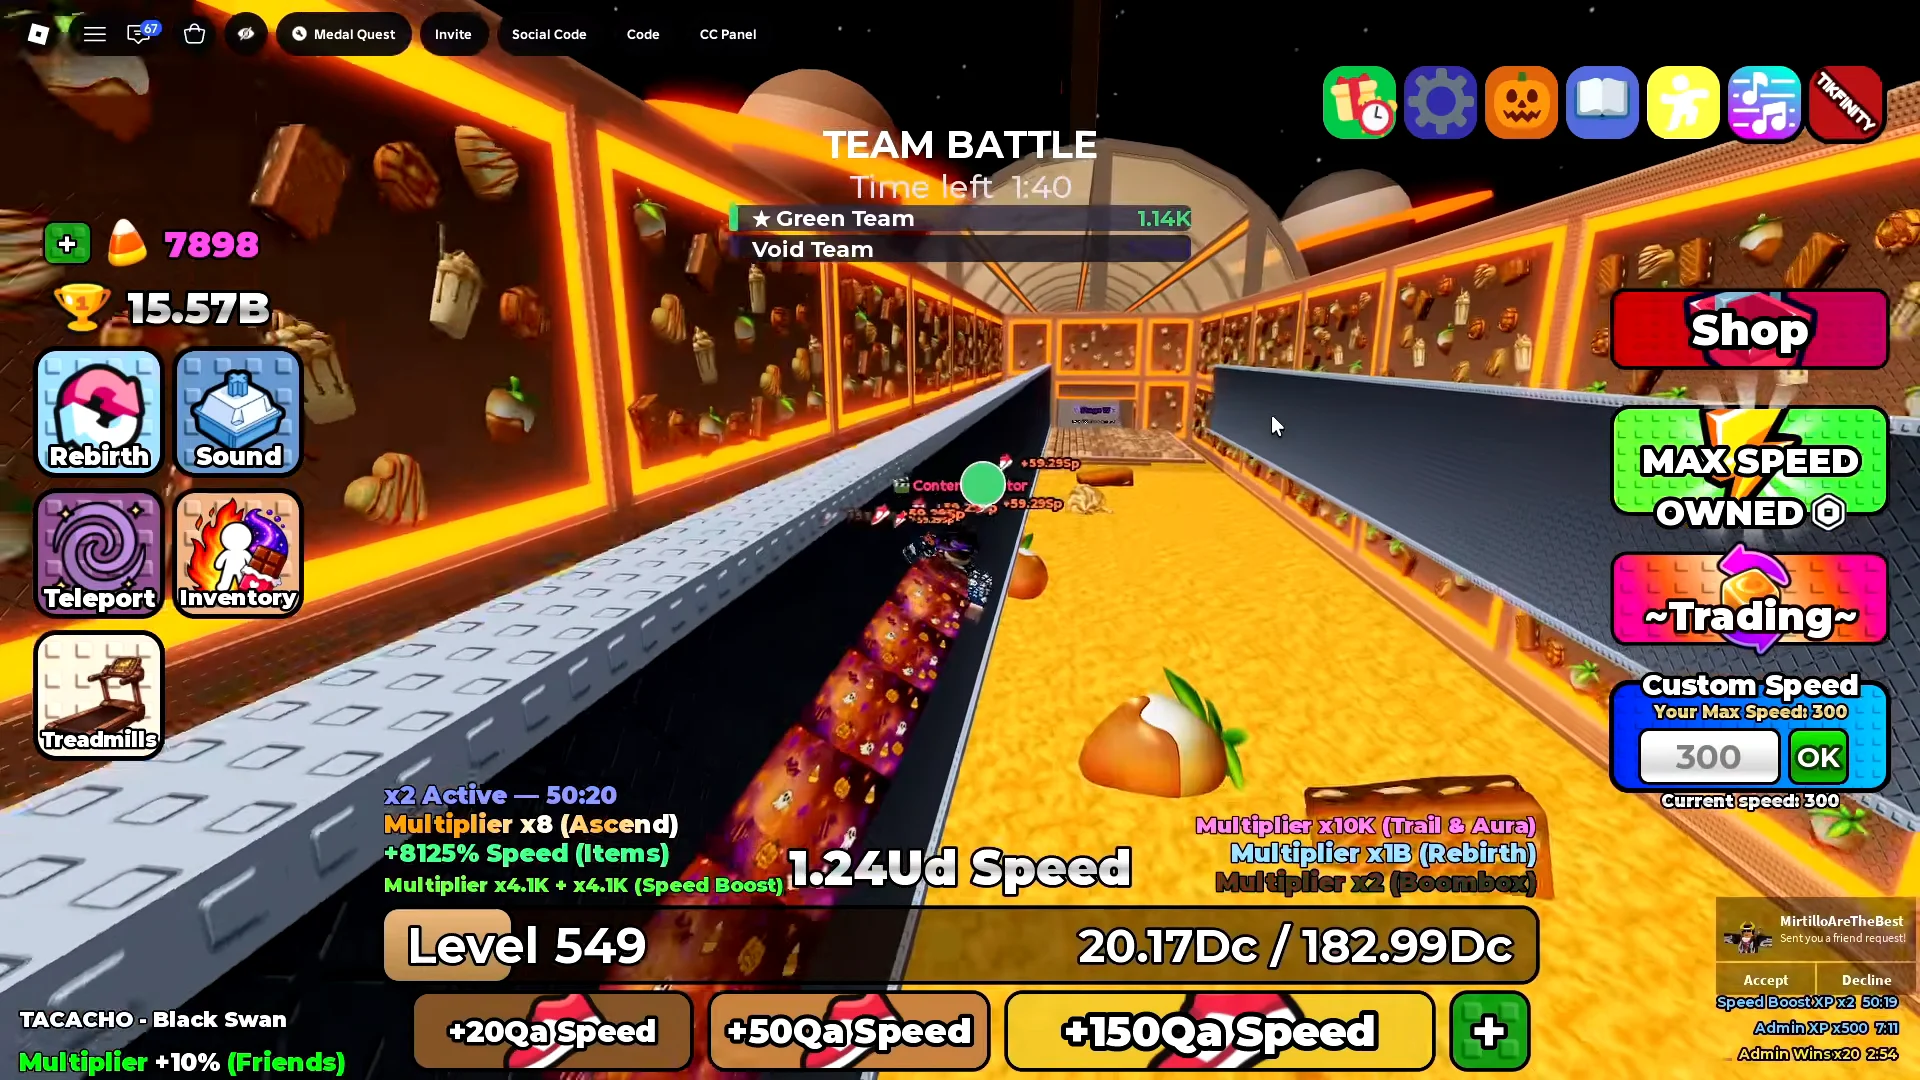
Wall jumps reward precise timing more than raw speed. Press the movement key briefly, then let each wall contact register before the next input; this is more dependable than keeping W held throughout.
Stage 20’s full rebuild
Stage 20 is the current end of Galaxy 2, and it has been redesigned from the ground up. The corridor is far narrower than before, which leaves very little room to recover from a mistake. A “BOSS INCOMING” warning fires on the approach, then a “BOSS IS CHASING RUN!” banner, and the entity behind you moves much faster than in the old version. Hesitating at any point lets it catch you.
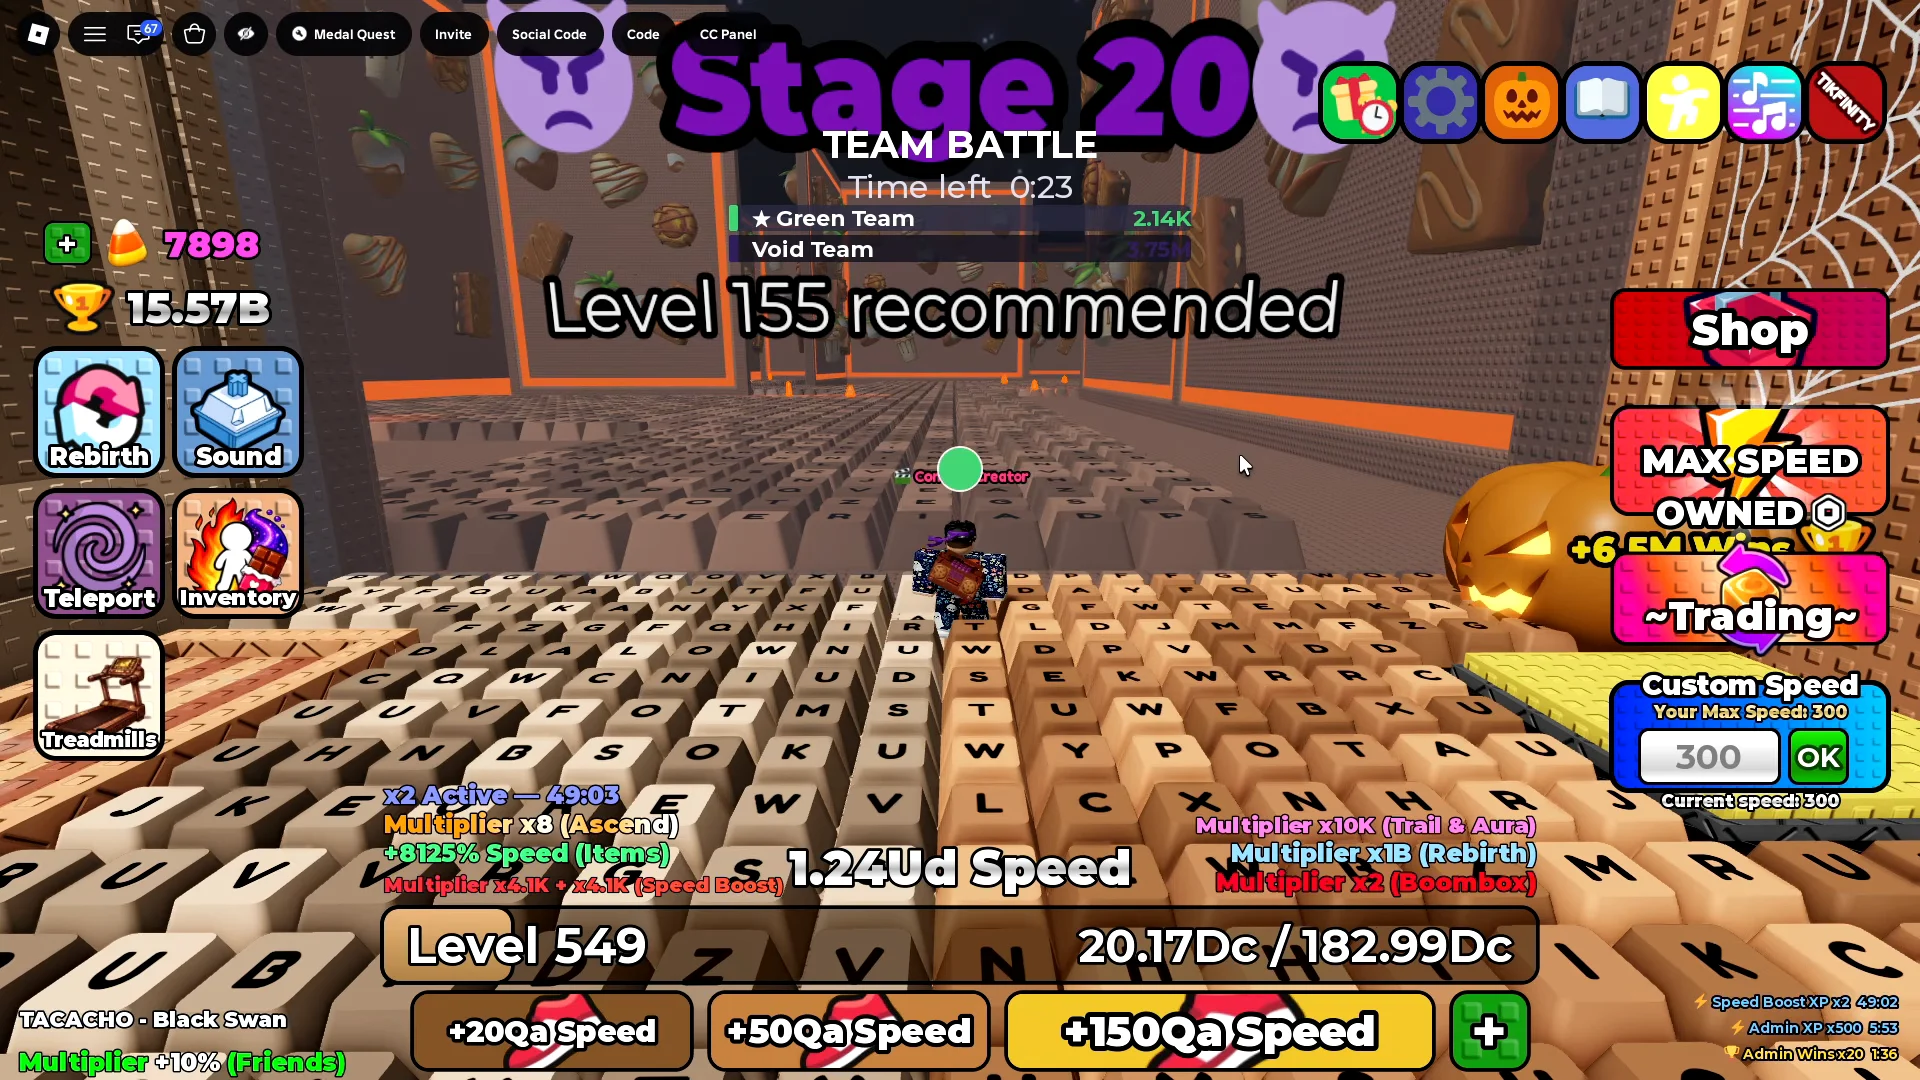
The new corridor stacks several hazards along its length:
- Red laser beams that slide up and down across multiple sections, creating timing gaps you have to thread.
- Wall-jump panels now line the corridor walls.
- Inverted-gravity sections marked by purple pads on the floor and ceiling. The ceiling flip can be skipped by jumping straight across instead of riding it.
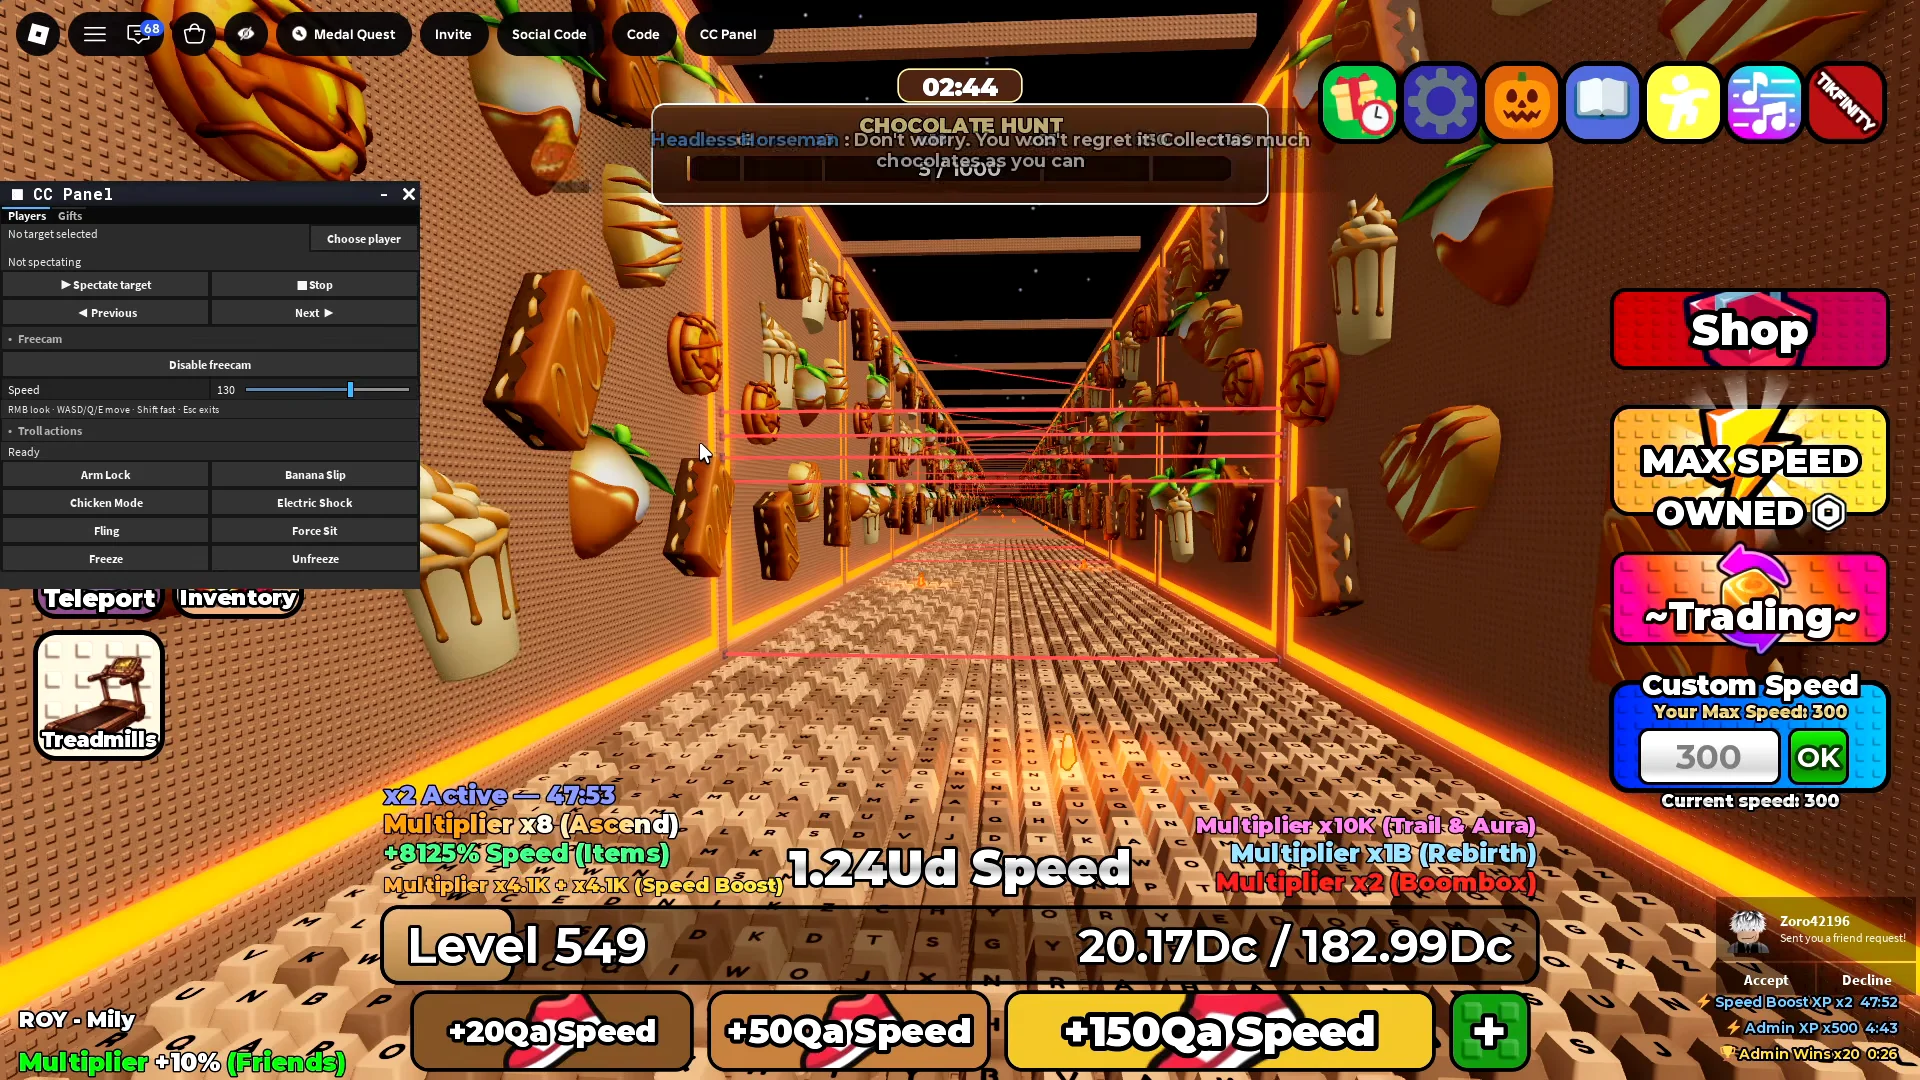
Reaching the SafeZone arch at the end of the corridor pays +15M Wins. With a 2x or 4x multiplier active, that payout shows as +60M Wins on screen.
Level requirements and rewards for Stages 15 to 20
The recommended level shown for each stage is the minimum, not a comfortable target. Entering several levels above it gives you longer jump arcs, especially useful in precision stages such as 16 and 20.
| Stage | Recommended level | Reward / outcome |
|---|---|---|
| Stage 15 | 120 | Keyboard gaps and TNT; leads into Stage 16 |
| Stage 16 | 125 | Wall jumps and flip pads; leads to Stage 17 |
| Stage 17 | — | +350K Wins bonus on the pad |
| Stage 18 | 145 | — |
| Stage 19 | 150 | — |
| Stage 20 | 155 | +15M Wins (+60M with a multiplier) |
The teleport menu displays a Win price for every destination: Stage 14 costs 1M, Stage 15 costs 3M, Stage 16 costs 7M, Stage 17 costs 20M, and Stage 18 costs 50M. Check the shop before a serious attempt: it sells Speed Boosts and Treadmills, and a treadmill is the more consistent option for making up a level gap. Enter BYP4SS1 to receive 15,000 Speed and quickly bring your level closer to the requirement.
Stage 15 and the ring layout
Of the early Galaxy 2 checkpoints, Stage 15 is the easier one. The route combines keyboard-tile gaps with TNT charges that explode along the way. Once you reach Level 120 or higher, a clean forward run is enough to finish. There is no secret unlock; keep moving steadily and do not pause on a charge.
The course forms a complete ring, allowing you to make a 360-degree circuit instead of following the direct route. This adds distance rather than saving it, and falls happen most often at the outer edge.
Reaching Stage 20 and the Team Battle teleport lock
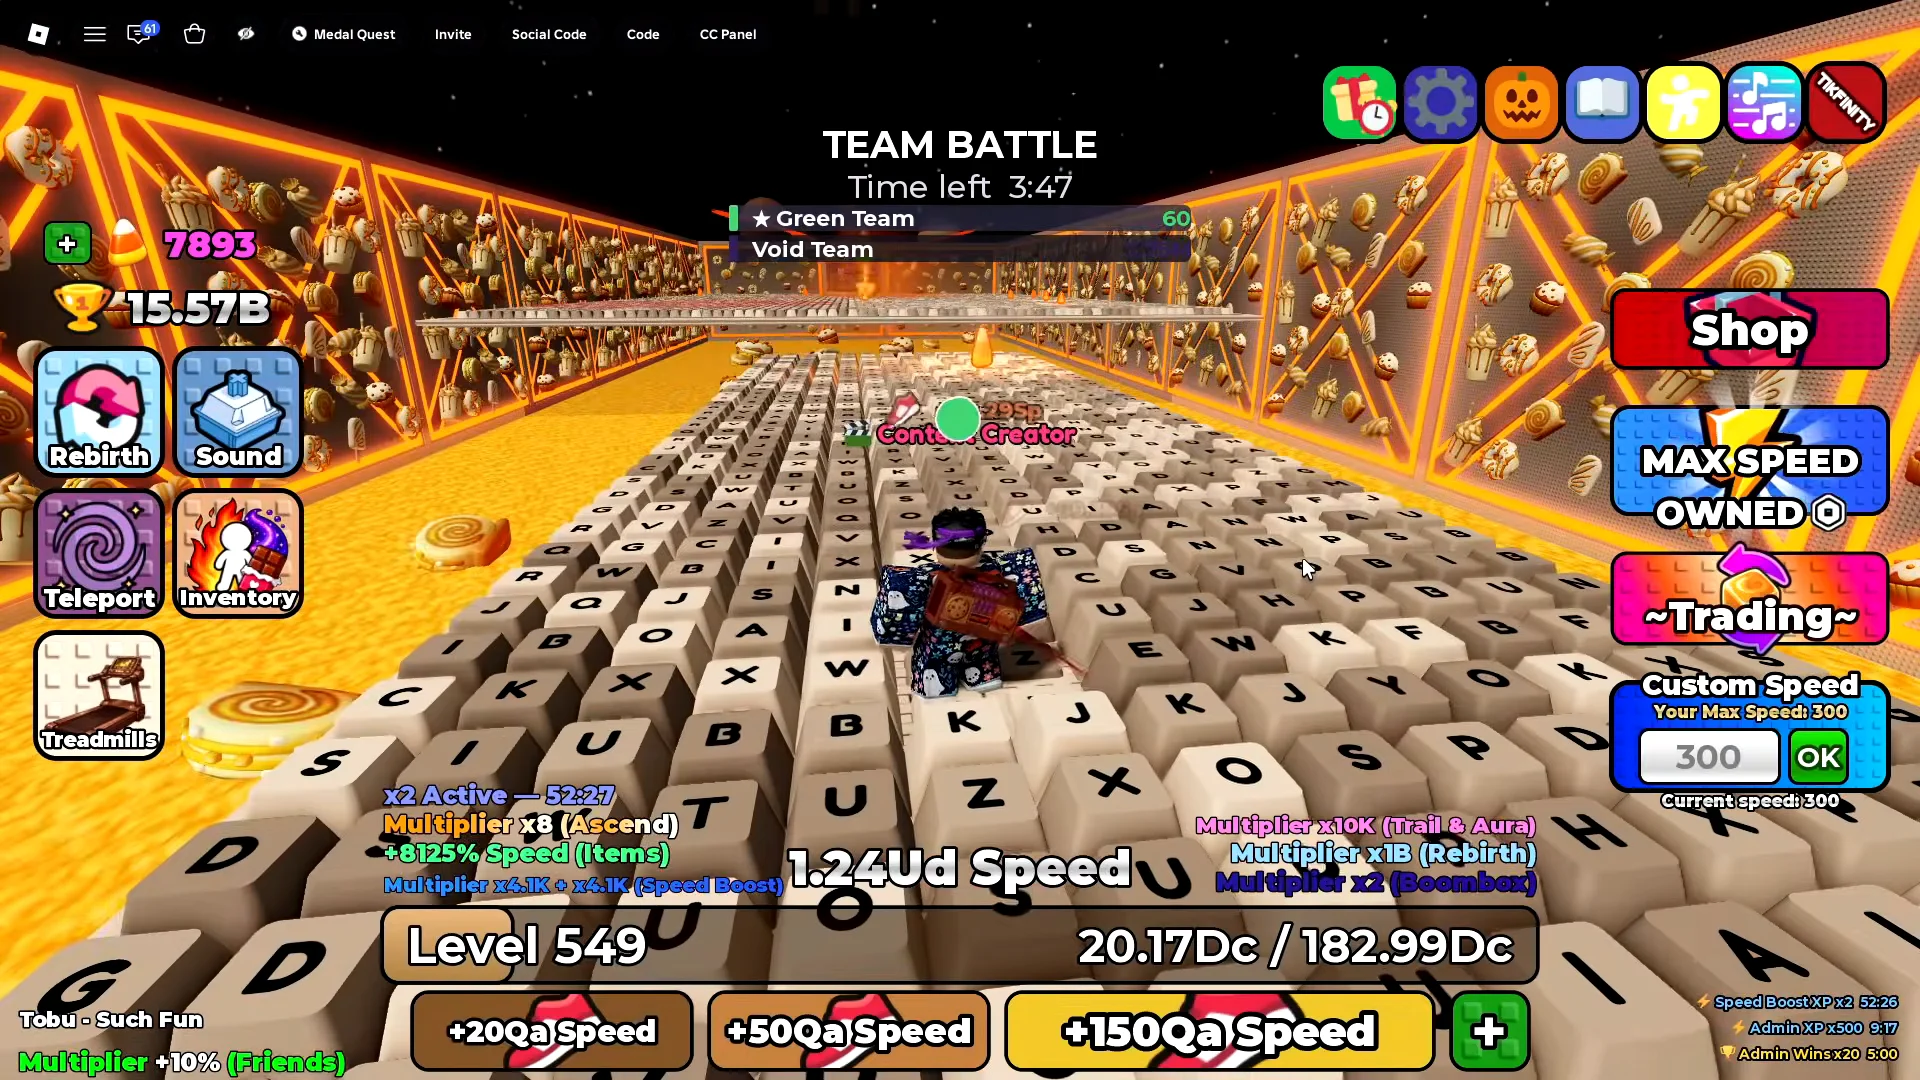
Stage 20 has no entry in the teleport menu, so use Stage 19 and continue from there into Stage 20. Teleporting becomes unavailable for the duration of a server-wide Team Battle. While the event is active, make your way through the earlier Galaxy 2 stages on foot, clearing each keyboard platform and obstacle manually. The menu becomes usable again when the event ends.
How to tell a stage cleared
Check the Win rewards to confirm your clears. After Stage 16, landing on the Stage 17 platform triggers a +350K Wins payout, confirming the stage is complete rather than just a checkpoint. For Stage 20, enter the SafeZone arch at the corridor’s end to get the +15M Wins prompt, or +60M Wins with a multiplier active. If neither prompt appears, the run did not finish and you were reset.