

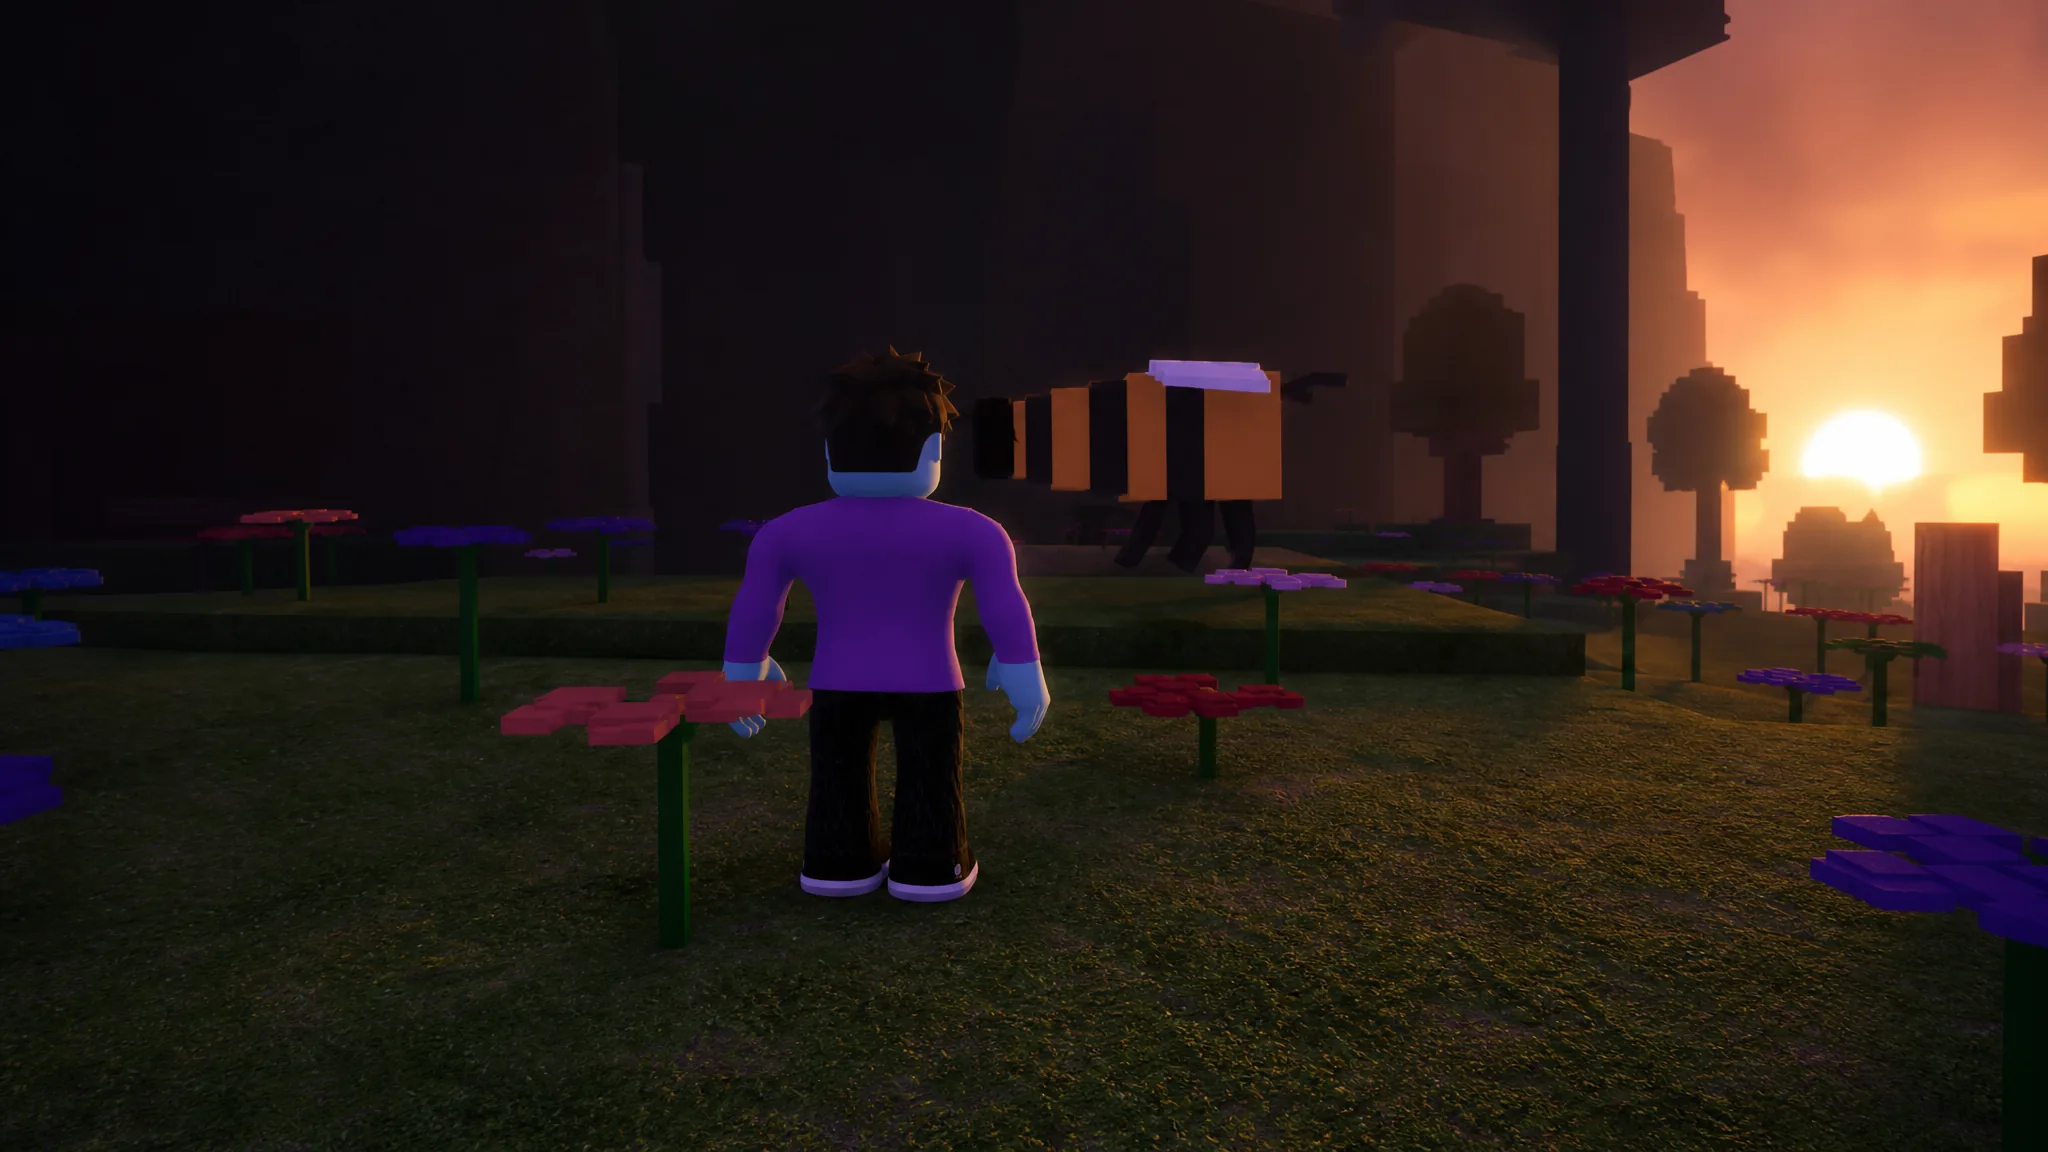
The Bee Biome is the current limited-time event in 99 Nights in the Forest, and it behaves differently from past additions because it switches on the moment your run starts. There is no cutscene, no required night, and no trigger to hunt down. It drops a new Honey currency into the game, a set of Bee Hives you level up by planting flowers, a Beekeeper Shop that restocks over time, and a Giant Beehive you Pollinate to raise output across every Hive on the map.
Quick answer: Spawn in, follow the flying bees and honey-themed trees to the Bee Biome near your base, plant flowers in Bee Hives to generate Honey, Pollinate the Giant Beehive to boost every Hive, then spend Honey at the Beekeeper Shop to clear the three badges that hand out permanent rewards.
Where to find the Bee Biome
The biome sits near your base and is active in every run automatically, so there is nothing to unlock first. Head out from spawn and look for three clear signs: bees flying in the air, trees with a honey theme, and hive-shaped structures scattered through that stretch of forest. Once you reach the area, every event activity becomes available.
One thing to keep in mind. The Bee Biome and its Beekeeper Shop go dormant at night, so plan your flower runs and purchases for daytime.
How to earn Honey from Bee Hives
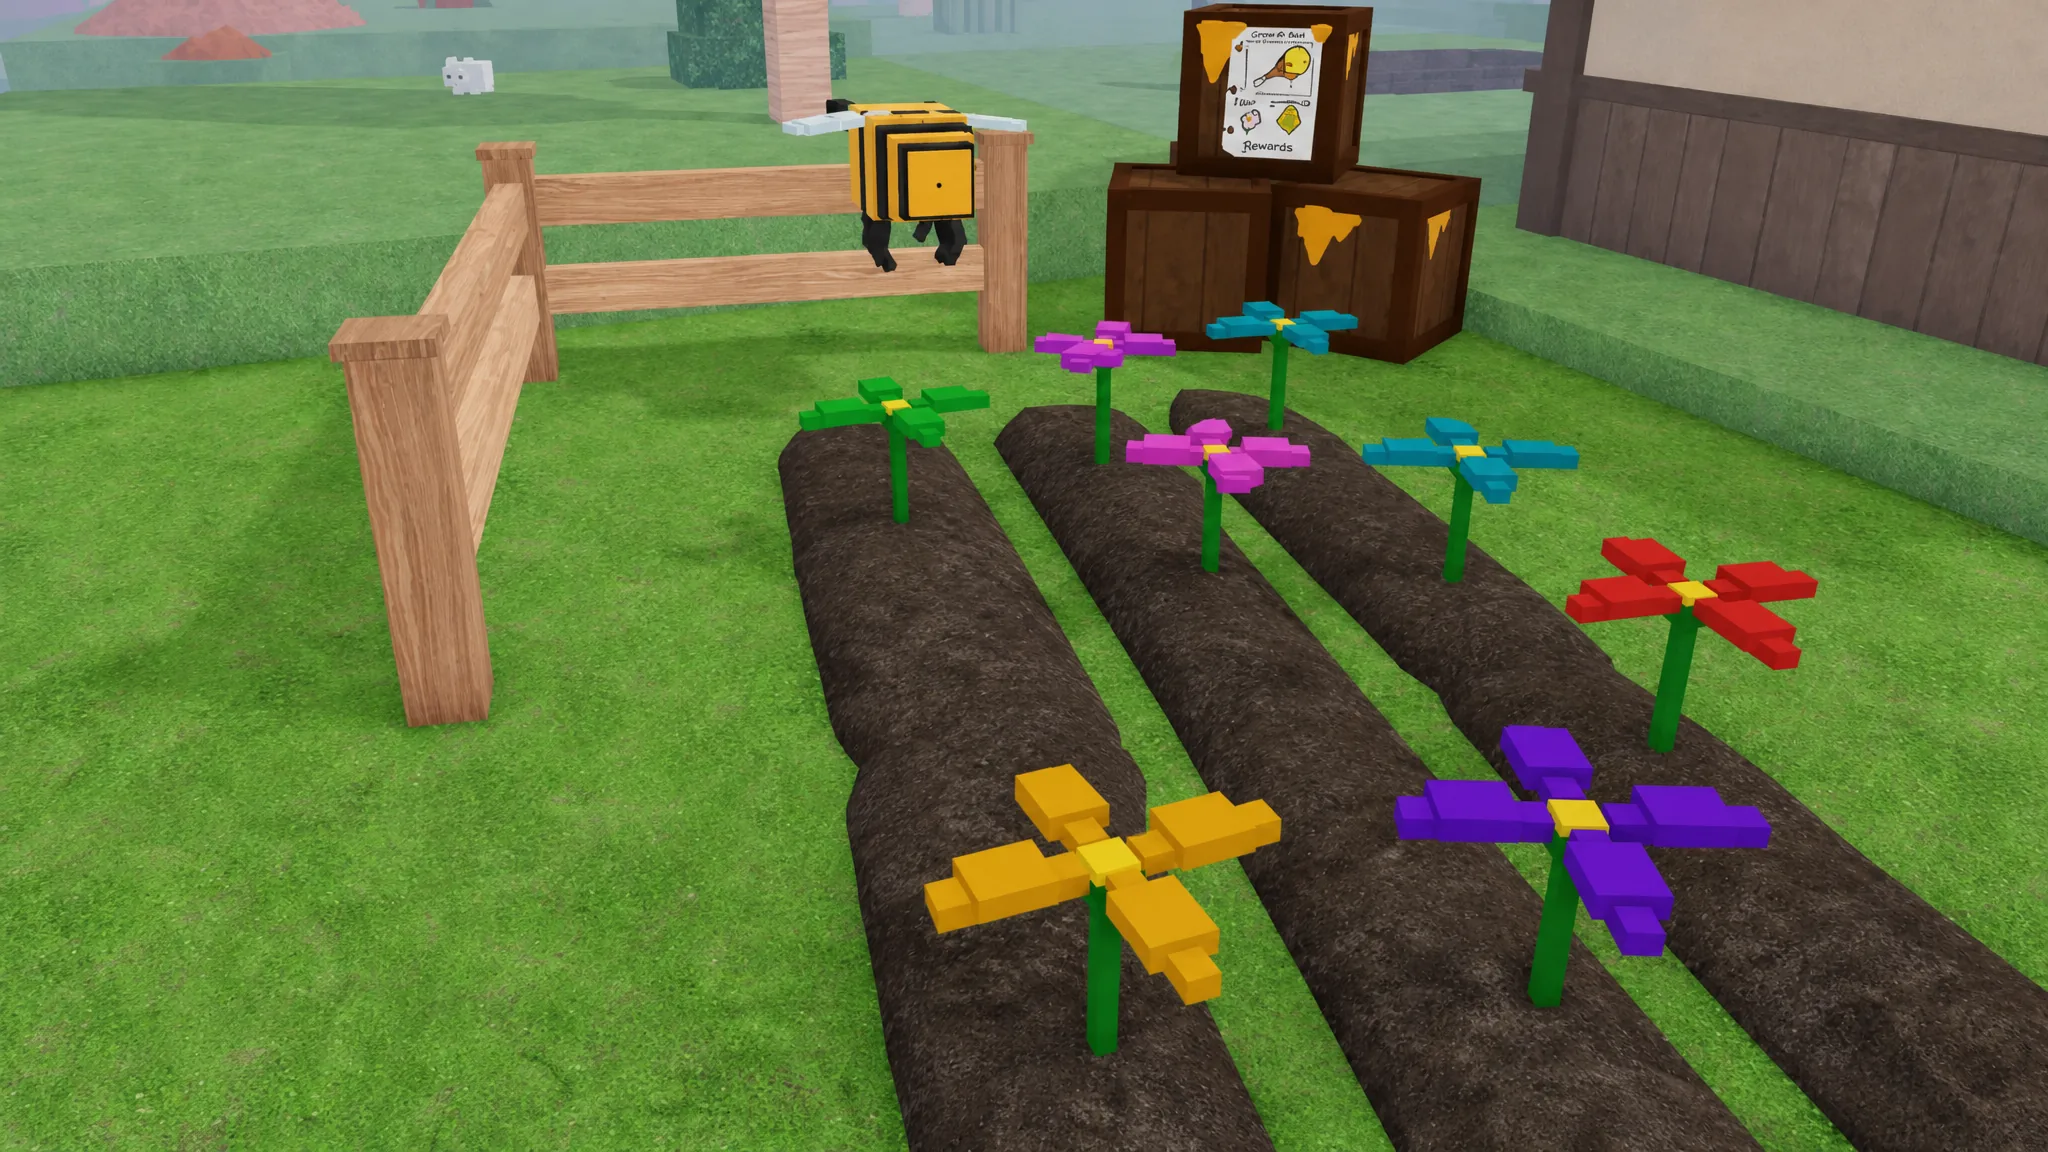
Honey is the event currency, and you earn it passively rather than by fighting. Small Bee Hives are placed around the biome, and each one starts producing Honey the moment you plant a flower inside it. Pick up flowers as you explore the forest, walk up to a Hive, and use the “Plant Flowers” action to drop one in from your inventory.
Every flower you add raises that Hive’s level and its Honey-per-minute rate. Each Hive holds a maximum of 40 flowers, and a fully stacked Hive produces 8 Honey per minute. Your Honey balance shows on the left side of the screen, and it only appears while you are standing inside the Bee Biome.
| Hive level | Flowers required | Honey per minute |
|---|---|---|
| Level 1 | 1 flower | 1 Honey/min |
| Level 2 | 15 flowers | 3 Honey/min |
| Max stack | 40 flowers | 8 Honey/min |
Hoard flowers before you spend any Honey. A higher Hive level compounds across the whole run, so pouring flowers into upgrades early returns far more than cashing in Honey the second you have it.
How to Pollinate the Giant Beehive
The Giant Beehive sits roughly at the center of the biome, and Pollinating it is the single most impactful move in the event. Pollination works like a rebirth. It spends your Honey and upgrades the map with extra small Hives, which lets you plant more flowers and generate Honey faster over time. It also seeds the area with more plants, including chilies, strawberries, and flowers.
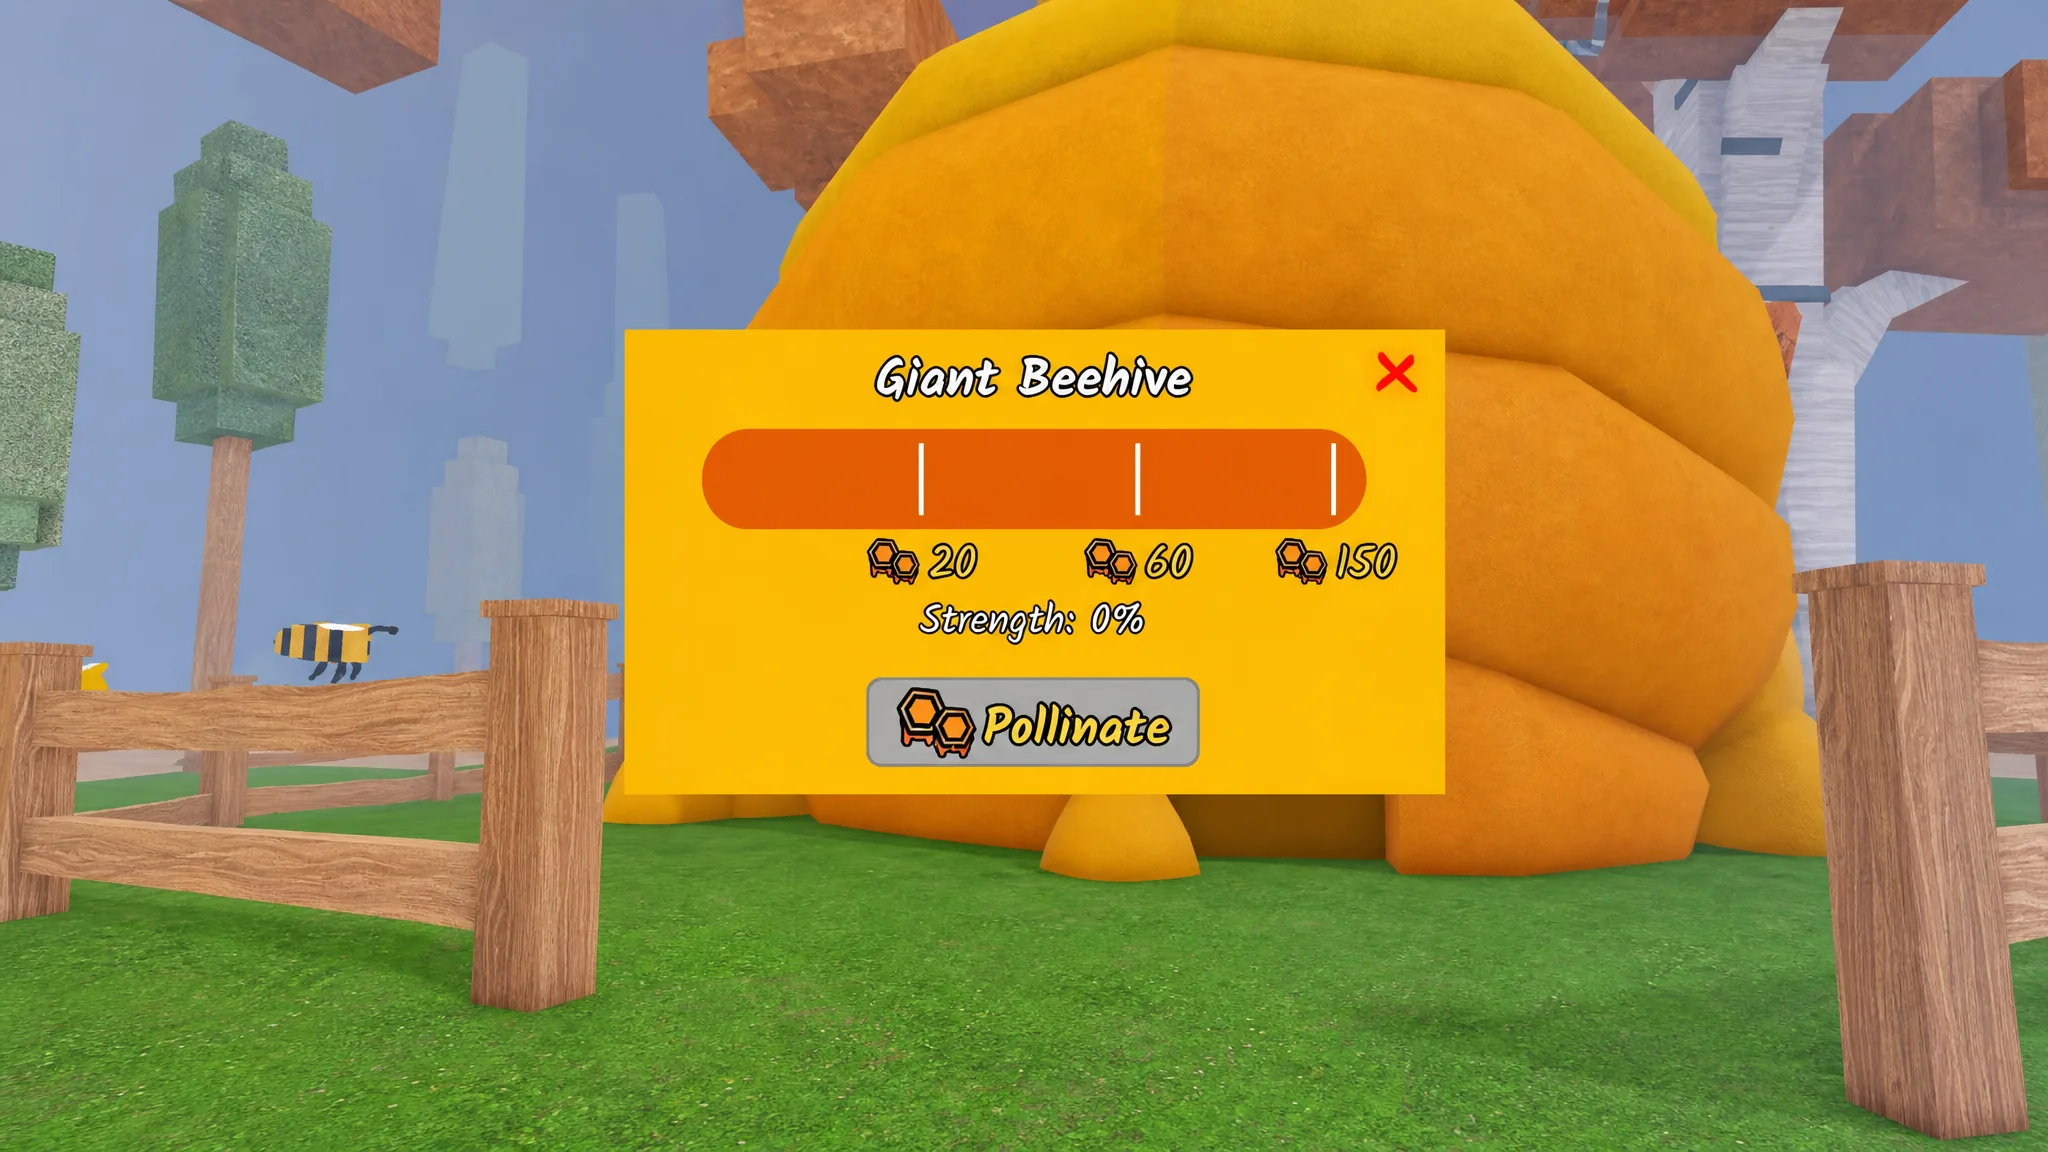
| Pollination level | Honey required |
|---|---|
| Level 1 | 20 Honey |
| Level 2 | 60 Honey |
| Level 3 | 150 Honey |
Beekeeper Shop items and Honey costs
The Beekeeper NPC stands inside the biome and opens the shop when you interact with it. Stock rotates roughly every one to two days depending on your Giant Beehive’s level, so returning after a reset lets you buy again. The shop also uses shared stock, which means if another player grabs a limited item like the Bee Stinger Spear, no one else can buy it until the next restock.
| Item | Honey cost |
|---|---|
| Bee Box Recipe Tablet | 360 Honey |
| Bee Stinger Spear | 100 Honey |
| Regular Spear | 50 Honey |
| Jar o’ Honey | 40 Honey |
| Bee Grenade | 30 Honey |
| Revolver Ammo | 15 Honey |
| Rifle Ammo | 15 Honey |
| Honeycomb | 10 Honey |
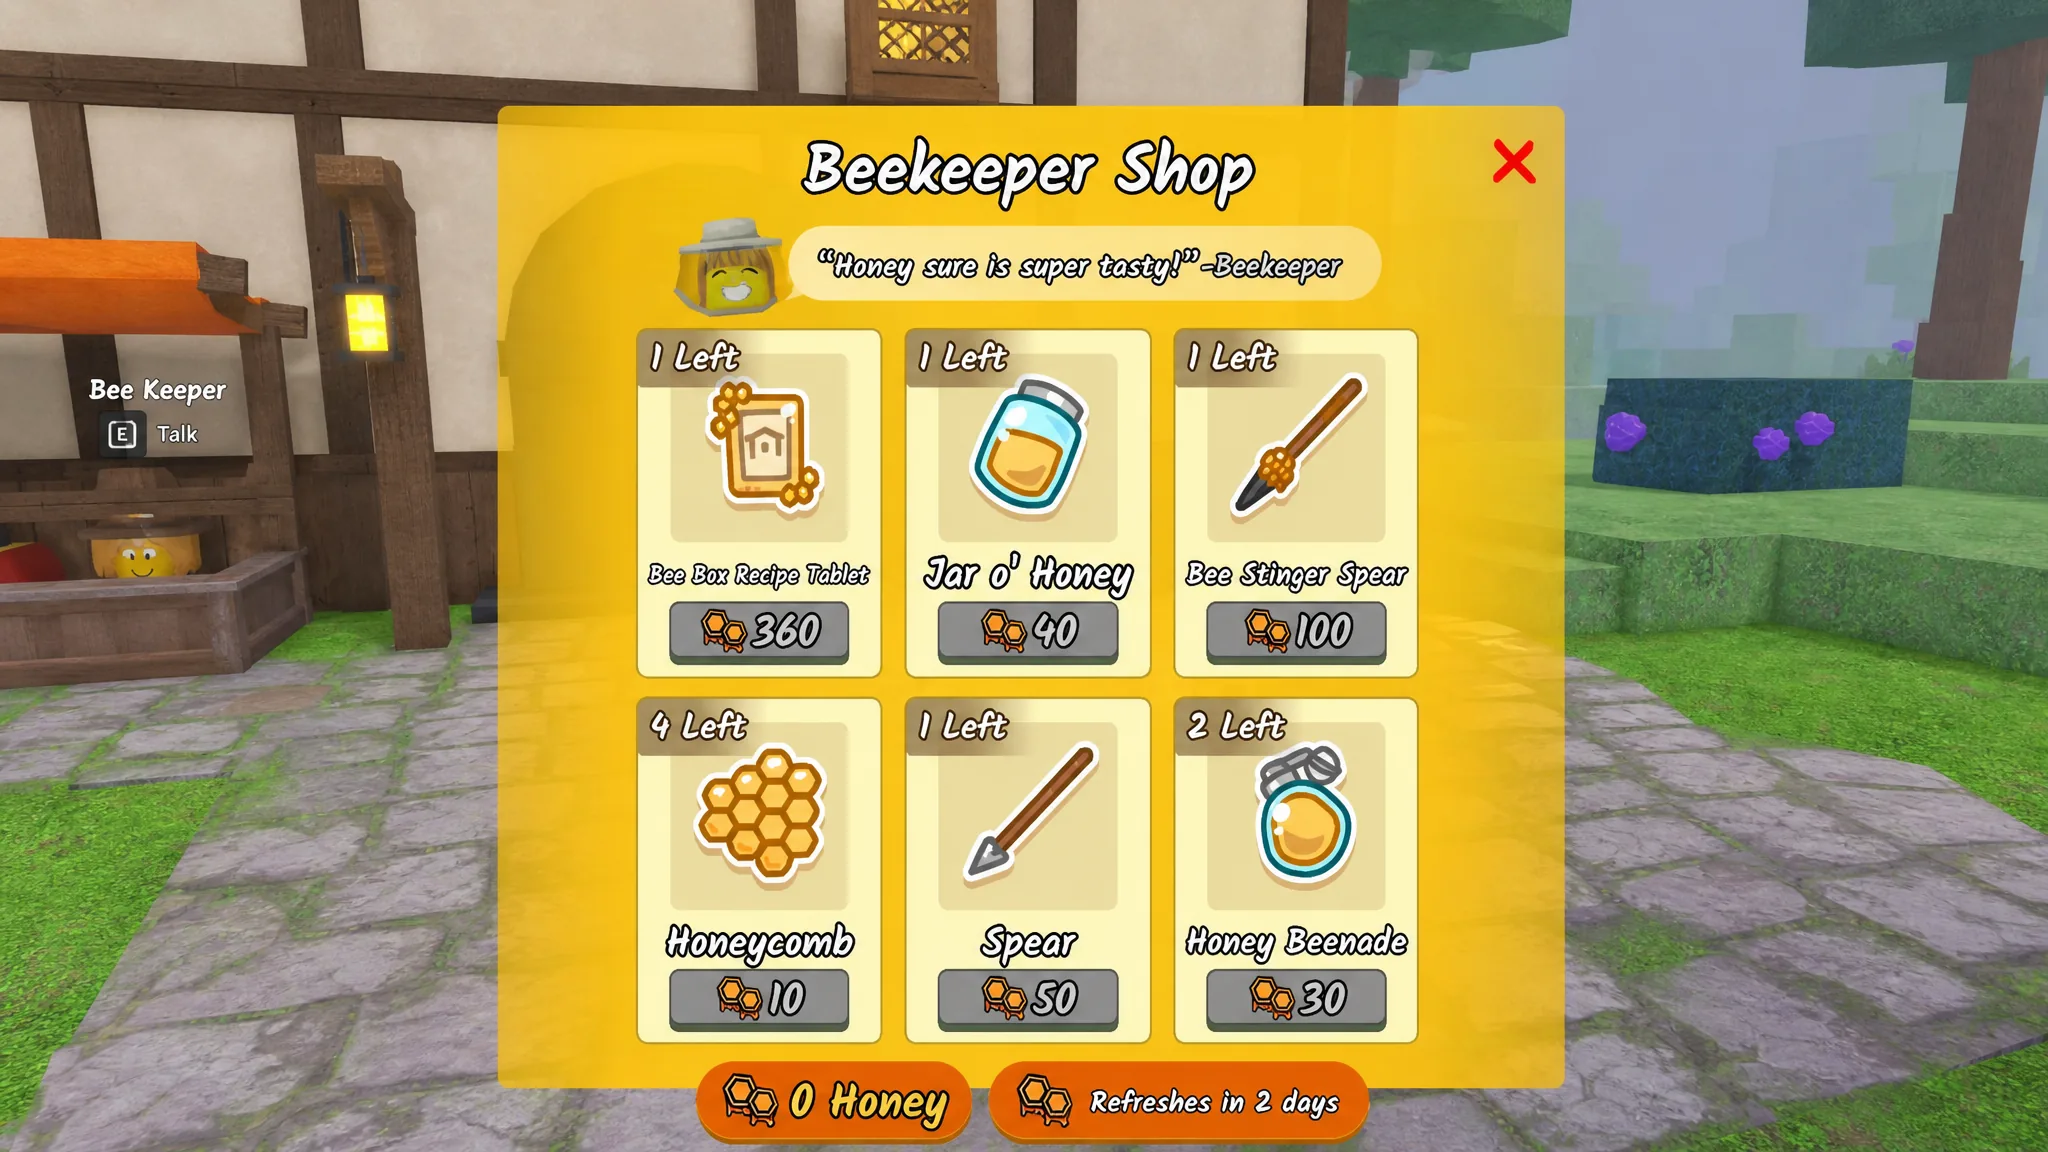
A few of these items are worth knowing before you buy. Honeycomb restores a small amount of health and hunger, and it can be cooked with a Morsel in a Crock Pot to make Candied Meat, a new recipe that restores much more. A Jar o’ Honey instantly refills both health and hunger. The Bee Stinger Spear plays like a regular spear but carries a larger hitbox, while the Bee Grenade coats a target area in honey and freezes enemies for several seconds across its three charges.
The Bee Box Recipe Tablet is the standout purchase. Feeding it into your base grinder unlocks the Bee Box, a structure you can build multiple times that produces Honeycombs every two days.
All three Bee Biome badges and how to earn them
Three badges are tied to the event, and clearing them unlocks a free bee-themed Bee Wolf skin along with permanent rewards. Because those rewards stick with your account, the badges are the main long-term reason to play the biome.
| Badge | Requirement | Notes |
|---|---|---|
| Hivecraft | Buy the Bee Box Recipe Tablet from the Beekeeper Shop | Fastest badge; just save 360 Honey and purchase it once |
| Beekeeping | Pollinate the Giant Beehive 10 times | Progress carries across multiple runs |
| Apiary | Level up 3 Bee Hives to Level 3 in a single run | Hardest badge; needs heavy flower farming in one session |
You will know each badge landed when it registers as complete and the reward is granted. Start with Hivecraft, since it only needs one purchase. Chip away at Beekeeping across separate runs because its 10 Pollinations do not have to happen in one game. Save Apiary for when you have a strong flower-farming route ready, as leveling three Hives to Level 3 in a single run demands the most effort.
What resets and what carries over
Your Hive progress and Honey generation reset with every new run, so each game starts you back at zero flowers. Badge progress for Beekeeping is the exception, since its Pollination count builds up across separate runs. The bees themselves are non-hostile and only attack when provoked, though defeating them can drop useful items.
The smart order is to spend your early minutes stockpiling flowers, keep your Hives climbing toward higher levels, and Pollinate whenever you can spare the Honey. That approach clears Hivecraft quickly, slowly works down Beekeeping across sessions, and sets up the flower-heavy grind that Apiary needs.





