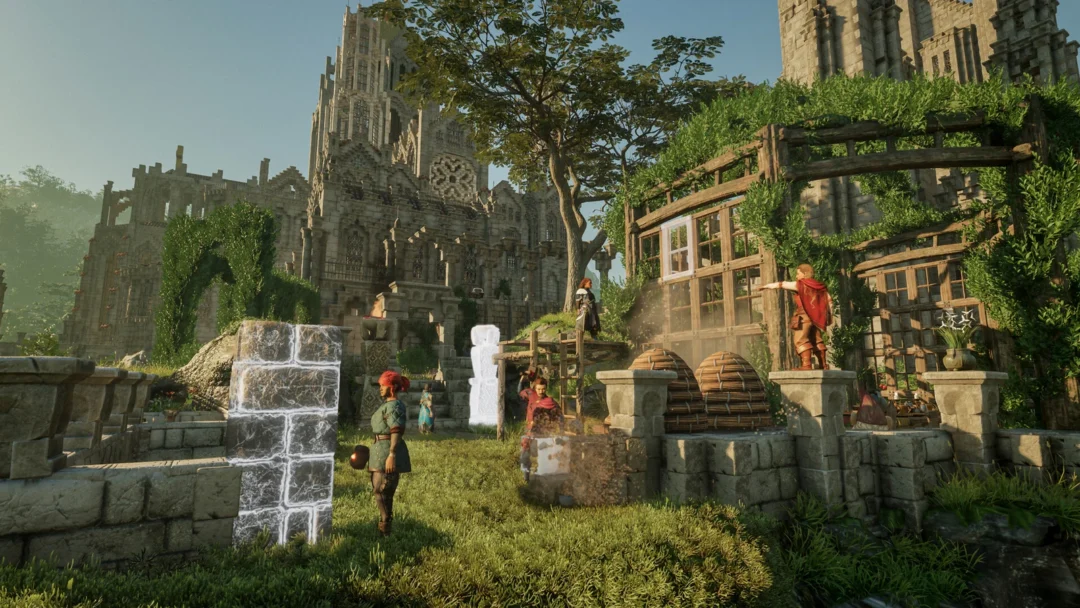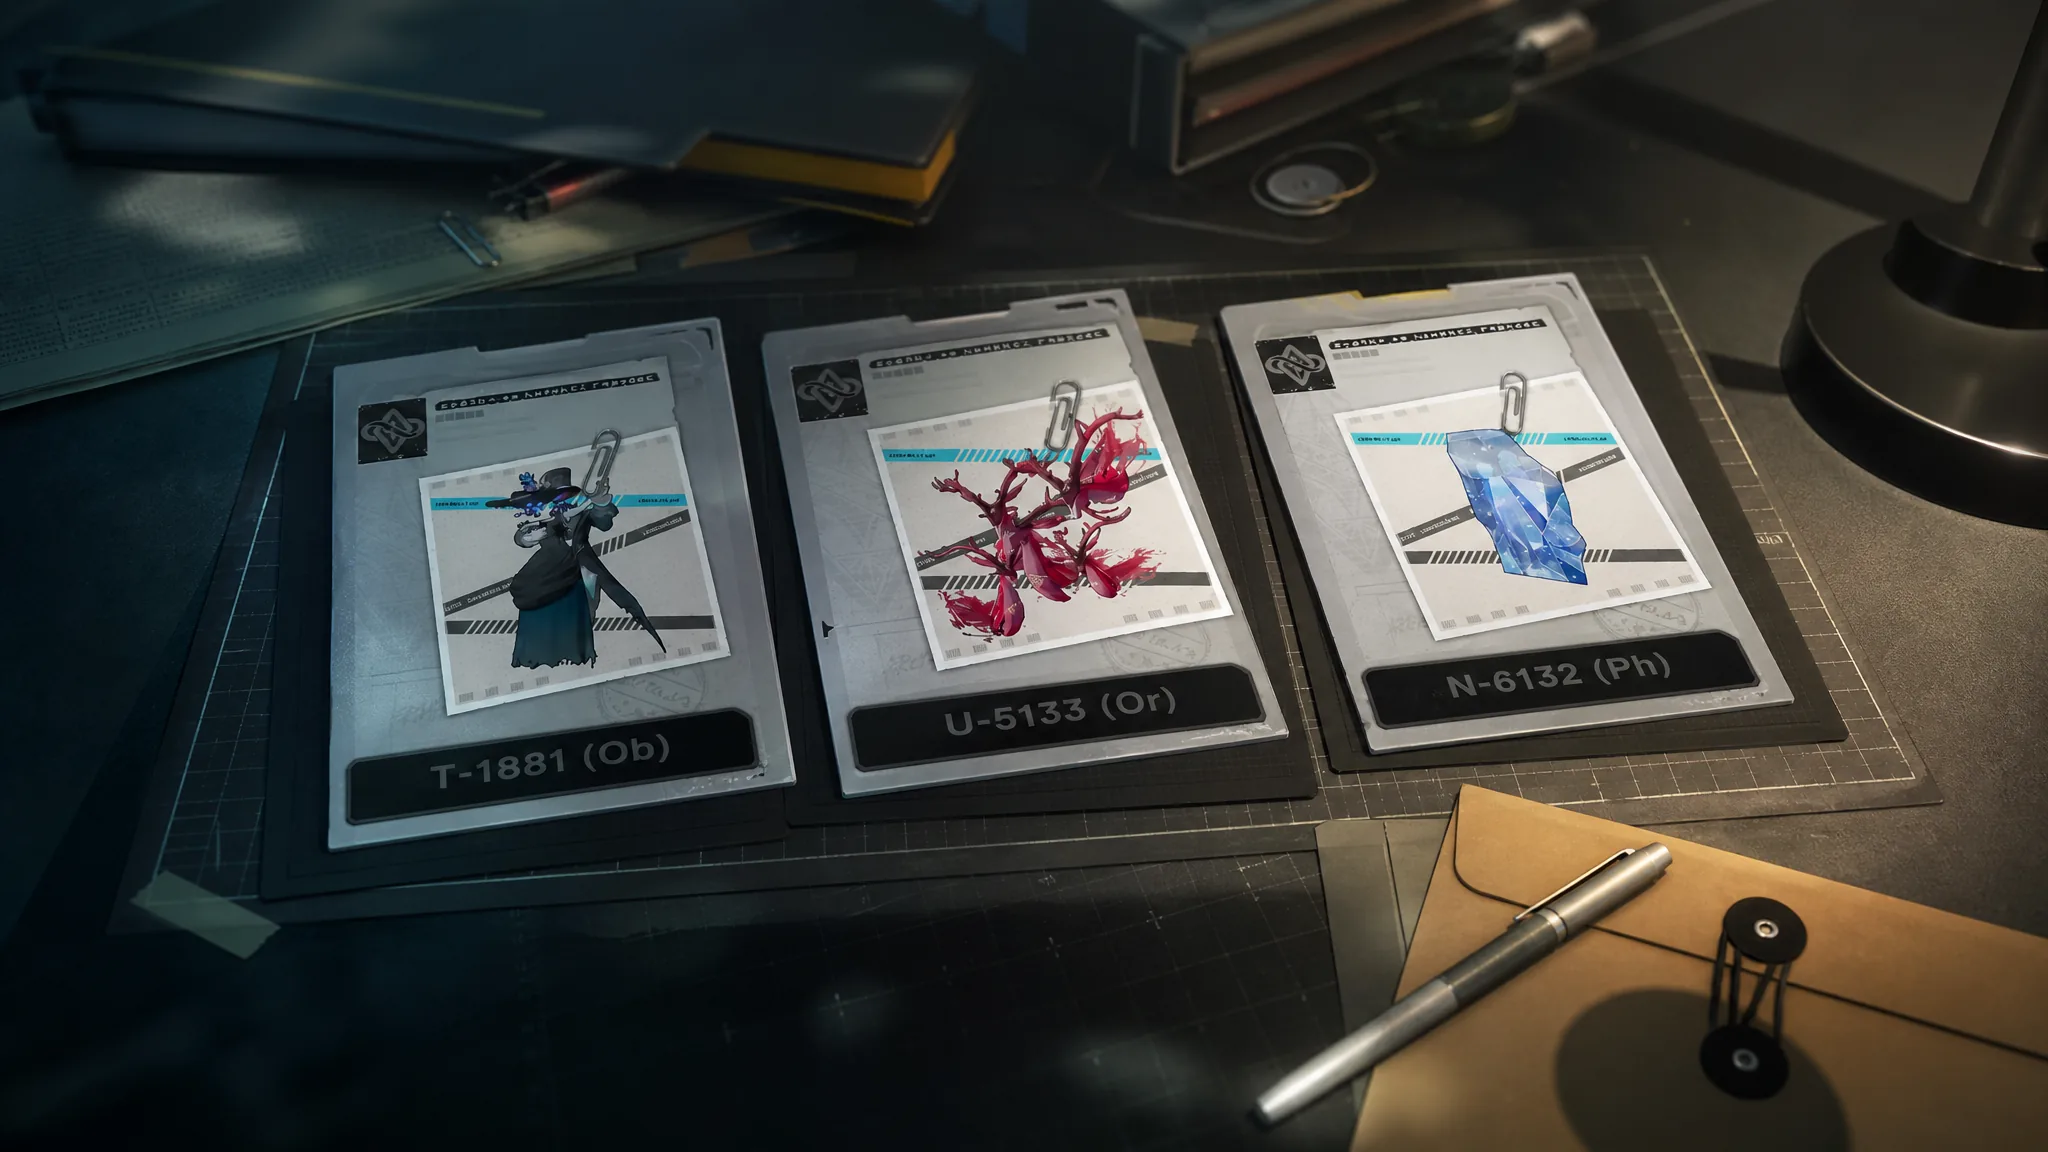
Duskmoor, the district that opened in the northwest of Hethereau with Version 1.3 of Neverness to Everness, holds six Anomaly Commissions. All of them are one-time clears, all of them feed Duskmoor exploration points, and those points stack toward district rewards that include three Fabricated Dice. Most sit within driving distance of Teardrop Lake and the Duskmoor Wertheimer Tower, so a single loop can cover the lot.
Quick answer: Track each Duskmoor Anomaly from the Anomaly Commission menu in the bottom-right corner of the map, then clear the six of them around Teardrop Lake, the Duskmoor Wertheimer Tower, the gas station, and Foliage Row. Only one, Fawn Alone, has a gate on it: it appears when the in-game clock sits between 23:00 and 00:00.
All six Duskmoor Anomaly Commission locations
| Commission | Location | What clears it |
|---|---|---|
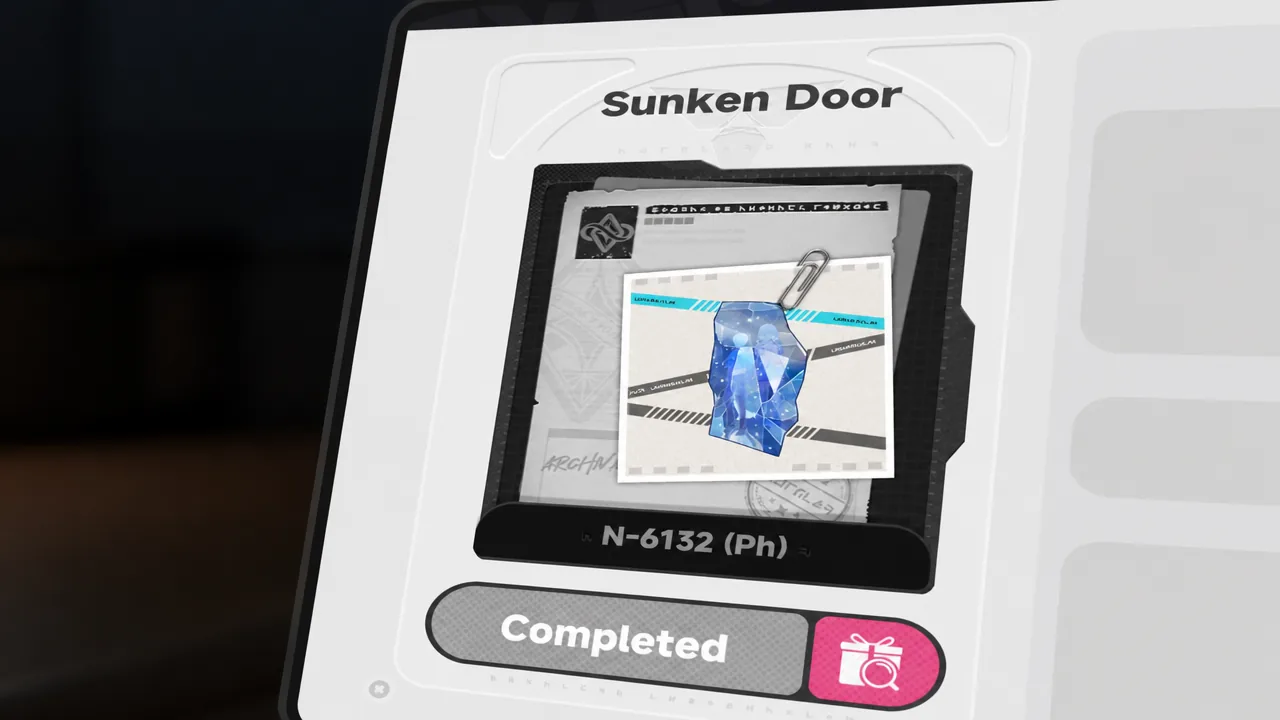
| Sunken Door | Center of Teardrop Lake | Beat the Mirror Wraith |
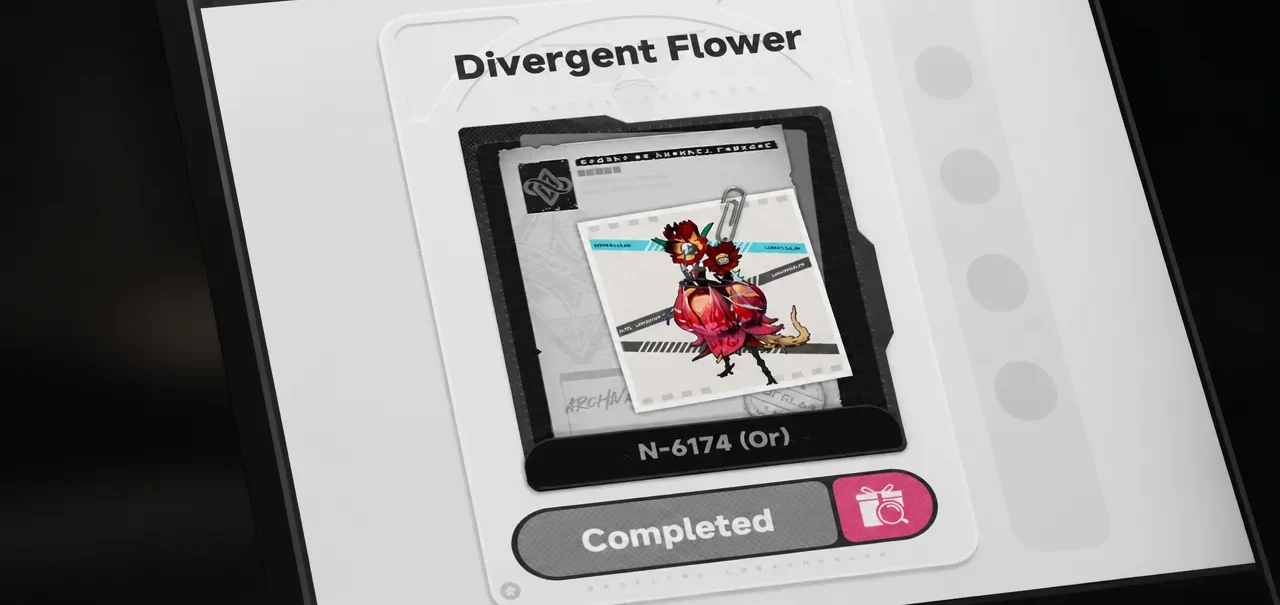
| Twin Blooms (Divergent Flower) | Northwest of the Sunken Door site | Wipe three enemy packs |
| Fawn Alone | Intersection northeast of the Duskmoor Wertheimer Tower | Follow the fawn at midnight until it vanishes |
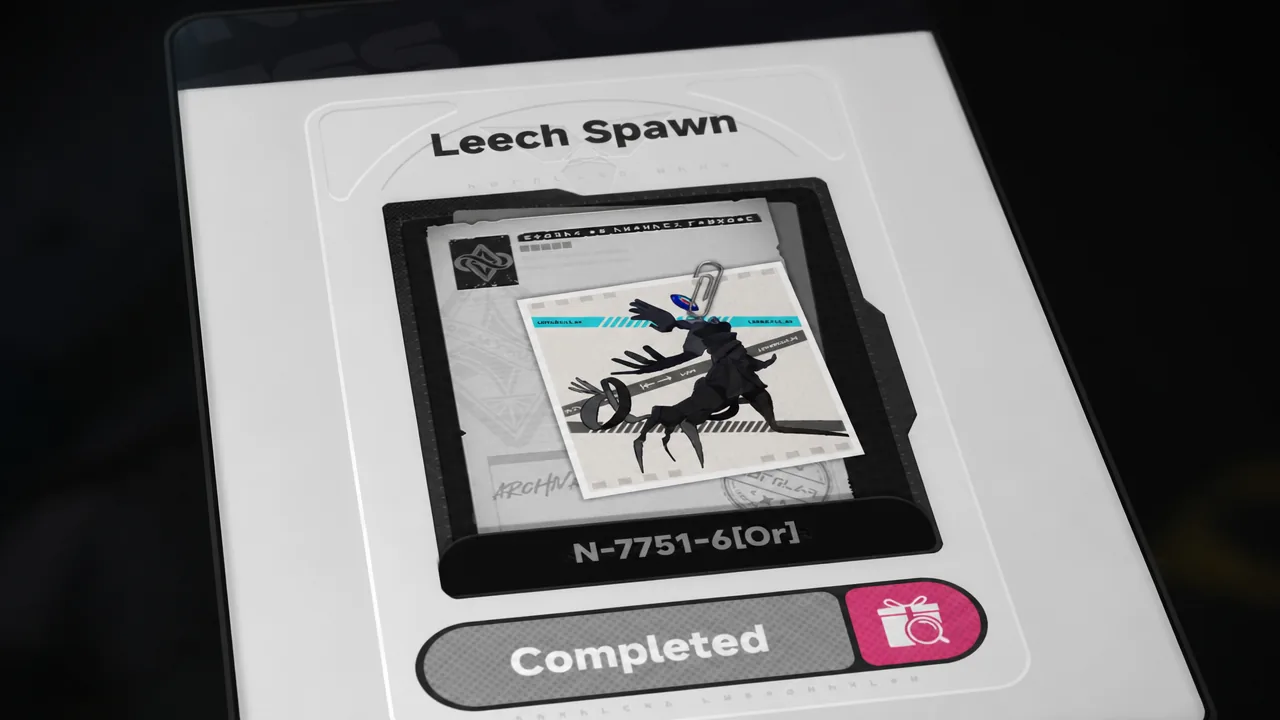
| Lantern Parade (Leech Spawn) | Near the gas station northwest of the Fawn Alone crossing | Chase the shadow with “Lights On”, then fight |
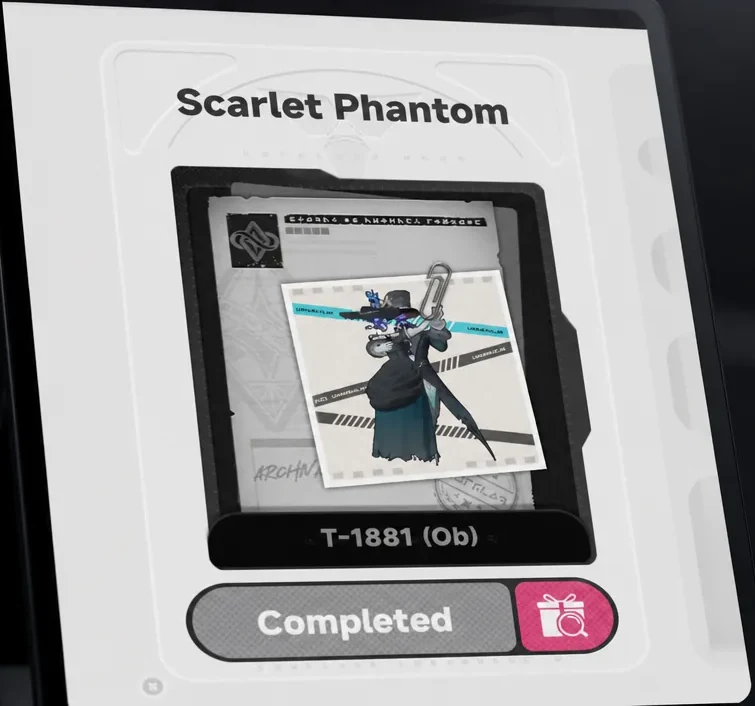
| Finale: Da Capo (Scarlet Phantom) | Small house north of the Rero Rero Phonebooth, north of Teardrop Lake | Contain it, take the ring, kill it on its return |
| Storybook Skirmish (Saddy Teddy) | Foliage Row | Defeat the Anomaly |
Tracking a Duskmoor commission before you drive out
Open the world map, then open the Anomaly Commission menu from the bottom-right corner and pick the Duskmoor entry you want. Each file gives you a rough location clue rather than an exact pin, and the marker drops you in the right area rather than on top of the Anomaly. Enemies and bosses tied to commissions scale to your level, so nothing here has to be done in a fixed order.
Tip: Duskmoor is built for vehicles, and two of these commissions want water travel. Keep a boat or jet ski handy before you head for the lake.
The two straight fights: Twin Blooms and Storybook Skirmish
Twin Blooms, also listed as Divergent Flower, sits northwest of the middle of Teardrop Lake and asks for nothing beyond combat. Three packs of the Anomaly spawn inside the marked circle, and clearing all three closes the file. There is no timer and no puzzle layer, so it is the easiest one to sweep up on the way out of the lake.
Storybook Skirmish works the same way. Fast travel into Duskmoor, make your way to Foliage Row, and defeat Saddy Teddy to bank the exploration points. Saddy Teddy also shows up elsewhere in Hethereau as a separate commission, so make sure you are tracking the Duskmoor entry when you go looking for it.

Sunken Door: beating the Mirror Wraith in the middle of Teardrop Lake
Teleport to the point south of Teardrop Lake, summon a boat or jet ski, and ride out to the center of the water. The Mirror Wraith boss fight starts there, and it changes how you should build your team.
The Wraith copies whichever character you have out. Swap, and it swaps too, which means your rotation never gets far enough to trigger Esper cycles and your supports contribute almost nothing. Bring one strong damage dealer and ignore team synergy entirely, then burn the boss down while staying on that single character.
Lantern Parade and Finale: Da Capo need an interaction first
Lantern Parade, listed with the Leech Spawn Anomaly, sits near the gas station northwest of the Fawn Alone crossing. A shadow hops between the lampposts along the road, and you follow it by using the “Lights On” prompt at each one. Once the chase ends, enemies spill out of the shadow, and killing them finishes the commission.
For Finale: Da Capo, teleport to the Rero Rero Phonebooth north of Teardrop Lake and walk north to the small house. Approach the Scarlet Phantom to contain it, take the ring off the chair, then hold position until the phantom comes back and defeat it. Grabbing the ring is the part people skip, and the phantom does not return without it.
Fawn Alone only spawns at midnight
The Fawn Alone Anomaly waits at the intersection northeast of the Duskmoor Wertheimer Tower, but it will not be there in daylight. Change the in-game time so the clock reads between 23:00 and 00:00, and the fawn appears at the crossing.
From there the objective is to trail it. Follow the fawn across the map until it disappears on its own, and the commission resolves. If you lose sight of it, the sparkling glimmer it leaves behind marks the path it took, and returning to the intersection northeast of the tower puts you back on its trail.
How to confirm a Duskmoor commission actually closed
Reopen the Anomaly Commission menu and check the file. A cleared Duskmoor Anomaly is stamped as Completed, and the reward button on the entry becomes available to claim. If the file still shows as open, the usual causes are narrow: the fawn was not followed to the point where it vanished, the ring was never picked up at the small house, or one of the three Twin Blooms packs is still alive inside the marked area.
Clearing all six pushes Duskmoor exploration progress forward, which is where the Fabricated Dice and the rest of the district’s payout come from. Since these are one-time files, there is nothing to farm here afterwards, and the district’s racing courses, fishing spots, and water activities are what remain once the Anomalies are quiet.