The Ossinite Falls Beacon in Mortal Shell 2 hides a short but dense run. You cleanse the beacon by clearing a corrupted nest, then push deeper into the caverns to collect two Tarstones before crossing a bridge into the Strange Grisha fight. Finishing the encounter hands you the Strange Remnant Tarstone.
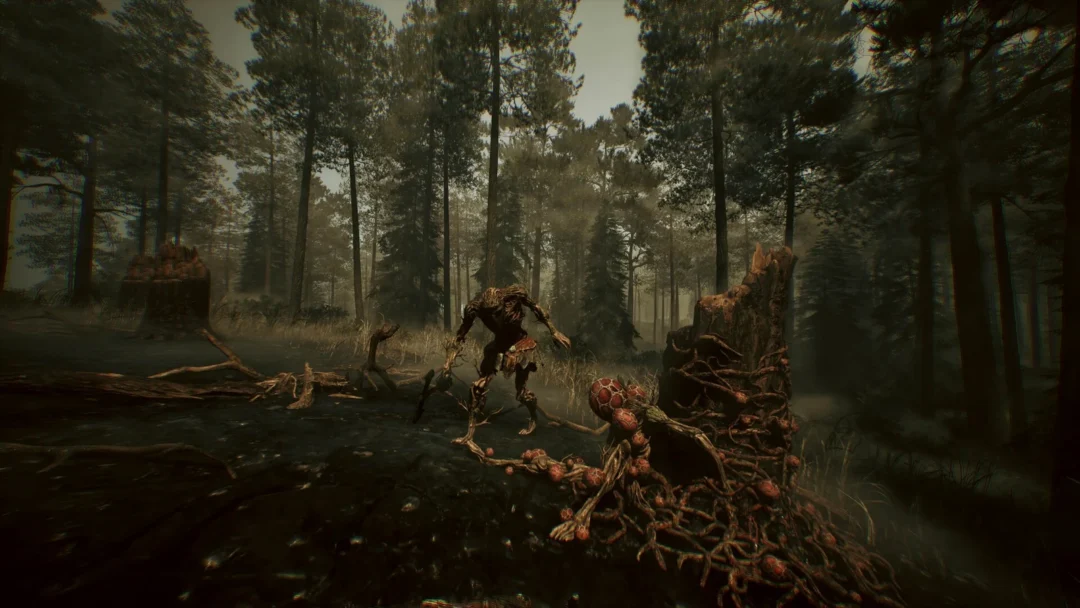
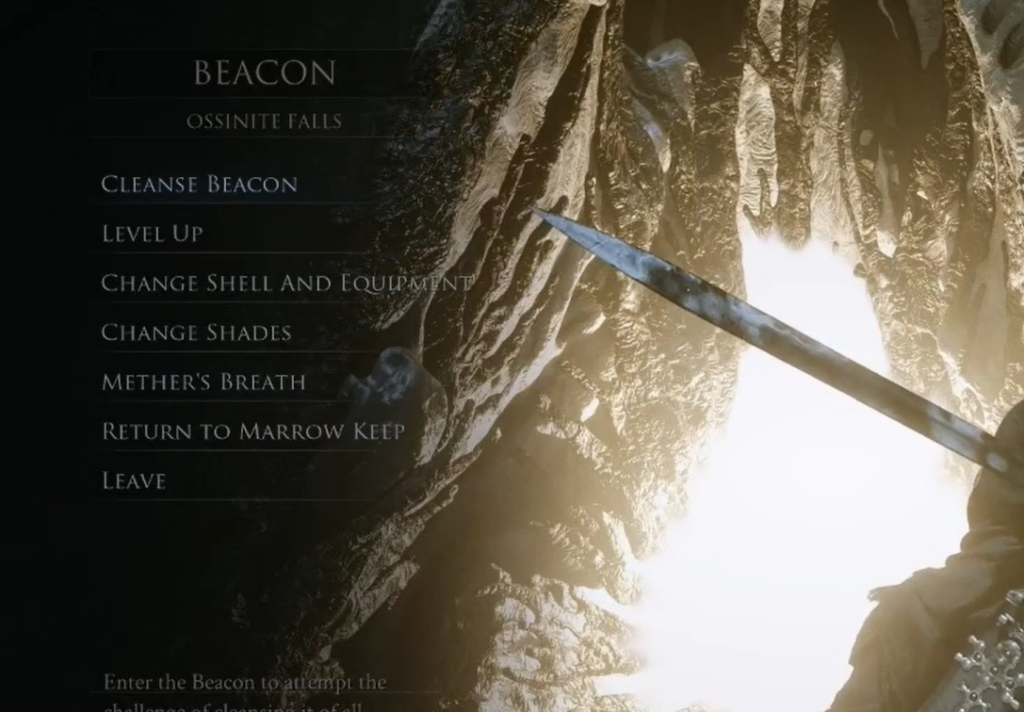
Quick answer: Activate the Ossinite Falls Beacon and pick Cleanse Beacon, kill the Broodshell enemies in the Broodshell Nest, cleanse the corrupted node, then collect the Ovum and confirm the return to the beacon. Once it reads BEACON CLEANSED, follow the caverns and cross the wooden bridge to trigger and defeat the Strange Grisha for the Strange Remnant.
Cleanse the Ossinite Falls Beacon
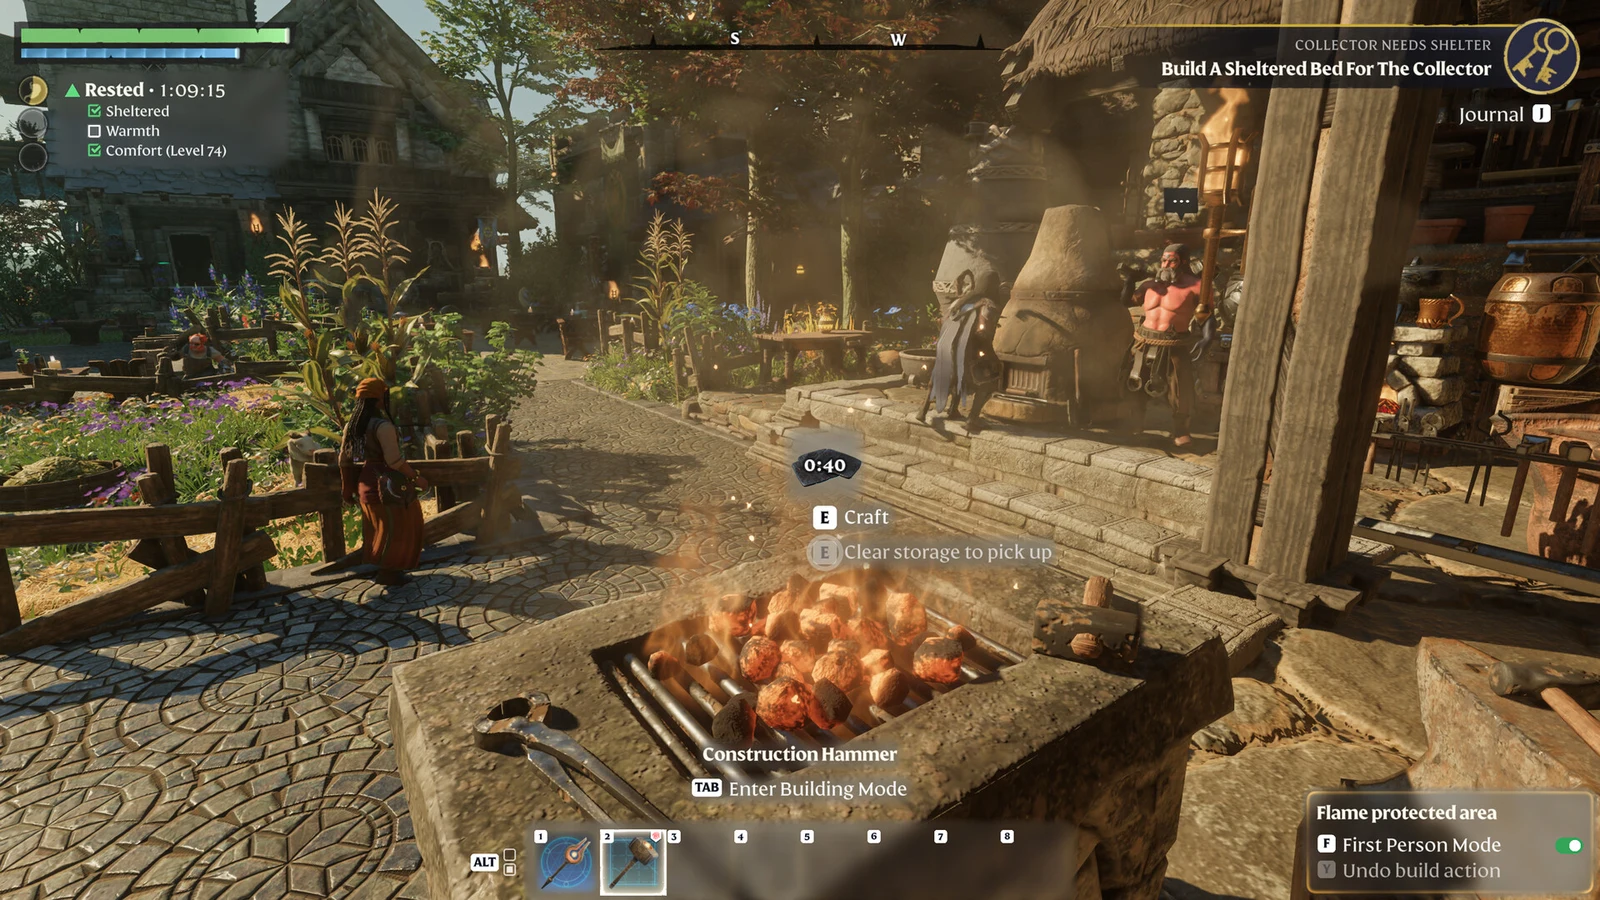
Cleansing works the same as other Corrupted Gate beacons. You enter a portal, defeat everything inside the nest, remove the corruption, and carry the Ovum back to complete the process.
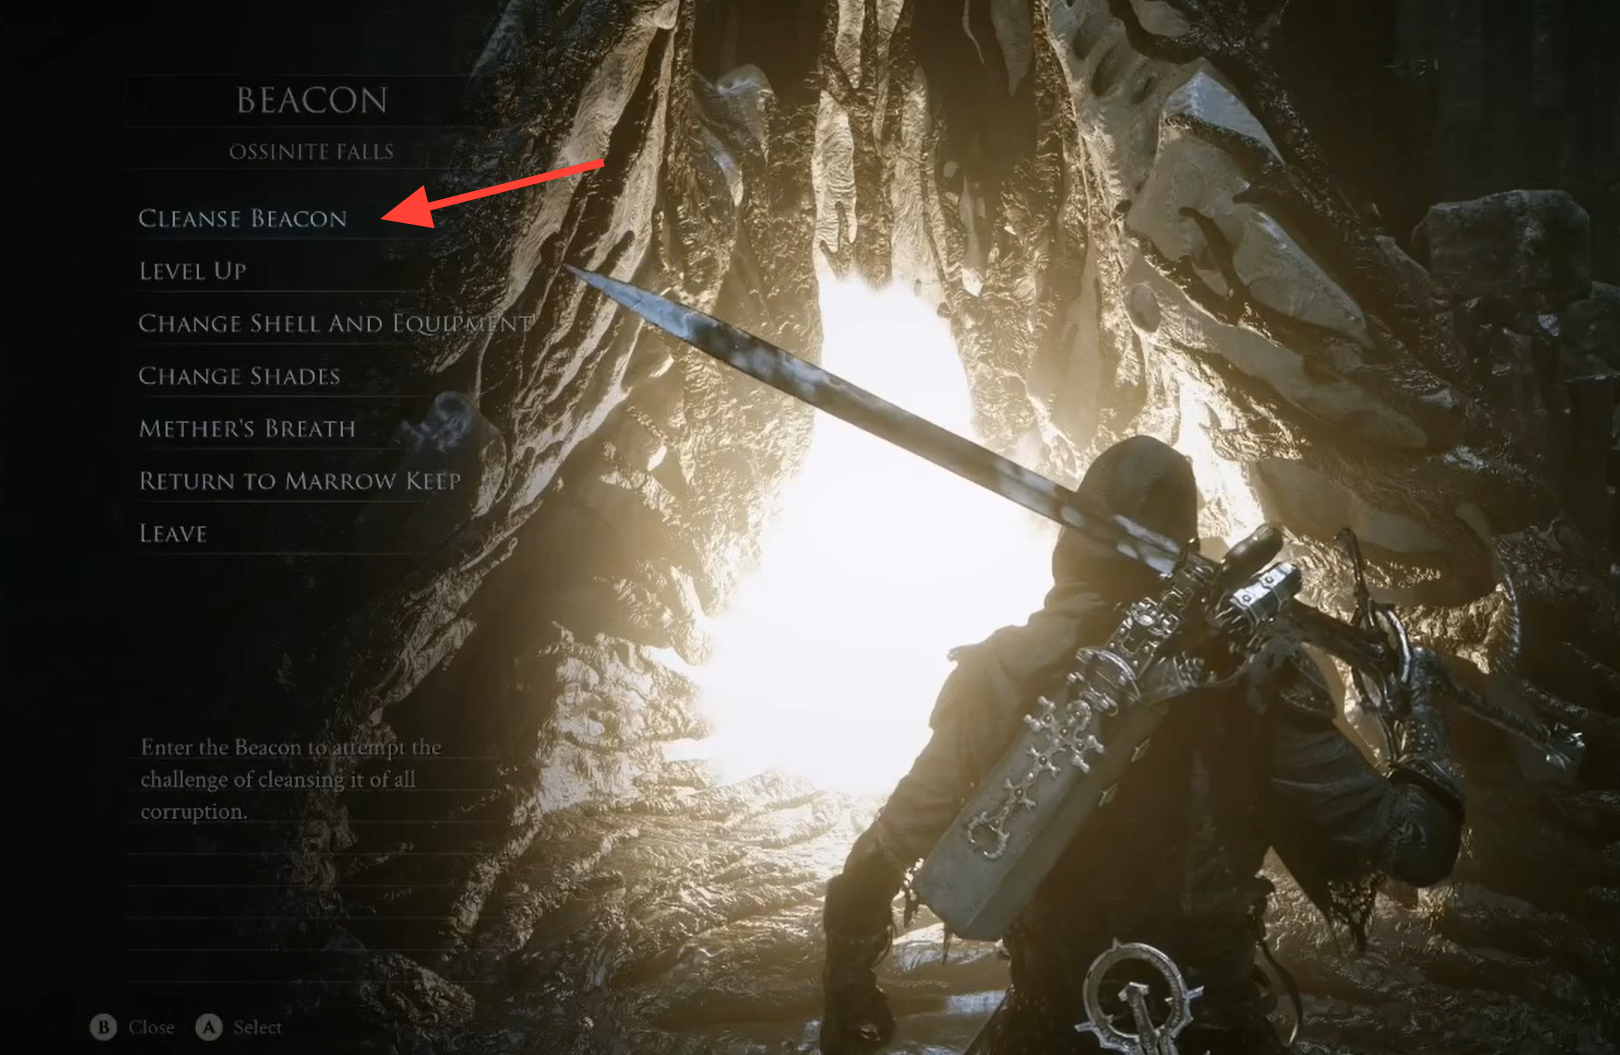
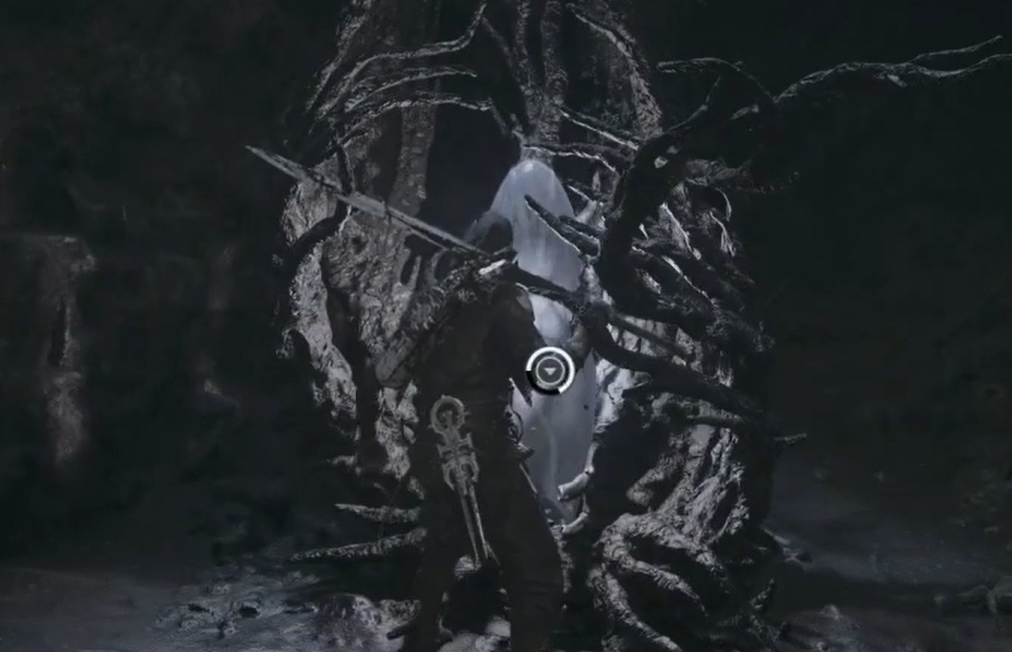
You know it worked when the screen confirms BEACON CLEANSED and you land back in the main area. From here you can level up, change your shell and equipment, or return to Marrow Keep.
Tarstones to grab before the boss
Two Tarstones are tucked into the caverns on the way to the arena. Pick them up before you commit to the bridge so you do not have to backtrack.
| Tarstone | Where to find it | Effect |
|---|---|---|
| Torpor Stone | In a chest inside the cave, guarded by a white wolf-like enemy | Inspected in the Tarstones inventory after pickup |
| Accursed Stone | Equipped from the Tarstones menu | Infuses sidearms with Curse on critical hits |
Defeat the white wolf blocking the chest, loot the Torpor Stone, then open the Tarstones menu to equip the Accursed Stone if you want extra Curse on your sidearm.
Reach and beat the Strange Grisha
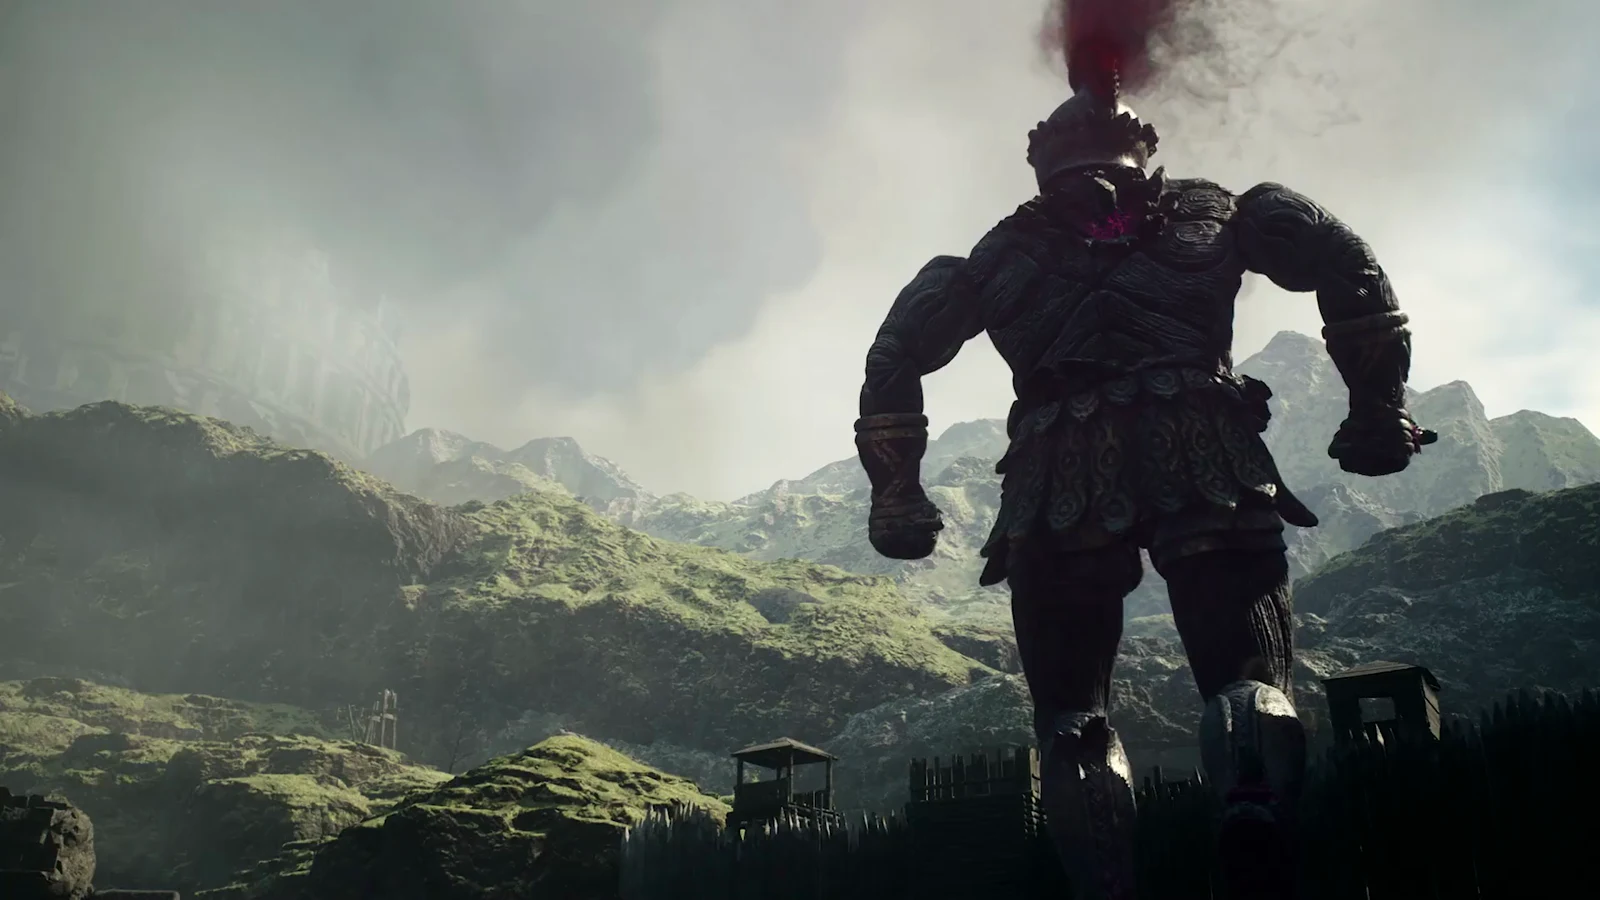
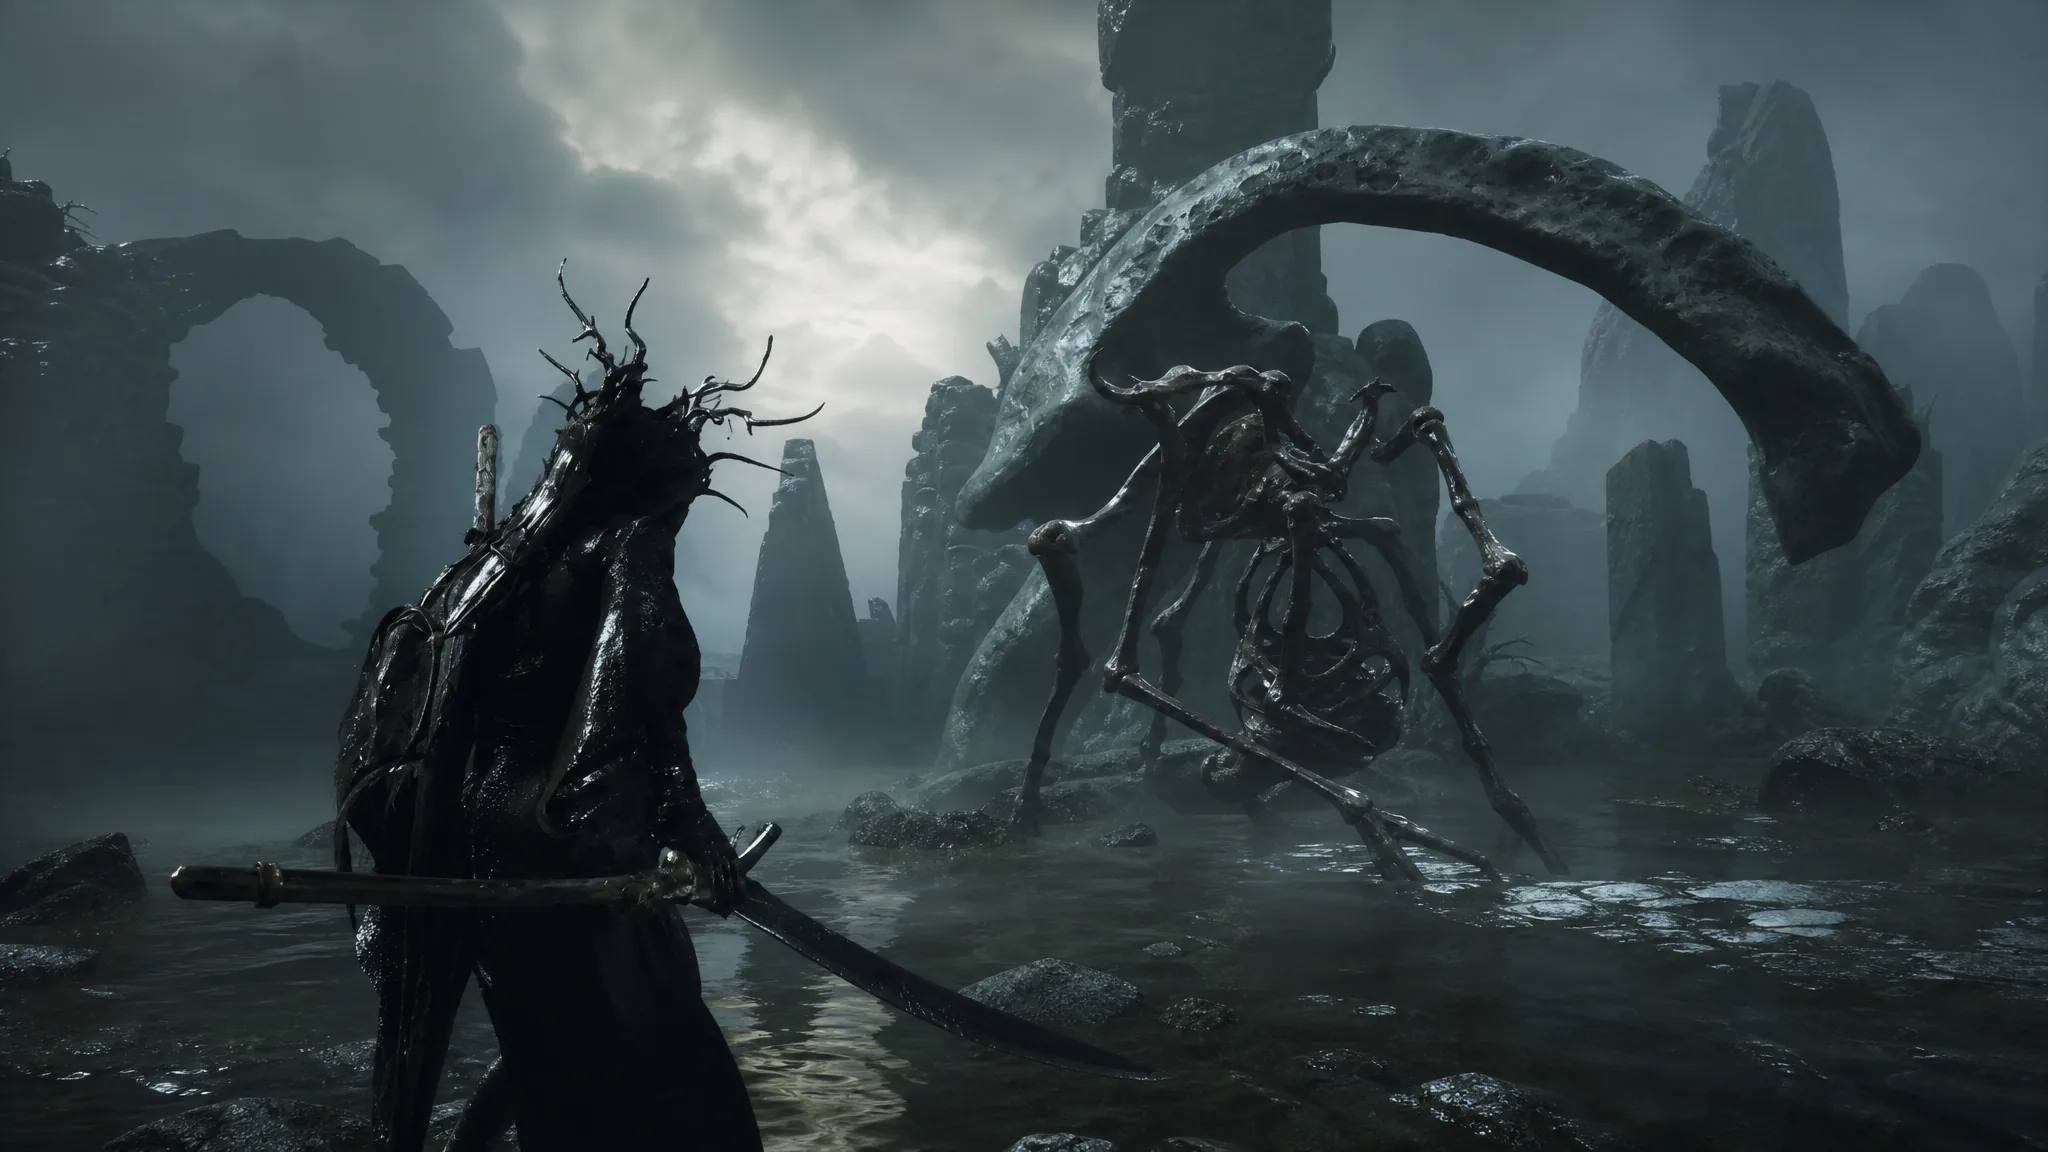
The Strange Grisha waits past the caverns, on the far side of a wooden bridge. The path there runs through a dark swamp packed with spider-like enemies and ghouls.
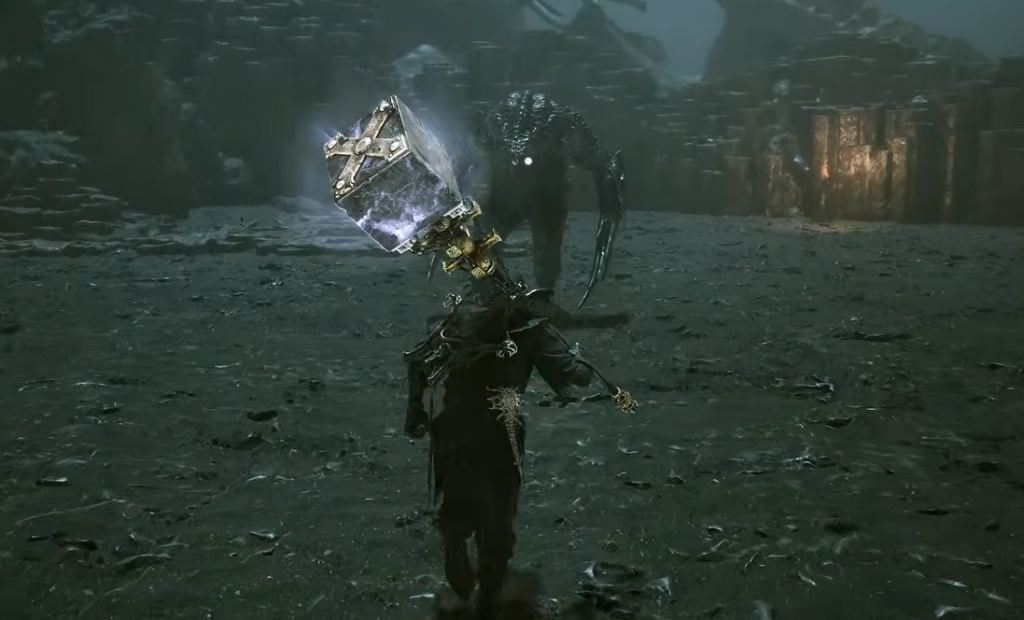
The win registers when the boss goes down, and the STRANGE REMNANT Tarstone drops. Inspect it in your Tarstones inventory to confirm you received it. After the fight, you are free to explore the arena and test any ranged weapon you brought along.
With the beacon cleansed, both Tarstones in your kit, and the Strange Remnant secured, the Ossinite Falls run is fully cleared. The Accursed Stone in particular is worth slotting onto a sidearm build if you lean on critical hits, while the Strange Remnant gives you another option to weigh in the Tarstones menu.