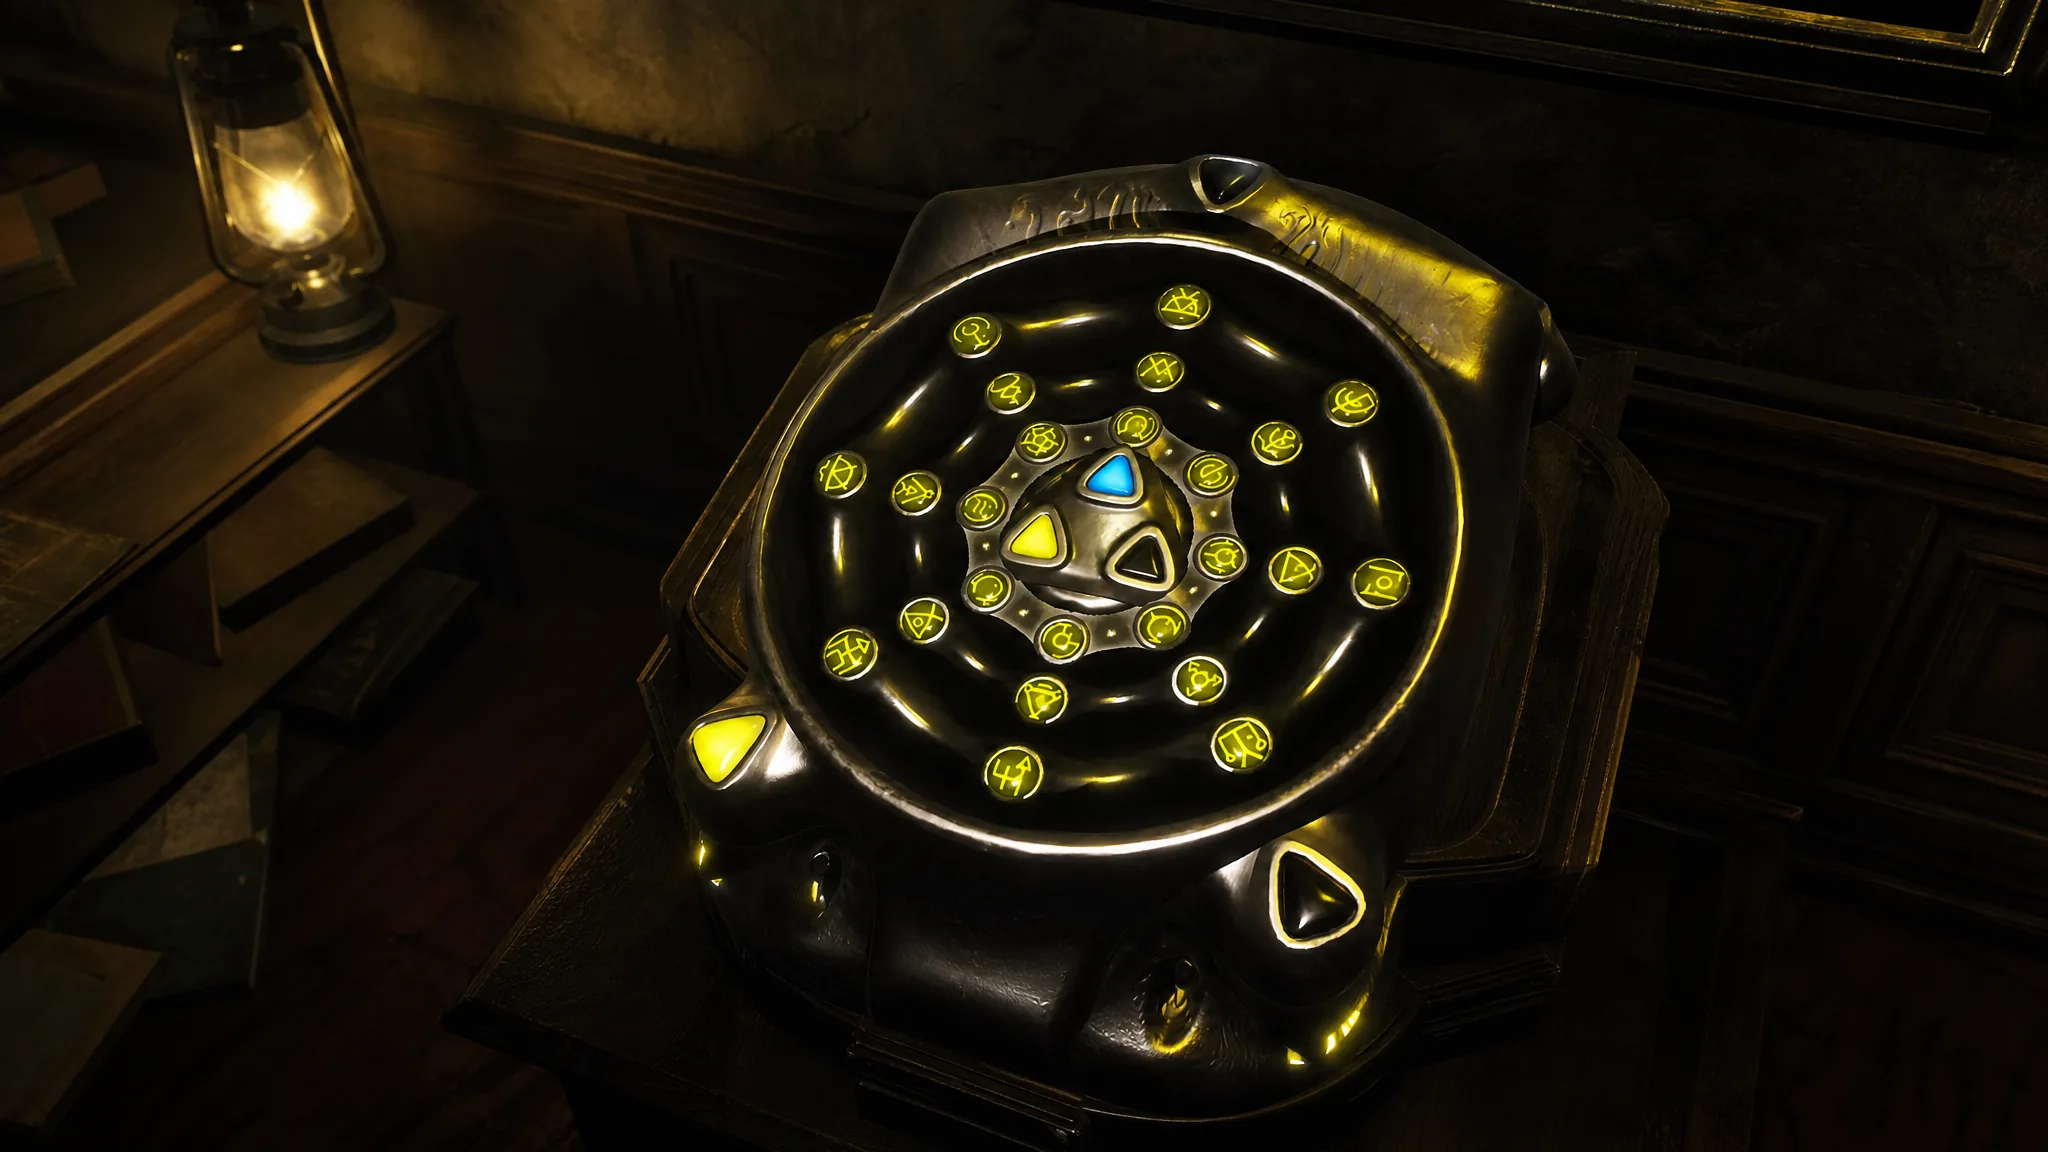
The prism is a three-eyed device you have to power back up during the hospital chapter of The Sinking City 2. It only works once all three of its eyes are lit, and each eye is fed by a separate recharge station hidden in a different part of Akeley Memorial Hospital. The blue station sits near the barrier, the yellow one is tucked inside the chapel, and the pink one waits in the basement behind a locked door and a boss.
Quick answer: Carry the prism to all three stations, place it in each one, and rotate its three rings until the symbols line up with that station’s color. Do the blue station first, the yellow station next (you need Father Nathaniel’s face), and the pink station last (you need the Vertebral Key plus Lowe’s face and must beat a boss). With all three eyes glowing, drop the prism into the barrier’s terminal by Faye’s body.
What you need before starting each station
Two of the three stations are gated behind items you collect elsewhere in the hospital, so the order matters. You can reach the blue station right away, but the yellow and pink stations require face masks and a key. Grab those first to avoid backtracking.
| Station | Location | Requirement |
|---|---|---|
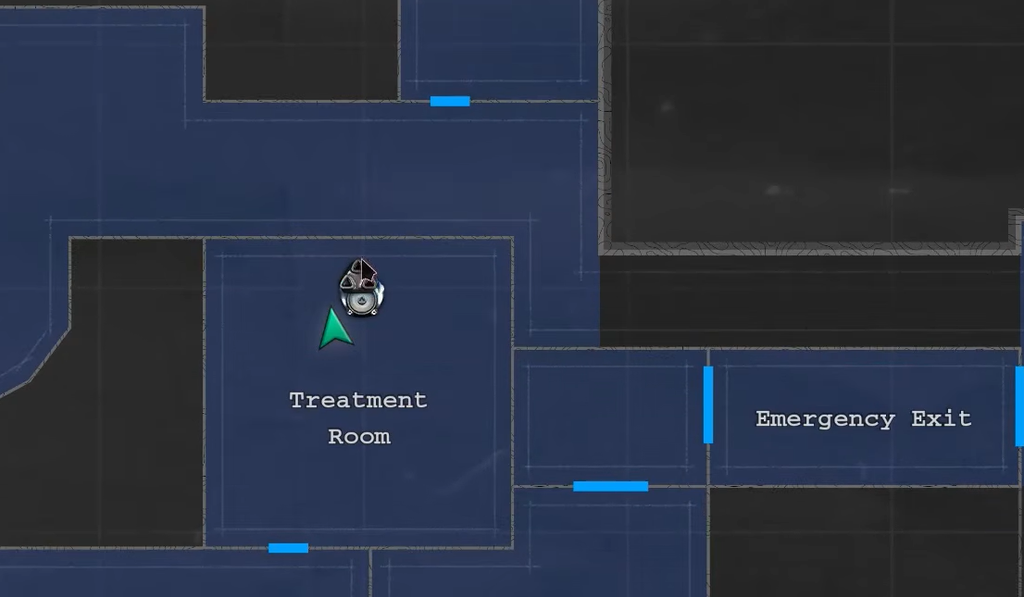
| Blue | Treatment Room, north of Faye’s body | None |
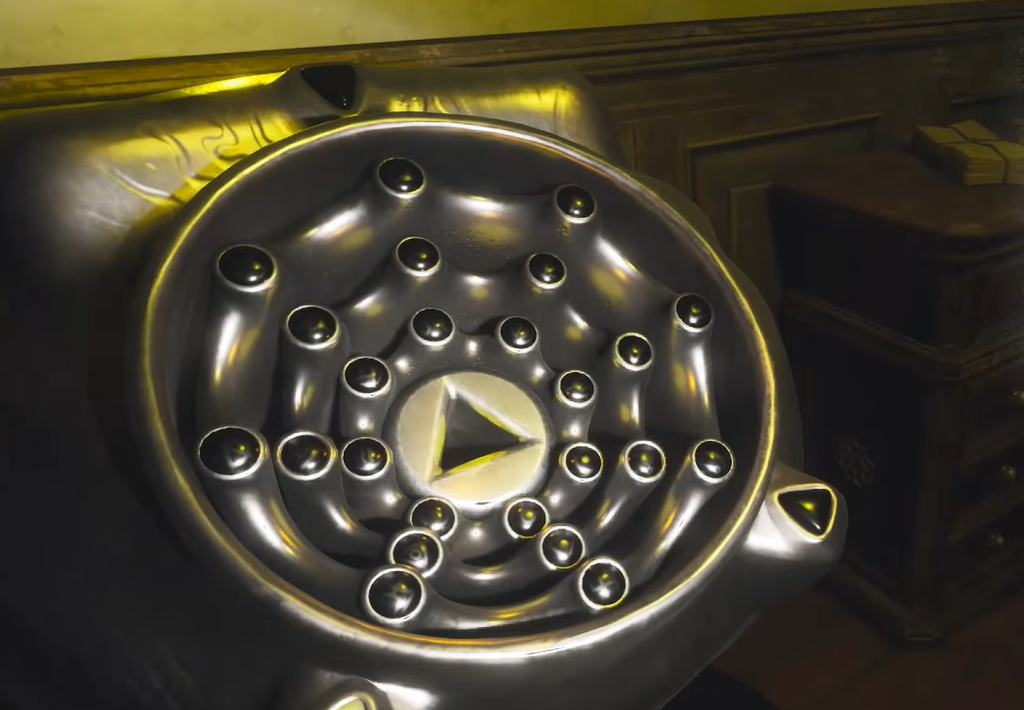
| Yellow | Priest’s Room off the Chapel | Father Nathaniel’s face |
| Pink | Manipulations Room, basement | Vertebral Key + Lowe’s face, and a boss fight |
The Vertebral Key comes from the Head Surgeon’s Office on the second floor. Lowe’s face appears in a room behind the chapel, and you only reach it after you power the yellow station. That dependency is why the pink station has to come last.
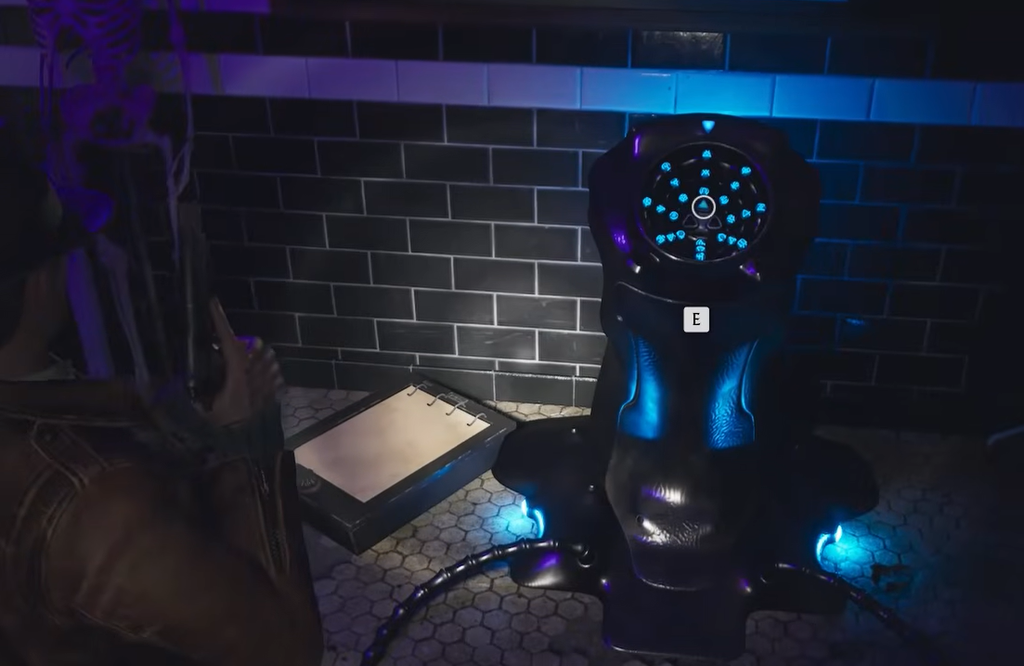
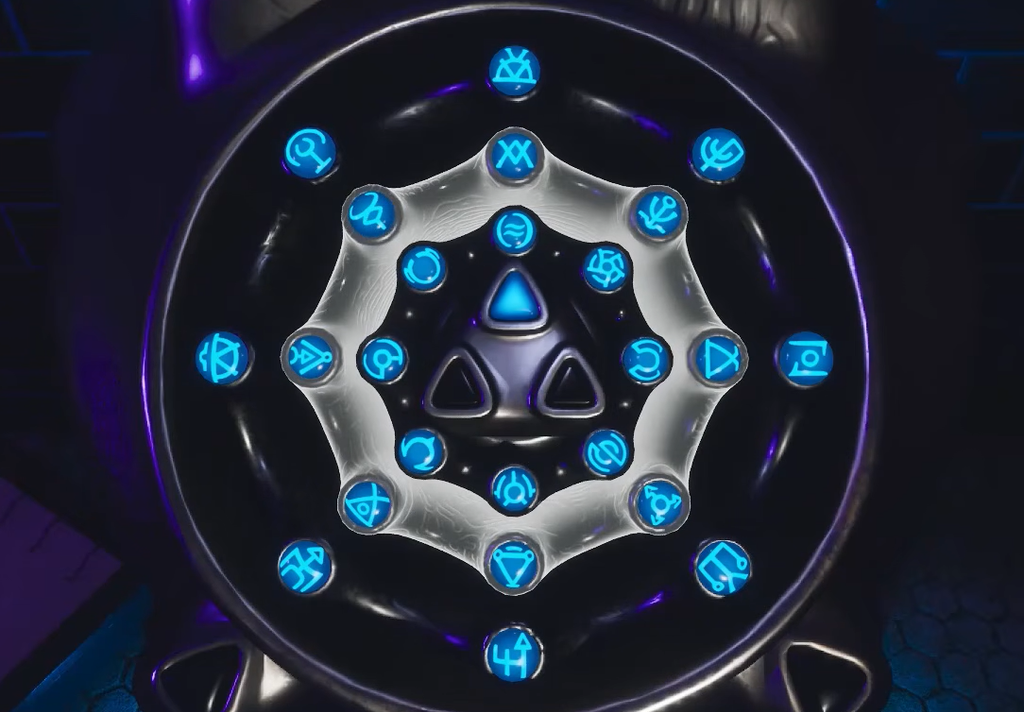
Blue recharge station (Treatment Room)
Yellow recharge station (Chapel)
Pink recharge station (basement)
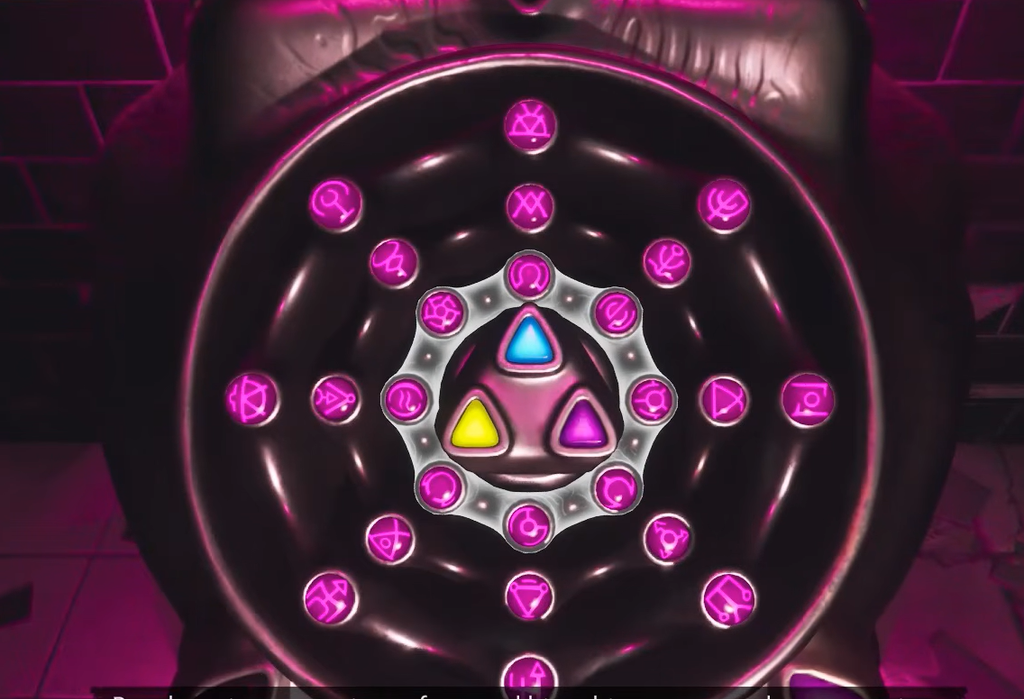
Note: All three stations use the same mechanic. You are not entering a numeric combination, you are rotating the prism’s rings so the symbols on each ring line up with the color you’re charging. Match, then hold to confirm.
Finish the puzzle at the barrier terminal
Once all three eyes glow at the same time, the prism is fully charged. Follow the basement path that leads back to the room holding Faye’s body, then slot the prism into the barrier’s terminal. That final placement drops the barrier and pushes the chapter forward, which is how you know every station registered correctly.
If the terminal won’t accept the prism, one of the eyes is still dark. Return to the station whose color isn’t lit and re-check the ring alignment, since the symbols only lock in when every ring matches. Getting all three to hold at once is the only requirement to trigger the ending of this hospital sequence.