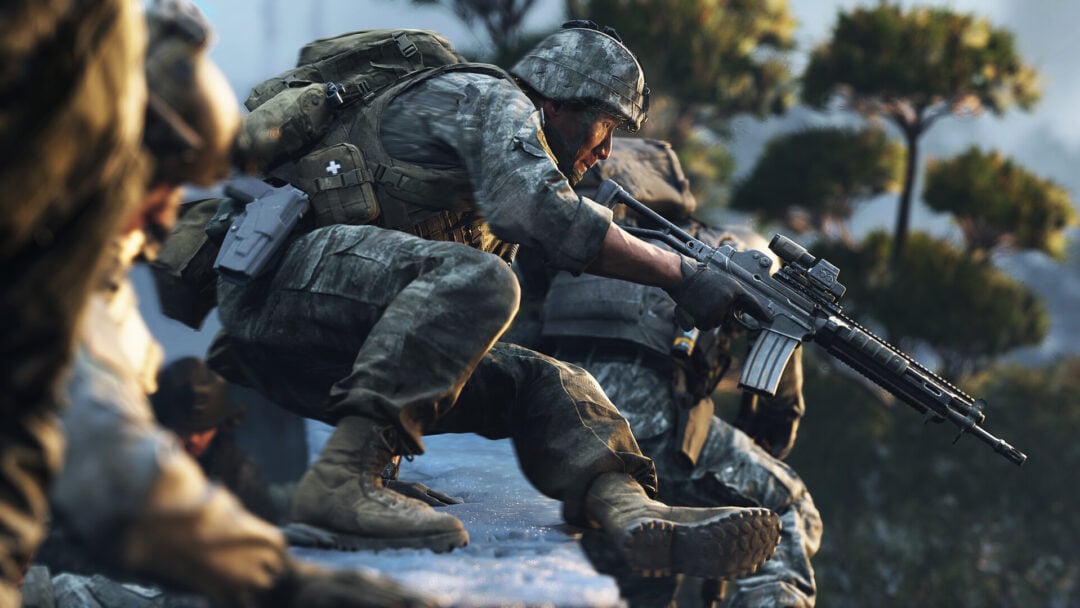
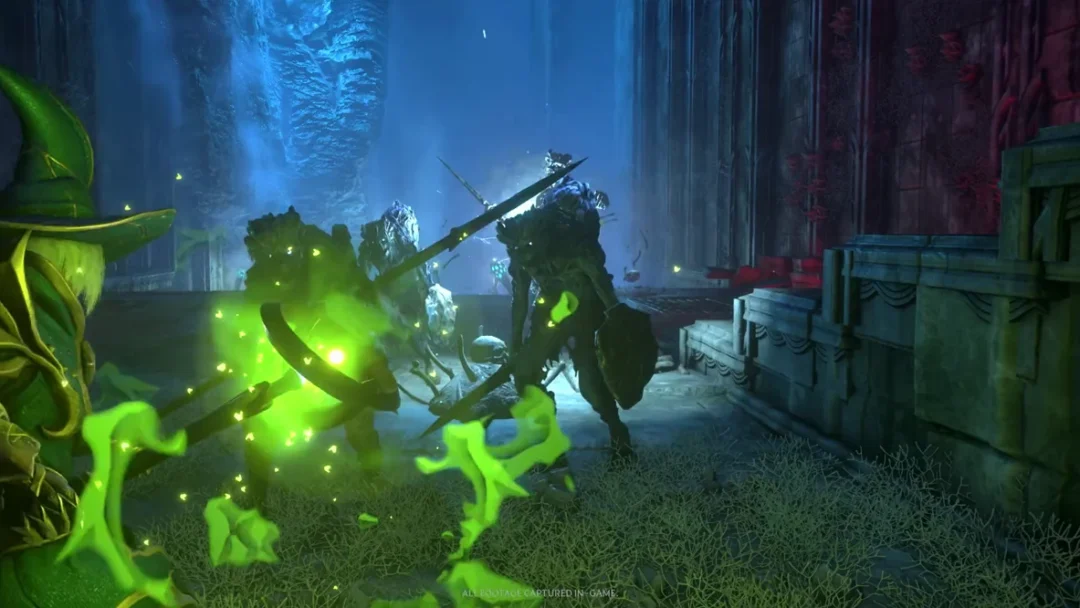
Stranded is the tenth mission of the Modern Warfare 4 campaign, and it swaps the series’ usual linear corridors for an open stretch of snowbound North Korean terrain. You play as Private Park Hyun-Jun, part of a stranded strike team working with Captain Kal, Sergeant Jae, Corporal Dunn, Lieutenant West, and defector liaison Ko Jin-Hyuk after a crash leaves them cut off behind enemy lines. The map hands you three sabotage targets and lets you decide the order.
Quick answer: Stranded is mission 10, an open sandbox where you disable three targets in any order: the Jamming Station, the SAM Site, and the Bunker. It is single-player only, with no co-op.
Base camp, crafting, and loadout upgrades
The mission revolves around an underground safehouse that acts as a hub. Crafting and repair benches there turn scavenged supplies into gear, so collected materials can repair damaged weapons like the Han 86 assault rifle or build tactical equipment such as throwing knives, Semtex, and Molotovs. You can also upgrade carry capacity and protection, swapping in a Medium or Large Backpack and stepping up from a 1-Plate to a 2-Plate Armor Vest.
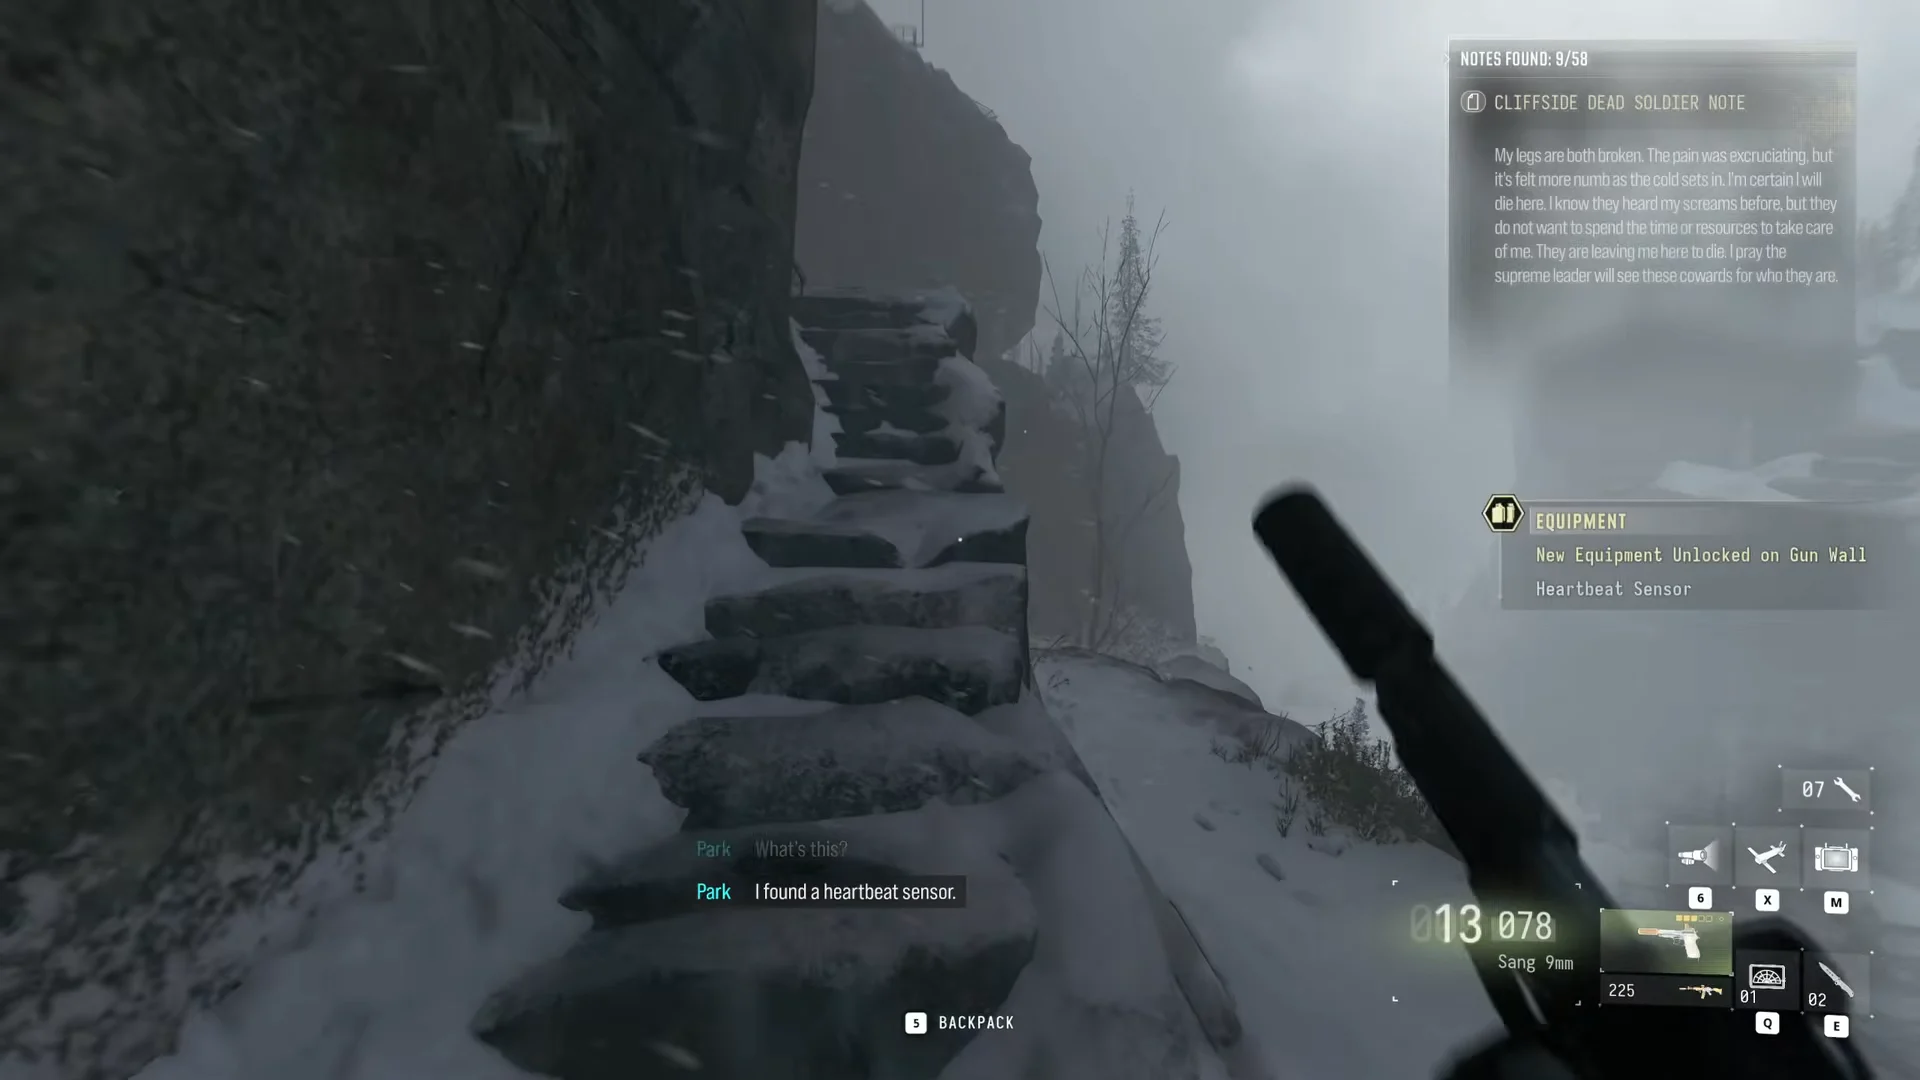
Scattered across the map are cargo containers locked behind electronic keypads. Codes are written on notes left by enemy personnel on a weekly rotation, and one cliffside container near base camp opens with the code 0600. Exploring these outposts, towers, and a sewer network turns up attachments and equipment, including a parachute, a Scout Drone, a Heartbeat Sensor, and Bomb Drones that become central to the main objectives.
The map stays open after the story beats conclude. A prompt warns that finishing the mission saves your Stranded progress separately from the Campaign checkpoint, so you can return through Mission Select to clear outposts and collect crates you skipped.
The three sabotage objectives
All three targets are marked on the TacMap alongside base camp, and none of them is gated behind the others. Each plays out differently.
| Target | Approach | Payoff |
|---|---|---|
| Jamming Station | Mountain climb, stealth, tower assault | Bring down an attack helicopter |
| SAM Site | Amphibious landing, then defense | Detonate the missile launchers |
| Bunker | Night-vision tunnels, generator fix | Secure three crates of explosives |
Jamming Station
The jamming station sits on an elevated plateau reached by a steep, foggy climb. The ascent runs through cliffside patrols, a sweeping search helicopter, and blizzard conditions where the Heartbeat Sensor helps pick out guards before they see you.
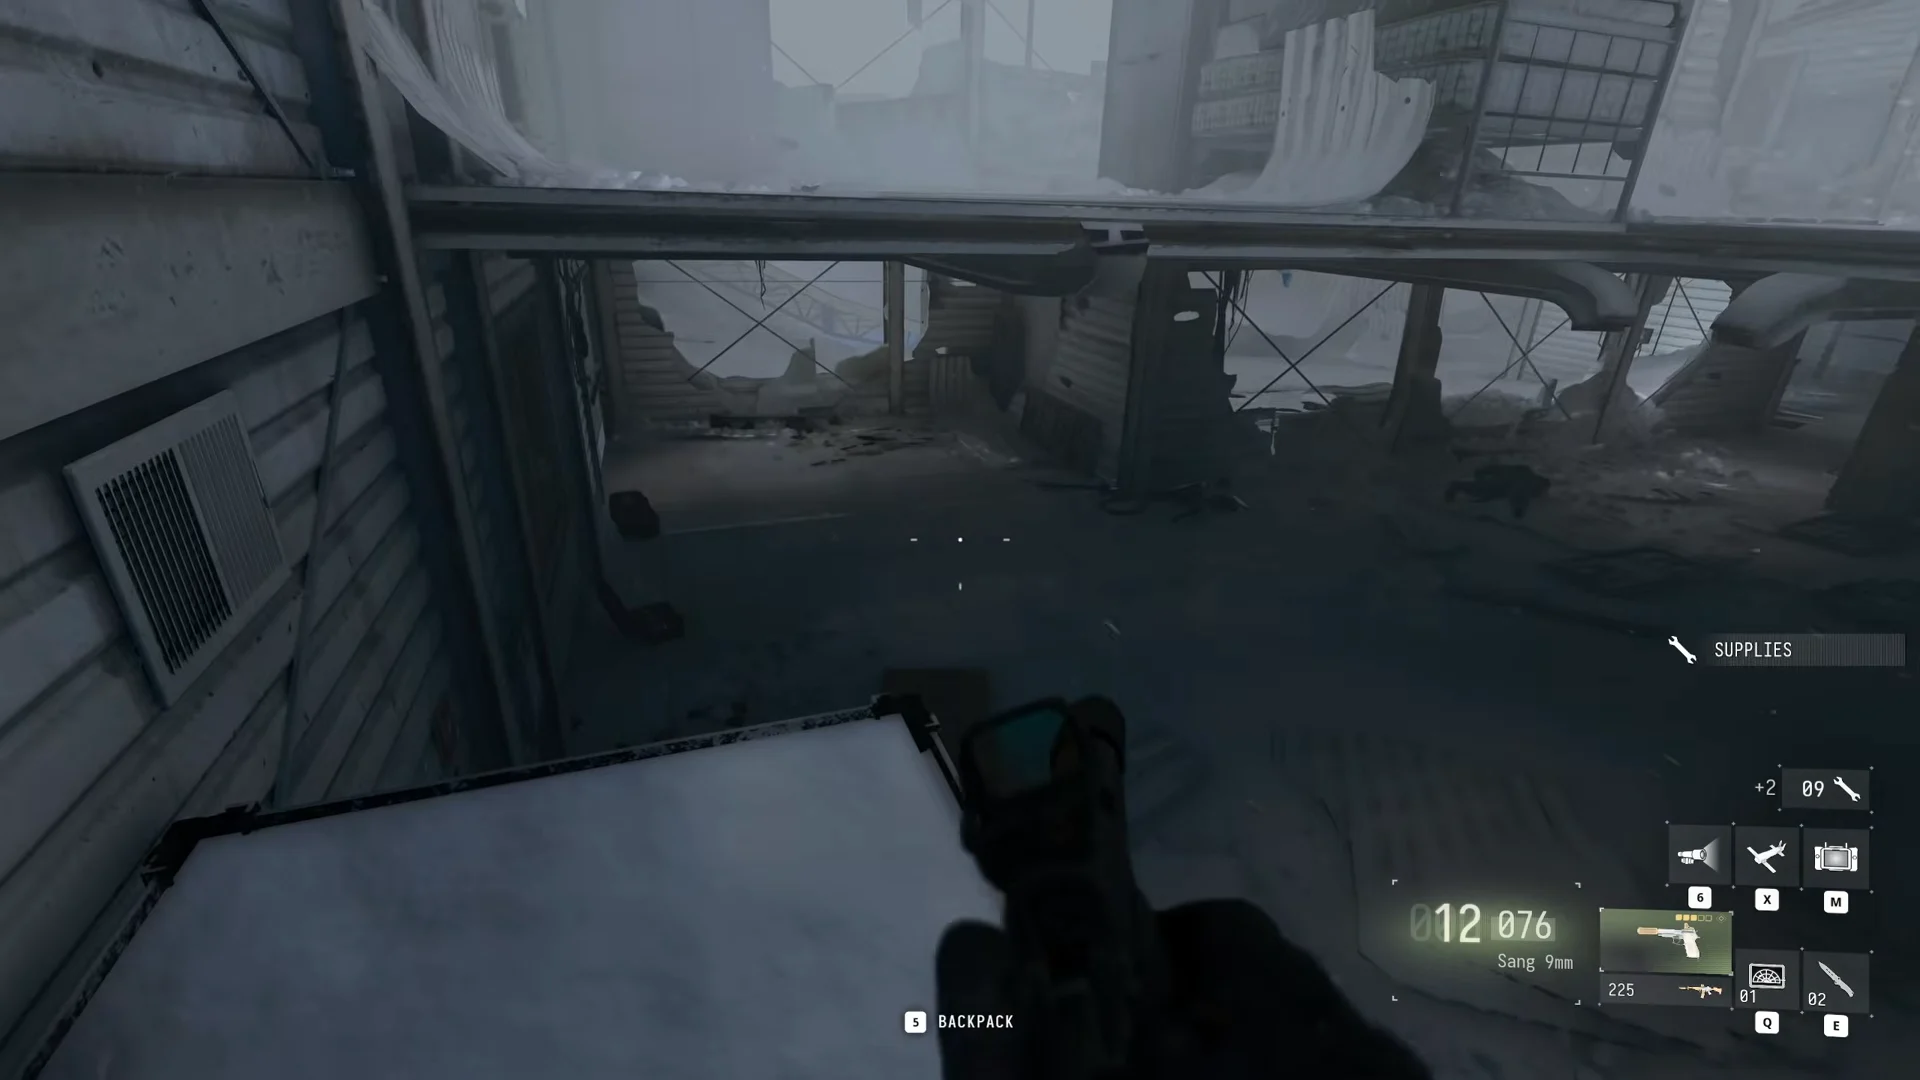
Clearing the depot buildings leads to the transmitter tower itself. On the catwalks you take out the enemy drone operator, grab his tablet, and arm Bomb Drones from the chests up top.
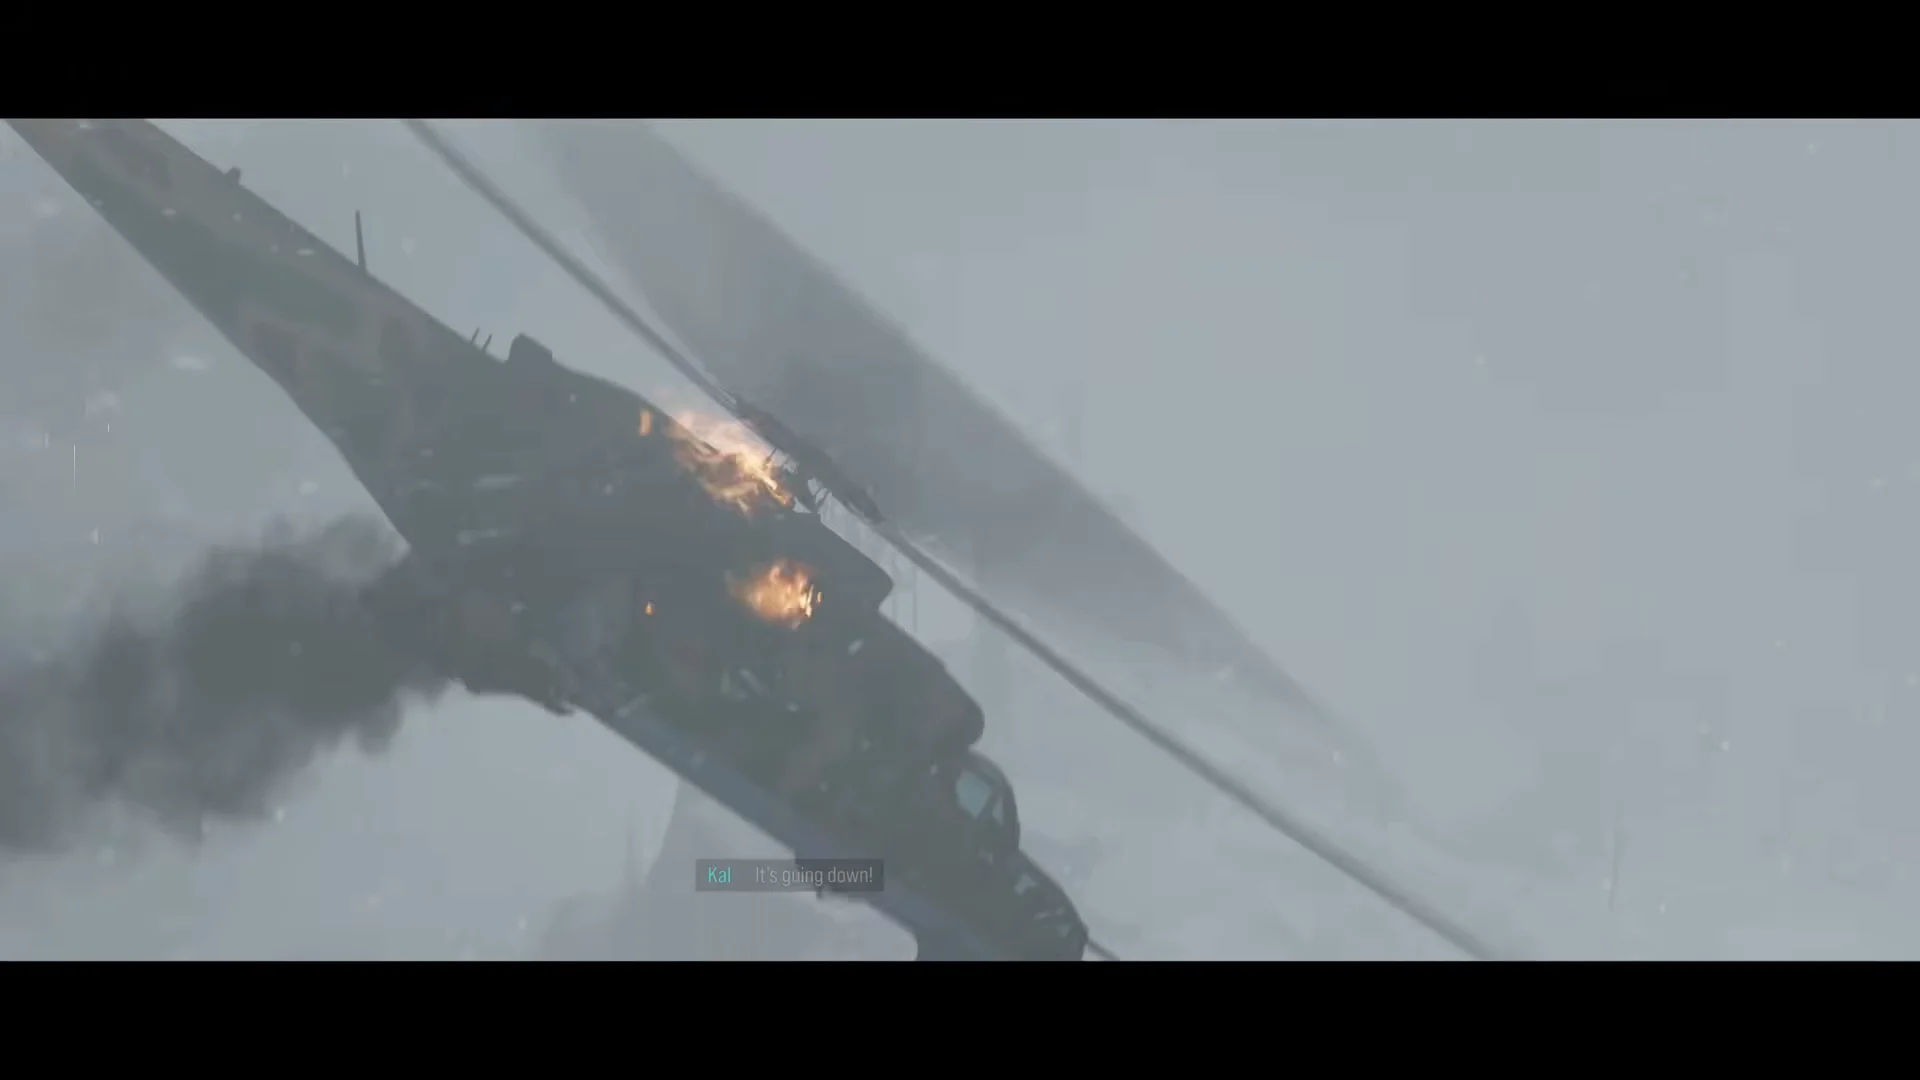
Opening the junction panel on the antenna mast draws in an attack helicopter. Two guided Bomb Drones take it down, and the wreck crashes into the tower. As the structure topples, you deploy the parachute collected earlier and glide to the road below.
SAM Site
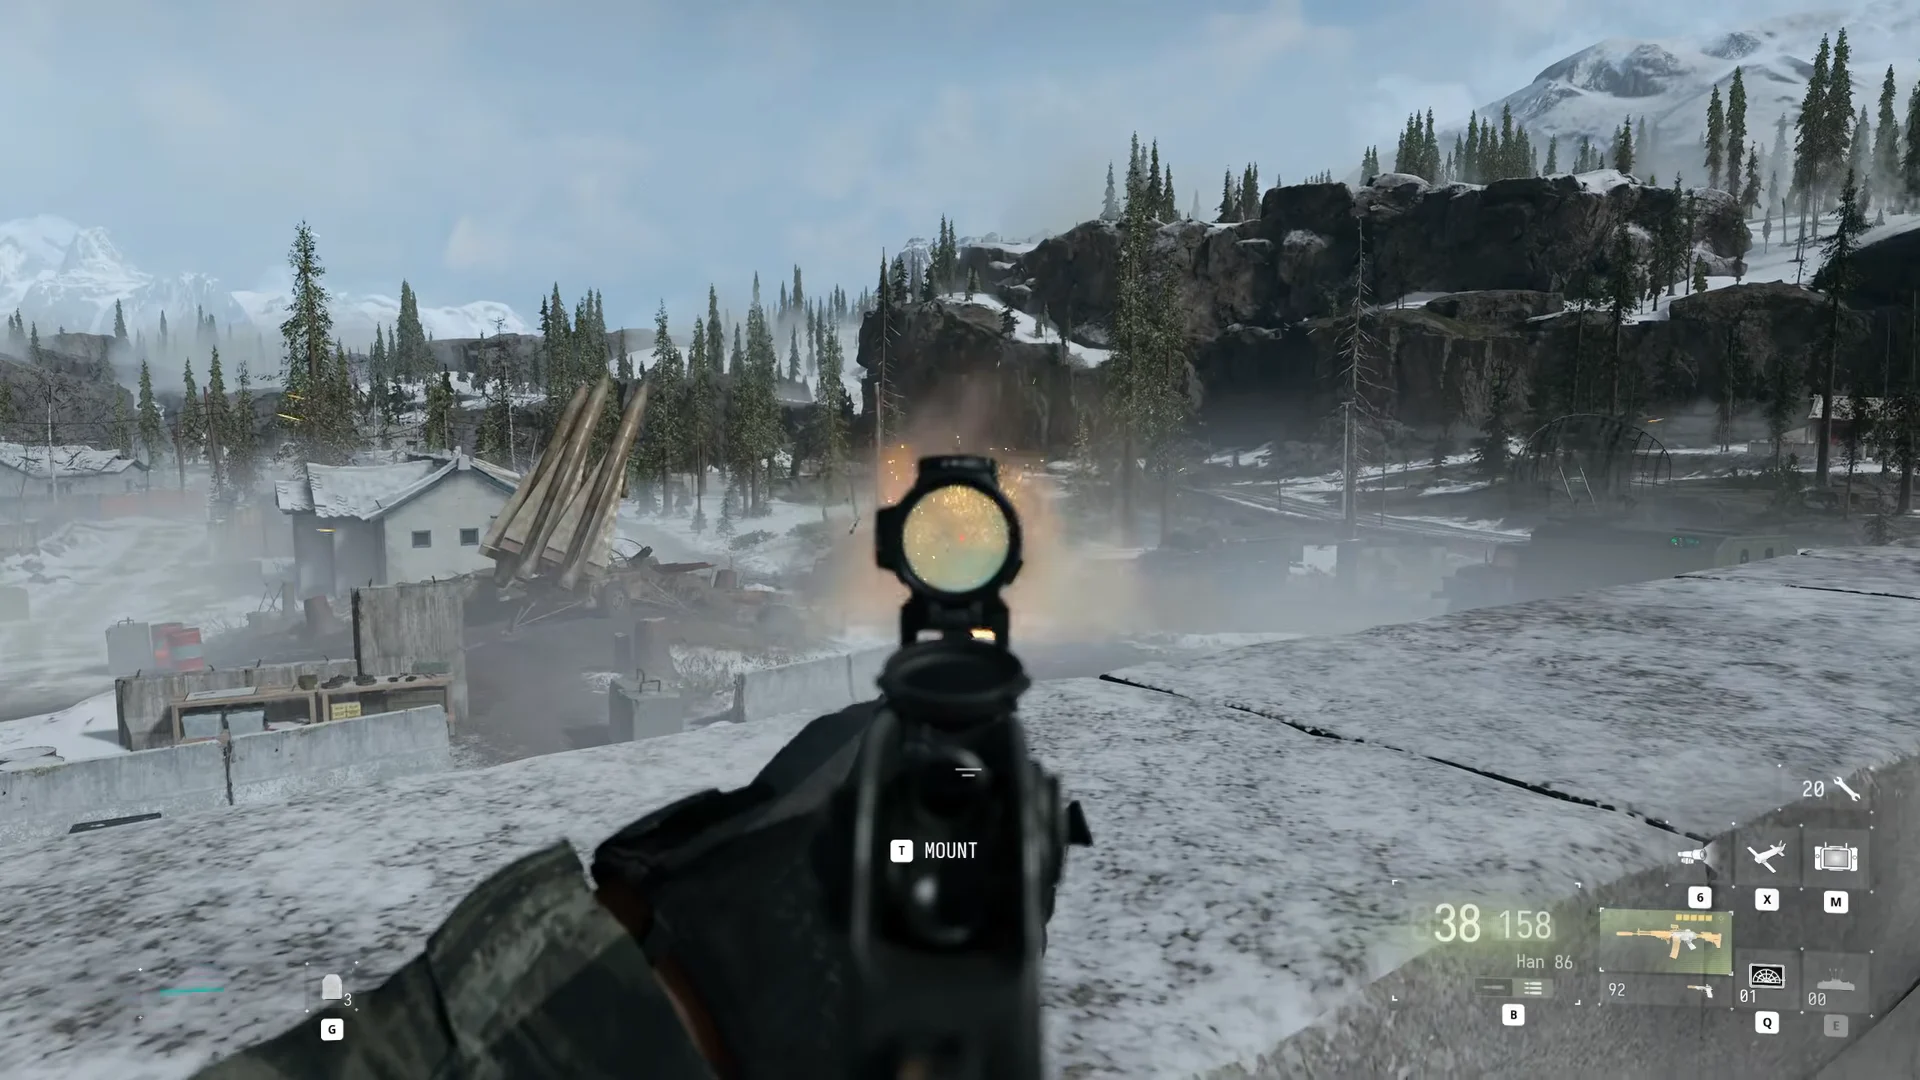
The anti-air installation sits on an island in a lake, so the approach is amphibious. You swim across, take out dock guards from the waterline, and regroup with Dunn and Kal in the village huts before pushing up to the launcher hill around a monument statue.
After setting charges on the missile launchers, the fight turns defensive. Waves of infantry, technical trucks, and snipers press the terrace, backed by two BMP armored vehicles that the Bomb Drones are well suited to destroy. Only once the defenders are repelled do you detonate the launchers and exfil.
Bunker
The bunker is a reinforced facility built into the mountainside. After clearing the perimeter and rooftop, you lift a steel bulkhead hatch and drop into pitch-black flooded tunnels that require Night Vision Goggles to cross.
Progress stalls at an unpowered blast door. Restoring it means diving through a submerged maintenance shaft, splicing a cut wire back together, and pulling the starter cord on a backup generator. With power restored, you fight through a counter-assault to reach the munitions depot and secure three crates of demolition explosives, marked with yellow triangle stencils, before escaping up the exit ladder as water rises.
The story running underneath
Cutscenes cut between Park’s work in the field and North Korean command. Supreme Leader Ri Ju-Young interrogates Ko Jin-Hyuk over the death of her brother and the enemy incursions, then redirects armored patrols to hunt the squad. Ko, working as the team’s defector liaison, quietly steers her counter-intelligence units away from Allied positions and radios Park a warning when heavy armor repositions toward the jamming site.
While Park is out sabotaging the targets, the wounded Private Cho dies of his injuries back at the safehouse. The squad says its goodbyes, then plans the assault on a North Korean airbase. Stranded ends with the team disguised in an enemy truck, slipping into the airfield hangar, which flows straight into the next mission, Defection.
Trophies and availability
Stranded features two trophies tied to its mission. Time to Crate (Gold) unlocks after you open every yellow supply crate, rewarding a complete sweep of the open map instead of a straight run at the objectives. Incoming! (Silver) is awarded for destroying all vehicles carrying reinforcements before they can unload at the SAM site, making quick Bomb Drone kills important during the defense. Both appear on a datamined trophy list, but Activision has not formally confirmed them.
Players could access the Modern Warfare 4 campaign starting October 16, 2026, while the full release arrives on October 23, 2026. Stranded sits between Survivors and Defection in the mission sequence. Like the rest of the campaign, it is single-player only.