Where Winds Meet: The Elder’s Legacy II Walkthrough (Stellabed Rocks Part 2)
Clear all three Divinecraft Dungeons, collect the Travels Beyond letters, and hand them to the Pi family to close the quest.
Clear all three Divinecraft Dungeons, collect the Travels Beyond letters, and hand them to the Pi family to close the quest.
by AllThingsHow Staff
The Elder’s Legacy II is a Hidden Mountain Wandering Tale in Where Winds Meet that spreads across three Divinecraft Dungeons near Stellabed Rocks. Each dungeon holds one journal letter, and each letter belongs to a different member of the Pi family who is waiting outside. Finish all three and turn everything in to complete the tale.
Quick answer: Clear Phasecycle, Zenithmaze, and Zenithstride. Grab Travels Beyond IV, V, and VI from the small box near each dungeon’s final treasure, hand each letter to Pi the Third, Pi the Fourth, and Pi the Fifth respectively, then travel to Halfpeak Bluff and give all letters to Old Man Pi.
What the quest requires
The three dungeons sit in separate spots, so you can fast travel between them once each entrance is unlocked. Every entrance opens the same way: use your wind ability to align three mechanism pillars until the stone door slides open. Inside, the objective is always the same, which is to reach the end, open the small box for the letter, and loot the final chest.
Dungeon
Location
Letter
Deliver to
Chests
Phasecycle
Near Stellabed Rocks
Travels Beyond IV
Pi the Third
5
Zenithmaze
Mirgvale
Travels Beyond V
Pi the Fourth
10
Zenithstride
Near Ascendant Peak
Travels Beyond VI
Pi the Fifth
7
After you take each letter, the matching Pi brother is standing at that dungeon’s entrance. Give it to him before moving on. The final hand-in is separate and happens at Halfpeak Bluff.
Divinecraft Dungeon: Phasecycle (Stellabed Rocks)
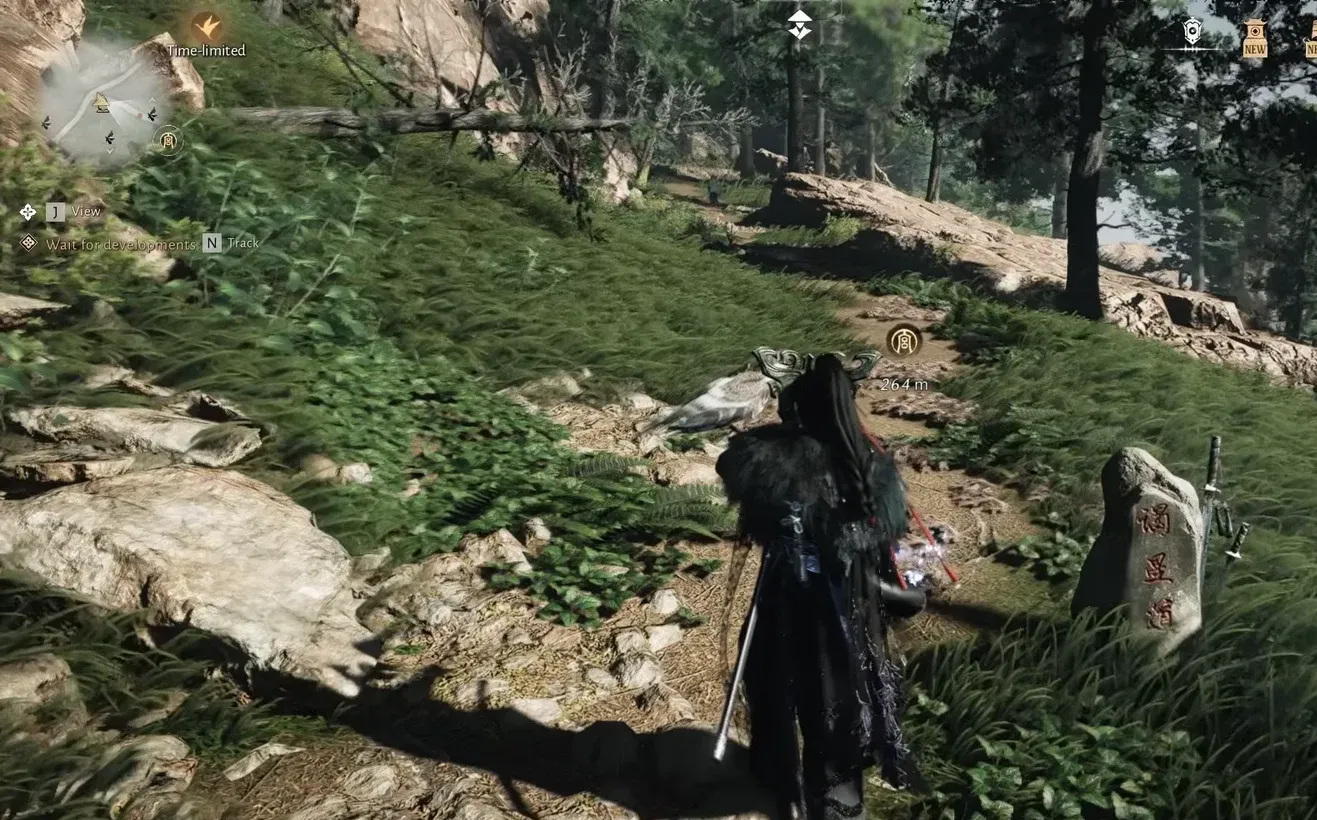
Open the world map and mark the first cave near Stellabed Rocks, then ride over. Pi the Third waits outside the entrance. Talk to him, align the three pillars with your wind ability, and step inside.
00:03Marking the first cave near Stellabed Rocks and tracking the objective toward it. Image credit: Everstone Studio / via @ThanhPlays. Shown at 00:03 in ThànhPlays’s video.
Reconnect the chain mechanism and climb back up the ladder. Speak with Pi the Third inside, then use a pressure plate and a thrown stone to lower a platform.
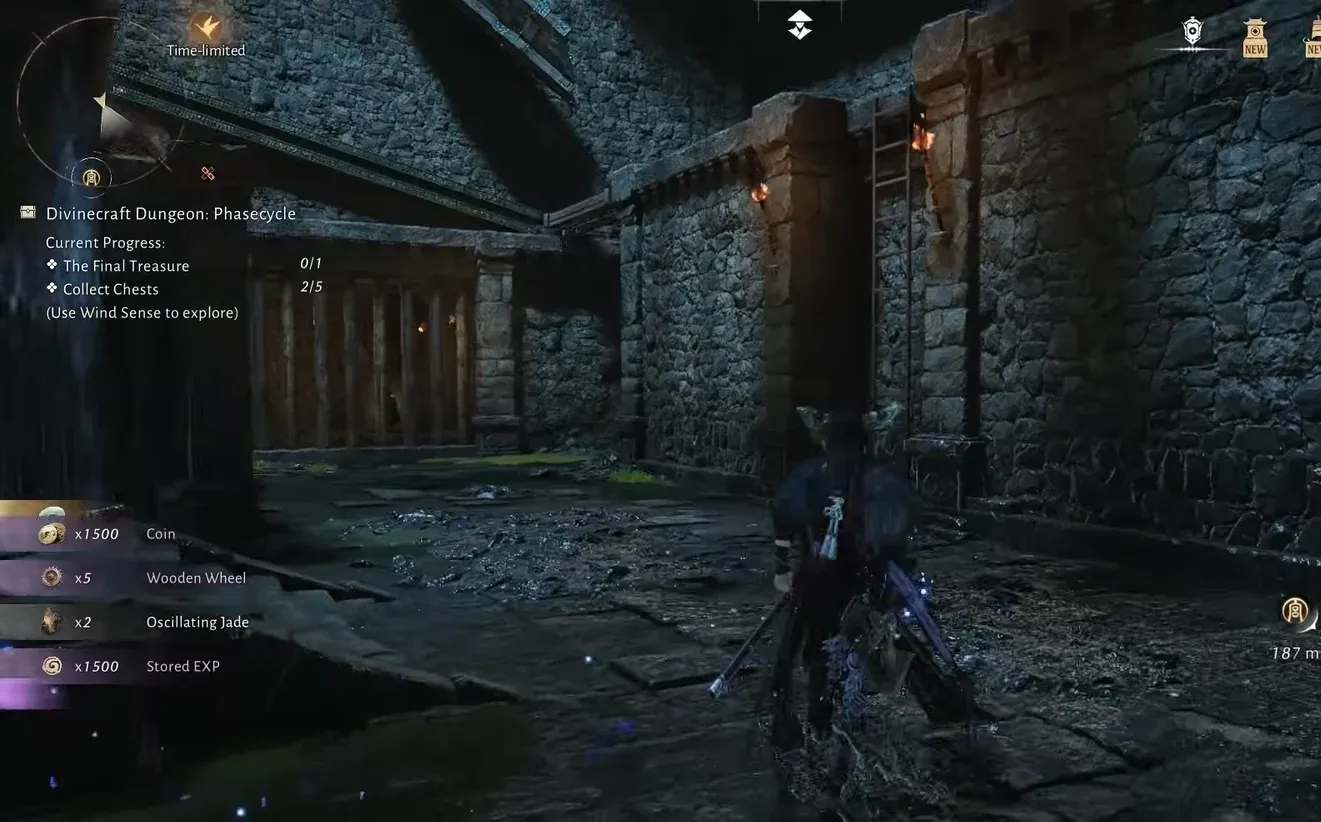
Drop down to collect the second chest, open the nearby gate for the third, then activate the mechanism and drop again to reach the fourth.
04:59Working through Phasecycle's gated rooms while chest progress ticks up. Image credit: Everstone Studio / via @ThanhPlays. Shown at 04:59 in ThànhPlays’s video.
Take the zipline, trigger the mechanism on the wooden plank, and run off before it drops. Wait for the plank to fall, then ride it up to the upper level.
Loot the fifth chest and open the small box for the Travels Beyond IV letter. Grab the final treasure chest, leave the cave, and give the letter to Pi the Third.
Divinecraft Dungeon: Zenithmaze (Mirgvale)
Teleport to the second cave in Mirgvale and align the pillars to open the door. Pi the Fourth greets you inside. Zenithmaze is the largest of the three, with ten chests and a heavy focus on floating lantern platforms.
How the lantern platforms work
Standing on a single lantern platform only gives you a brief moment before you fall. To get a stable footing, use telekinesis to link two lantern platforms together. Linked lanterns hold your weight and let you cross wide gaps, so plan each jump around a pair rather than one lantern.
Glide down and take another zipline to the fourth chest.
10:05Gliding and ziplining through Zenithmaze's cavern to reach the early chests. Image credit: Everstone Studio / via @ThanhPlays. Shown at 10:05 in ThànhPlays’s video.
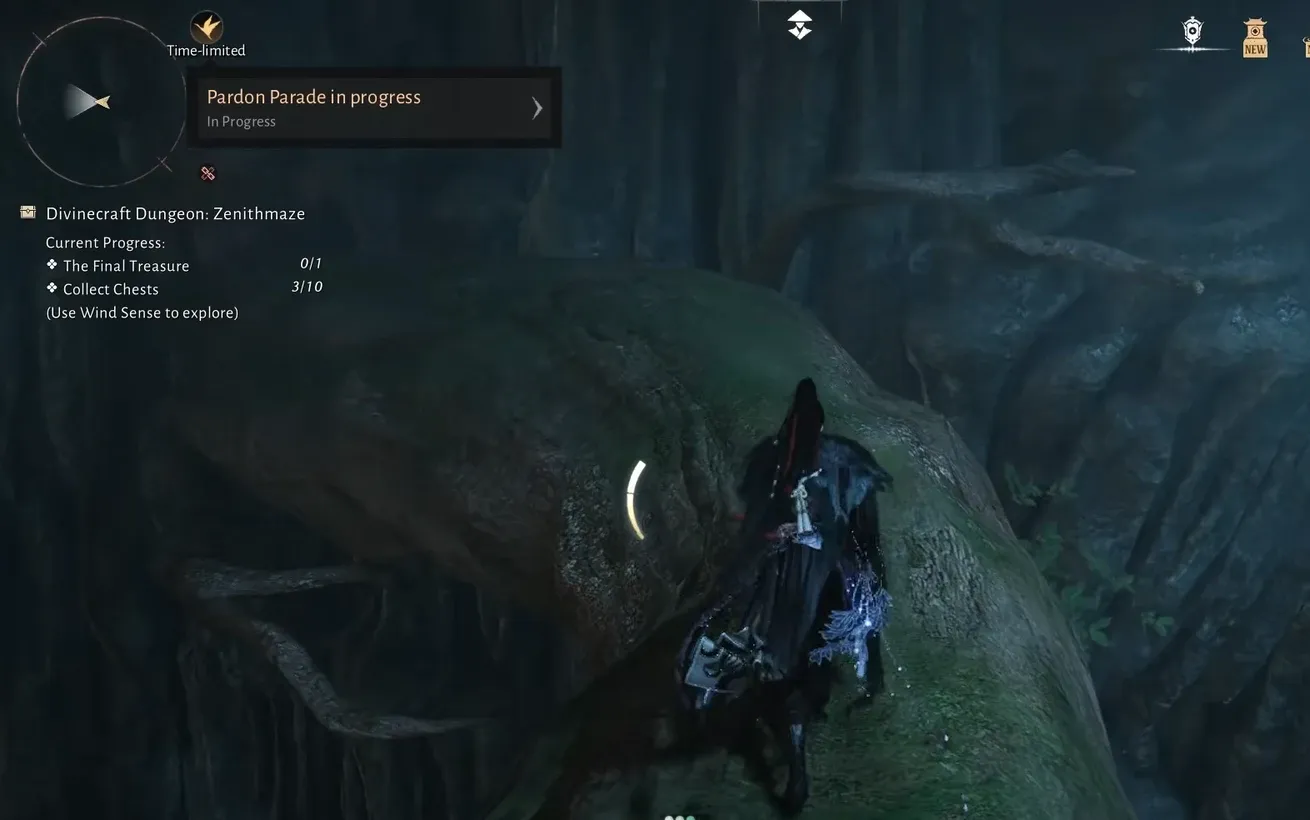
Climb a tree branch, use telekinesis to move a floating lantern platform, and jump onto it. Reach the high platform for the fifth chest, then use the lantern platform again for the sixth.
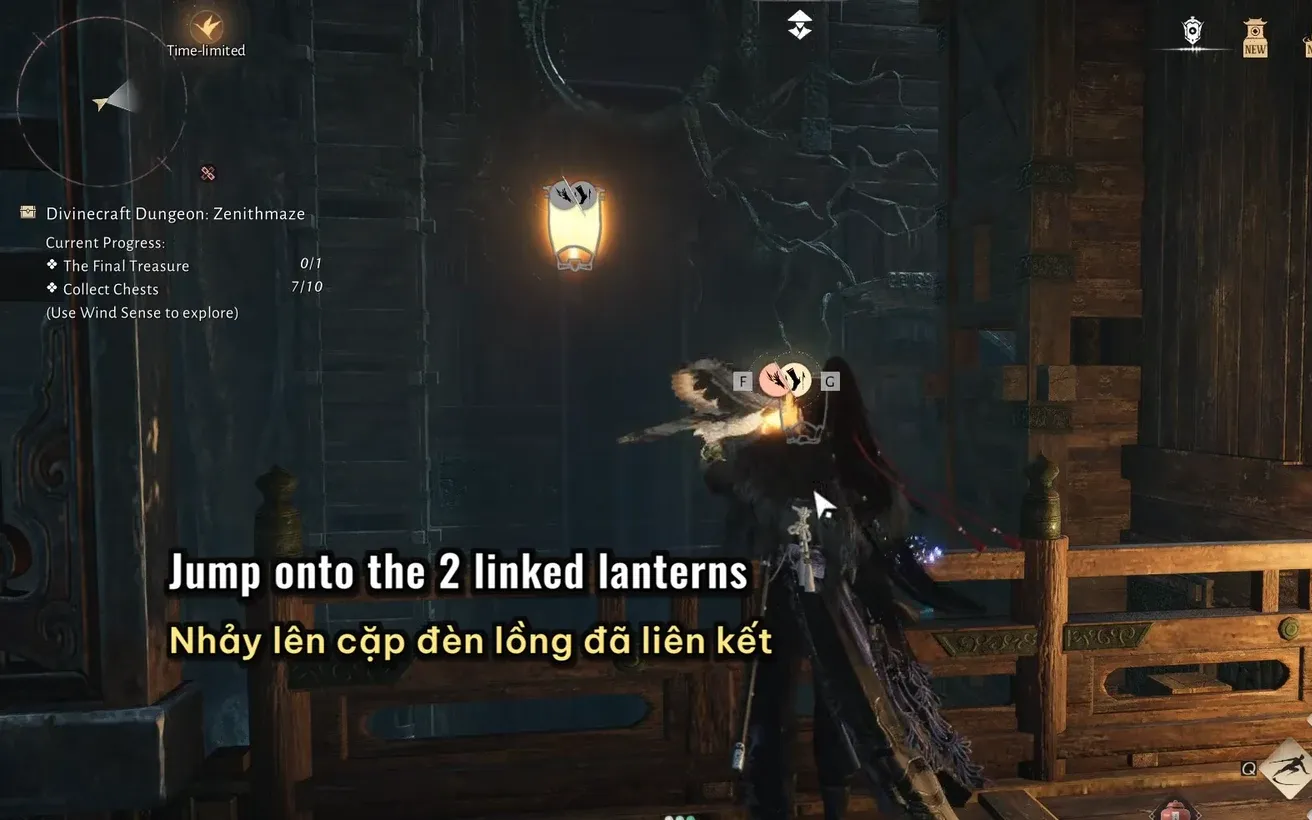
Move the lantern platform to reach a roof for the ninth chest. Readjust the lantern platforms to cross the wide gap, link two lanterns, jump over, and loot the tenth chest.
14:50Using the lantern prompts to link two platforms and jump across for the tenth chest. Image credit: Everstone Studio / via @ThanhPlays. Shown at 14:50 in ThànhPlays’s video.
Ride the linked lanterns to the top platform, open the door, and loot the box for the Travels Beyond V letter along with the final chest. Return to the entrance and deliver it to Pi the Fourth.
Teleport to the third cave near Ascendant Peak. Pi the Fifth stands outside. Align the three pillars to open the door. Zenithstride leans hard on lantern platform routes and high ledges, so keep pairing lanterns for stable jumps.
20:30Aligning the mechanism pedestals to open the door into Zenithstride. Image credit: Everstone Studio / via @ThanhPlays. Shown at 20:30 in ThànhPlays’s video.
Use a zipline to reach a high platform and glide to another. Enter the gateway for the second chest, then cross a gap on lantern platforms for the third.
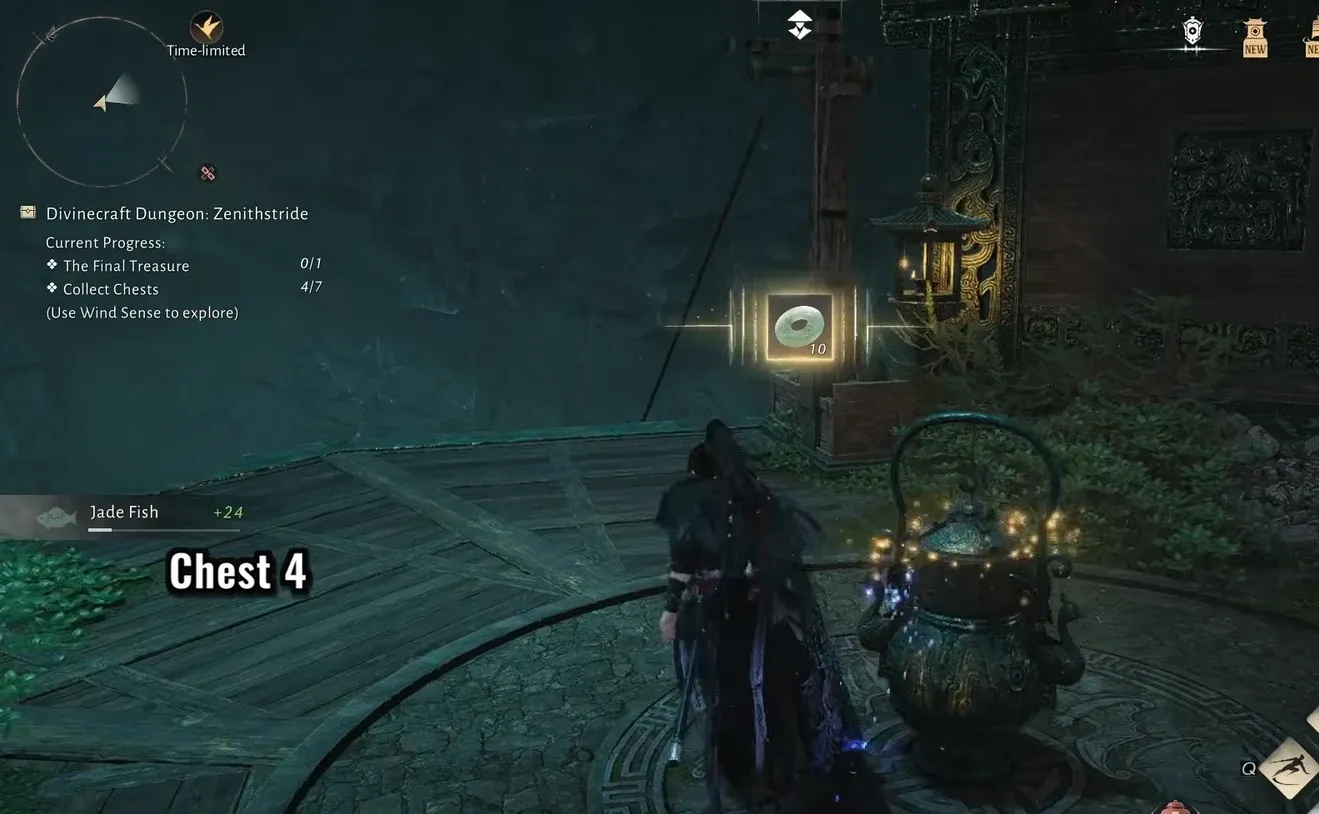
Keep crossing with lantern platforms to reach the fourth chest, then jump across several more to climb to a high ledge.
26:07Clearing lantern platform routes to loot chests deep in Zenithstride. Image credit: Everstone Studio / via @ThanhPlays. Shown at 26:07 in ThànhPlays’s video.
Glide to the building on the right for the fifth chest, then cross a large gap on lantern platforms to the final platform for the sixth and seventh chests.
Retrieve the Travels Beyond VI letter from the box, loot the final chest, and deliver the letter to Pi the Fifth outside.
Final turn-in and how to confirm completion
With all three letters handed to their Pi brothers, teleport to Halfpeak Bluff and speak with Old Man Pi. Delivering the letters to him closes The Elder’s Legacy II. You know it worked when the quest disappears from your active Wandering Tales and the completion prompt appears with your rewards.
If the final turn-in does not trigger, the usual cause is a missing letter. Confirm you gave Travels Beyond IV, V, and VI to Pi the Third, Fourth, and Fifth at their respective dungeon entrances first, since Old Man Pi only accepts the set once each brother’s section is done.