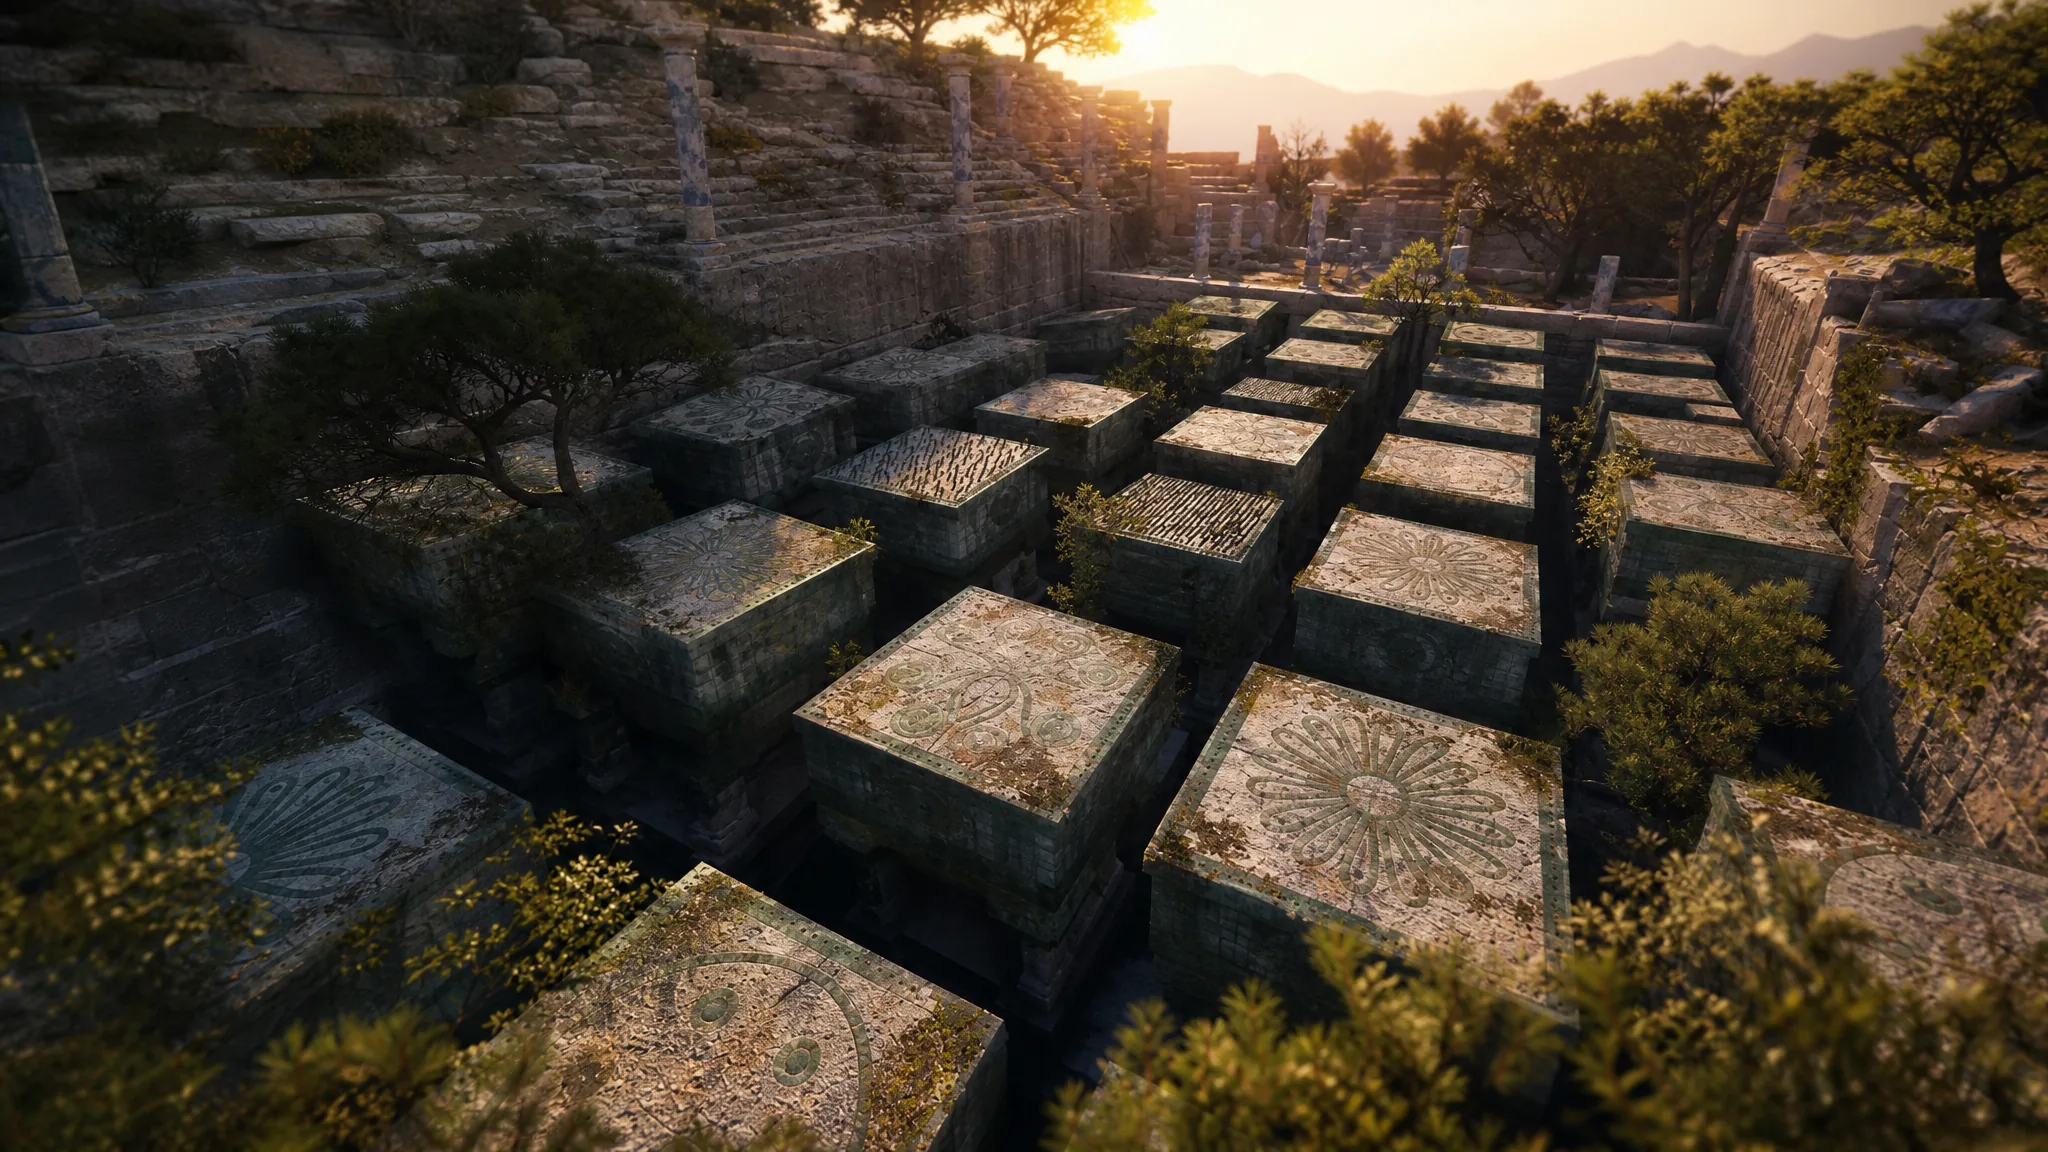
Chapter 5 of Resonance: A Plague Tale Legacy locks a giant door in the Central Temple behind four symbols. Each symbol sits at the end of its own trial, and one of those trials drops you into a courtyard of deadly spike tiles. Stepping on the wrong tile impales Sophia instantly, so the whole thing comes down to memorizing which platforms are safe and jumping only on those.
Quick answer: The safe tile order is Dots → Squid → Dots → Flower → Squid. Take the door marked with the squares and dots symbol, cross the spike tiles following that pattern, then interact with the pedestal on the far side to claim the symbol.
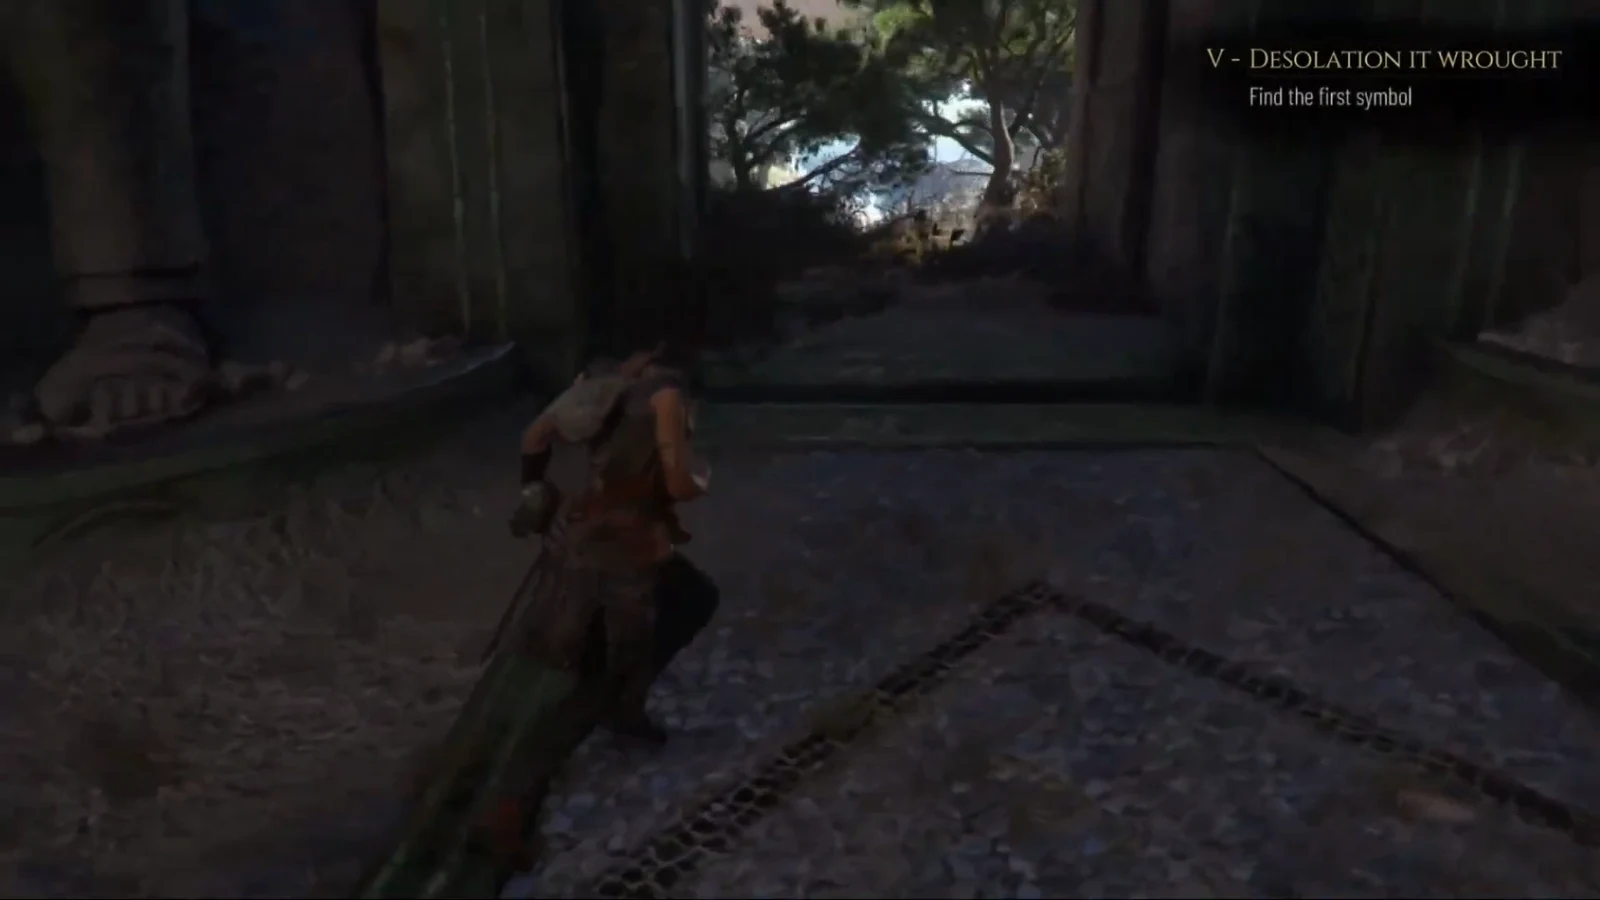
The quest text calls this the last symbol, but the four trials can be cleared in any order. If you have already placed the other three, this one finishes the puzzle and opens the door. If not, you can still do it first and slot it in later.
Take the squares and dots door
Back in the room with the four doors and pedestals, look above each doorway for its symbol. The trial that leads to this spike-tile puzzle is the one marked with squares and dots.
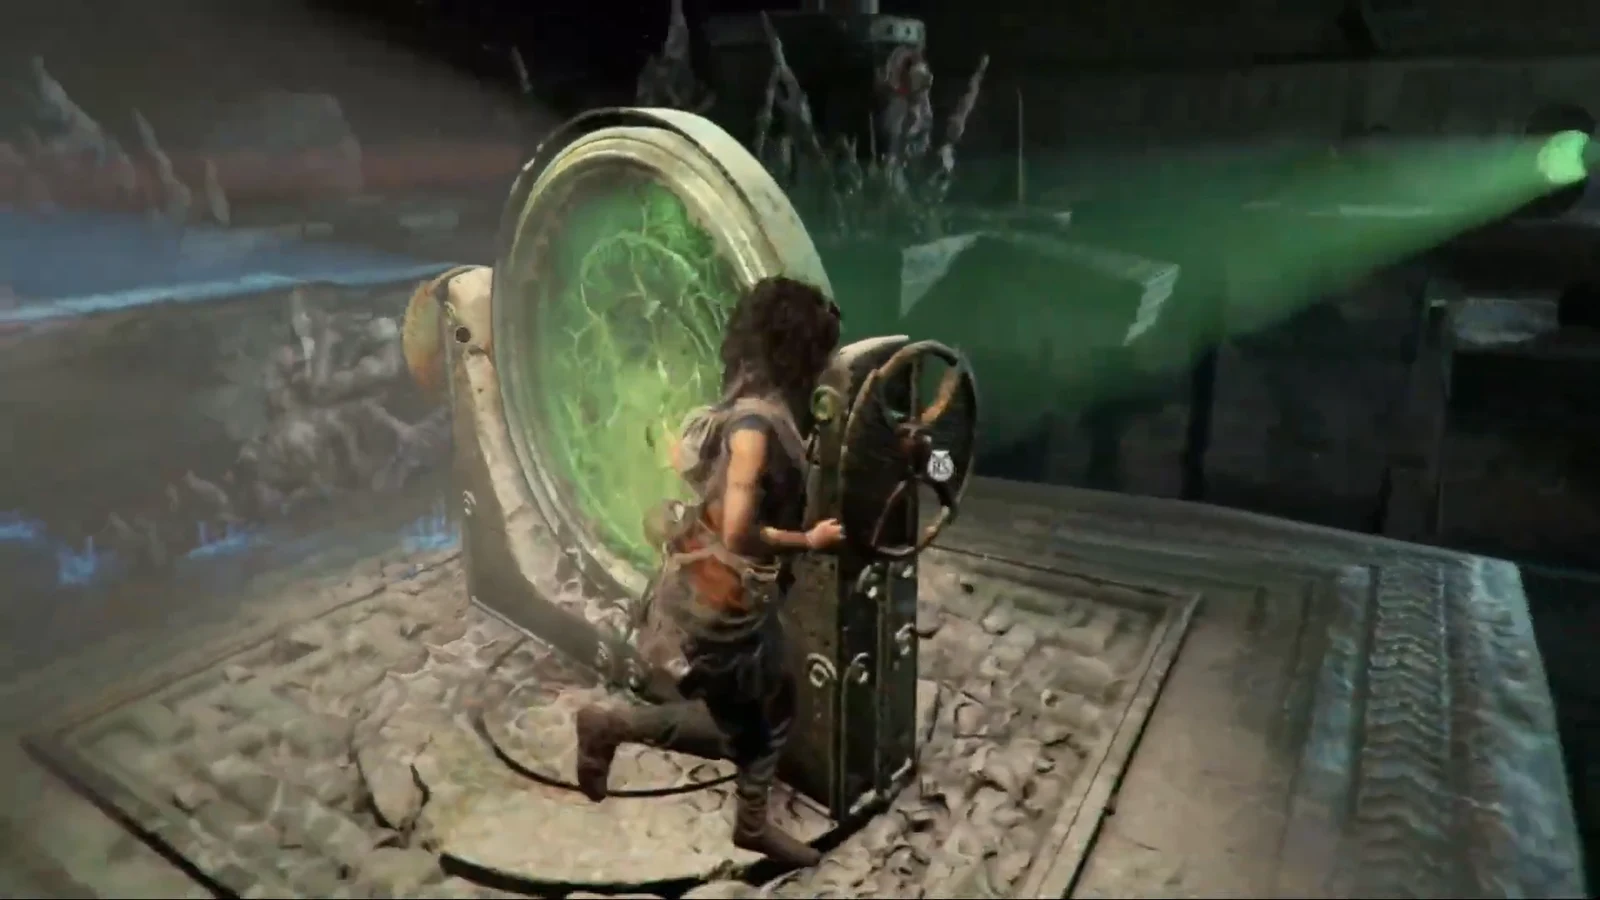
The safe spike-tile pattern
The symbols marked on the floor before the platforms show the order you must follow. Sophia also records the same sequence in her Book, so you can check it if you lose track. The safe order is Dots, then Squid, then Dots, then Flower, then Squid.
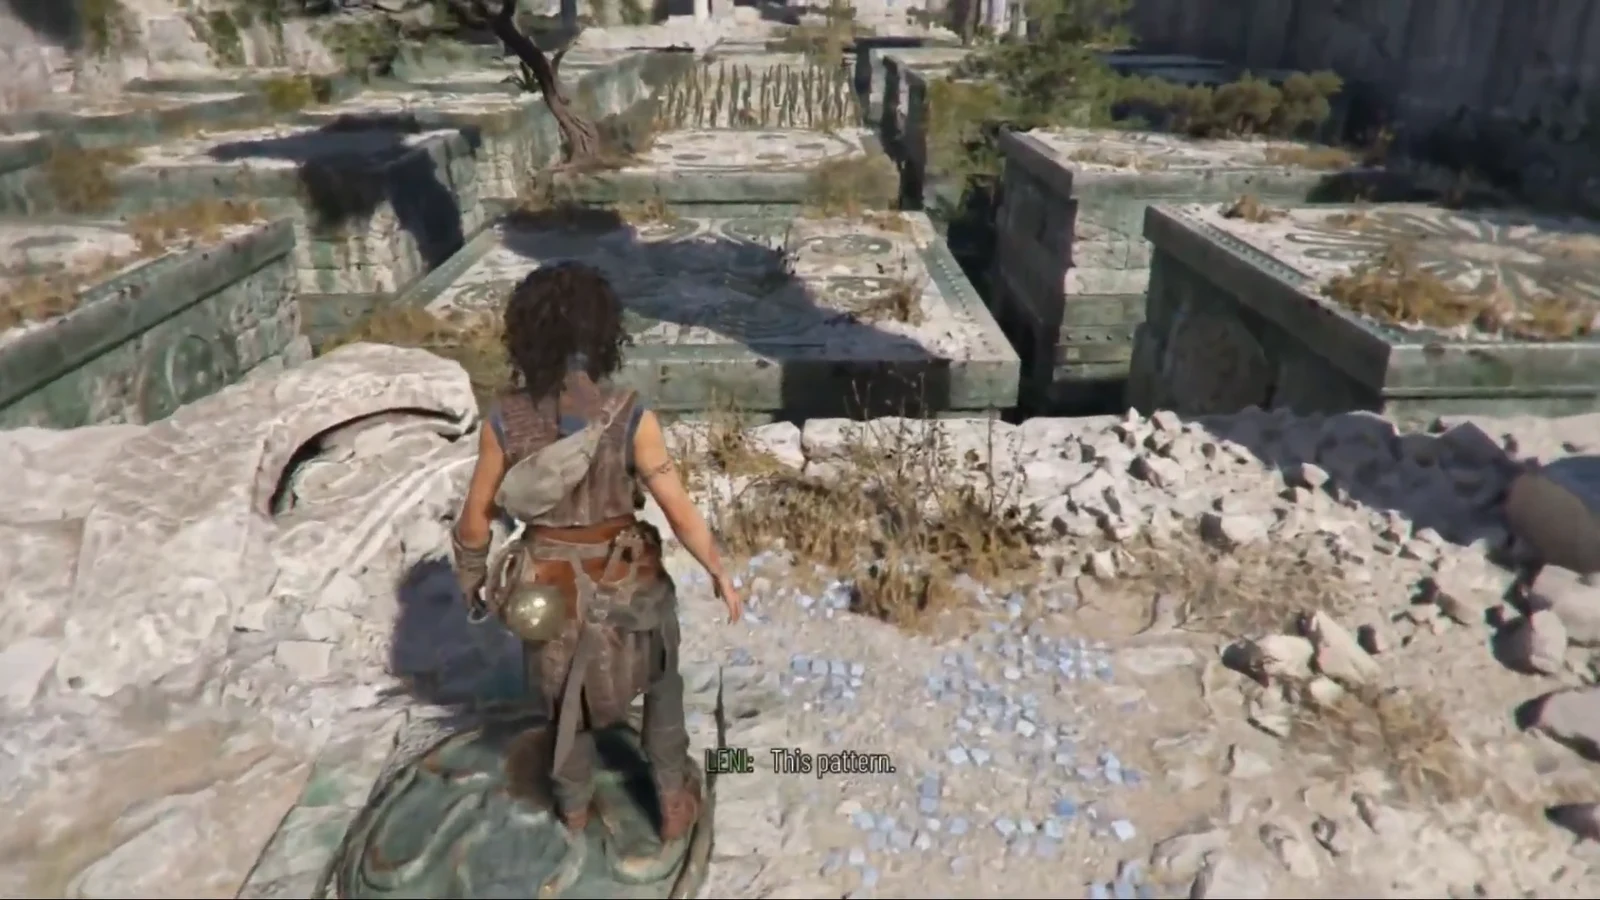
The platforms sit in four columns, and any wrong tile triggers the spikes. Follow this exact path to reach the far side:
- Jump onto Dots.
- Turn right and jump to Squid.
- Hop forward to Dots.
- Go left to the Flower.
- Jump forward twice, to Squid and then Dots.
- Hop left to Squid, then return to the Dots.
- Jump forward to the Flower.
- Look right and cross to the Squid platform sitting diagonally.
- Hop to the Dots directly in front of you.
Tip: The Squid symbol also appears as a Kraken in the in-game Book, so treat those two names as the same tile if you are cross-checking.
Claim the symbol and place it
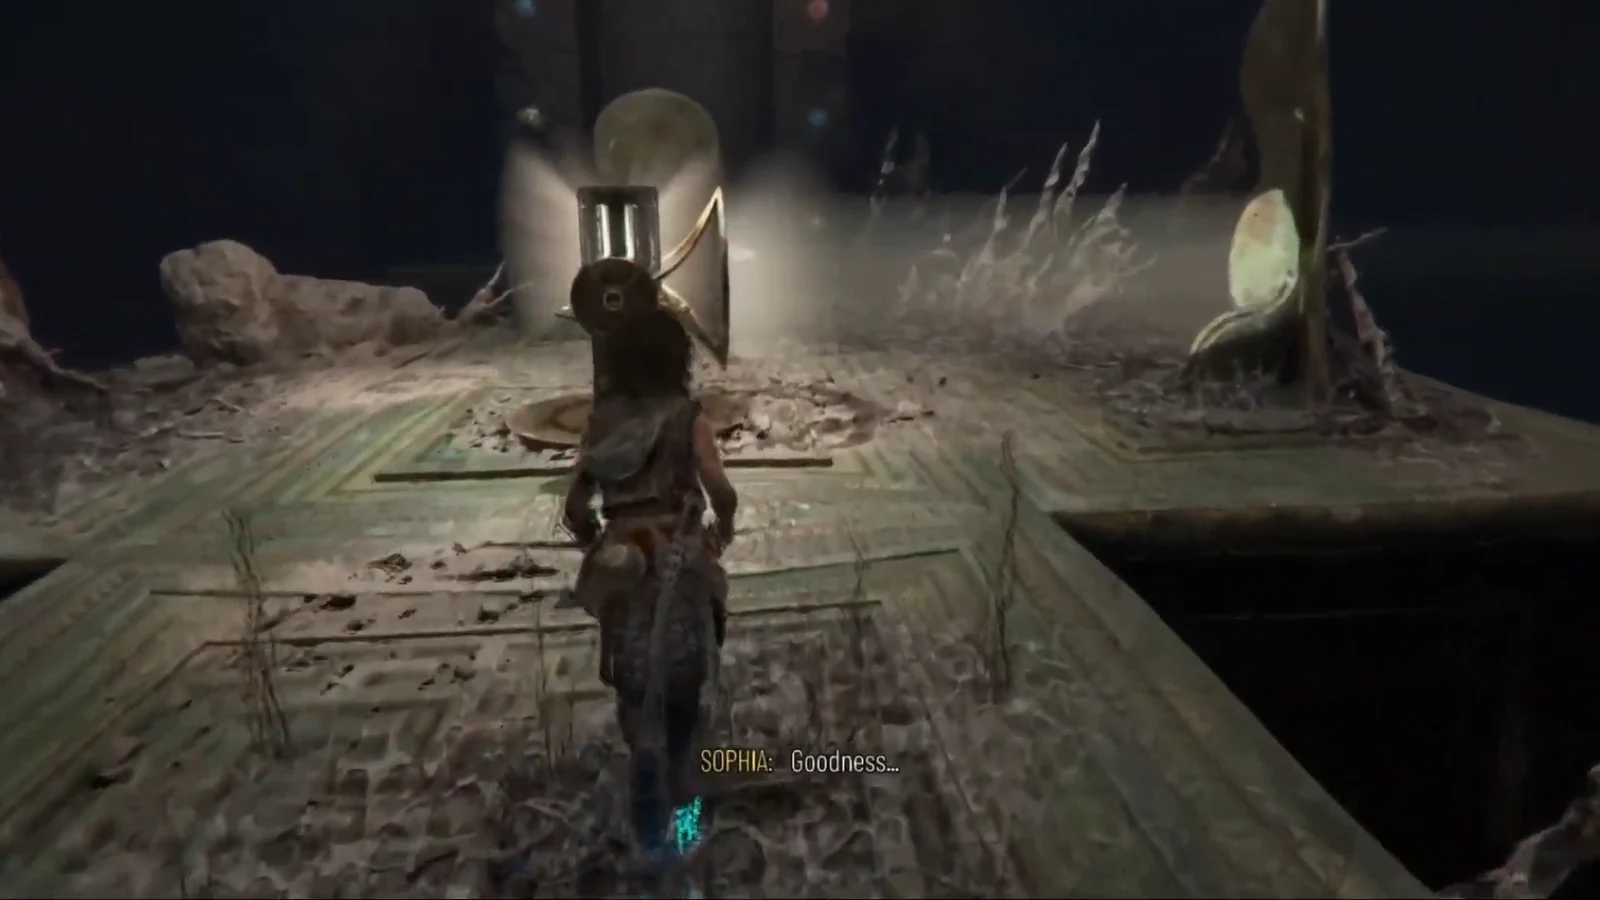
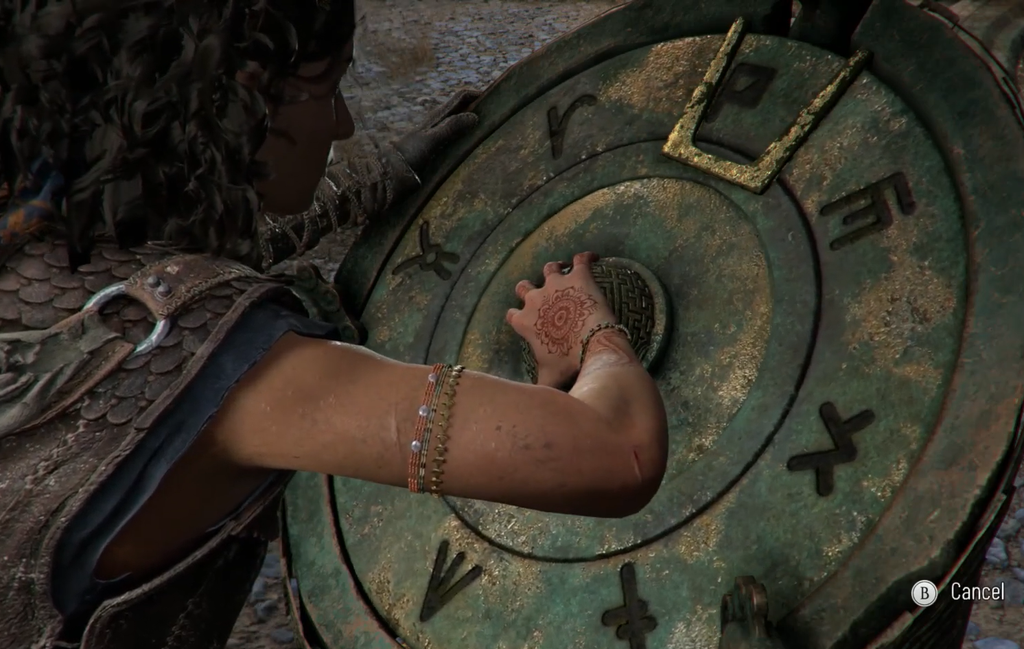
You know it worked when the pedestal accepts the symbol and a latch on the giant door releases. Enter a wrong symbol and a spike trap springs up from the floor, so double-check the dial against your Book before confirming. Once all four symbols are set, the door fully unlocks and the chapter moves into its next sequence.