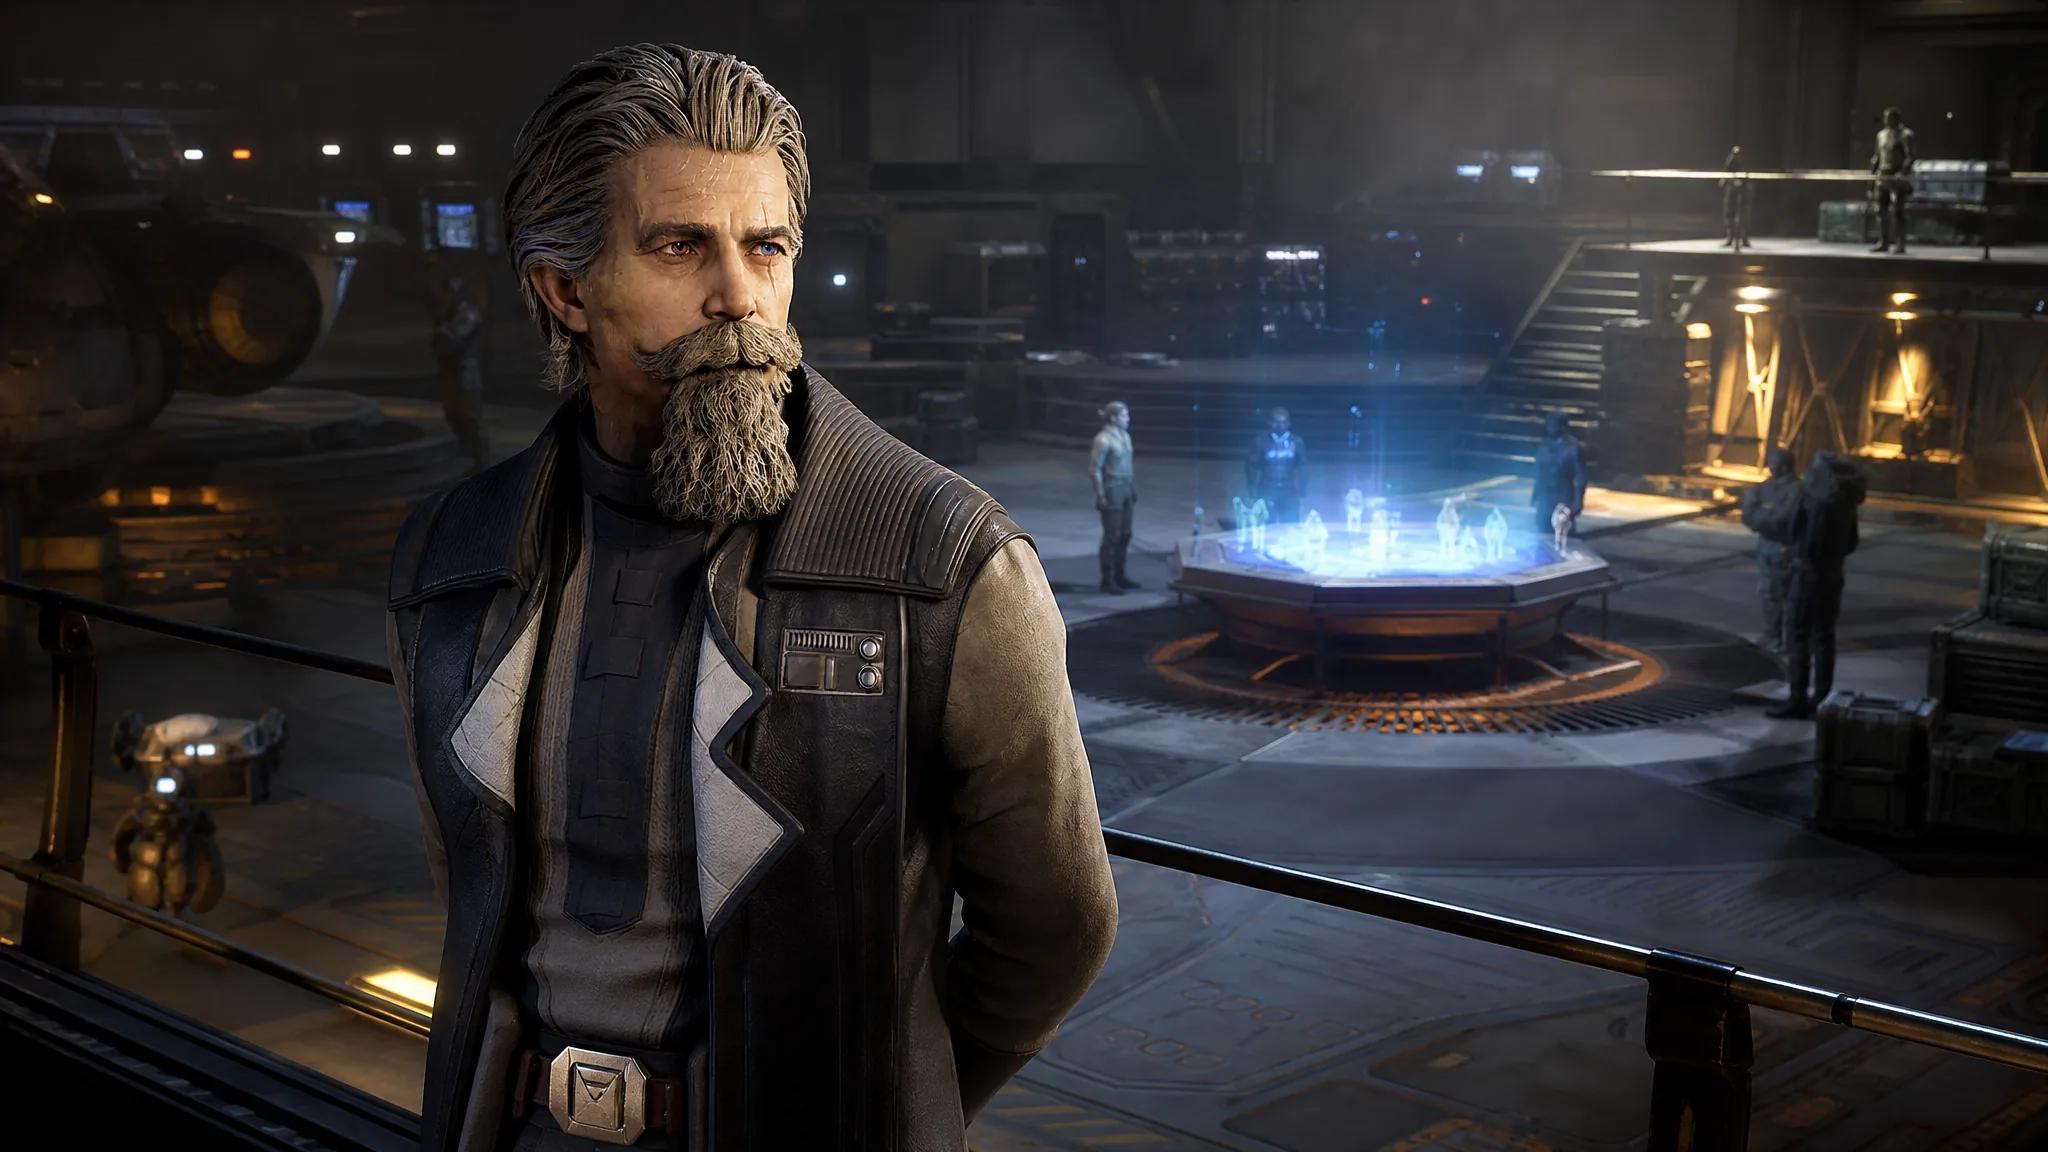
Bit Reactor’s turn-based tactics game drops you into the last stretch of the Clone Wars as Hawks, a former Republic officer running a squad of hired professionals. The fighting is grid-based and deliberate, but the systems that decide whether a mission goes well are mostly set before the first shot: how you spend Action Points, how you bank Advantage, and what you have built back at The Den.
Quick answer: Every operative gets 3 Action Points per turn, and you can spend them in any order across the whole squad rather than finishing one character at a time. Landing shots and using scout abilities builds Advantage, a separate resource that pays for powerful actions without costing AP.
Action Points, movement tiers, and turn order
Each turn starts with a free look around. You can pan the camera, click enemies to see their stats and threat ranges, and open the objectives panel to confirm what the mission actually wants before committing anything. None of that costs AP.
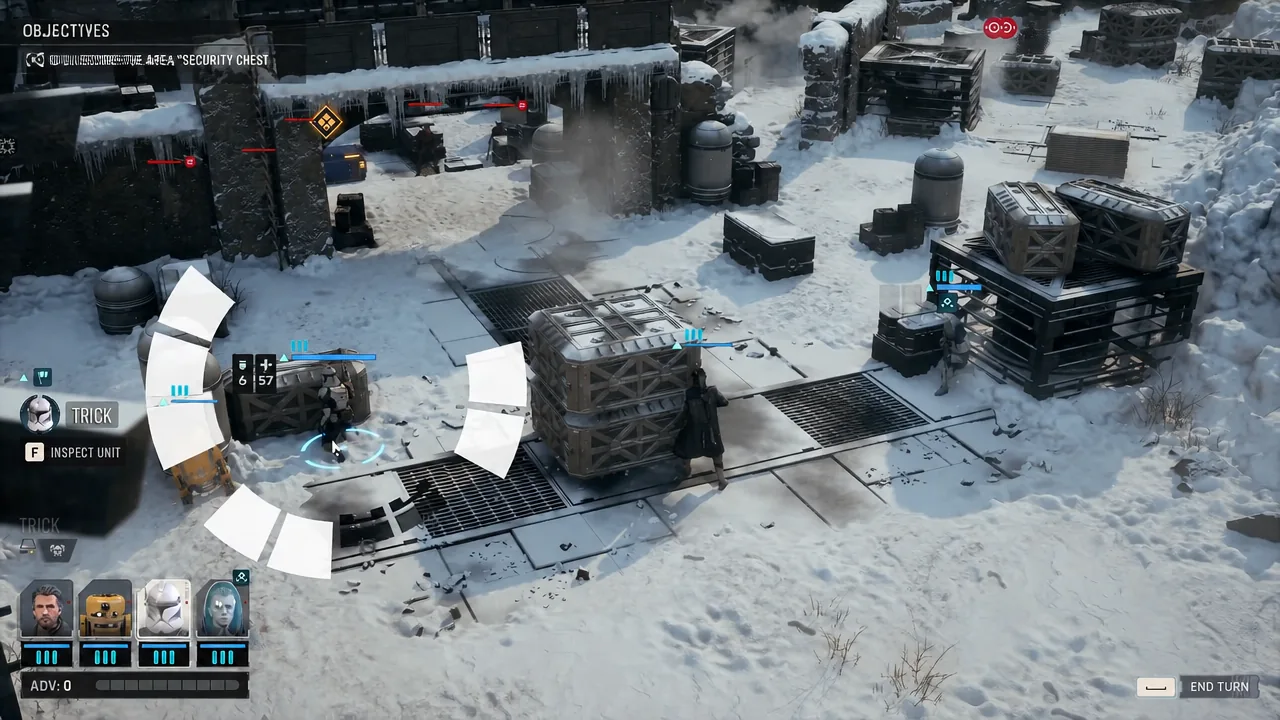
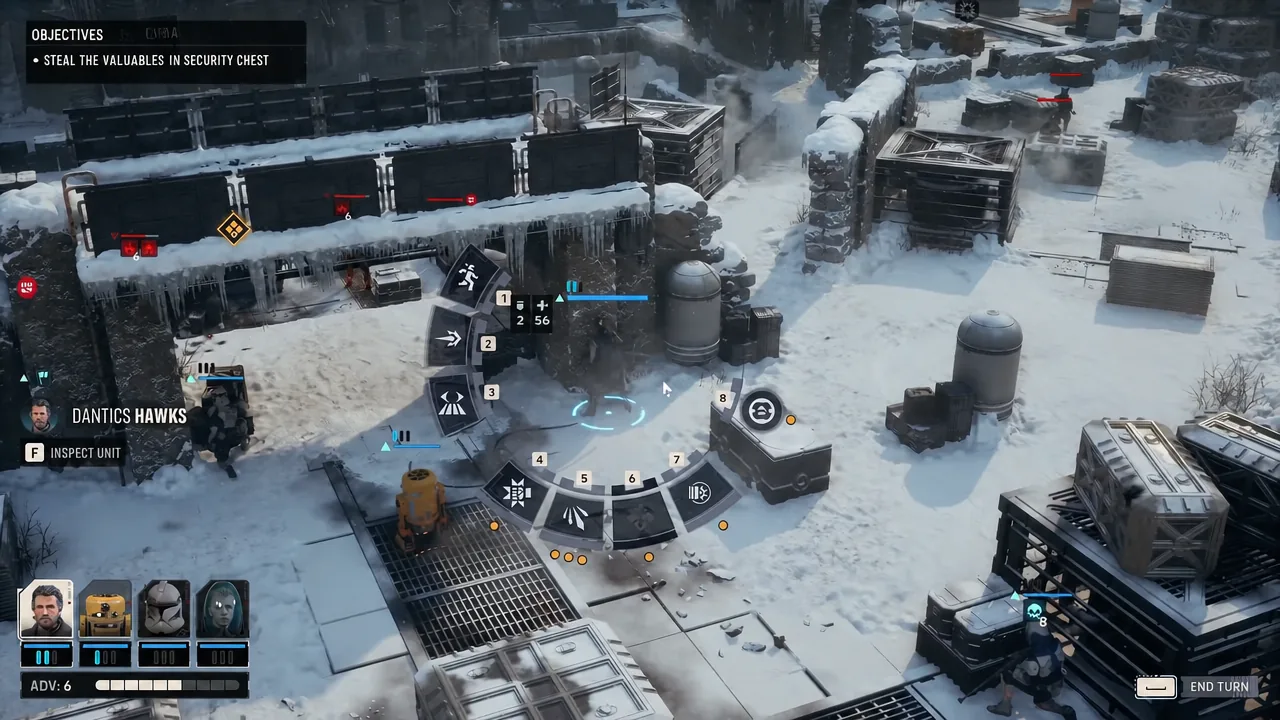
Movement works in three rings. The innermost ring costs 1 AP, the second costs 2 AP, and the outermost is a 3 AP sprint that eats the entire turn. Because AP is tracked per operative but spent in any sequence, you can move a scout one ring, fire with a sniper, then come back and finish the scout’s turn once you see the result.
Call for Backup is the exception worth memorizing. It is a free action that flags an ally to assist on the next attack, which means a squadmate who has already burned their own AP can still contribute damage to someone else’s shot.
Advantage: how you build it and what it buys
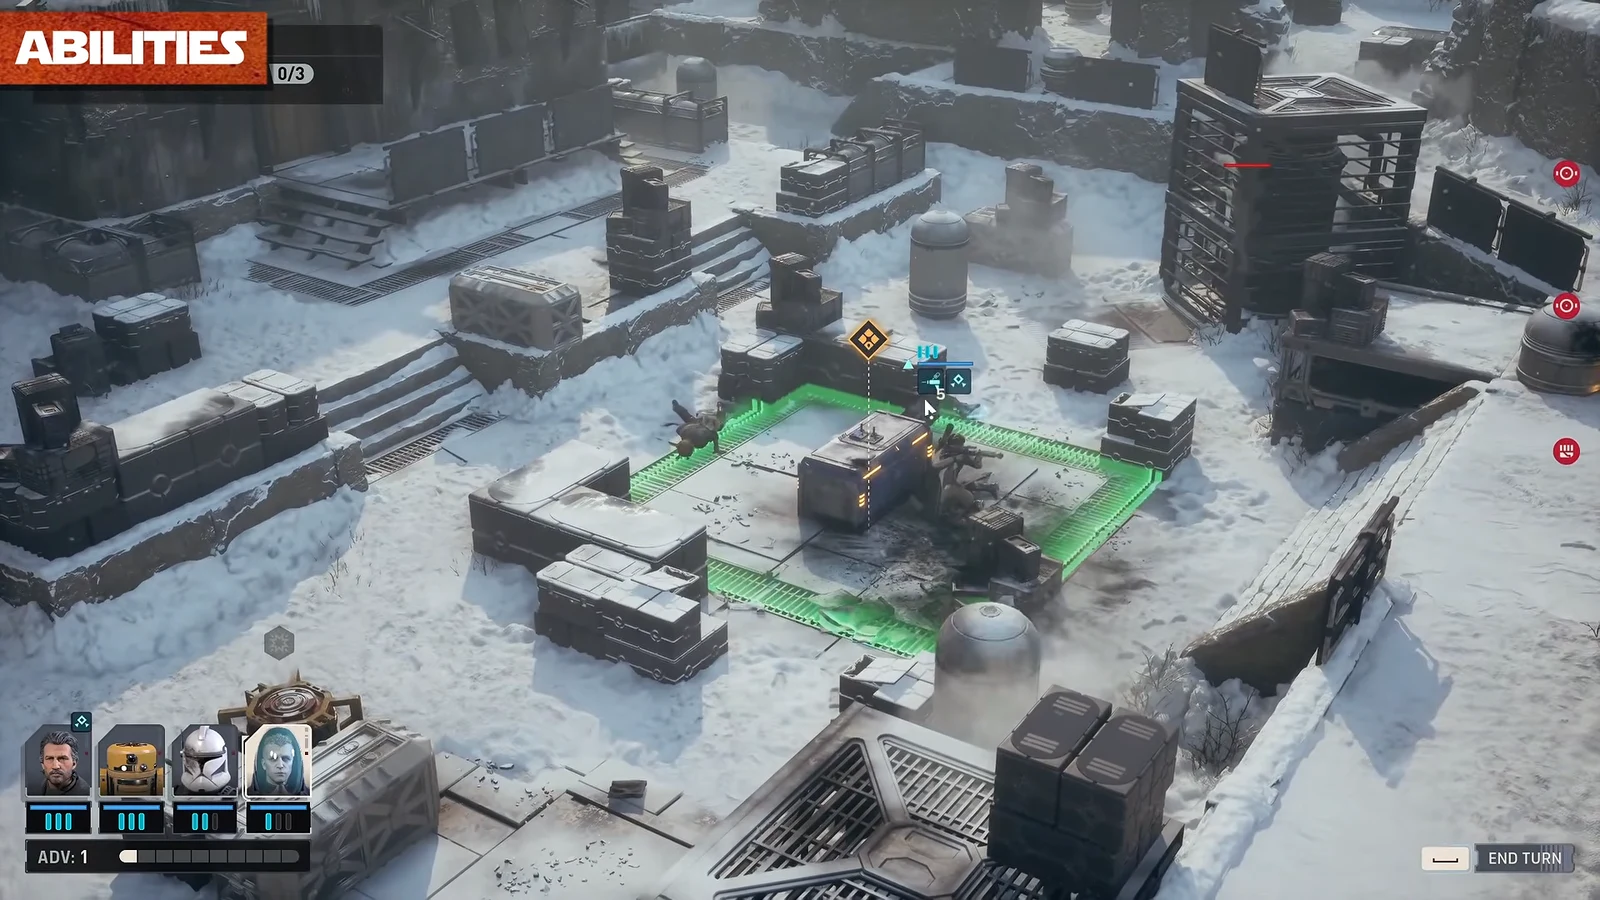
Advantage accumulates as a squad-wide pool. Landing shots feeds it, and certain scout tools such as Combat Recon generate it directly. Spending it triggers heavy abilities like Sweeping Salvo II without touching the operative’s Action Points, so a well-timed Advantage dump effectively gives you an extra turn’s worth of output.
Buffs stack on top of that. Zero In sharpens a shooter’s accuracy before a long-range shot, and a medic’s Combat Stim raises an ally’s damage and maximum health for a stretch of the fight. Abilities carry their own restrictions, usually once per turn or once per combat, and the cooldown is listed on the ability card itself.
Cover, high ground, and Overwatch rules
Cover comes in two grades, marked by a half shield icon or a full shield icon, and it reduces the chance an attacker connects. It is not permanent. A missed shot can still shatter the object the target is hiding behind, which is why sustained fire on a dug-in enemy is rarely wasted.
Elevation grants a straightforward hit bonus, and explosive barrels scattered around maps can be detonated to clear clusters of enemies along with their cover. Overwatch sets a firing zone that triggers when an enemy moves through it, but any damage taken cancels the watch immediately, so an exposed operative on Overwatch often contributes nothing.
Melee has its own economy. Abilities such as Bull Rush II fold the approach and the strike into a single AP cost, which lets a brawler close distance and hit in the same action instead of spending a turn walking into range.
Downed operatives, injuries, and permadeath
An operative who runs out of health goes down rather than dying outright. Another squad member has to reach them and rally them back up. Surviving that leaves an Injured debuff, a 15 percent penalty to hit chance that follows the character until it is treated.
Injuries stack, and the third one is fatal. That is the line to watch: a character with two injuries who gets downed again is gone for good, custom-made or not. Clear injuries at the Medbay before you send that operative out again.
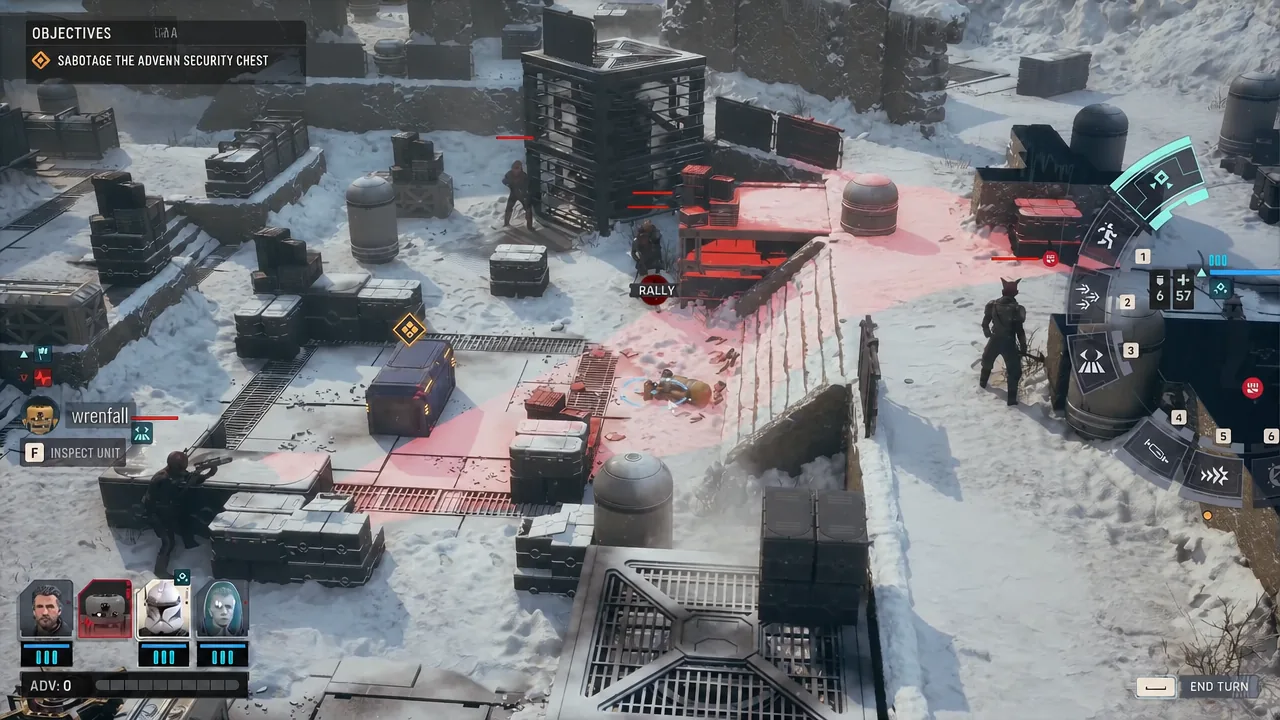
Bonds run in the opposite direction. Assisting an ally’s attack or healing them raises the Bond between those two characters, which functions as shared experience and unlocks combat synergies between the pair. Bond gains are tallied on the mission success screen alongside credits and Intel.
The Den: what each facility does
The Den is the base you return to between deployments, and it is where most of your credits go. Facility upgrades themselves require credits plus rare capacitors, so you cannot expand everything at once.
| Facility | What it handles |
|---|---|
| Customization | Operative profiles, appearances, and outfits |
| Recruitment | Hiring new custom operatives with credits |
| Personnel / Focus Tree | Character stats, focus point spending, dual specializations, and respecs |
| Armory | Weapon selection, weapon cosmetics, and stat-boosting mods |
| Black Market | High-tier utilities and mods; stock refreshes each cycle |
| Medbay | Medical Bed heals over 1 cycle for 800 credits; Bacta Tank is instant for 1,200 credits or 1 Bacta Tank Charge |
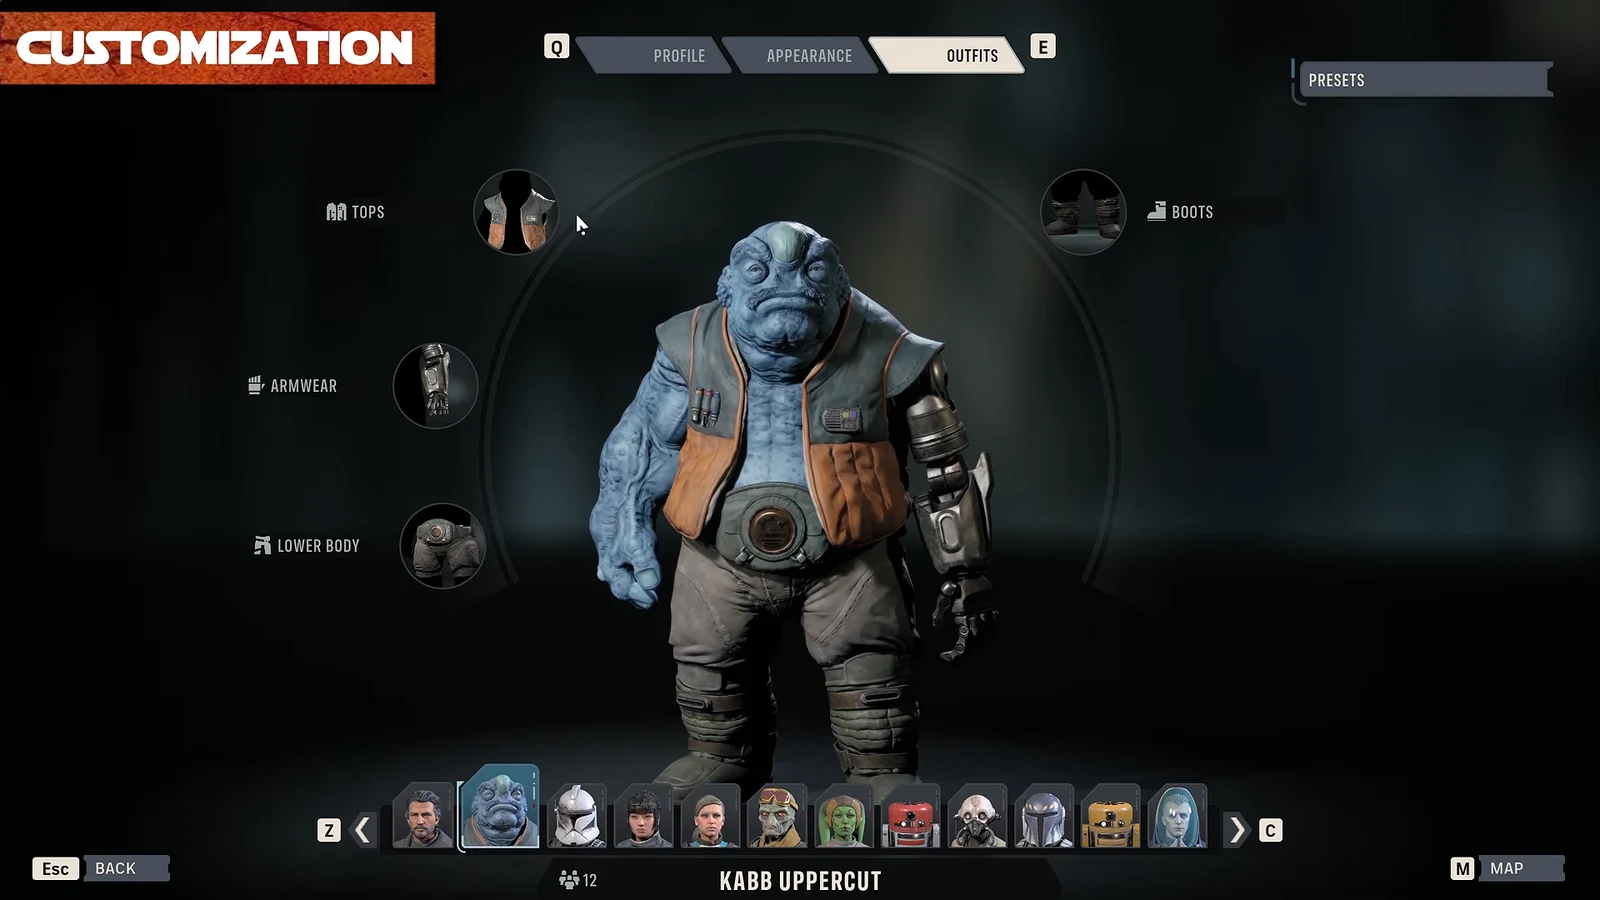
Customization is purely cosmetic but deep, covering tops, armwear, lower body, and boots for each operative, plus profile details. It has no effect on combat performance.
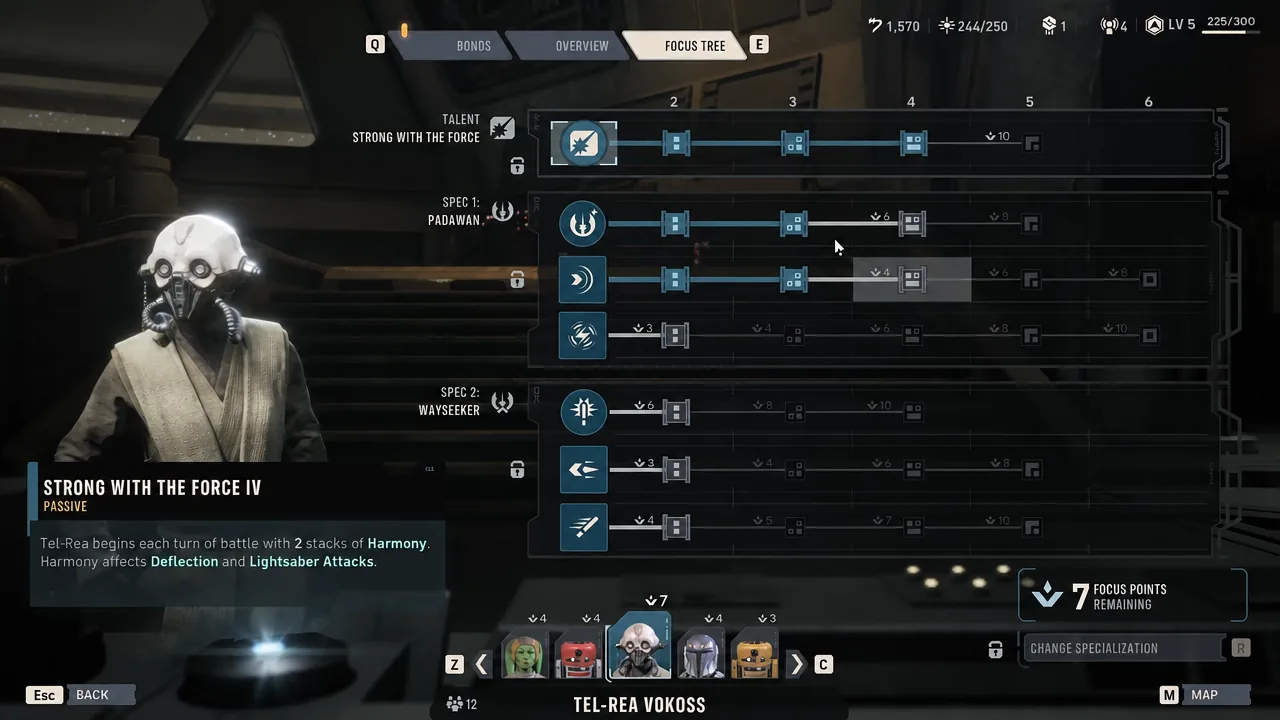
The Focus Tree is where builds actually take shape. Focus points unlock passives and new abilities, and characters can branch into a second specialization. Respecs are available, so an early misallocation is recoverable.
Holotable operations, Zone Influence, and crisis choices
The holotable turns Intel earned on missions into text-based operations across galactic zones. Running them yields rewards, new contacts, and Zone Influence, and pushing influence in a zone unlocks tiered payouts such as high-quality weapon mods and utility items.
Crisis operations are the ones that stick. They force a choice between two permanent enemy upgrades, and you only get to destroy one. Whichever you leave alone stays active against you for the rest of the campaign, so read both options before committing. Missions themselves launch from the same table, split between critical story operations and optional ones.
Difficulty settings and Beskar Mode
Four standard difficulties cover Story, Normal, Hard, and Expert. Permadeath is a separate toggle rather than being locked to a difficulty, so newcomers can keep the tactical challenge without losing characters permanently. Beskar Mode is the strictest option, removing the ability to reload a save after a bad roll.
Platforms, editions, and price
| Detail | Value |
|---|---|
| Release date | August 27, 2026 |
| Developer / publisher | Bit Reactor, in collaboration with Respawn Entertainment and Lucasfilm Games / Electronic Arts |
| Platforms | PC (Steam, Epic Games), PlayStation 5, Xbox Series X|S |
| Price | $49.99 standard, $59.99 Deluxe Edition |
| Modes | Single-player only |
| Rating | ESRB T (Violence, Mild Language) |
The Deluxe Edition adds cosmetics only, including the Grand Army of the Republic and Shadow Collective packs plus five painted weapon themes. A Deluxe upgrade is sold separately for $9.99 if you start with the standard version. On PC, the minimum spec asks for 16GB of RAM and a GTX 1080-class card, with 50GB of storage either way.
Most of the difficulty here comes from resource pressure rather than raw enemy strength. Credits fund recruitment, weapon mods, Den upgrades, and Medbay treatment out of the same pool, while Intel is the only thing that moves the holotable forward. Deciding which of those to starve, and doing it before your best operative picks up a second injury, is the real campaign.