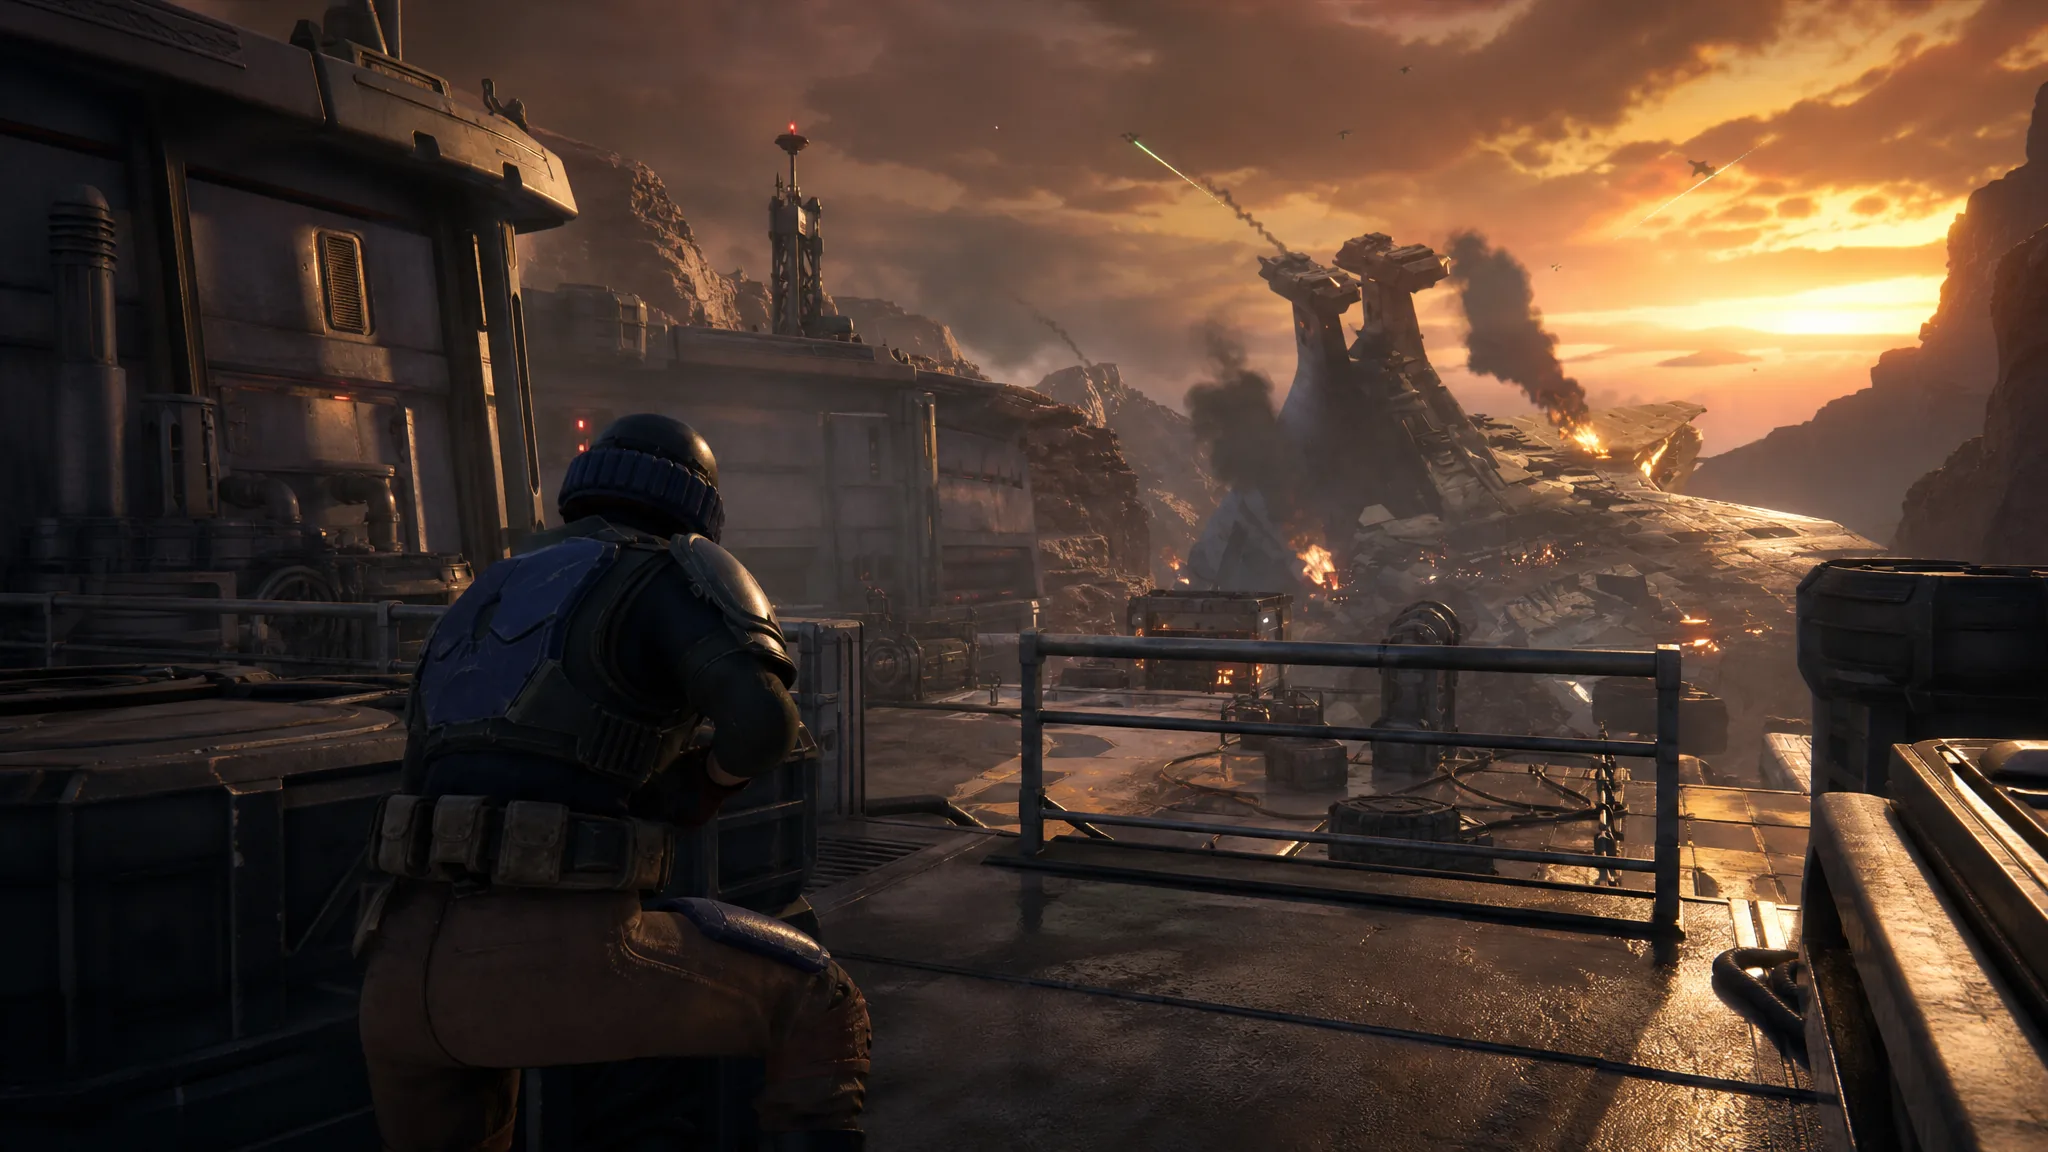
Star Wars Zero Company runs on a specialization system, and how you assign it shapes every tactical choice in a mission. There are 12 classes in total. Eight are standard specializations that any recruit can take, and four are exotic classes tied to specific story characters or droids. Every operator starts with one specialization, and a second slot unlocks partway through the campaign so you can build dual-class combinations.
Quick answer: The eight standard classes are Assault, Gunslinger, Heavy, Medic, Scoundrel, Scout, Sharpshooter, and Soldier. The four exotic classes are Jedi Padawan (Tel-Rea Vokoss), Mandalorian Warrior (Cly Kullervo), Astromech (any built droid), and one unannounced class.
How the specialization system works
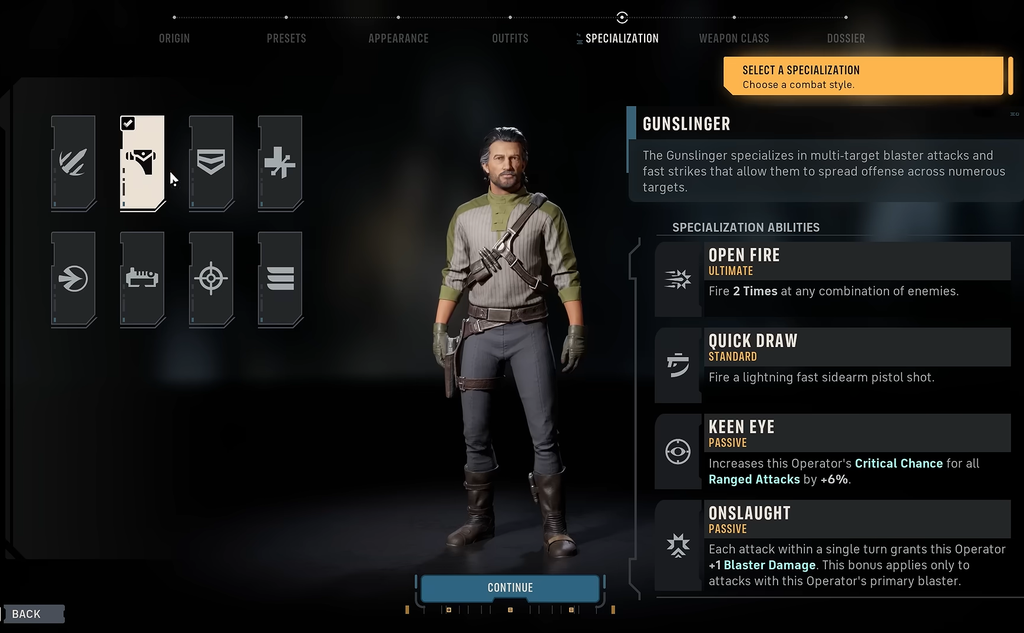
Every operator’s combat kit is built from four separate layers, and each one is chosen independently. You can pair any weapon with any class, and any talent with any pair of classes.
- Talent — a fixed or pooled ability unique to the operator, separate from the class. Story characters have fixed talents that survive a respec; custom recruits pick from a Universal Talent pool.
- Weapon class — one of four types: Longarm, Repeater, Rifle, or Pistol.
- Primary Specialization — the main class, chosen at creation and changeable later.
- Secondary Specialization — a second full class slot that unlocks midway through the campaign.
The selection screen labels the slots Spec 1 and Spec 2. You cannot put the same class in both, so an operator always carries two different specializations once the second slot is open. Any operator except Tel-Rea Vokoss can respec into any standard class at any time from the Focus Tree tab in the Den’s Personnel facility.
Each standard class fills four ability slots: one Ultimate, one Standard, and two Passives. Heavy is the one exception, carrying a fifth ability with a third passive. Ultimates are paid from the squad’s shared Advantage pool rather than Action Points, and the pool gains +1 Advantage each time your team damages an enemy.
Standard class ultimates and roles
| Class | Ultimate | Role |
|---|---|---|
| Assault | Sweeping Salvo | Frontline fighter for medium to close range and flanking targets in cover |
| Gunslinger | Open Fire | Multi-target blaster specialist for fast strikes across several enemies |
| Heavy | Bulwark | Armored tank built to soak fire and hold ground in the open |
| Medic | Morale Boost | Healer and support that also boosts ally damage |
| Scoundrel | Easy Mark | Opportunist that exploits enemy weaknesses and stacks assists |
| Scout | Ambush | Recon operator that generates Advantage and sets up the team |
| Sharpshooter | Precision Shot | Long-range marksman for single high-value targets |
| Soldier | Rocket Strike | Versatile close-to-medium unit with melee, grenades, and a rocket launcher |
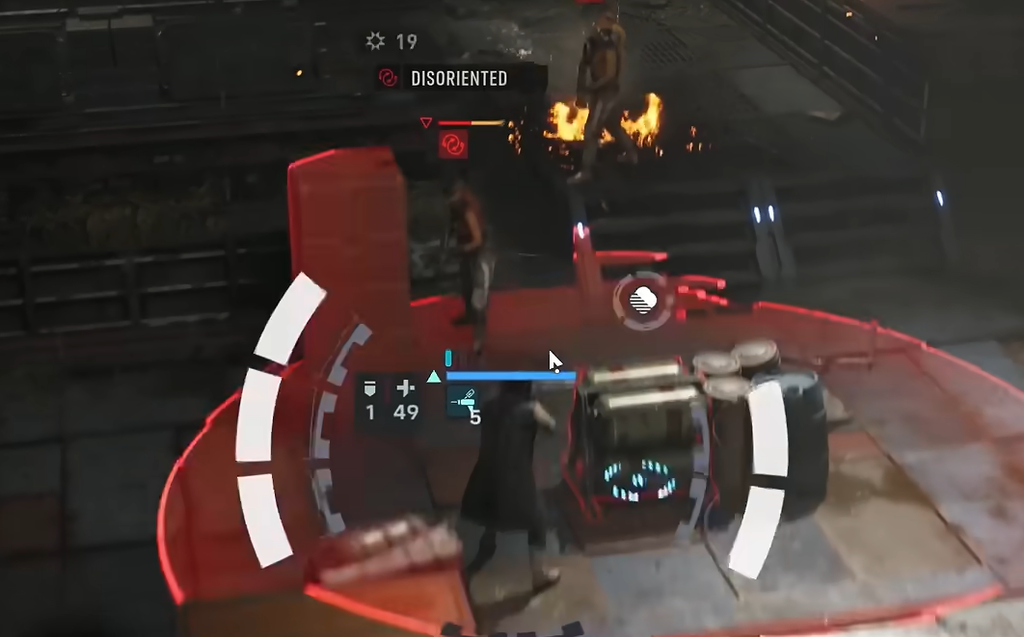
Assault
Assault operators are frontline combatants built for medium to close range, and they fall off at long range. They gain the most from getting into flanking positions, which improves accuracy and punishes enemies that thought cover would protect them.
- Sweeping Salvo (Ultimate) — Fires three times in a wide cone, dealing damage and Disorienting all enemies caught inside. Disoriented targets suffer a -20% chance-to-hit penalty on their attacks. Damage starts at 14 with 12.0m range and reaches 20 damage over 18.0m at max, where it can also land critical hits.
- Bull Rush (Standard) — Charges an enemy for melee damage and pushes it backward. If the target collides with an object or falls, it takes extra impact damage. Shoving an enemy into a void, ledge, or shaft is an instant kill.
- Fleet of Foot (Passive) — Increases first movement distance, starting at +1.0m.
- Strike the Flanks (Passive) — Grants +20% critical chance against Exposed enemies (targets not in cover). It does nothing against enemies that never use cover.
Gunslinger
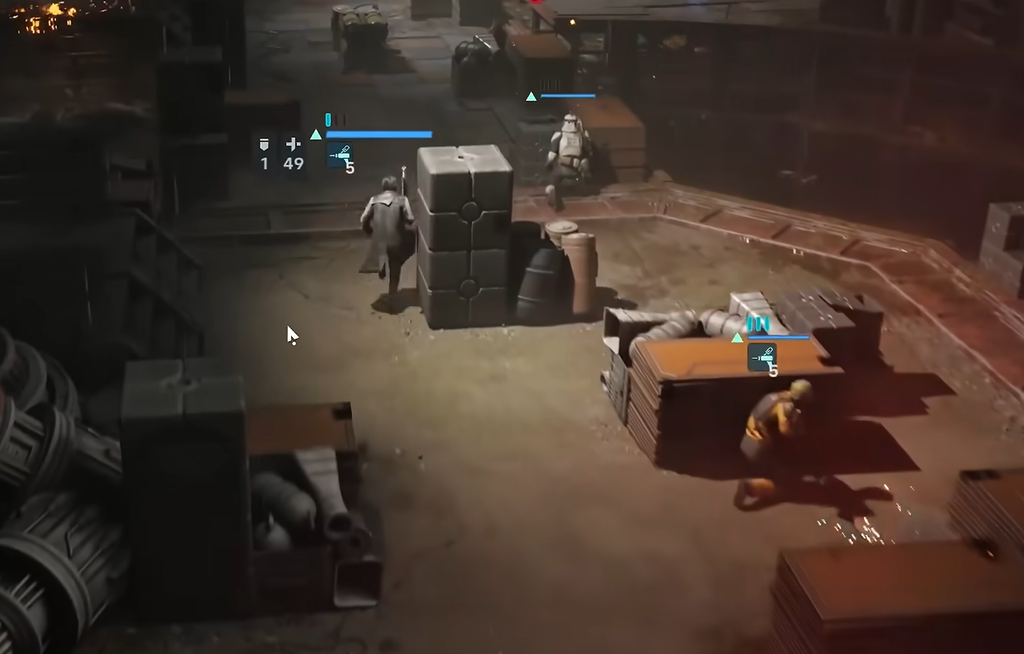
Gunslingers stay effective at any range and are built to spread damage across multiple targets in a single turn. Their standout mechanic is refreshing an Action Point on a kill, which lets a well-placed operator chain finishing blows and clear several enemies in one activation.
- Open Fire (Ultimate) — Fires twice at any combination of targets, with a base chance-to-hit bonus that scales up to +20%. At max rank it fires three times. The cost drops as you rank it, from 9 Advantage at rank I to 7 at rank II.
- Quick Draw (Standard) — A fast pistol shot with a chance-to-hit penalty. If it kills the target, the operator restores 1 AP.
- Keen Eye (Passive) — Increases critical chance on ranged attacks by +6%, up to +18% at max.
- Onslaught (Passive) — Each attack in a turn grants +1 blaster damage, primary weapon only.
Heavy
The Heavy is the squad’s tank, thickly armored and built to work in the open where other classes need cover. It draws fire, holds positions, and survives punishment. This is the one class with five abilities instead of four.
- Bulwark (Ultimate) — Taunts all enemies in the target area and grants +2 Defense for the turn (+6 at max), plus 4 Advantage per turn. Effective range is 16.0m, rising to 24.0m. At max level it also grants Impervious (immunity to status effects) and Immovable.
- Unstoppable (Standard) — Gains 2 stacks of Retaliation. When attacked, the operator fires back a Retaliation Shot with +4 damage.
- Conditioning (Passive) — Increases Max Health by +4, up to +20 at max.
- Heavy Armor Training (Passive) — Increases Defense by +2.
- Intimidating Posture (Passive) — Blaster attacks Taunt the target they hit.

Medic
The Medic keeps the squad alive and standing, which matters a lot under permadeath. Beyond direct healing, it can raise both melee and ranged damage on allies.
- Morale Boost (Ultimate) — Gives the operator and nearby allies 4 stacks of Morale (10 at max), and grants 7 Advantage once per combat. Each turn Morale restores 2 Health per stack, then removes 1 stack.
- Combat Stim (Standard) — Grants Stimulant to an ally for 2 turns, raising ranged and melee damage by +2 and Max Health by +8 (higher at max). At max level Stimulant lasts the rest of combat.
- Lifesaving Measures (Passive) — The Medic’s Medpac restores an additional 5% Health.
- First Responder (Passive) — Permanently equips a Medpac without using a utility slot, and fully restores any downed ally rescued with Rally.
Scoundrel
The Scoundrel finds and exploits weaknesses, turning setups by the rest of the squad into extra damage. It rewards thoughtful coordination rather than solo play.
- Easy Mark (Ultimate) — Marks a target so the Scoundrel joins in whenever an ally attacks it. If the ally lands a critical hit, the Scoundrel’s attack also crits. Cost drops from 7 Advantage at rank I to 5 at rank III.
- Identify Weakness (Standard) — Turns a target Vulnerable for 1 turn so the next attack deals critical damage. At max it lasts 2 turns, and range extends from 12.0m to 28.0m.
- Never Play Fair (Passive) — Increases assist damage by +1, up to +5 at max.
- Scoundrel’s Instinct (Passive) — Every attack penetrates 4 points of the target’s Defense.
Scout
The Scout is about generating Advantage and creating openings for the whole squad. Because Advantage fuels every ultimate, a Scout that feeds the pool consistently is a strong pick against tougher enemies.
- Ambush (Ultimate) — A surprise attack whose damage scales with the Advantage spent. It consumes the squad’s entire Advantage pool and needs at least 4 banked to fire. Base damage is 14, with each point of Advantage adding +2 (+5 at max).
- Combat Recon (Standard) — Scouts an area and gains Advantage for each enemy inside. The recon area starts at 4.0m (7.0m at max) and can be cast from 14.0m up to 24.0m.
- Tactical Timing (Passive) — A 20% chance to gain 1 Advantage after defeating an enemy, rising to 100% at max.
- The Spotter (Passive) — Attacking a target Spots it, and chance-to-hit penalties are ignored against Spotted enemies.
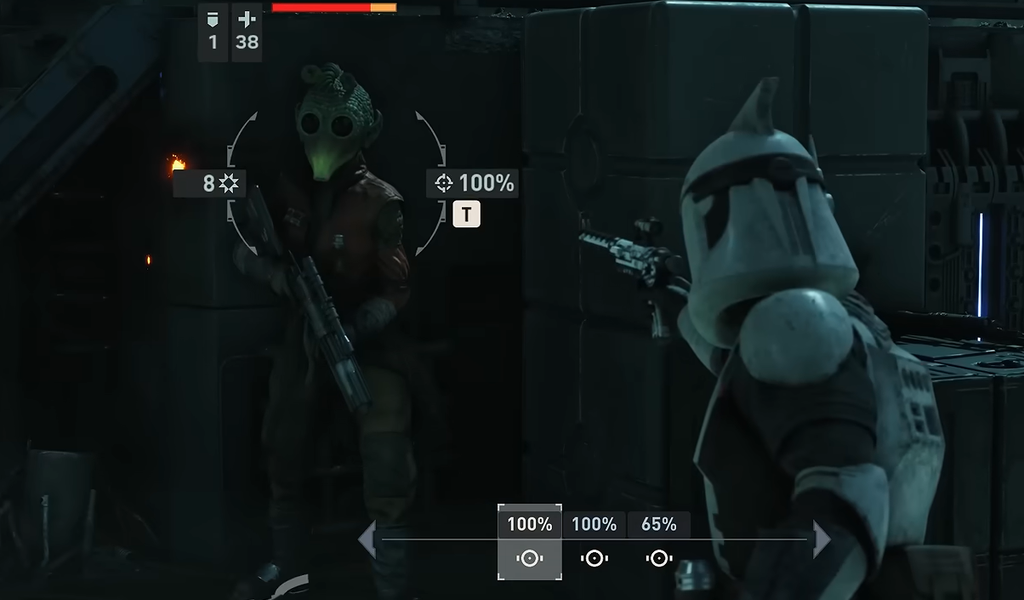
Sharpshooter
The Sharpshooter is the designated sniper, focused on high-accuracy shots and deleting single high-value targets from long range.
- Precision Shot (Ultimate) — A blaster shot that is guaranteed to hit, with 14 base damage. From level 2, it adds critical damage, scaling up to +50% at max.
- Zero In (Standard) — Sets a firing position and gains 3 stacks of Lethal (8 at max). Each stack adds +5% chance-to-hit and +3% critical chance.
- Pick Them Off (Passive) — Raises Overwatch chance-to-hit by +5% (+25% at max) and Overwatch damage by +2 (+6 at max).
- Sharpshooter Training (Passive) — A flat +10% chance-to-hit on every blaster attack.
Soldier
The Soldier is the jack-of-all-trades attacker, comfortable at close to medium range with melee, blaster fire, grenades, and a rocket launcher.
- Rocket Strike (Ultimate) — Fires a rocket that damages every target in a 4.0m area for 28 base damage. At max it rises to 34 damage and turns affected targets Vulnerable.
- Brutal Strike (Standard) — Rushes a target for melee damage and Dazes it, starting at 12 damage (18 at max). At max it also Stuns the target.
- Strength (Passive) — Raises melee damage by +2 (+6 at max) and grenade throw range by +2.0m (+6.0m at max).
- Armsmaster (Passive) — Increases blaster and grenade damage by +2.
Exotic classes locked to specific characters
Exotic classes cannot be assigned to generic recruits, and outside the Astromech, only one of each can be fielded at a time. They also cannot be reassigned to other characters, and their abilities can’t be granted to custom operators.
Jedi Padawan
Locked to Tel-Rea Vokoss and built around Force abilities and dual-lightsaber combat. Confirmed abilities include Force Push, which moves an enemy out of cover and can shove it into a friendly Overwatch zone, and a Force Pull. There is no custom Jedi recruit, and if Tel-Rea dies under permadeath, the Jedi Padawan class is gone for that campaign.
Mandalorian Warrior
Locked to Cly Kullervo and centered on her jetpack and Mandalorian gear. The jetpack is her Combat Jump talent, and it stays with her even if she respecs into a standard class.
Astromech
The Astromech is the one exotic that isn’t tied to a single named character. It belongs to any droid built in the in-game droid builder, where each unit type has its own abilities and personality. Astromechs unlock early in the game, and a full Astromech team is possible once they can be recruited (Hawks is still required on story missions, but every other slot can be a droid). They are also the only operators that can take the Built-In Comlink Universal Talent.
The unannounced fourth exotic
A fourth exotic class is confirmed to exist, but it has not been revealed. Its identity and the character it is locked to are unknown, and no official reveal date is currently confirmed.
Class synergies worth planning around
Because the second slot lets you combine two standard classes, some pairings reinforce each other cleanly. Medic and Gunslinger works because Combat Stim’s Stimulant adds ranged damage to every shot in the Gunslinger’s multi-hit output. Scoundrel and Sharpshooter works because Identify Weakness applies Vulnerable, setting up the Sharpshooter’s next shot to crit. Other effective combinations include Sharpshooter with Scout, Heavy with Assault, and Soldier with Heavy.
Since any operator except Tel-Rea Vokoss can respec freely at the Den’s Personnel facility, none of these choices are permanent. If a build isn’t working, you can move an operator into a different standard class and keep their unique talent intact, so it’s safe to experiment as your squad and the campaign develop.