The weapon platform you hand an Operator in Star Wars Zero Company decides how many attacks it lands per turn, how far it reaches, and how much Action Point (AP) freedom it leaves for abilities. There are four platforms to choose from, and each one trades something to gain something else. Below is a clear ranking of all four, plus the Specialization each one pairs with best.
Quick answer: Equip the Blaster Rifle as your default. Its first shot each turn costs only 1 AP for 10 damage, leaving 2 AP for movement or an ability. Switch to the Blaster Pistol, Longarm Blaster, or Repeater only when a specific Specialization rewards it.
Weapon tier list (all four platforms ranked)
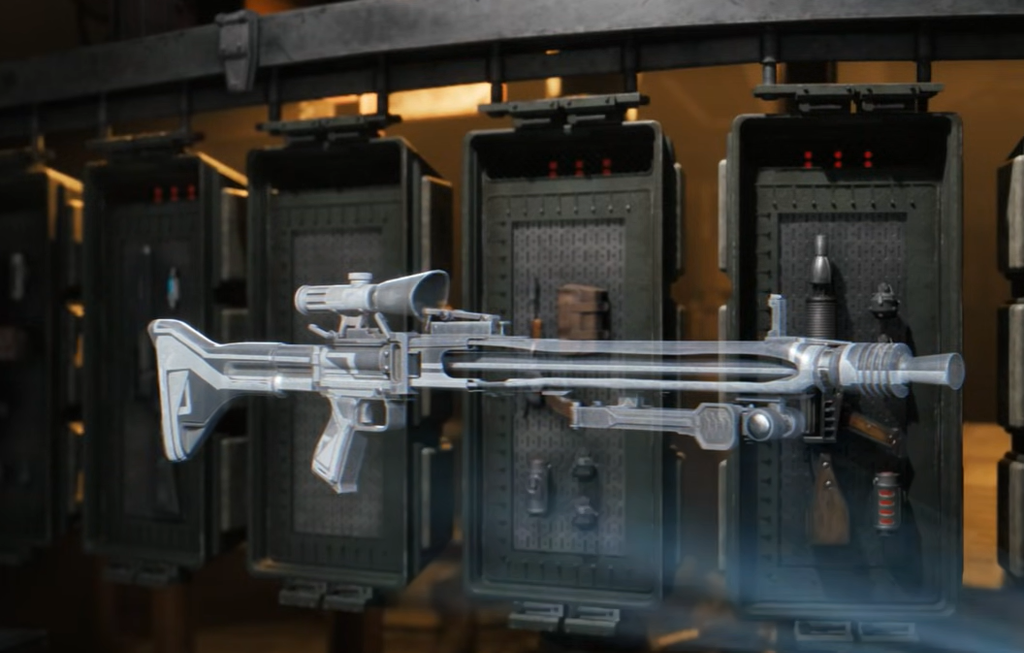
Rankings reflect the current release build and use unmodified weapon stats before Operator passives, Focus upgrades, and weapon mods change the math. The main criteria are first-shot AP efficiency, effective range, critical damage, and how cleanly each weapon fits a role.
| Tier | Weapon | Why it lands here |
|---|---|---|
| S | Blaster Rifle | Cheapest opening shot (1 AP for 10 damage), medium range, and the most flexible turn plans. |
| A | Blaster Pistol | 1 AP per shot with no cap, so it stacks the most separate hits for per-attack passives. |
| A | Longarm Blaster | Highest single-hit damage (12) and a huge +12 critical bonus from long range. |
| B | Repeater | Strong burst that consumes all AP and ends the turn, which limits movement and abilities. |
Base stats for every weapon
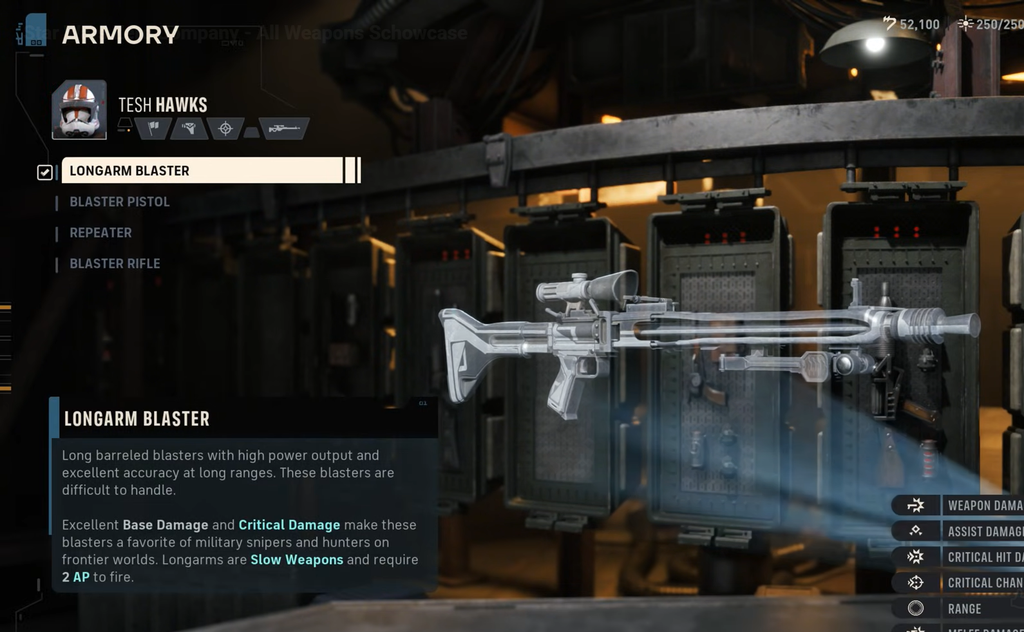
All four platforms start at an 11% critical chance. Defense is subtracted from each hit separately, so weapons that spread damage across more shots lose more to armor than weapons that land one or two larger hits.
| Weapon | AP Cost | Damage | Crit Bonus | Range |
|---|---|---|---|---|
| Blaster Rifle | 1 first shot, 2 after | 10 | +6 | Medium |
| Blaster Pistol | 1 per shot, no cap | 6 | +4 | Short |
| Longarm Blaster | 2 per shot | 12 | +12 | Long |
| Repeater | All remaining AP | 8 plus Rapid Fire | +4 | Medium |
Why the Blaster Rifle sits in S tier
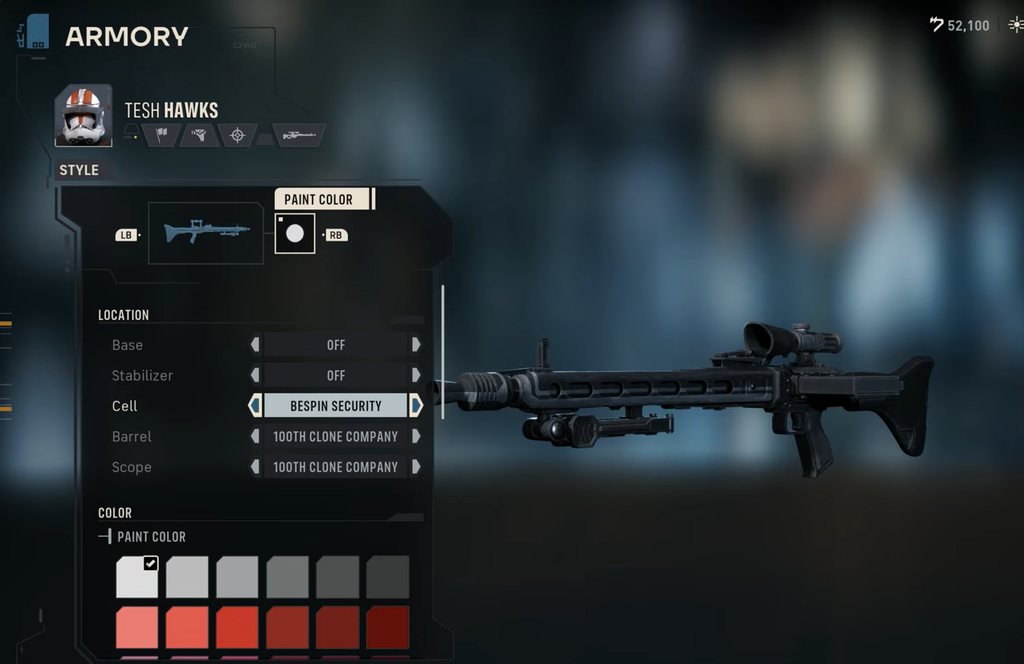
The Blaster Rifle is the strongest general-purpose primary and the safest pick for a new Operator. Its opening shot delivers 10 damage for a single AP, the best fixed rate of any platform, and leaves 2 AP for a move, an ability, or a second shot.
Fire twice and you get 20 base damage across the full 3 AP pool, since the second shot costs 2 AP. That total still edges the Pistol’s three-shot output of 18, and it loses less to flat Defense because it arrives in two packets instead of three. The real strength is choice. You can open with one shot, read the result, then decide between a follow-up shot and a tactical action. Soldier, Medic, and utility builds gain the most from that freedom.
The A-tier picks: Blaster Pistol and Longarm Blaster
Both A-tier weapons give up the Rifle’s all-round efficiency for stronger class synergy. The Pistol produces more separate attacks, while the Longarm packs its damage into one high-value hit.
Blaster Pistol
The Pistol costs 1 AP per shot with no rising cost, so three attacks land in a single turn for 18 base damage. Those extra hits matter when an ability or passive triggers on every primary attack. Gunslinger’s Onslaught adds +1 Blaster Damage for each primary attack already made that turn, Heavy’s Intimidating Posture Taunts every enemy struck, and Scout can apply Spotted across several targets at once. The cost is short range and only 6 base damage per shot.
Longarm Blaster
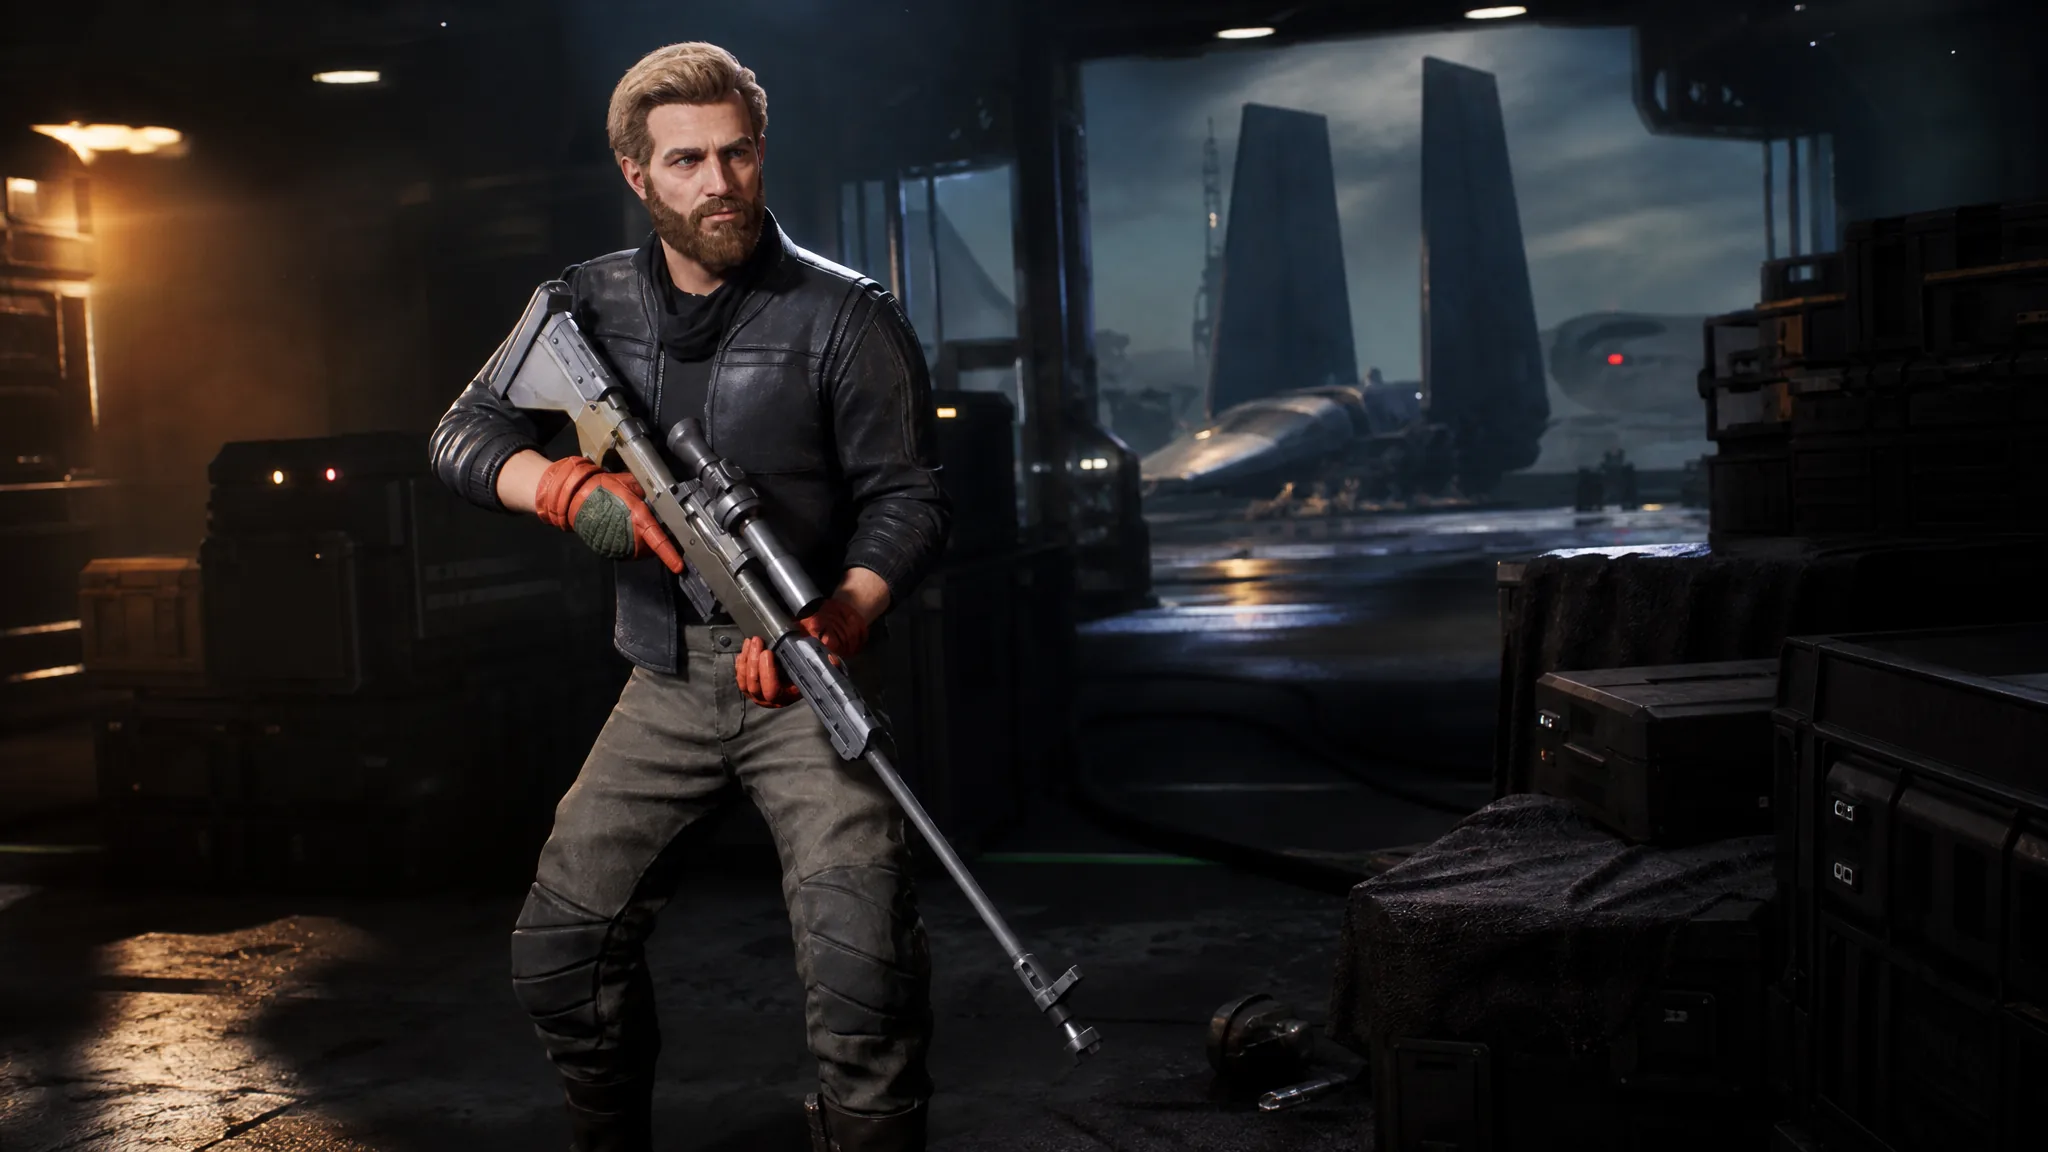
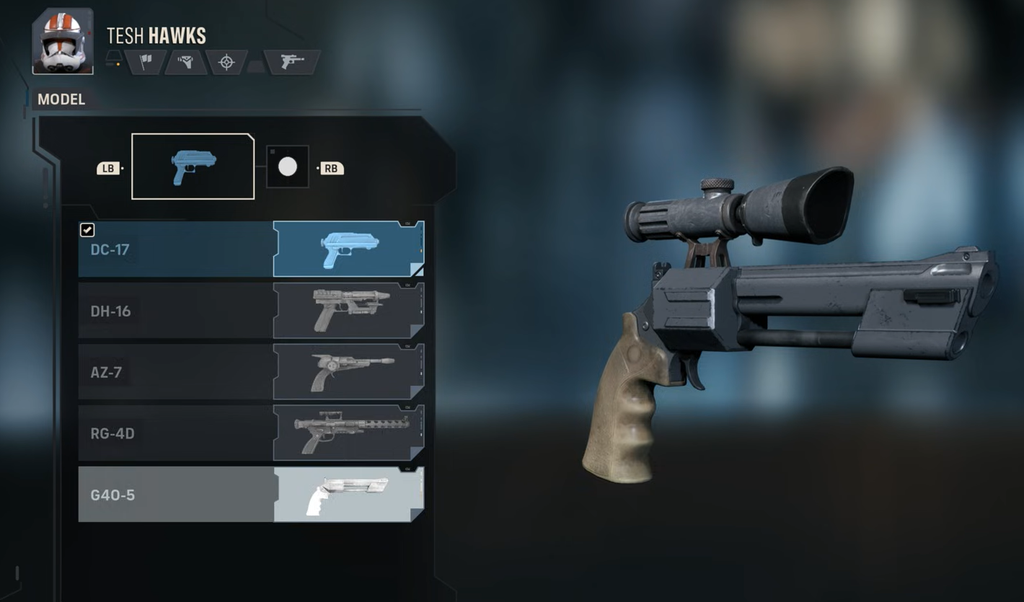
The Longarm concentrates everything into one long-range shot for 12 damage at 2 AP, with a large +12 critical bonus. That crit packet drives two pairings. Sharpshooter’s Zero In rewards holding position while Lethal stacks improve accuracy and crit performance until the Operator moves. Scoundrel’s Identify Weakness is a 1 AP Fast Action that applies Vulnerable, turning the next attack into a guaranteed critical, so a Longarm shot during that window adds the full +12 instead of rolling the 11% base chance.
Why the Repeater lands in B tier
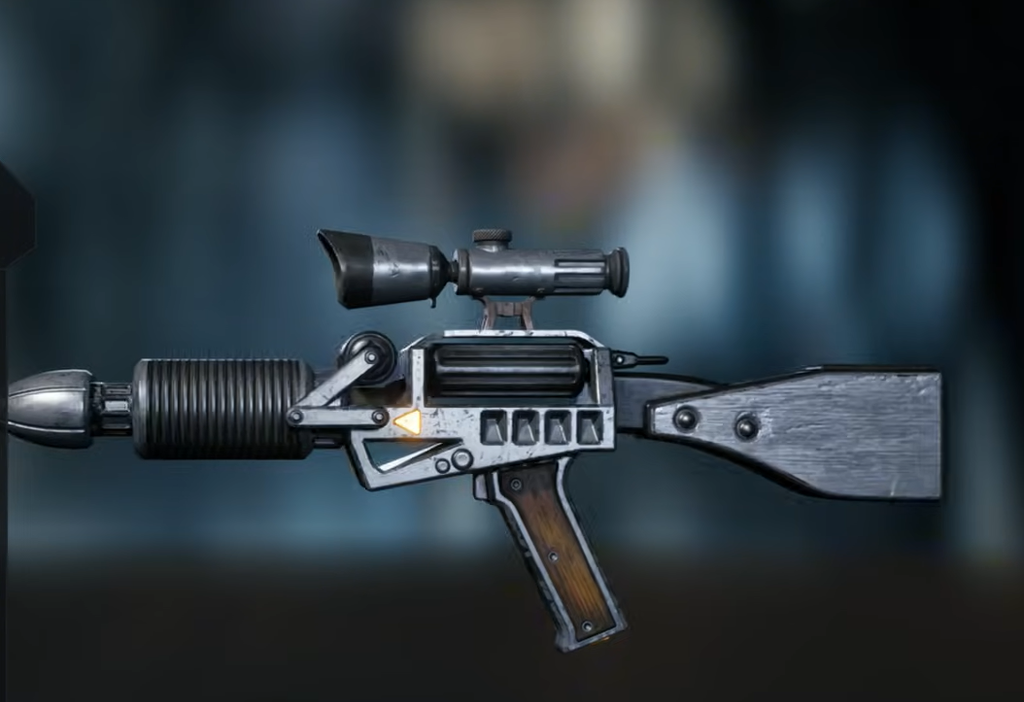
The Repeater is the most restrictive platform, not a weak one. It starts at 8 damage and adds Rapid Fire damage based on the AP it consumes, but firing uses every remaining Action Point and immediately ends the turn. Fire it as your first action and you cannot move or use anything else.
| AP available | Result |
|---|---|
| 3 AP | Largest Rapid Fire bonus, full-strength shot. |
| 2 AP | Smaller Rapid Fire bonus after one point spent elsewhere. |
| 1 AP | Weakest version after two points already used. |
Pick it when the Operator starts in medium range with all 3 AP ready and you want to delete a single elite. Spend any AP on movement or setup first and the shot loses much of its value while still ending the turn.
Best weapon for each Specialization
These are first picks, not locks. Any Specialization can equip any weapon from the Armory in the Den, and a second Specialization later in the campaign can flip the pairing.
| Specialization | Best weapon | Alternative |
|---|---|---|
| Assault | Blaster Rifle | Blaster Pistol |
| Gunslinger | Blaster Pistol | Blaster Rifle |
| Heavy | Blaster Pistol | Repeater |
| Medic | Blaster Rifle | Blaster Pistol |
| Scoundrel | Longarm Blaster | Blaster Rifle |
| Scout | Blaster Pistol | Blaster Rifle |
| Sharpshooter | Longarm Blaster | Blaster Rifle |
| Soldier | Blaster Rifle | Repeater |
If you are unsure, the Blaster Rifle covers almost every situation and rarely wastes AP. Reach for the Pistol when a passive rewards repeated hits, the Longarm when you can set up a guaranteed critical from range, and the Repeater when one full-AP burst can end a fight on the spot. Weapon mods, Focus upgrades, and Operator passives can shift these placements once you start layering them on top of the base numbers.