Soloing Dungeon Quest Reborn early on is less about reflexes and more about following the level gates in the right order and picking one stat to commit to. The first stretch of the game runs through three routes — Desert Temple, Winter Outpost, and Pirate Island — and each one opens up only when your character hits a specific level, so the climb from Level 1 to the mid-60s is a fairly rigid sequence.
Quick answer: Grind Desert Temple until Level 33, move to Winter Outpost until Level 60, then run Pirate Island. Push difficulty to Nightmare with Hardcore Mode enabled once you can clear the route cleanly, and respec into Spell Power around Winter Outpost so a single Fire Bomb rotation can clear packs you cannot out-melee.
Dungeon order and level requirements
Three routes cover the entire Level 1 to Level 66 window. Everything past that — King’s Castle, Underworld, Samurai Palace, Ghastly Harbor and the rest — sits behind higher gates and is not part of the opening climb.
| Dungeon | Level needed | Bosses |
|---|---|---|
| Desert Temple | 1 (Easy) | Sand Giant |
| Winter Outpost | 33 | Ice Elemental |
| Pirate Island | 60 | Captain Blackbeard, Spider Queen, Demonic Pirate Captain |
Difficulty is chosen separately from the dungeon itself. Desert Temple runs through Easy, Medium, Hard, Insane, and Nightmare, and Nightmare becomes realistic around Level 27. On top of that sits Hardcore Mode, a toggle rather than a difficulty tier. Level gates can shift with updates, so read the requirement the dungeon selector shows you rather than assuming a number carried over.
Physical Power vs Spell Power: Which stat to commit to
There is no class selection screen here. Your build is whichever stat you dump points into, and abilities scale off one of the two. Splitting points between both is the single most common way to stall a solo run, because nothing hits hard enough to beat the dungeon timer.
| Stat | Scales | Typical abilities |
|---|---|---|
| Physical Power | Melee weapons | Whirlwind, Ground Slam |
| Spell Power | Staffs, spellblades, daggers with spell damage | Fireball, Fire Bomb, Poison Cloud, Piercing Rain |
Melee works fine through Desert Temple. Winter Outpost is where it usually breaks down, because Frost Minions arrive in groups and a solo warrior gets surrounded. Resetting stat points into Spell Power and running a doubled-up Fire Bomb setup alongside a heal like Redemption is the reliable solo answer for the mid-game, and skill points can be reset again later if you want to swap back for a specific weapon drop.
Desert Temple: Level 1 to Level 33
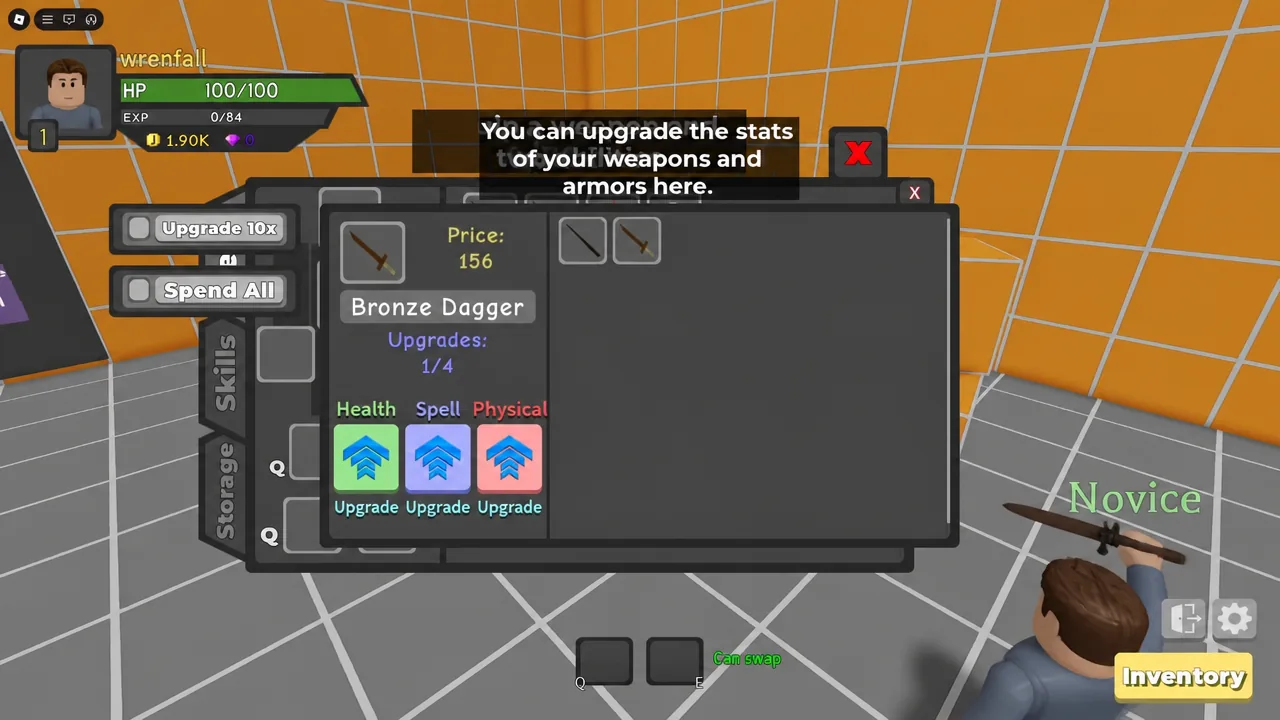
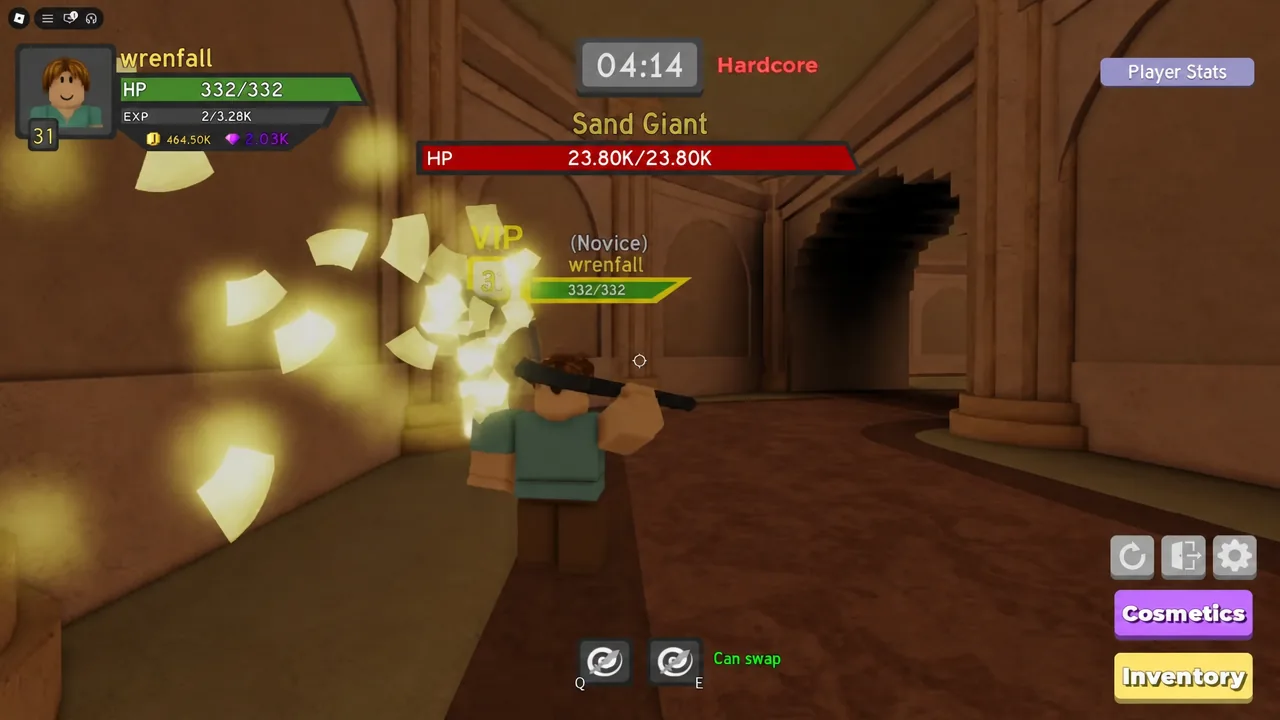
Hitting Level 33 unlocks Winter Outpost in the dungeon selector. That entry becoming selectable is your confirmation that the gate has cleared.
Winter Outpost: Level 33 to Level 60
Winter Outpost is the longest stretch of the early game, covering nearly 30 levels on a single route. Frost Minions and Frost Wizards punish slow clears, and the Ice Elemental boss sits at the end of the map on an ice platform.
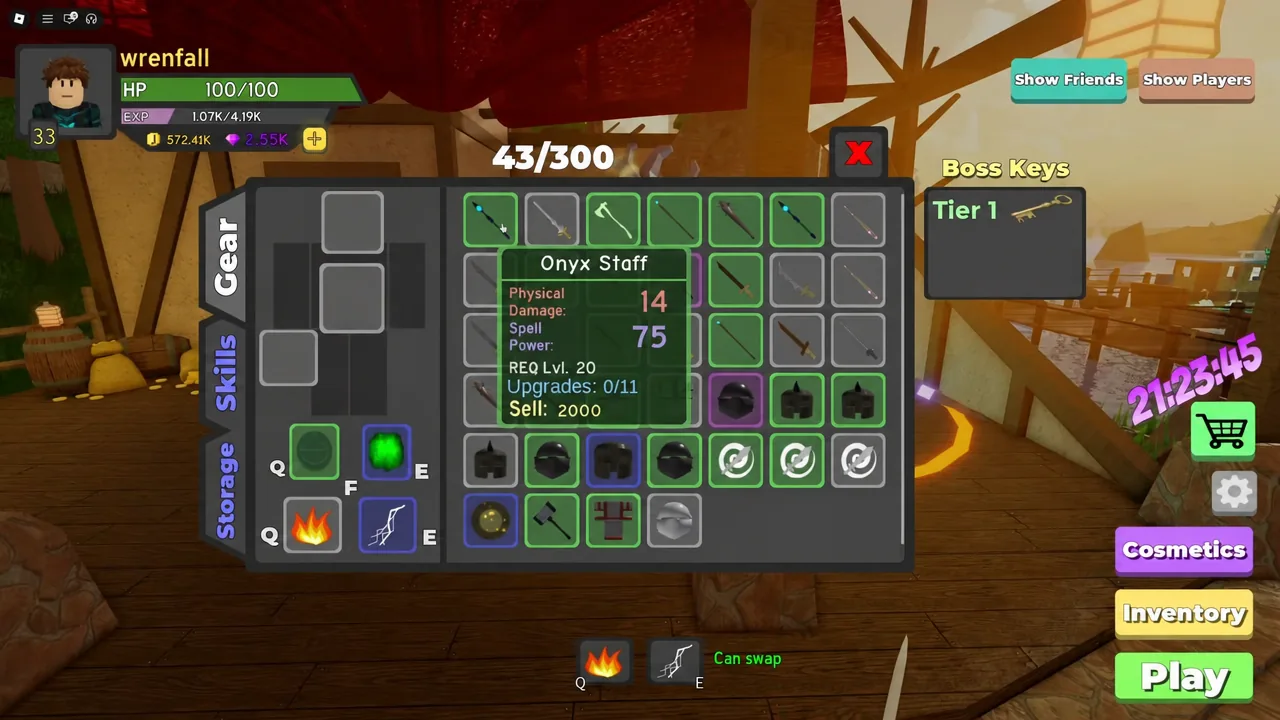
Level 60 is the Pirate Island gate, and it usually arrives mid-run. Finish the dungeon and claim the rewards before leaving — the selector will still show the new route when you return.
Pirate Island: Three bosses and the Level 66 payoff
Pirate Island is a step up in every direction. Pirate Savages hold around 323K HP each on Hardcore, and the route ends with three named encounters instead of one. Captain Blackbeard shows up on the jungle path, the Spider Queen holds the cavern, and the Demonic Pirate Captain waits on the ship dock.
| Encounter | Observed HP (Hardcore) |
|---|---|
| Pirate Savage | 323K each |
| Captain Blackbeard | 1.10M |
| Spider Queen | 1.02M – 2.29M |
| Demonic Pirate Captain | 1.44M – 2.97M |
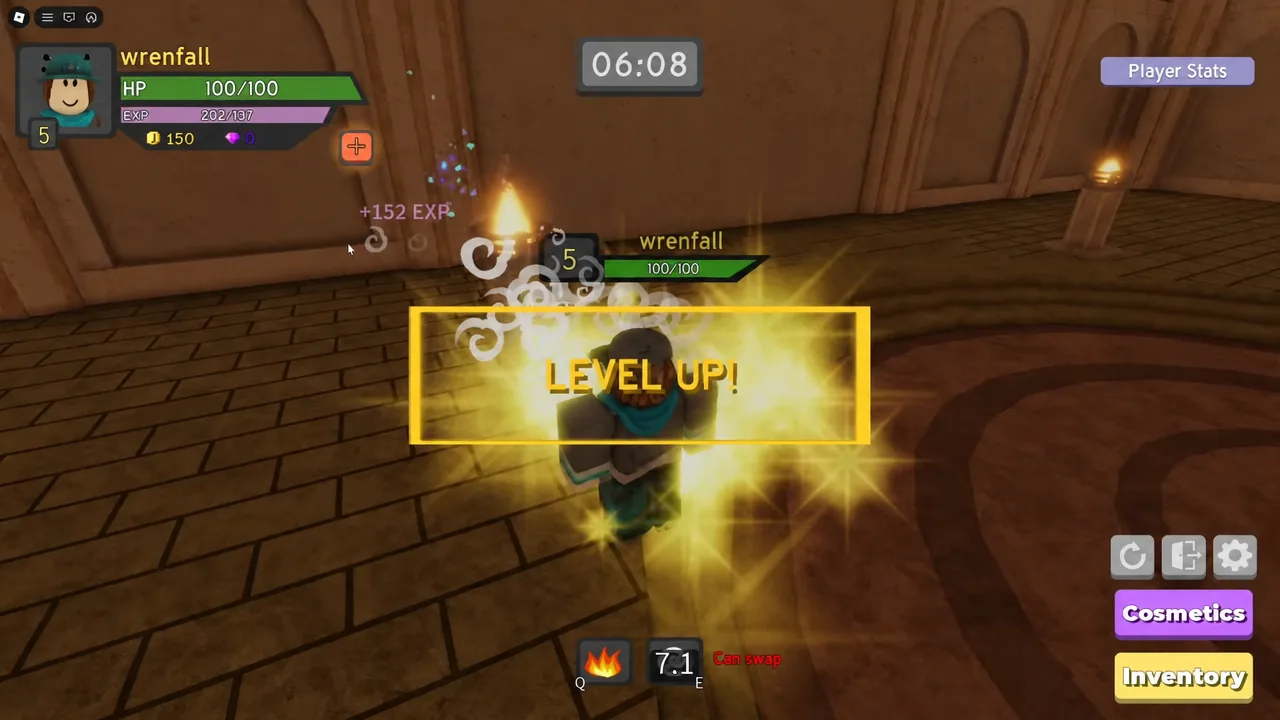
Health totals scale with the difficulty you select and your level bracket, so treat these as a range rather than fixed numbers. Abilities can be swapped mid-dungeon when the interface shows the swap prompt on the Q and E slots, which is useful for trading a clear spell for a heal before a boss room.
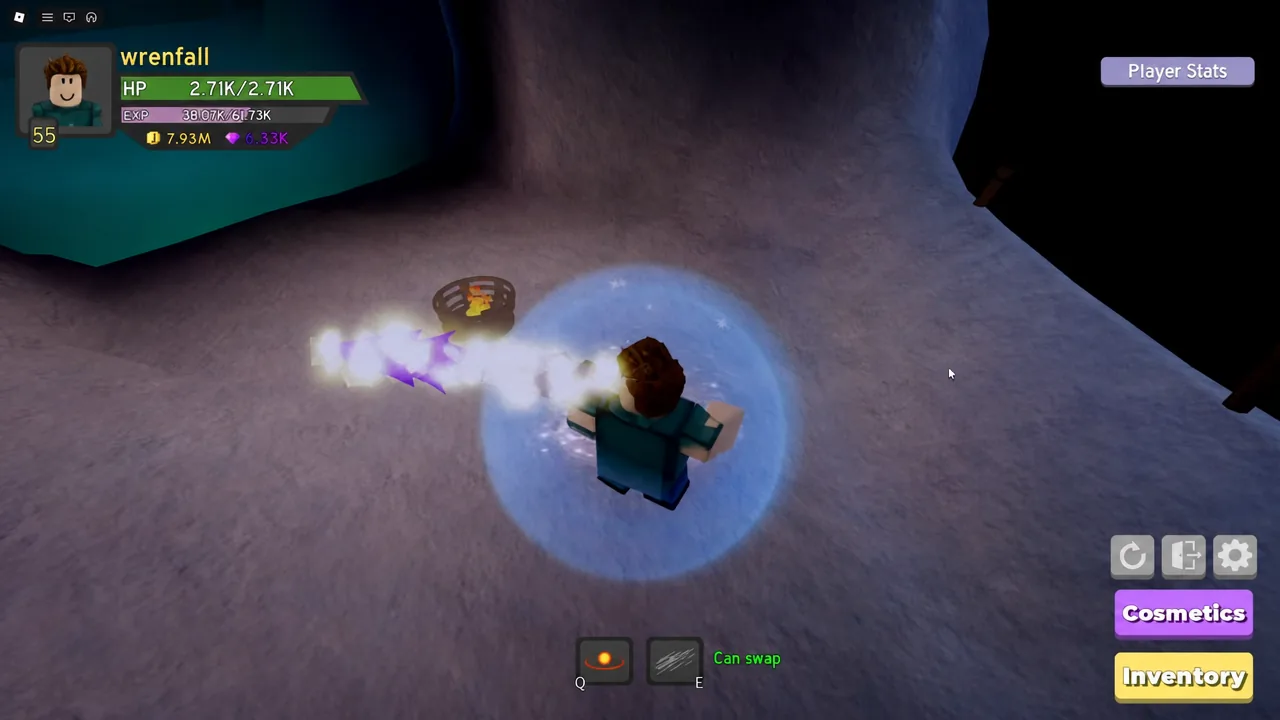
A full Hardcore clear of all three bosses lands most solo players around Level 66. That is also where legendary drops start appearing, including the Soulstealer Greatsword, which can be taken to the blacksmith and pushed to maximum upgrades.
How Hardcore Mode changes a solo run
Hardcore Mode gives you one life for the entire dungeon in exchange for better rewards. Die once and the run ends immediately with a “Dungeon Failed” screen — no rewards, no experience for the clear. Higher-tier loot, including legendary weapons, comes from clearing bosses with the toggle active.
Solo Hardcore attempts usually fail for a short list of reasons:
- Split stat points, leaving neither weapon damage nor spell damage high enough to beat the timer.
- Getting surrounded by a full pack instead of pulling smaller groups — the usual death in Winter Outpost.
- Dropping your guard after a boss dies. Leftover Infected Pirates on Pirate Island can finish you seconds after the Spider Queen falls, which still counts as a failed run.
- Carrying an un-upgraded weapon into a new tier. Blacksmith upgrades matter more than a slightly higher-rarity drop at base level.
A clean run ends with the reward screen listing gold, items, and any level-ups you earned. If you want a safer benchmark before committing, clear the route three times on the tier below with Hardcore off. If those runs are consistent and you finish with time to spare, the same route on Hardcore is a reasonable risk.