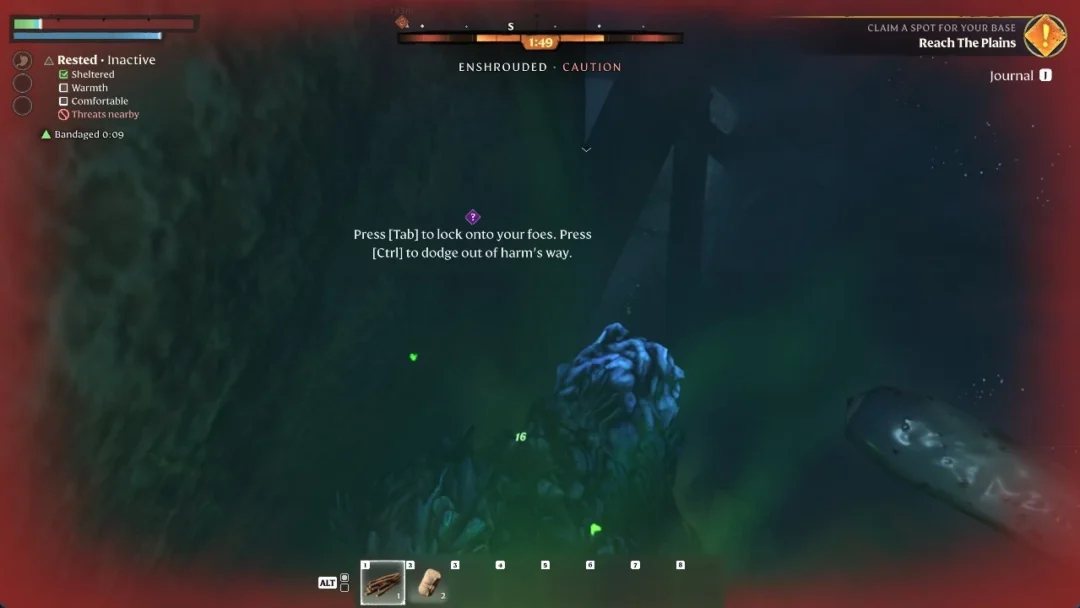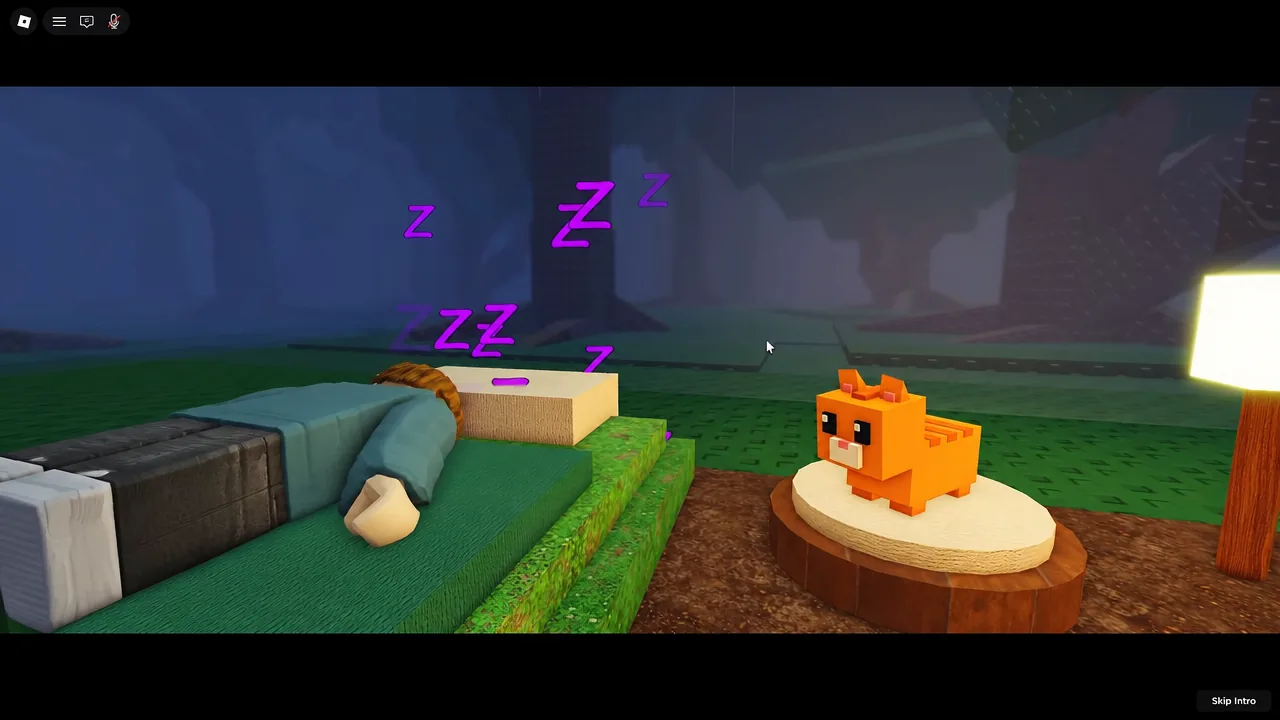
The run starts with a nap and ends in a lava zone. Baron Smog bulldozes the forest, cages your cat Whiskers, and leaves you standing in a wrecked bedroom with nothing but a pair of Dash shoes. Everything between that moment and the rescue runs on two numbers, and knowing which one to feed at which point is the difference between a smooth push and a stall in the sewers.
Quick answer: Whiskers is held in a cage at the end of a long raised walkway in the red hazard zone, behind the red door. Pay the 20c seed unlock on the cage to trigger the cure sequence — vines strip the mind-control collar and Whiskers turns friendly and follows you.
Seeds and Dash: The two numbers that gate the run
Dash is your walkspeed. You raise it by grabbing the sneakers scattered along every path, and each pickup stacks permanently for that life. Seeds are the currency, and they come from plants you place on buttons around the map plus the animals that harvest for you.
The two feed each other. More Dash means faster laps between plant patches and cleanup pads, which means more seeds per minute, which pays for the next expansion. If progress feels slow, the fix is almost always Dash, not seeds.
| Resource | Where it comes from | What it buys |
|---|---|---|
| Dash | Sneaker and shoe pickups along every route | Walkspeed, which raises collection rate |
| Seeds | Planted flowers, trees and animal harvesting | Expansions, cleanups, recruits, the final cage |
Expansion costs from the bedroom to the sewers
Each zone is sealed behind a single purchase pad. The jumps between them are steep, so the pad price is the cleanest way to check whether your current seed income is good enough or whether you need another plant and another recruit first.
| Expansion | Cost | Opens |
|---|---|---|
| Destroy Fence Expand | 40 seeds | Rest of the starting yard |
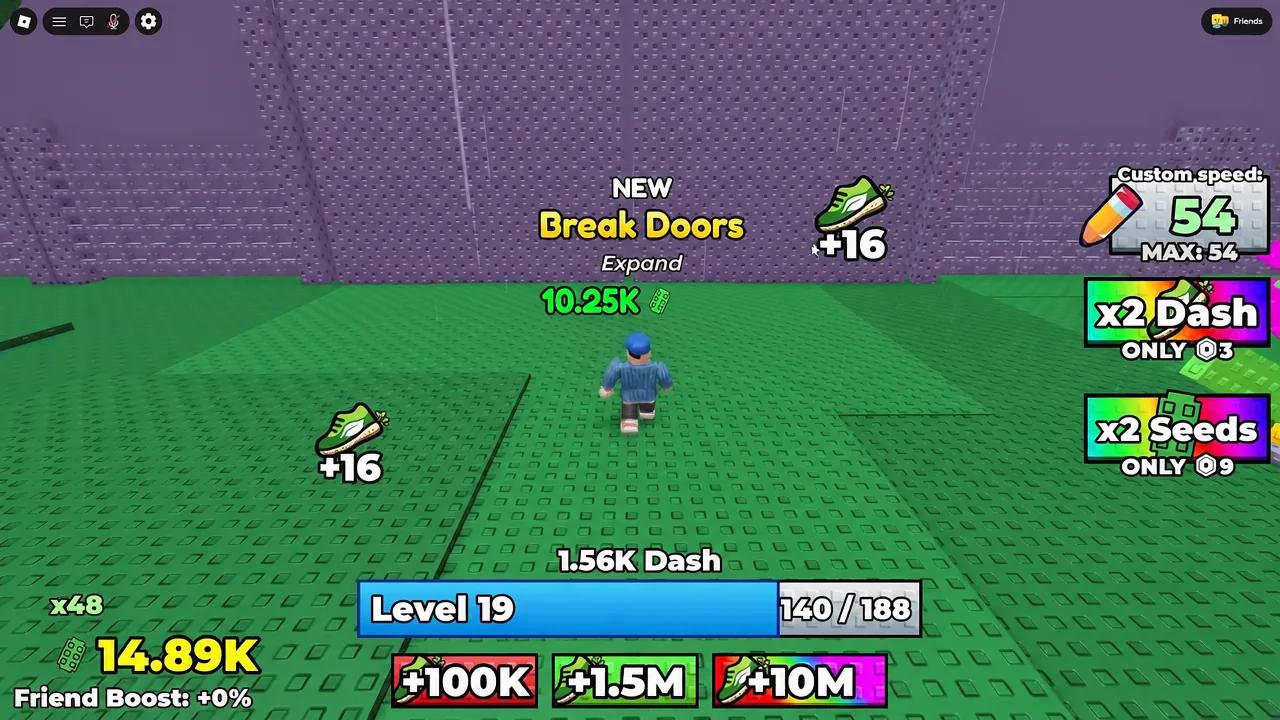
| Break Doors Expand | 10.25K seeds | Stage 3 industrial area |
| Disable Lazers Expand | 3.2M seeds | Industrial hall and tunnel |
| Sewer grate | 117B seeds | Sewer stage |
| Whiskers’ cage | 20c seeds | Rescue sequence |
Break Doors Expand is the first real wall. It punches through into the industrial area, which is guarded by laser grids and patrolling security, so do not buy it until you have Stage 2 fully cleaned and harvesting on its own.
Cleanup pads and the plants that raise seed income
Every zone has debris on it, and every piece of debris sits on a cleanup pad. Remove Waste Cleanup clears the first yard, Forest Floor Cleanup handles the roadside, Rocks Cleanup breaks the boulders in the factory zone, and the sewer needs its toxic green waste depolluted before you can build there.
Clearing a pad pays out immediately and frees the ground underneath for planting. Treat cleanups as the prerequisite for income rather than an optional side task.
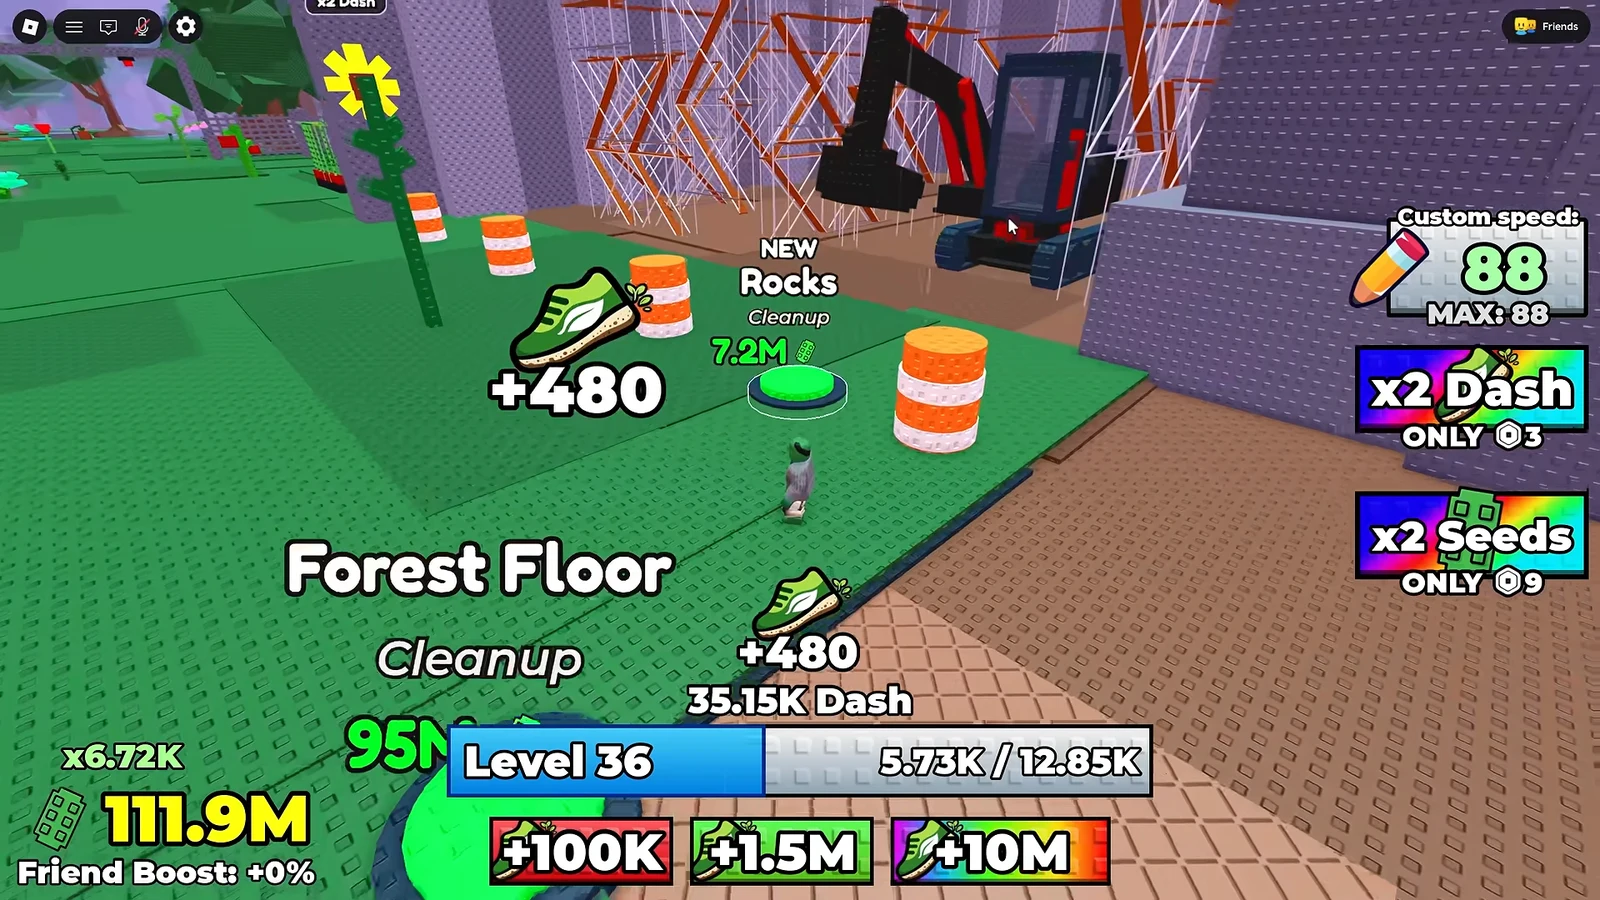
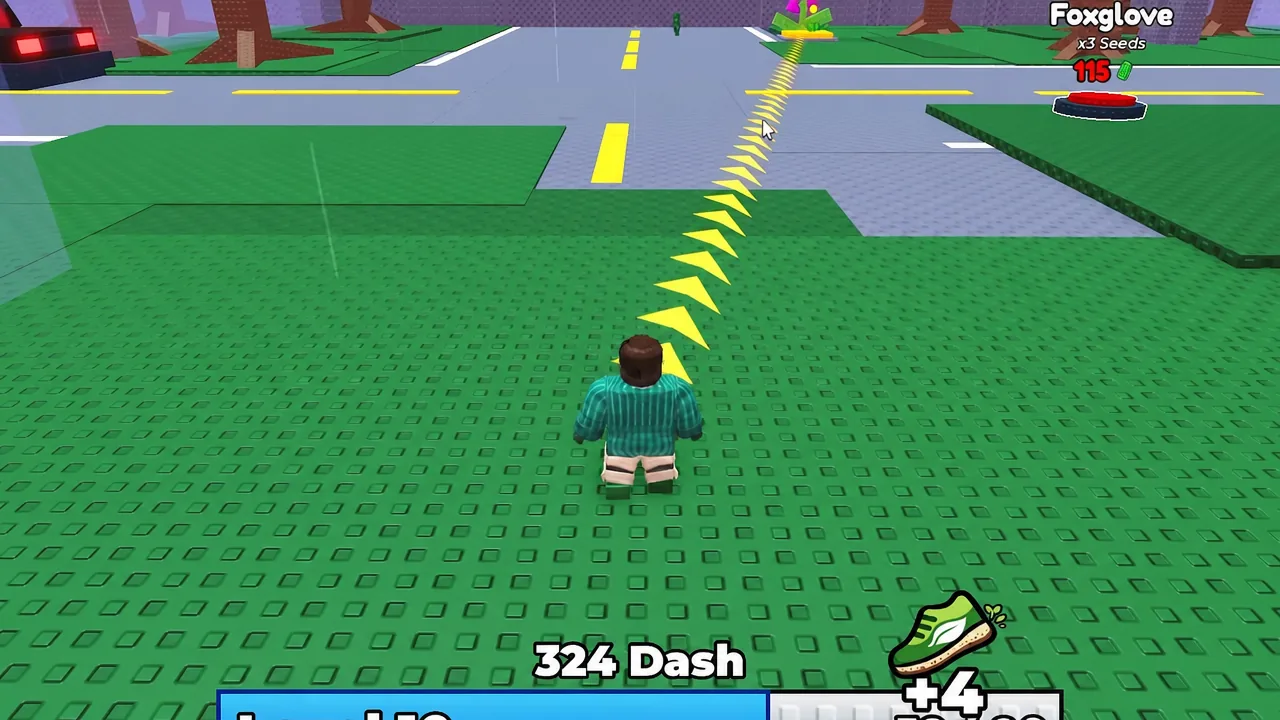
Plants are what multiply your seeds per pickup. Aurora Lotus is the first one you place and gives x2 Seeds. Foxglove on the roadside pushes generation higher again, and each later stage has its own set to fill in.
| Stage | Plants available |
|---|---|
| Stage 1 yard | Aurora Lotus, Pumpkin, Marigold |
| Stage 2 roadside | Foxglove |
| Stage 3 industrial | Bleeding Heart, Stormcall Magnolia, Sunflower, Mango Tree |
| Sewers | Mushrooms, Moonflowers |
| Red hazard zone | Dragon’s Breath Vine, Cactus |
Note: Bleeding Heart and Stormcall Magnolia do double duty in the security zone. Beyond generating seeds, their vines trap the guards patrolling that area, so plant them before you try to cross it.
Animal recruits and the food that speeds them up
Recruits automate collection. Once hired, an animal walks the stage picking up seeds while you run ahead, and each one has a food item that increases its movement speed. Buy the recruit first, then the food as soon as you can afford it — an unfed animal is slow enough that the upgrade pays for itself quickly.
| Recruit | Speed food | Found in |
|---|---|---|
| Wolf | Bones | Stage 1 yard |
| Bear | Blueberries | Stage 2 roadside |
| Crow | — | Stage 3 security zone |
| Fox | Fish (doubles Fox speed) | Factory zone |
| Viperfish | — | Sewers |
| Owl | — | Red hazard zone |
When to Rebirth and what carries over
Rebirth wipes your stage progress and hands back permanent multipliers. The first one grants x2 Seeds and x2 Dash, and because those multipliers apply from the bedroom onward, re-clearing the early zones takes a fraction of the time it did the first run.
The menu tells you the required seed count and warns that all progress is lost. That warning is accurate for stage progress, but the multipliers are what you are actually buying.
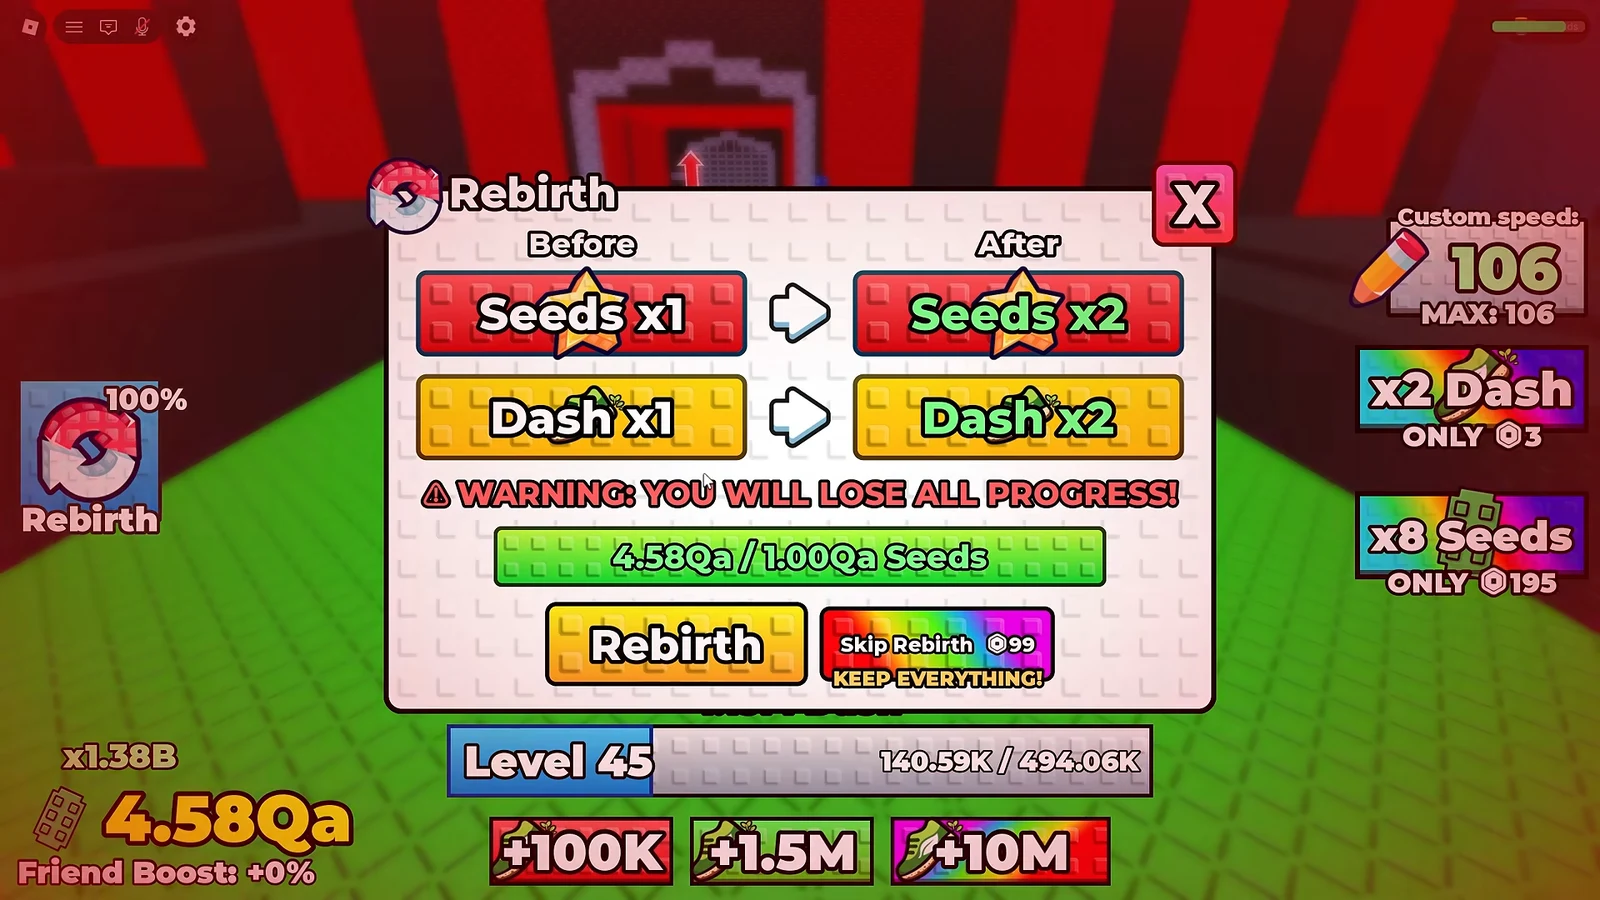
After the second Rebirth, Skip Rebirth upgrades become worth buying. They compress the repeat clears so you spend your time on the zones you have not finished yet, not on the yard you have already cleaned twice.
Red hazard zone route to the red door
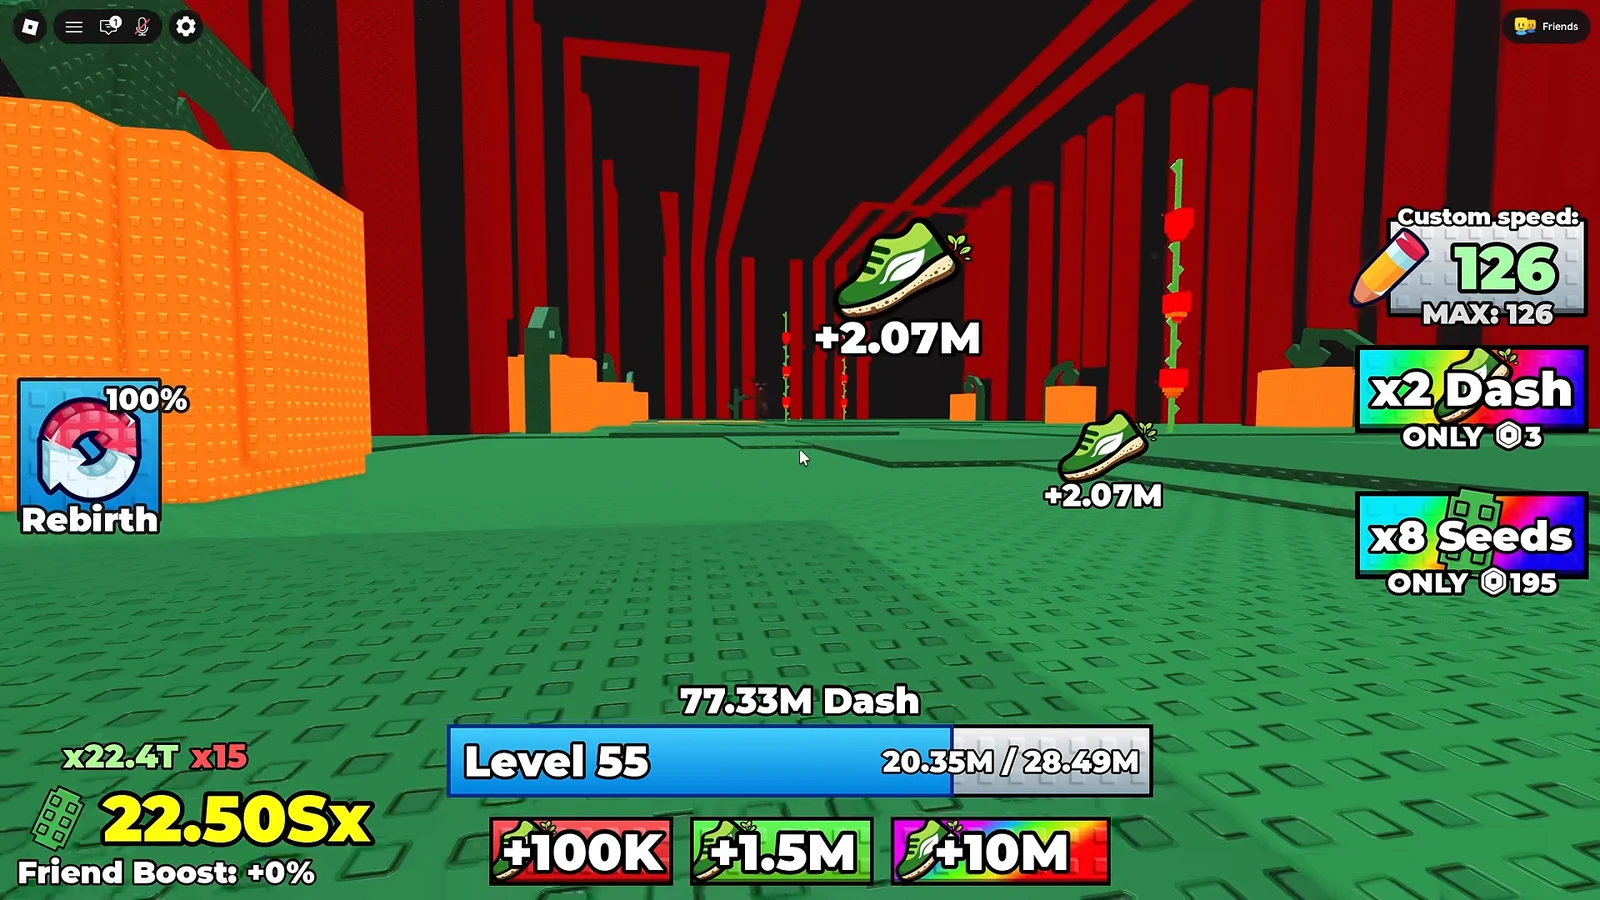
The red zone is reached through a ladder chute after the second Rebirth. It is the most hazard-dense area in the game and the last one before Whiskers.
Freeing Whiskers and confirming the cure worked
Whiskers is not simply locked up. A cutscene in the sewers shows Baron Smog watching your approach and reveals a mind-control collar fitted to the cat, so the cage unlock starts a fight rather than ending the chapter.
Pay the 20c seed cost on the cage. A battle sequence plays, vines wrap the cat and strip the corruption, and Whiskers turns friendly. You know it worked when he follows you instead of resisting, and Baron Smog is notified that the signal on the collar has been lost.
If the cage will not open, the reason is seed count. There is no separate key, quest flag, or hidden requirement on it — the unlock is priced like every other pad in the game.
The lava bridge and the White Door after the rescue
Whiskers travels with you from that point. The route continues up a lava bridge flanked by giant white serpentine creatures, with more rebirth multipliers on sale along the way to keep your seed rate matched to the costs.
At the top is the White Door, the final barrier in the current build. Breaking it reveals a Coming Soon area rather than a new stage, which makes the rescue the effective end point for now.
Baron Smog, for what it is worth, does not lose. His closing cutscene shows a factory conveyor belt turning out control collars in bulk, which is a fairly clear signal about what the space behind that White Door is being built for.