Storage Hunters: Open World rewards players who stop treating every auction as equal and start optimizing the systems around them. Once the basic loop of bidding, hauling, and selling feels automatic, the difference between an average net worth and a fast-climbing one comes down to a handful of mechanics most players never touch: accessory loadout swapping, graded safes, gavel management, and how you spend your time offline.
Quick answer: Equip an Energy Drink Time accessory loadout, drink your potion, then switch back to your Luck loadout — the extended duration stays active. That single swap is the highest-value trick in the game.
Extend potion duration with accessory loadout swapping
Accessories carry different stat bonuses, and the game lets you save multiple loadouts. Energy Drink Time and Luck rarely appear on the same pieces, so most players are forced to choose between a longer potion or a stronger luck multiplier. You do not have to choose.
You will know it worked because the active buff timer at the top of your screen still shows the inflated duration after the loadout change. If the timer drops back down, you swapped before the drink was actually consumed.
Tip: Luck Drinks stack. Drinking multiple potions adds their percentage buffs together, so the extended timer trick multiplies in value when you chain several at once before a farming session.
Grade safes and vaults before you open them
This is the most commonly skipped step in the entire game. Gem safes and vaults roll their payout when opened, and the grade attached to the safe influences that roll. Taking a Diamond Vault straight to the Locksmith throws away gems for no reason.
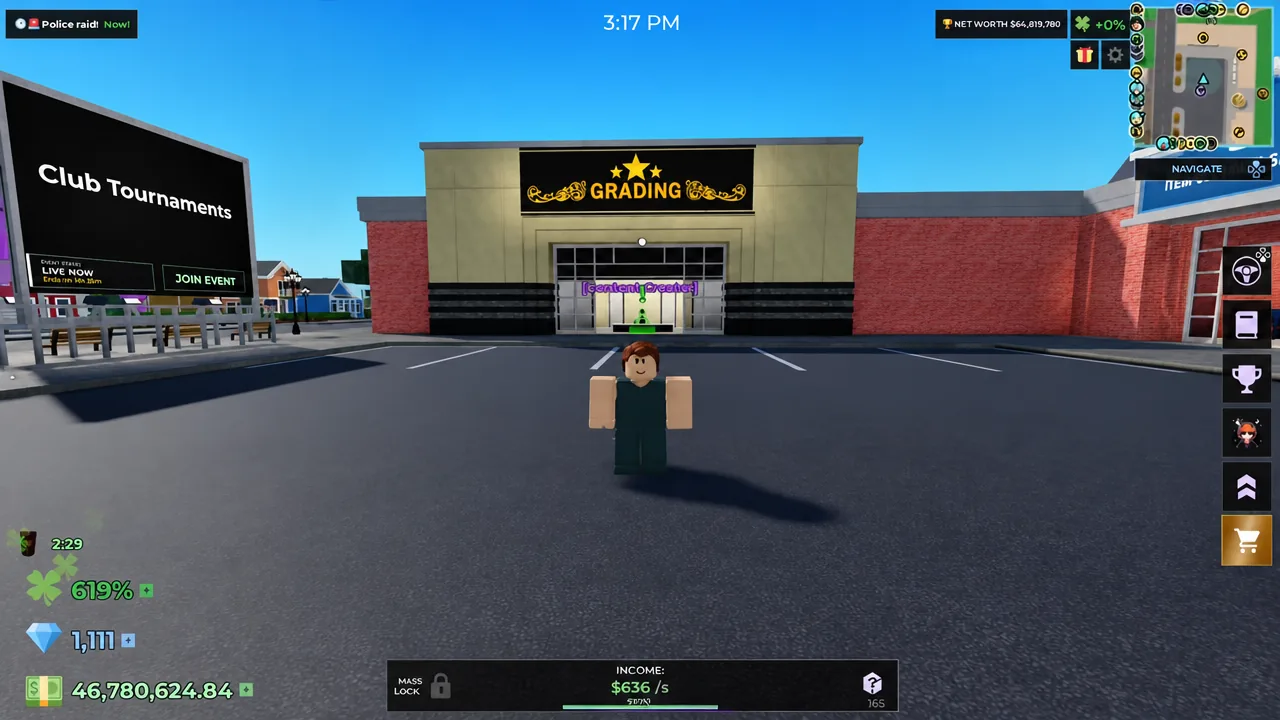
Run the safe through the Grading Shop first. A 2-star or 3-star result raises the number of gems inside substantially. After you claim the gems, the safe itself can still be sold, so the grading fee is usually recovered on the resale alone. Grading can also lower a result, so treat it as a percentage play rather than a guarantee.
The same logic applies to any item worth $50,000 or more. Wash it at the Item Cleaning Service if it is dirty, then grade it. Cleaning raises condition and can produce Pure mutators, and grading a clean high-value item pushes the sell price well past what a raw pickup earns.
Back Alley, the Shipyard, and the Beach produce the most Diamond Safes, so those are the areas to farm if gems are your bottleneck.
Turn AFK time into income with stockpiled shop sales
Selling manually caps your earnings at the hours you are actively clicking. The fix is to bank inventory while you play and let it sell while you are away.
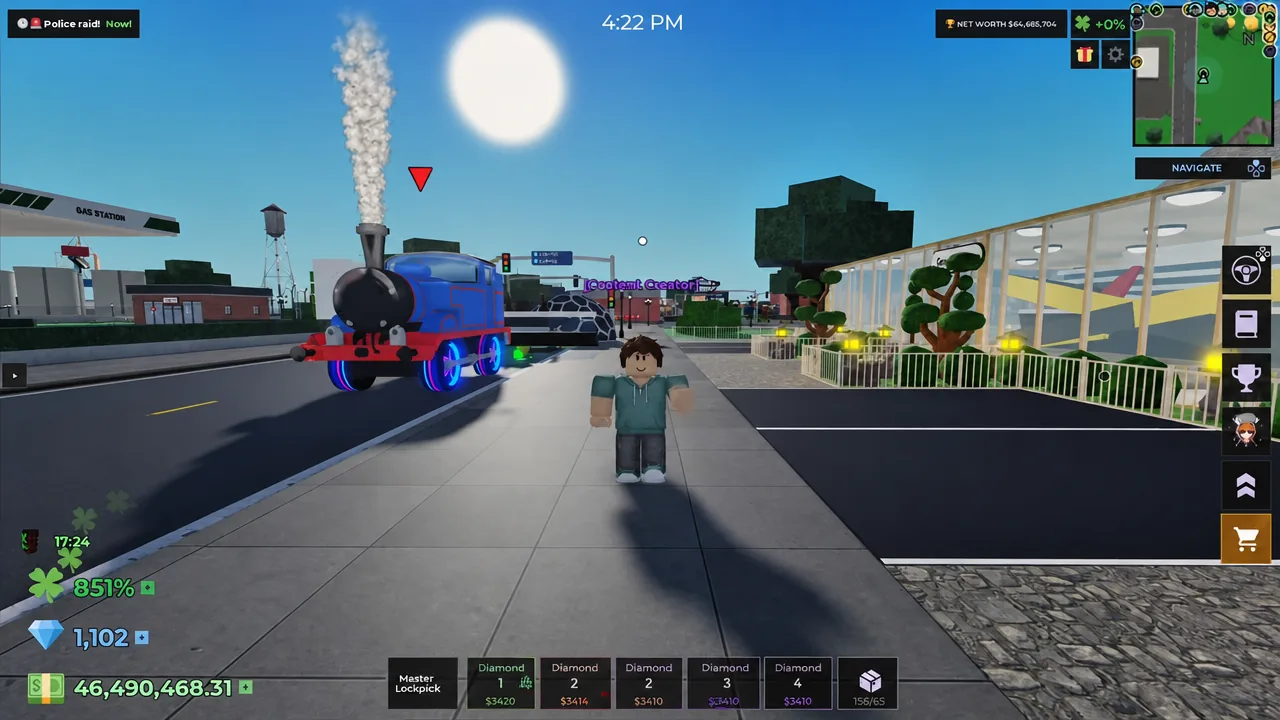
The threshold you pick depends on what you are doing. While you are actively grinding and refilling shelves constantly, a low setting near 15% keeps items moving and cash flowing. While AFK, a high threshold protects your margins because you are not there to reject lowball customers.
| Auto-Accept Threshold | Best used when | Trade-off |
|---|---|---|
| ~15% | Active grinding, shelves refilled often | Faster turnover, lower price per item |
| 75% | Short AFK sessions | Balanced speed and value |
| 100% | Long AFK sessions with graded stock | Highest value, slowest sales |
Goober is worth upgrading before you rely on this. Negotiating at Lv.5/5 gives +25% counteroffer chance, and Walk Speed at Lv.5/5 raises him to Speed 18 so he covers your shelves faster.
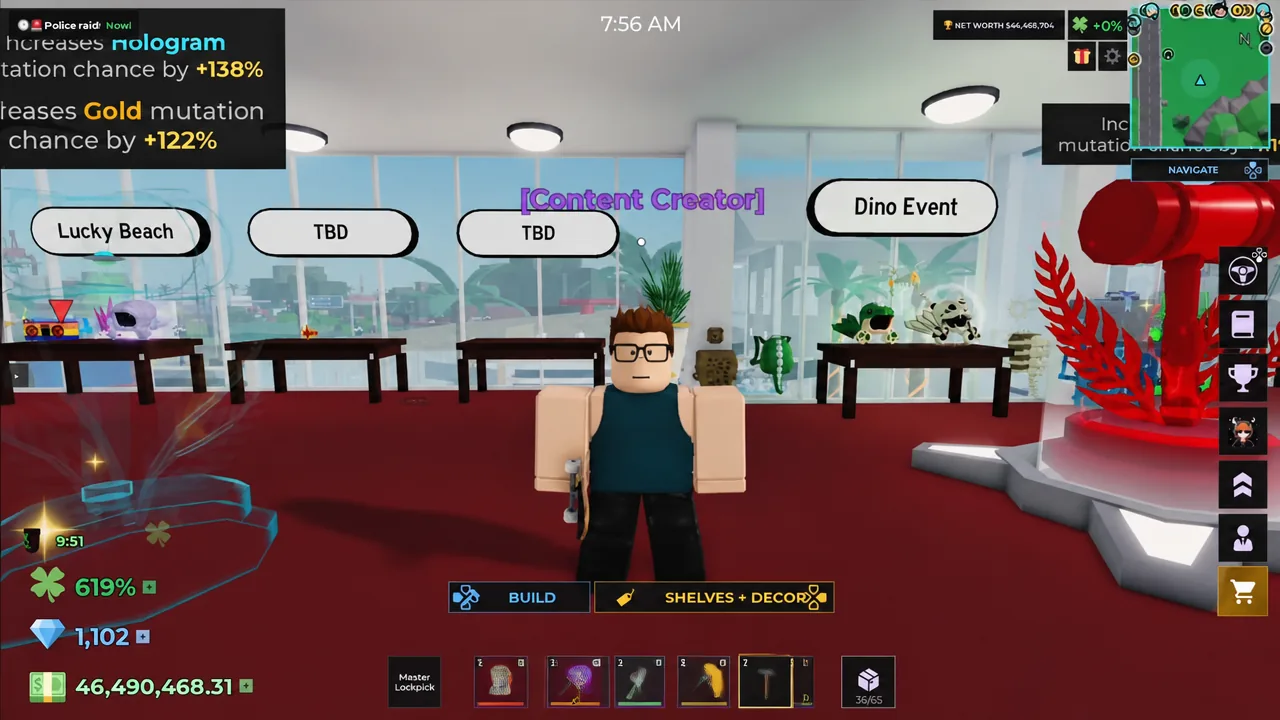
Keep shelves grouped tightly and placed outside rather than scattered through a decorated interior. Every extra second spent walking between shelves is multiplied across dozens of items per run.
Gavel loadouts and mutation priority
Gavels raise the chance of specific mutations appearing on items you win. The mistake players make is chasing the biggest percentage on the gavel rather than the value of the mutation it targets.
A Hologram Gavel showing 138% Hologram chance looks stronger than a Void Gavel at 160% until you compare what each mutation is worth. Higher-tier mutations such as Void, Caustic, and Acid multiply item value far more than lower-tier ones, so a smaller chance at a better mutation usually beats a bigger chance at a weak one. Void Secret, for example, carries a 50x multiplier.
| Gavel | Mutation chance |
|---|---|
| Firefly Gavel | 231% |
| Void Gavel | 160% Void |
| Hologram Gavel | 138% Hologram, 122% Gold |
| Secret Gavel | 111% Secret |
| Silver Gavel | 76% Silver |
Because mutations tie into weather events, you will want to swap gavel setups on the fly. Gavel Loadouts are bought from the Luck menu, with Loadout 2 costing 200 gems and Loadout 3 costing 300 gems. Configure one per weather condition you farm regularly and you can change your entire setup in a couple of clicks instead of rebuilding it every time the weather turns.
Gavel Trophies placed on your plot work alongside this, raising Gold, Diamond, Corrupted, Silver, and Tiny mutation chances passively. Trophy Capacity is one of the shop upgrades worth buying early for that reason, alongside Advertising, Price Tags, Selling Space, and Celebrity Customers.
Buy hauling capacity, not speed
Supercars are the classic money trap. Speed shaves seconds off a trip, but carrying capacity removes entire trips. When you win a large garage, the constraint is always how much weight you can move in one load.
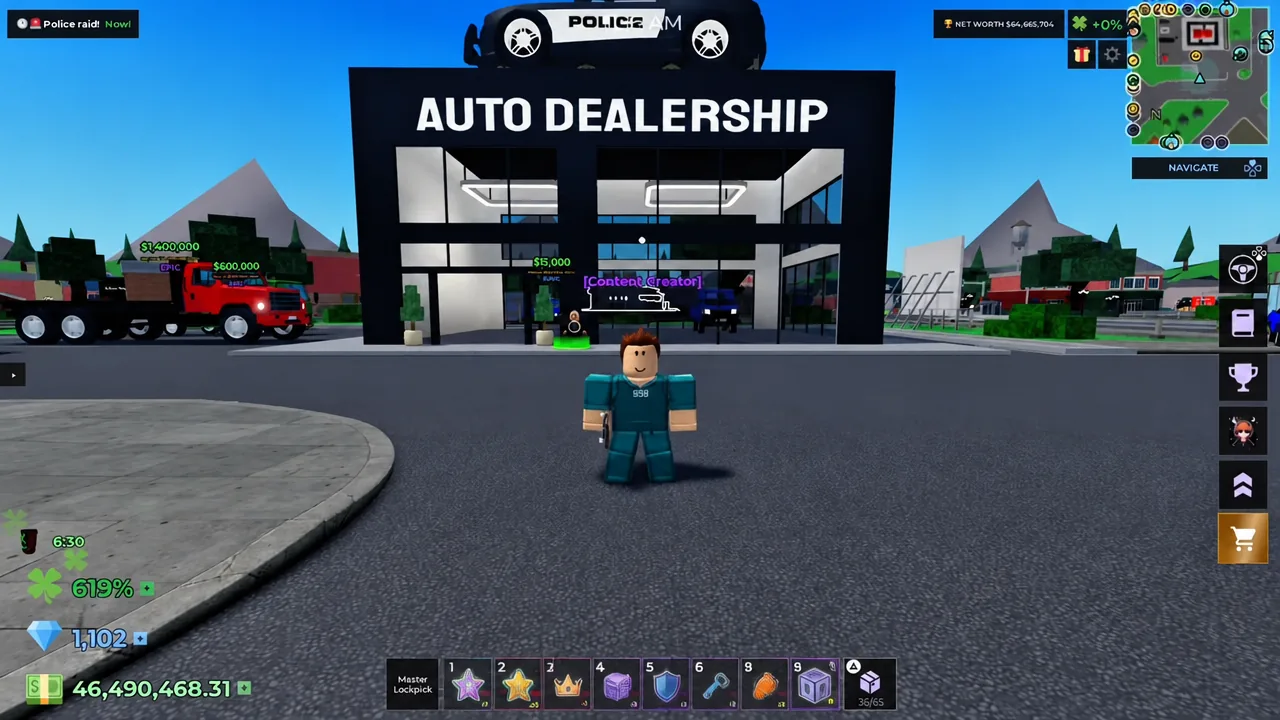
| Vehicle | Cash price | Robux |
|---|---|---|
| Armored Police Van | $320,000 | — |
| Flatbed | $1,400,000 | 2070 |
| Convertible | $1,750,000 | 2250 |
| Dumpster Truck | $2,200,000 | 2520 |
| Helicopter | $25,000,000 | 6300 |
The Armored Police Van is the realistic mid-game pick at $320,000, and the Dumpster Truck is the long-term target at $2,200,000. Trailers bought at the farm’s Car Trailer Sales and Service stack additional cargo room on top of whatever you drive.
One caution before any large purchase: spending cash lowers your Net Worth. If a purchase drops you below the entry requirement for the garages you are farming, you lock yourself out of your own income source. Check the threshold of your current area before you buy.
Farm Tier 3 garages in a private server
Private servers do two things for you. First, they let you claim the best plot on the map instead of whatever is left over, so you can park your shop directly beside the area you farm. Second, and more importantly, they let you reroll garage spawns.
Friends in your server matter here too. Each friend on the server grants a base +5% Luck, and the Connected accessory stat adds a further random luck roll per friend on top of that. If you are running a private server solo for garage rerolls, you are giving that bonus up, so weigh it against the reroll speed.
Teleport back to your shop with the Plots and Shops menu
Hauling a full load across the map eats more time than any other activity in the game. There is a fast-travel shortcut hidden in the settings that most players never use.
Open Settings, go to Plots and Shops, and select Claim Plot. You are instantly teleported back to your shop. The trick has a 10-minute cooldown, so save it for your heaviest hauls rather than burning it on a short trip.
You know it worked when your character loads directly at your plot with your cargo intact. If nothing happens, the cooldown is still running from your last use.
Auction discipline that protects your margins
Winning more auctions is not the goal. Winning the right ones is. Check the starting bid before committing — a very low opening price usually signals a junk lot, while a high opening bid signals the contents inside carry real value.
Walking away from a bad lot costs you nothing. Overbidding on one costs you the cash, the inventory space, the shelf space, and the selling time. If the price climbs past what the visible contents justify, let another bidder take it.
Perks change the math considerably. Calculator reveals the estimated value hidden inside a lot, X-Ray Vision lets you see through crates and boxes, and Kick removes a single NPC bidder from the auction. Running these turns guesswork into a straightforward value check.
Keep active quests running the entire time you are bidding. NPC quests complete passively through the auctions and sales you are already making, and they pay out in Diamonds and cash you would otherwise have to grind for separately.
Finally, favorite anything you intend to keep. Marking an item as a favorite makes the game warn you before you sell it, which is the only safeguard against dumping a high-mutation piece into a customer offer by accident. Combine that with grading, gavel loadouts, and a shop parked beside your farming zone, and the loop starts compounding on its own.