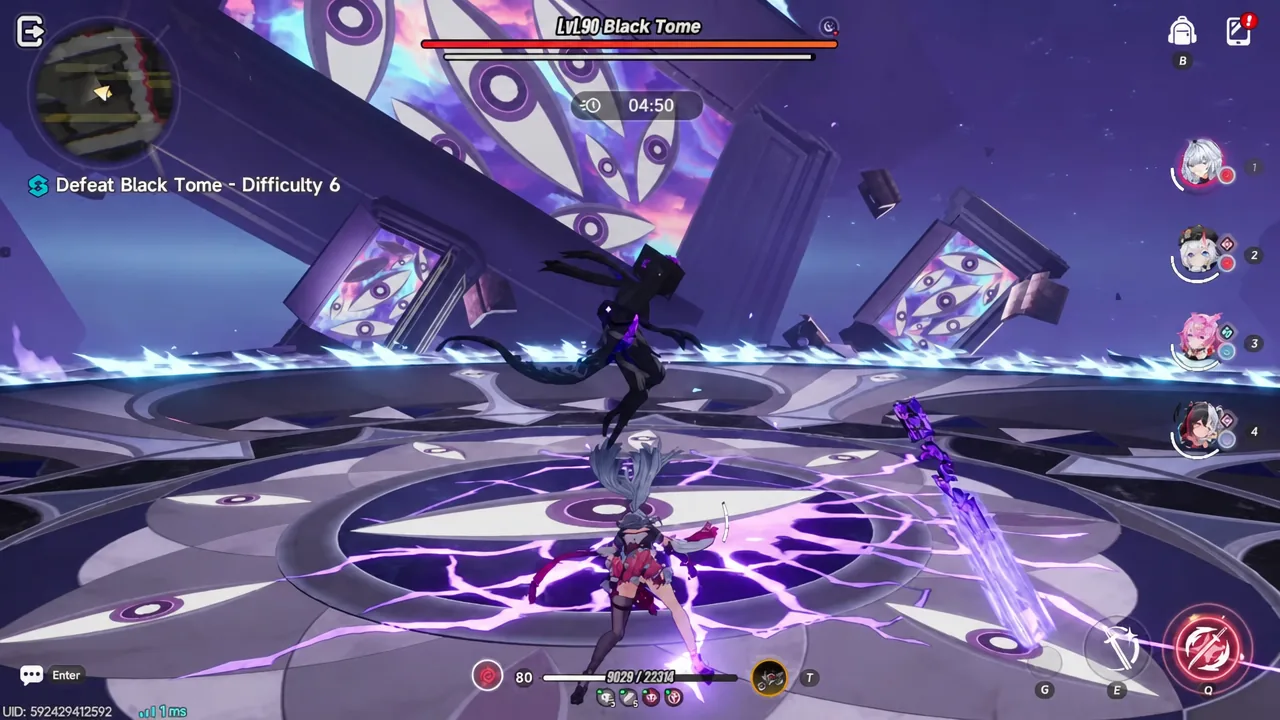
Zankou arrived on August 19, 2026 as the S-Class limited character on the Alluring Shadows banner in Neverness to Everness version 1.3. She is an Incantation main DPS with the Gas Arc type, and she fills a slot the game did not previously have a limited unit for. Her kit combines damage-over-time pressure, follow-up attack damage, and a passive that hands her a full Esper Cycle the moment a fight starts.
Quick answer: Pull Zankou if you want an Incantation main DPS who slots into Scorch, Hexed, and Break teams. Her base kit already works at A0, but A1 (Eyes of Abyss) is the stopping point most players should aim for, since it keeps Hunt and Delusion permanently active and raises their bonuses to 40% DMG and 50% DoT Crit DMG.
Zankou’s role: Incantation main DPS with Reality and Illusion forms
Zankou plays around a single toggle. She starts every fight in Reality Form, uses her Redirect Skill to flip into Illusion Form, and returns to Reality when Illusion expires, when she casts Soulcross, or when she leaves the field. Illusion Form lasts 8 seconds.
The standout piece of her kit is Crimson Reverie, a passive that sets her Cycle Energy to 100 the moment she enters battle. It triggers once per fight with a 30-second cooldown, and it also gives her a flat +100 Cycle Intensity while she is on the team. In practice that means an Esper Cycle is available immediately, with no ramp-up.
Her second passive, Silent Sunset, lets Scorch stack up to three times. Whenever an ally applies a DoT to a target already suffering from Scorch, Zankou applies another Scorch stack, replacing the existing one’s damage, type, and duration. Scorch applied this way cannot chain into itself again.
Zankou skills and what each form does
| Skill | Effect |
|---|---|
| Wildfire (Reality basic) | Up to 5 hits, pulls targets in on the 5th. Grants the Hunt buff (+25% DMG) for the attack’s duration. |
| Nightmare Waltz (Illusion basic) | Up to 4 hits, applies 1 stack of Heartwrench each, pulls in on the 3rd. Spreads up to 4 DoT effects from the target to nearby enemies. Grants Delusion (+25% DoT Crit DMG to the team). Counts as Follow-up Attack DMG. |
| Flickering Shadow / Moonfall | Held basic attacks during the first or second stage of the respective form. Moonfall also applies Heartwrench and counts as follow-up damage. |
| Broken Twigs | Airborne plunge attack. Damage scales with fall height by up to 100%. |
| Voidstep | Basic attack after a Critical Dodge. Deals Incantation DMG and reduces Break. |
| Sanguine Dash (Redirect) | Swaps Reality to Illusion. An enhanced version unlocks after the 4th or 5th stage of Wildfire, Flickering Shadow, or Voidstep, applying 5 stacks of Heartwrench and triggering Disarray for heavy area Break reduction. |
| Soulcross (Redirect) | Swaps Illusion back to Reality. Enhanced version becomes available 3 seconds before Illusion ends. Applies Heartwrench and triggers Oblivion, which activates Bloodfeast Reverie. All of its damage counts as follow-up damage. |
| Inferno Flamenco / Bloodfeast Reverie | Two Ultimates on one button. Bloodfeast Reverie takes priority when active, applies 5 stacks of Vile Ash, and then allows one enhanced Inferno Flamenco within 5 seconds without spending Ultimate Energy. |
| Stoked Flame (Support Skill) | A single instance of Incantation DMG on swap-in. |
Heartwrench and Vile Ash behave identically as DoTs. Both tick every second for a 3% damage ratio, last 30 seconds, and cap at 10 stacks.
Zankou best build: Arc, Cartridge, and Module stats
Ravenous Blade, her signature Arc, is the clear best-in-slot. It gives a flat 16% Crit Rate and stacks a 9% Crit DMG bonus for 15 seconds every time she deals Incantation DMG, up to 7 stacks, with a 0.3-second gap between stacks. Because Zankou is constantly landing Incantation hits and DoT ticks, those stacks stay near-maxed through a rotation.
If you missed it, Fluff of Finesse is the next best S-Rank option, giving ATK% and up to three stacks of 8% damage after a Critical Dodge. Cosmos Daze, Wild Reverie is the budget A-Rank pick, adding 18% damage for 10 seconds after a Support Skill cast, once every 20 seconds. Her Arc pool is genuinely narrow, so the gap between her signature and the alternatives is noticeable.
For Cartridges, Crimson: Twin Butterflies is the match. Two pieces give Incantation DMG +10%, and four pieces stack 6% ATK for 10 seconds whenever a nearby enemy takes Incantation DMG from the team, up to six stacks, and the buff persists off-field. Lost Radiance works as a placeholder thanks to its 25% DEF ignore after Ultimate, even though its Cosmos DMG bonus is wasted on her.
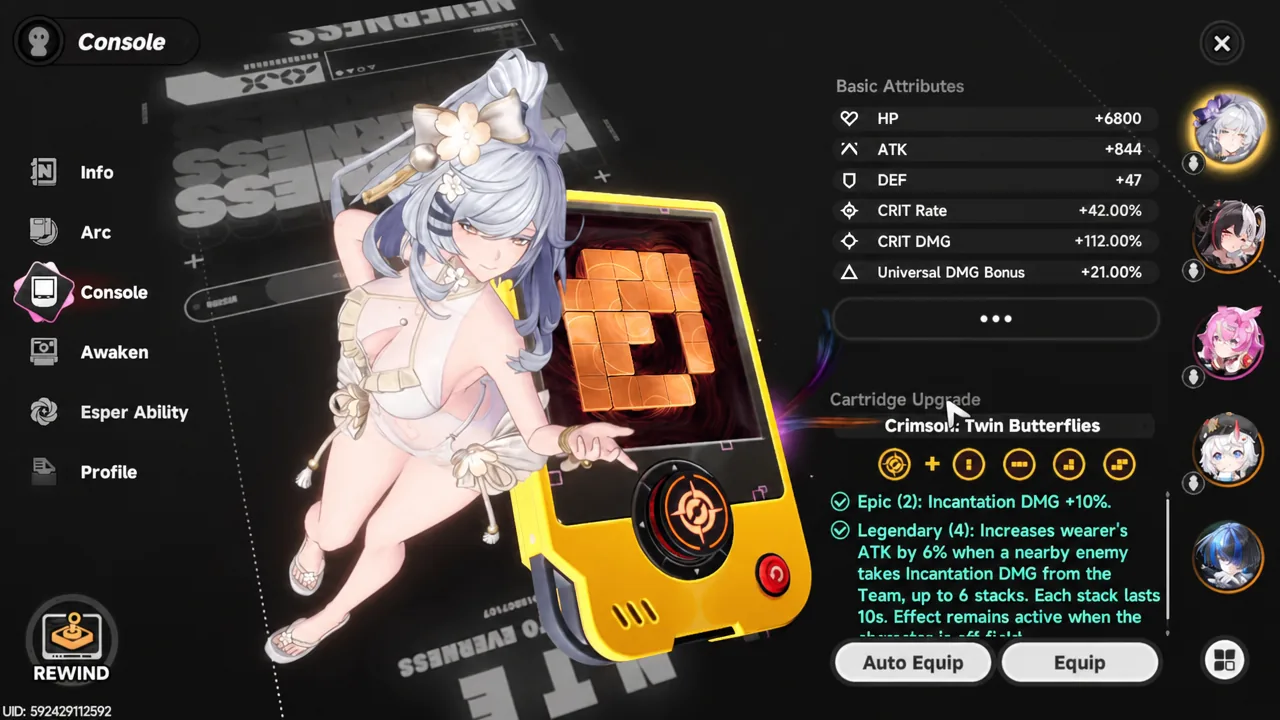
Run Incantation DMG% as the main stat and prioritise Crit Rate and Crit DMG in substats, with Universal DMG%, ATK%, and flat ATK behind them. Her Console bonus, Type III Specialization, adds 16% Crit DMG per Type III Module equipped. Building around Crimson: Twin Butterflies with a Type II, two Type III, and a Type IV Module, plus a Type III bonus Module, totals +64% Crit DMG.
Tip: If you are running her as a Scorch DoT carry rather than a straight Crit DPS, Cycle Intensity becomes the stat worth chasing instead, since her damage shifts toward repeated Cycle triggers.
Zankou Awakenings: What each level adds
| Level | Effect |
|---|---|
| A1 — Eyes of Abyss | Wildfire, Flickering Shadow, Voidstep, enhanced Sanguine Dash, and enhanced Soulcross all spread DoT. Hunt and Delusion stay active permanently and only drop if she is defeated. Hunt rises to 40% DMG, Delusion to 50% DoT Crit DMG for the team. |
| A2 — Abyssal Kiss | Builds Kindling whenever she takes part in a Cycle that triggers Scorch or Hexed, adding 150% Final DMG to the next Inferno Flamenco. Caps at 1 stack. |
| A3 — Kiss in a Nightmare | Hunt adds 50% Resistance to Interruptions. Delusion heals 4% of her Max HP per second. |
| A4 — Nightmare Bloom | Bloodfeast Reverie activates as soon as Inferno Flamenco becomes available, and shares Kindling stacks with it. |
| A5 — Bloom in Blood | The first Breakable target hit by enhanced Sanguine Dash is guaranteed to enter the Broken state, once per target per battle. All allies gain 300% Break DMG while she is on the team. |
| A6 — Blood Stained Eyes | Oblivion’s final hit gains 12% DMG per DoT stack on the target, up to 240%, calculated per target. |
| R1 — Scarlet Feast | +1 skill level to her main abilities and +20% DMG Ratio on Bloodfeast Reverie and Inferno Flamenco. |
| R2 — Venom Flame | +40% ATK for 20 seconds after dealing damage. Killing a Scorch-afflicted enemy grants a 60-second window where her DoTs max out Scorch stacks. |
A1 is the meaningful breakpoint for DoT play, while A5 is the one that transforms Break teams thanks to the 300% team-wide Break DMG.
Zankou team compositions and rotations
Two archetypes cover most of her use. A Scorch-driven DoT team leans on constant pressure, and a Break team trades that sustained damage for bigger burst windows against broken enemies. Two of her most common teammates, Sakiri and Daffodill, are obtainable for free.
DoT team rotation (Zankou, Lacrimosa, Haniel, Sakiri)
If Lacrimosa is not on your account, Daffodill is the accessible substitute. She still holds up Scorch and adds Break utility on top.
Break team rotation (Zankou, Daffodill, Sakiri, Adler)
Adler is the free-to-play safety net here, and putting The Great Thief Arc on either him or Sakiri adds Break Intensity for faster clears. Iroi is the alternative fourth slot if you want healing and offensive support instead of shielding.
Zankou outside combat: Lost Focus stealth and Volley Star earnings
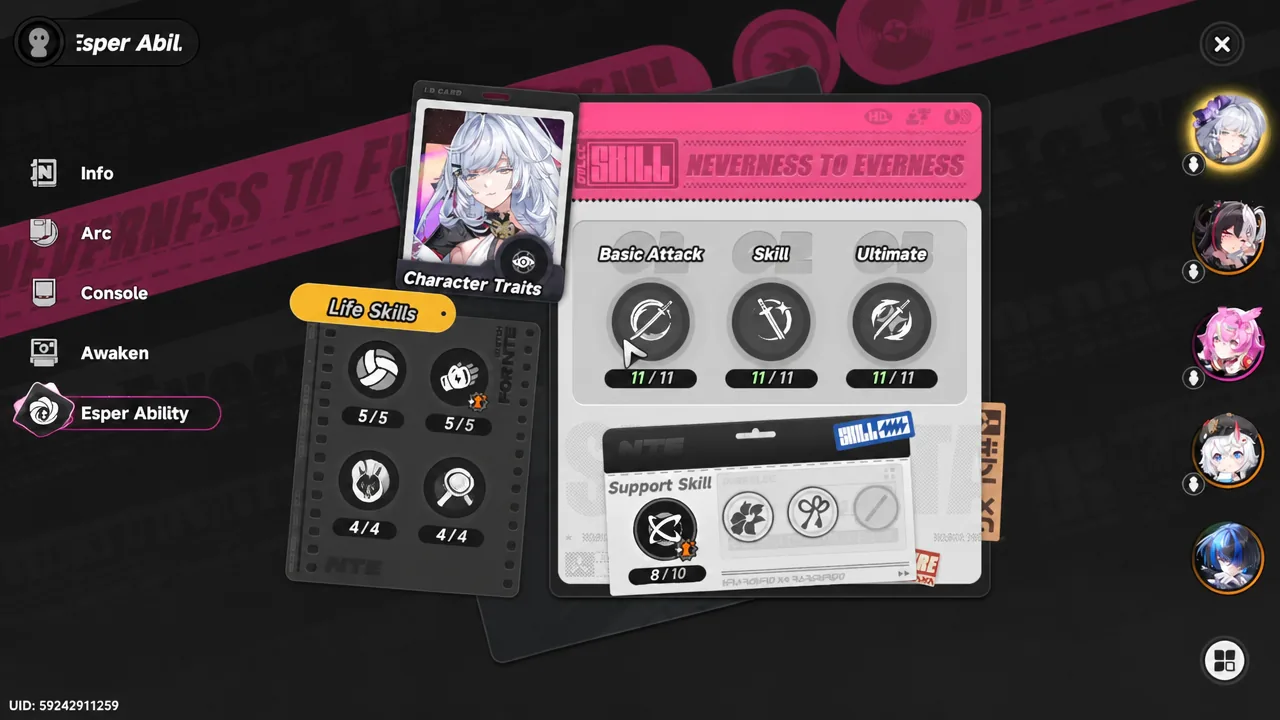
Her special trait, Lost Focus, puts her into an Invisible state for 20 seconds while out of combat. Movement speed goes up by 50% and enemies cannot detect her, which makes overworld traversal and stealth objectives considerably faster. It also functions during Pink Paw Heist.
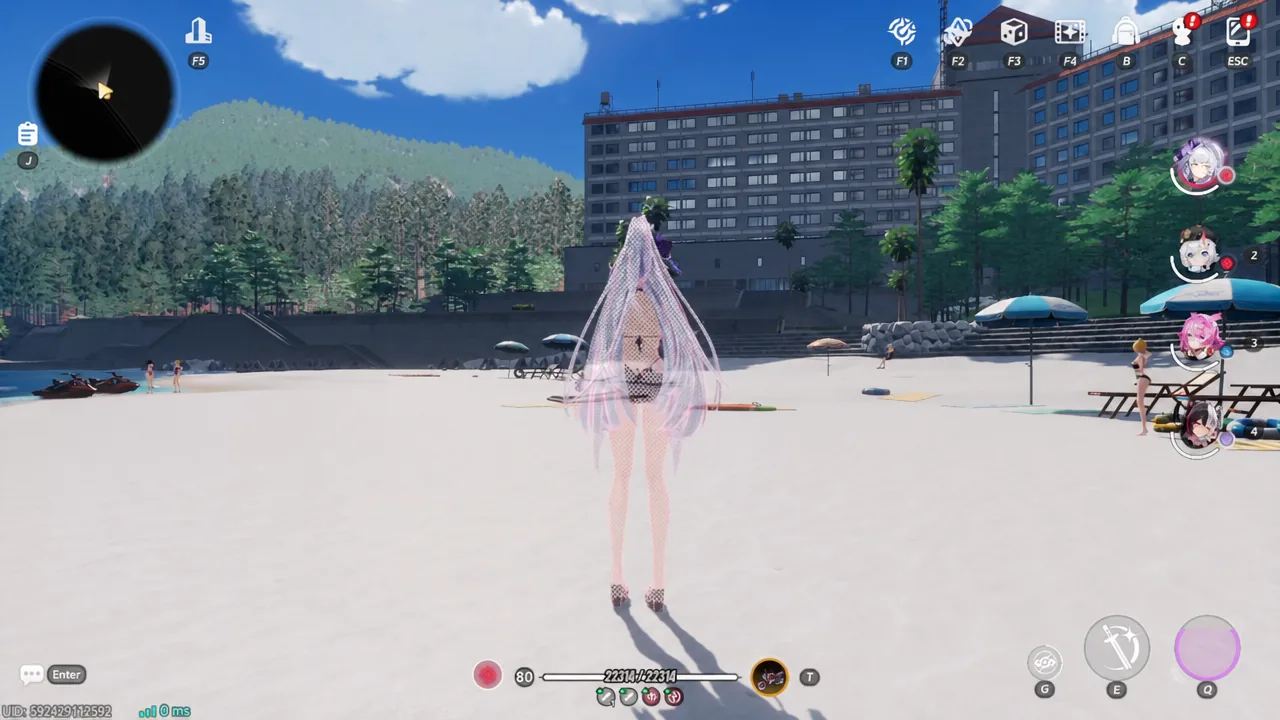
On the Life Skill side, Competitive Edge raises Volley Star characters’ Serve, Spike, and Receive by 10 at levels 1, 3, and 5. Levels 2 and 4 each add 10% to Tycoon Incentive Fund earnings from Volley Star Weekly Matches, up to the Fund’s limit, which cuts down the number of runs needed to cap it. Her second Life Skill, All In, charges 1 extra City Stamina per Fight Club match to claim rewards.
What breaks her rotation
The single biggest failure point is interruption. If Sanguine Dash or Soulcross is interrupted before it finishes, the form switch is cancelled outright, and every effect tied to that transition — the Heartwrench application, Disarray, Oblivion — does not fire. You will know it failed because Zankou stays in her current form and Bloodfeast Reverie never becomes available.
The other friction is timing. Her second DoT layer takes a full pass through the rotation to land, and the enhanced Soulcross only opens in the last 3 seconds of Illusion Form. Miss that window and you lose the enhanced multiplier along with the Bloodfeast Reverie trigger.
Zankou is a strong pull for anyone missing an Incantation main DPS, and she remains functional at A0 because Crimson Reverie is baked into her base kit rather than locked behind duplicates. The mechanics look dense written out, but in play the loop is mostly basic attacks and well-timed Redirect casts. If you already have a stacked roster of damage dealers and are saving for a specific future unit, she is a skippable luxury rather than a requirement.