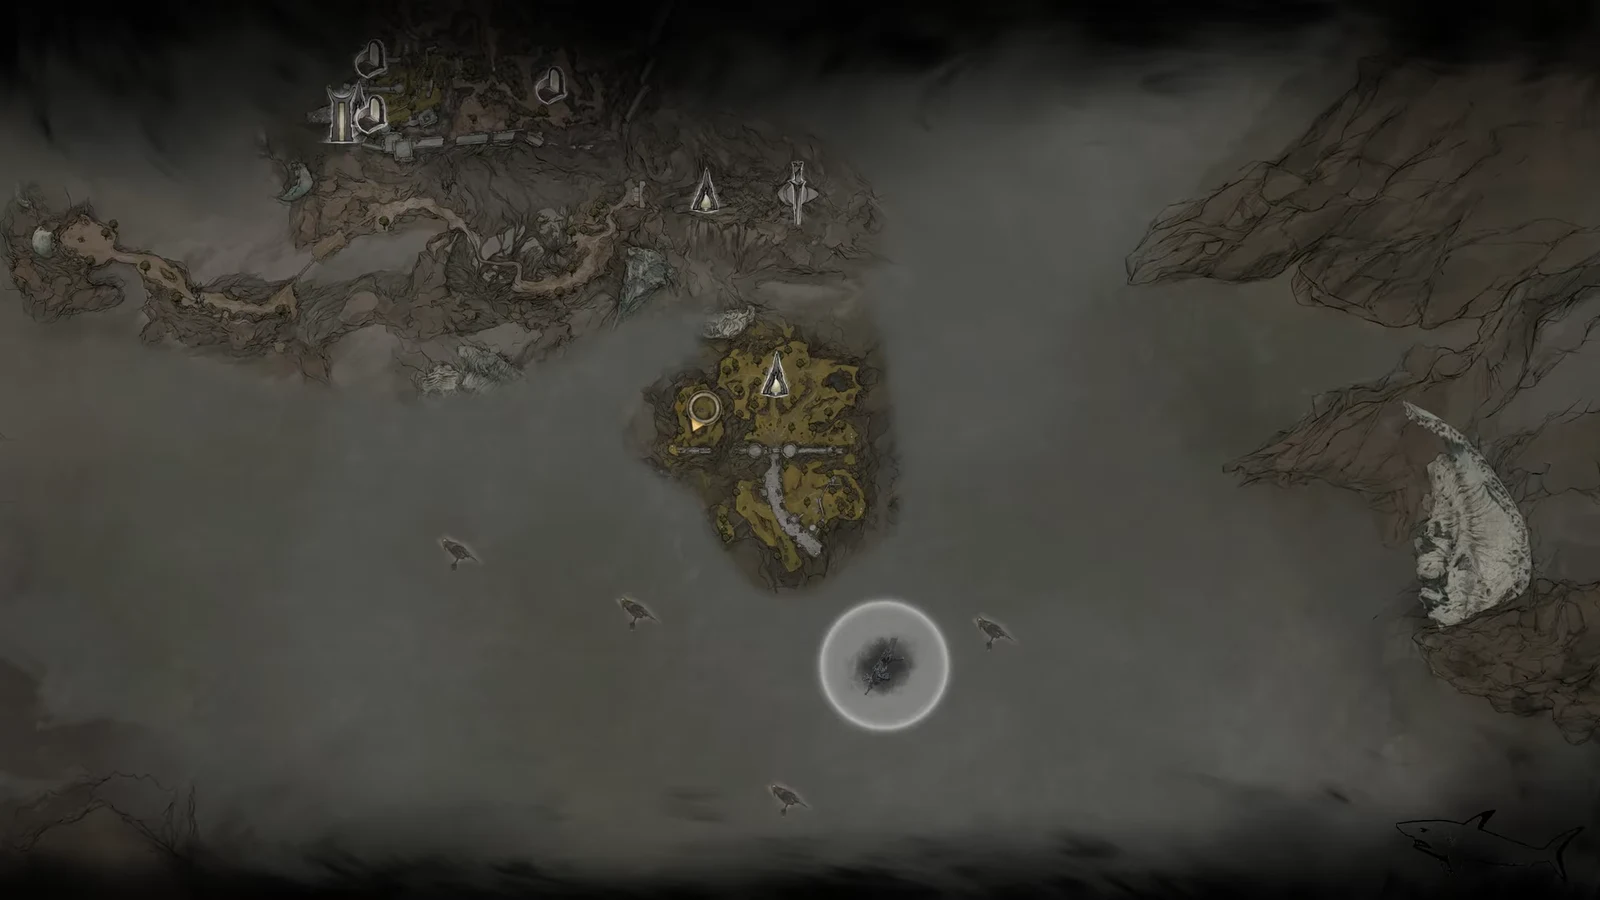
The Outskirts of Mammon is your first stop in the Ruins of Mammon, and the enemies here hit noticeably harder than anything in Fainweald. Clearing it fully means two dungeons, several Tarstones, a short quest for the wounded merchant Vlas, and one hidden reward that only opens after you fire a catapult. Work through it in dependency order and you will not have to backtrack.
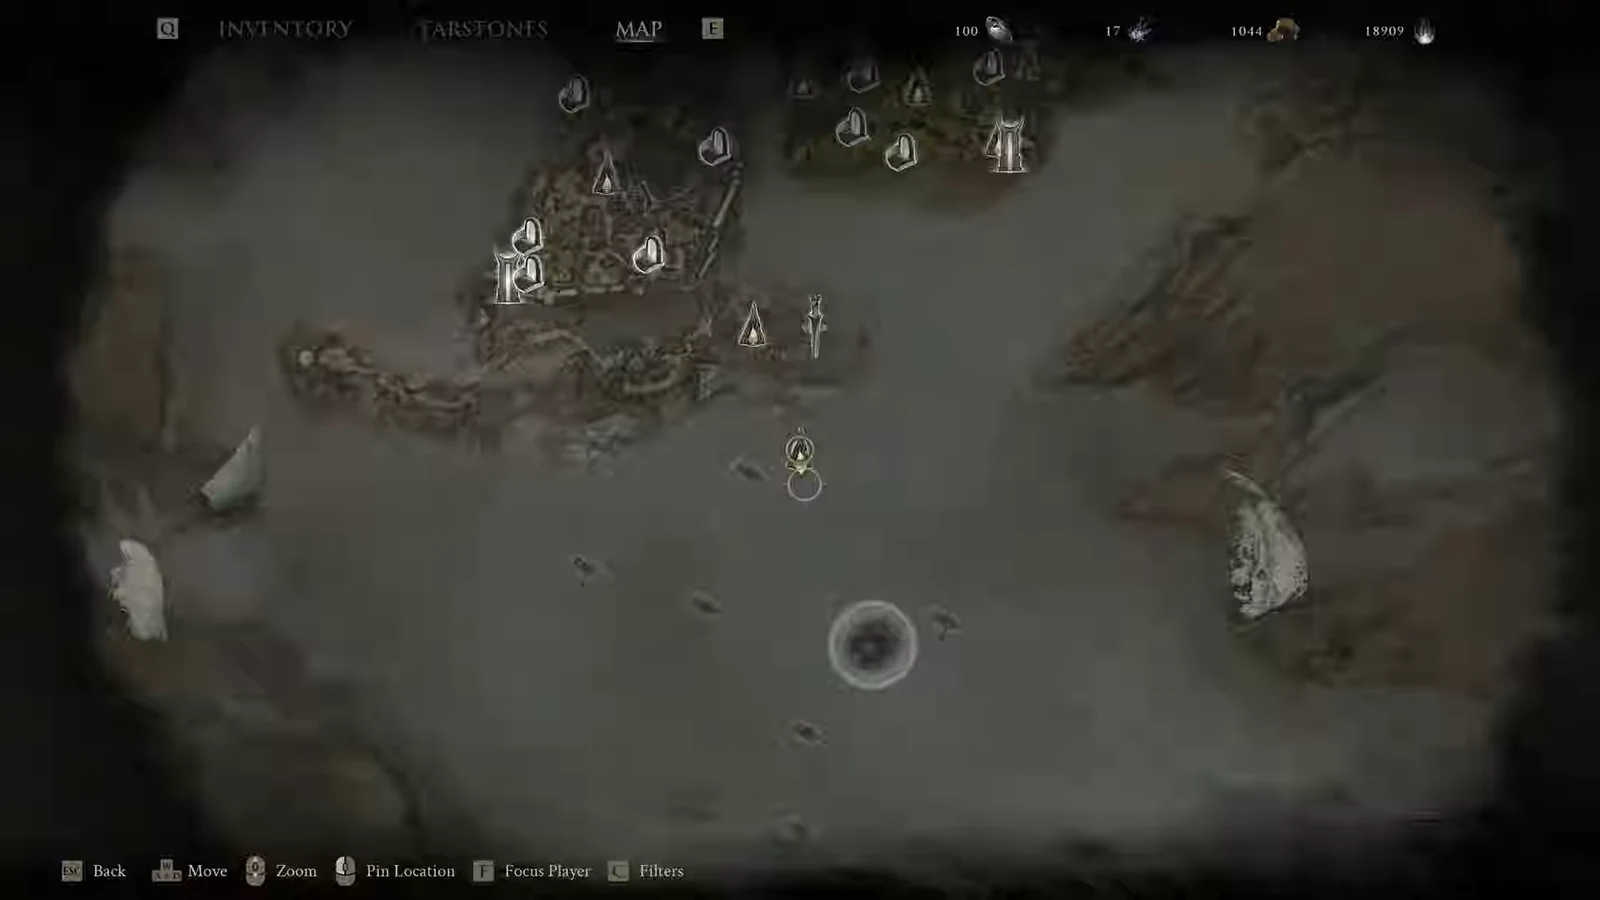
Quick answer: Fast travel to the Outskirts of Mammon beacon, clear Smuggler’s Hideout and Hag’s Pit, collect the Map of Mammon [5] from Ruk’s statue, complete both corrupted-statue trials for the Enfeebling and Justiciar’s Stones, grab the Headsman’s Stone, finish Vlas’s cat quest, then load the Makeshift Projectile into the catapult to unlock the final reward.
How to reach the Outskirts of Mammon
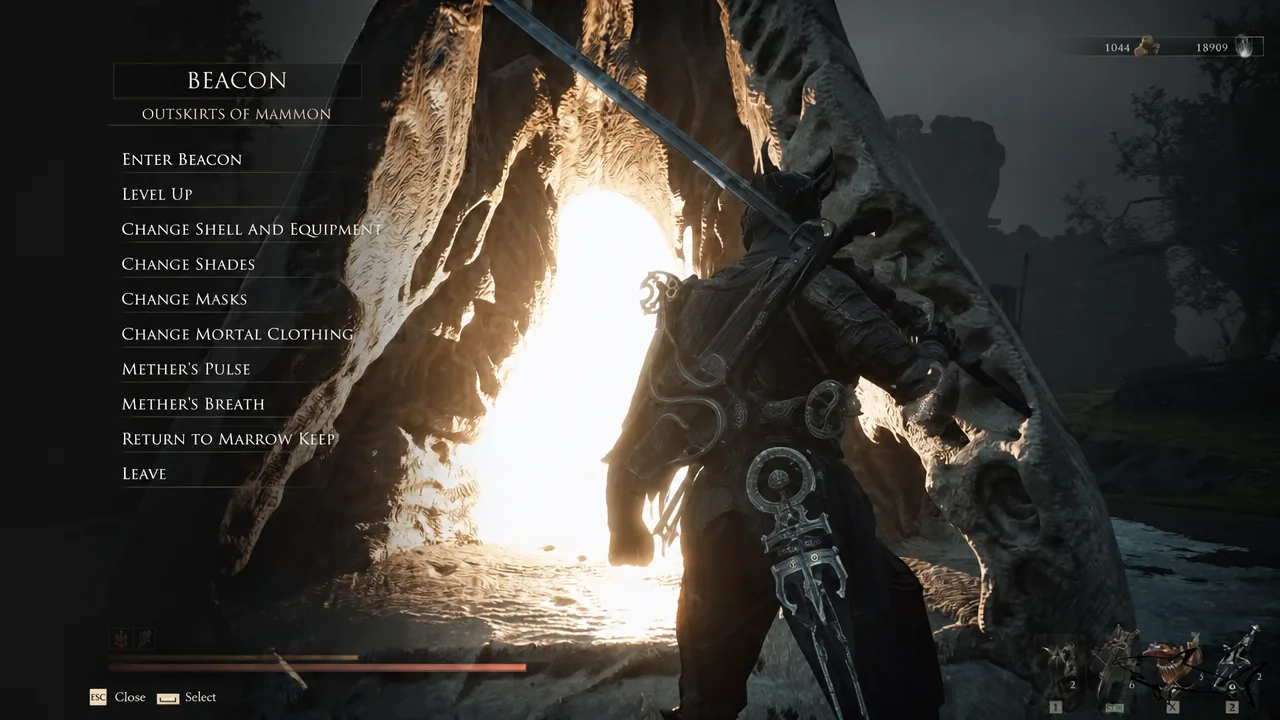
You reach this area after finishing everything in Fainweald, including Prisoner’s Domain. Return to Marrow Keep, take the lift to the roof, and use the corrupted device to travel across. If you have already unlocked Mæther’s Breath, you can open the fast travel menu and select Outskirts of Mammon directly under the Ruins of Mammon region.
Note: The enemies right next to the landing beacon are a level check. If they overwhelm you quickly, spend more time leveling in Fainweald and upgrading your equipment before committing to the area.
Unlock the map and clear the western camps
Smuggler’s Hideout dungeon
Smuggler’s Hideout sits behind one of the western camps. Enter it, clear the enemies through the cavern chambers, and open the chest at the end for a Coin of Mammon. Once the dungeon marks as complete, exit and turn back toward the trial pillar on the ridge.
Tarstone trials: Enfeebling and Justiciar’s Stones
Two corrupted statues in the Outskirts act as combat trials. Each one drops you into a monochrome arena where you fight waves of enemies before the reward unlocks.
The Justiciar’s Stone increases the amount of Gold you gain from drops, which makes it worth grabbing early for the rest of your Mammon run.
Headsman’s Stone location
Continue along the cliffside path east toward the stone ruins. Defeat the guard stationed there and open the stone sarcophagus tucked behind the wall to claim the Headsman’s Stone. Egon’s Stone is found in the same stretch of ruins.
The Headsman’s Stone boosts critical damage for melee attacks, granting +10% Critical Damage at Level 1. Clear the remaining guards around the campsite before moving on.
Vlas and the missing cat quest
Vlas is a wounded merchant lying near a broken wagon. Speaking to him starts a short quest to find his lost feline companion, Mutton. The reward is a Coin of Mammon, and finishing it also makes Vlas available as a standing trader later.
The note he hands over is the Scribe’s Note, which reads: “One ‘Bartol’ seeks remuneration. He entered into an agreement, ratified by mouth, for the construction of a ‘sealed wall’ for another known hereafter as ‘Sariel.’ In detail, I shall list the payments owed.” The rest is blotted out by blood.
You know it worked when: Vlas stands up. If he is still lying on the ground after you found Mutton, you have not yet rested at a beacon, which is the trigger for the next stage of dialogue.
The catapult secret: Makeshift Projectile
The large siege weapon near the broken bridge hides the area’s final reward. It only fires once you feed it the correct ammunition, which you have to find first on a nearby cliff.
All Outskirts of Mammon rewards
| Reward | How to get it |
|---|---|
| Glimpse | Loot inside the Crumbling Tunnel cave |
| Map of Mammon [5] | Speak to Ruk at the statue shrine west of the beacon |
| Coin of Mammon | End of Smuggler’s Hideout; Vlas’s cat quest; near the Headsman’s Stone |
| Enfeebling Stone | Complete the corrupted-statue trial east of the beacon |
| Justiciar’s Stone | Clear the Hag’s Pit dungeon |
| Headsman’s Stone | Stone sarcophagus behind a wall in the eastern ruins (+10% Critical Damage at Level 1) |
| Egon’s Stone | Found in the same ruins as the Headsman’s Stone |
| Foundry Stone | Bone chest past the bonfire, down the ramp toward the destroyed gate |
| Scribe’s Note | Given by Vlas after resting at the beacon; also lootable from hilltop guards |
| Makeshift Projectile | Corpse on a cliff edge near a tree; used to fire the catapult |
Where the Outskirts of Mammon leads next
Once the area is cleared, the Bone Gates here branch out to the rest of the Ruins of Mammon. The Abandoned Outpost Beacon opens the route toward the Deserted Slums, while the Abbey Entrance Beacon connects to Sester’s Refuge. South of the central beacon, the Road of Absolution crosses a collapsing bridge toward Castigator’s Keep, where a beacon gives you access to the Deserted Slums, Sester’s Refuge, and the Vestige of Infinity.
If you are chasing the strongest early rewards in Mammon, head to Sester’s Refuge first to unlock the Genessa shell and the Axatana weapon before tackling the harder gates. With the Outskirts fully looted, you will carry two extra Tarstones, a stack of coins, and a completed merchant into the tougher zones ahead.