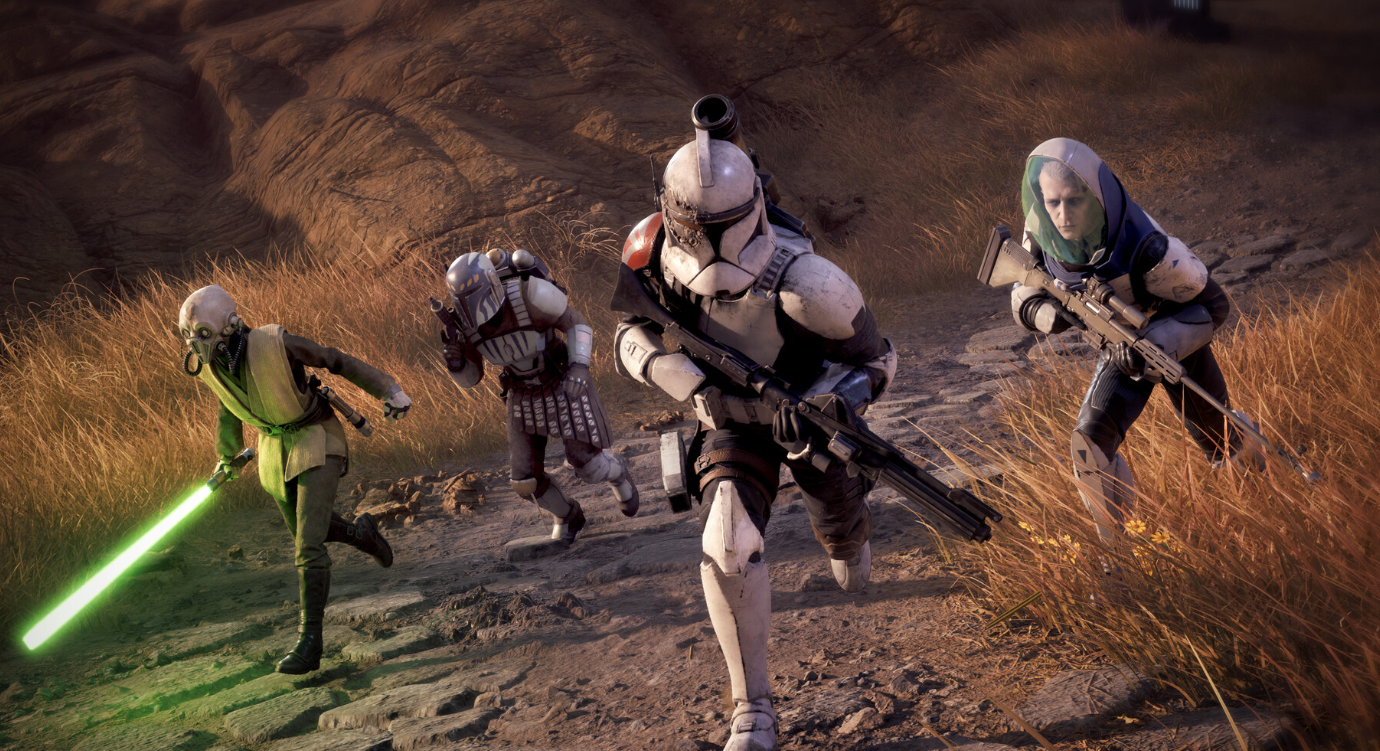
Star Wars Zero Company gives you two ways to keep your progress safe. You can create your own named save at any point, or let the game write automatic checkpoints at set moments in a mission. Both types show up in the same load list, but they behave differently, and one difficulty setting takes manual saving away entirely.
Quick answer: Press Esc to open the pause menu, pick SAVE, name the file, and confirm. The game also autosaves on the first round of a battle, during exploration, and at the start of a Den cycle. In Beskar mode, manual saving and loading earlier files are both disabled.
Create a manual save in Star Wars Zero Company
Manual saving works from the pause menu, whether you are exploring the Den or in the middle of a mission. You do not need to travel back to the Den to save.
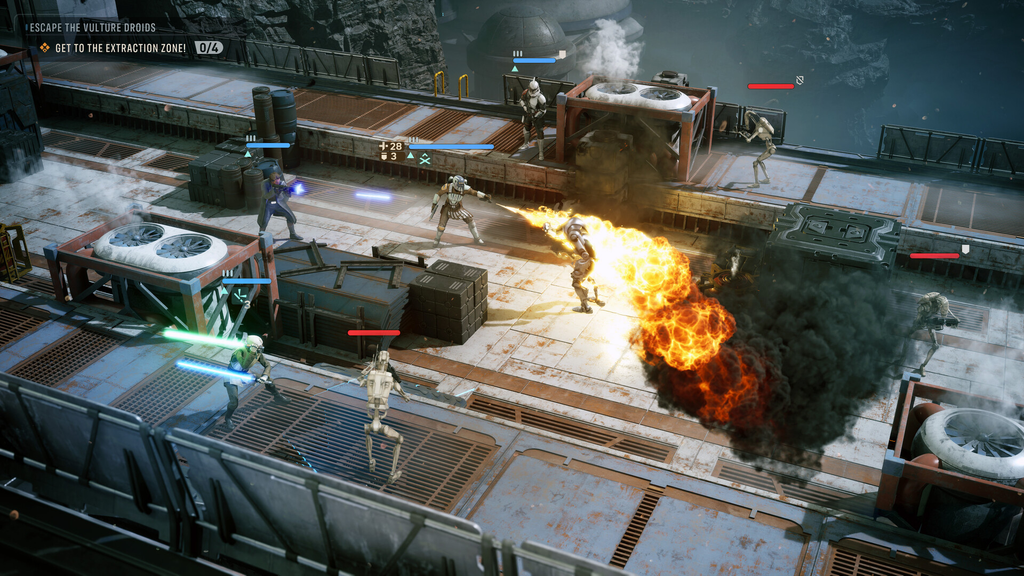
The best habit is to make a manual save right before an important mission. That gives you a reliable restore point that sits apart from the game’s automatic checkpoints.
Load an earlier save
Loading uses the same pause menu. Press Esc, choose LOAD, and browse the FILES list. Manual saves and autosaves sit together, with newer entries above older ones. Each entry shows the campaign location tied to it, so you can tell a combat save from an earlier Den checkpoint.
Select the file and confirm. The game returns you to the exact state recorded when that save was made. A combat save drops you back into the relevant point of the battle, while a Den save takes you to the matching campaign cycle.
Note: Loading an older file can wipe out more recent autosave progress. If you are not sure you want to return to where you are now, make a manual save first, then load the older one.
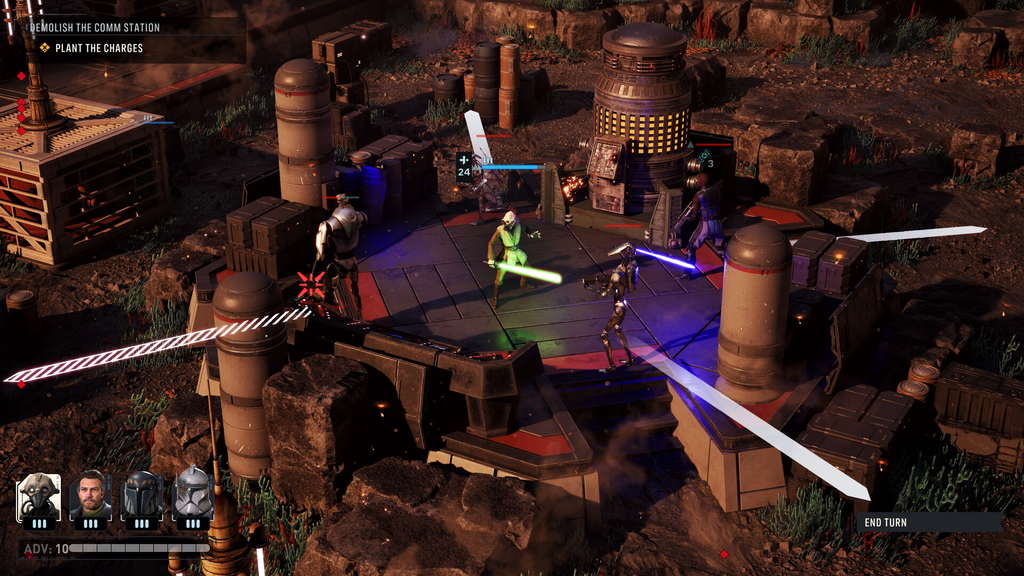
When Star Wars Zero Company autosaves
The game writes automatic checkpoints at three set moments. Each one creates a file you can pick from the LOAD list.
| Autosave point | What it saves |
|---|---|
| First round of a battle | A combat checkpoint at the opening of the encounter |
| Exploration phase | An exploration checkpoint |
| Start of a Den cycle | A cycle checkpoint at the beginning of the cycle |
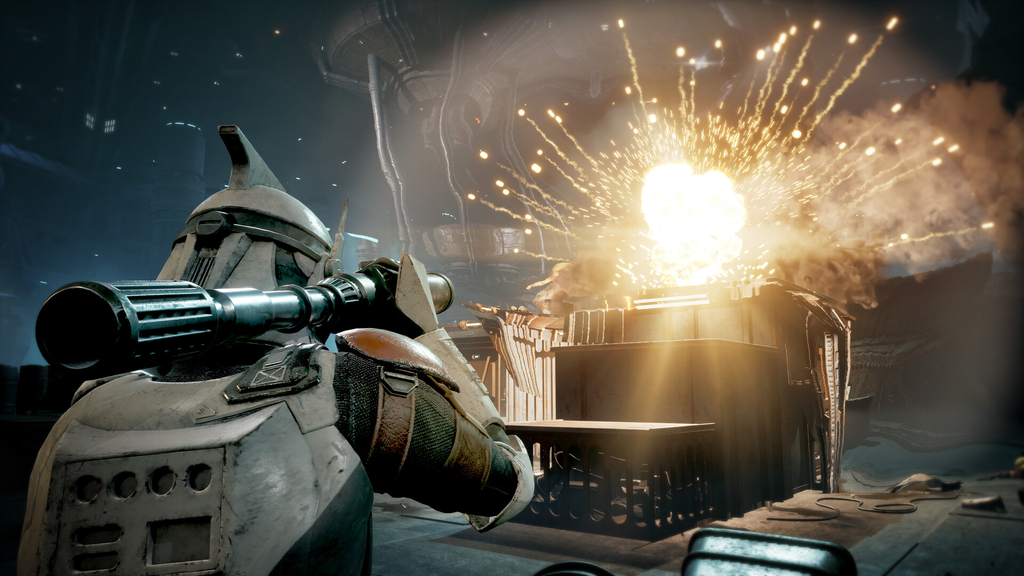
The combat autosave is the most useful of the three. Because it lands at the start of the fight, you can restart a battle that goes wrong from its opening instead of losing the whole mission.
It has one important limit. The combat autosave does not let you change the preparation you made before deployment. Your operators, equipment, weapon mods, utility items, and Focus Points are already locked in when the fight begins. If you picked the wrong squad or forgot to spend Focus Points, restarting from that checkpoint puts you back into the same setup. The next autosave before it is the start of the cycle, so recovering from a bad loadout can mean replaying plot and Den admin.
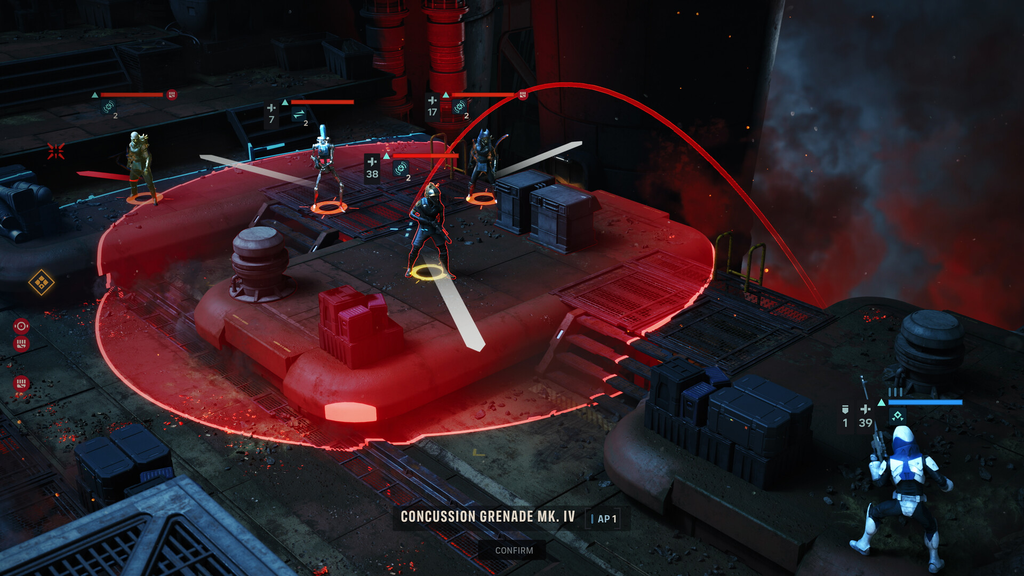
Remember that limited-use utility items like grenades and health packs refresh at the start of every battle, even across multiple battles inside one story mission, so there is no reason to hoard them between fights.
Save at the Den before deployment
The Den is the strongest place to make your own restore point, because it lets you lock in your campaign before you commit to the next mission. A manual save made after you finish preparing your squad covers the gap the combat autosave cannot. If you later find your squad or gear is wrong for the fight, you have a separate file to fall back on, and you avoid replaying finished Den activities and story beats.
A simple two-save routine handles important missions well:
- Make a named manual save after preparing your squad at the Den.
- Let the game’s autosaves handle checkpoints during the mission itself.
That gives you a pre-mission restore point plus automatic protection while you fight. Outside Beskar mode you can also restart a mission without loading an older file, which helps when you want to retry an encounter with a different tactical plan.
How Beskar mode changes saving
Beskar mode is a difficulty toggle you set at the start of the game, and it rewrites how saving works. In this mode the game keeps a single save file and overwrites it, so loading an earlier save is disabled. It also removes the ability to save manually, which forces you to rely on autosaves.
The point of the mode is permanence. A mistake you would normally undo by loading a previous file has to be dealt with inside the current run, so squad preparation and tactical decisions carry more weight. If you want the freedom to experiment and reload, play a regular campaign instead. You can change the difficulty between missions in the menu, and the game offers four difficulty settings overall.
Where PC save files are stored
On PC, save data lives in the Windows Local App Data directory, not inside the game’s install folder. The save files use the .sav format and sit here:
%LOCALAPPDATA%SWZeroCompanySavedSaveGames*.savThe wider configuration directory is one level up:
%LOCALAPPDATA%SWZeroCompanySavedTo reach either folder quickly, press Win + R and enter the path in the Windows Run box. For a manual backup, copy the whole SaveGames folder somewhere else.
Note: Be careful editing .sav files directly, because the game uses cloud synchronization. Changing a local save while sync is active can cause a conflict between the local and cloud versions. The game requires an EA account across the supported PC storefront versions, so cloud saving is part of the overall system.
The reliable approach is to use both save types together rather than trusting autosaves alone. A named manual save before an important mission gives you control that the combat checkpoint cannot, while the automatic checkpoints cover you during the action. Beskar mode players get neither safety net, so every squad and tactical choice has to stand on its own.