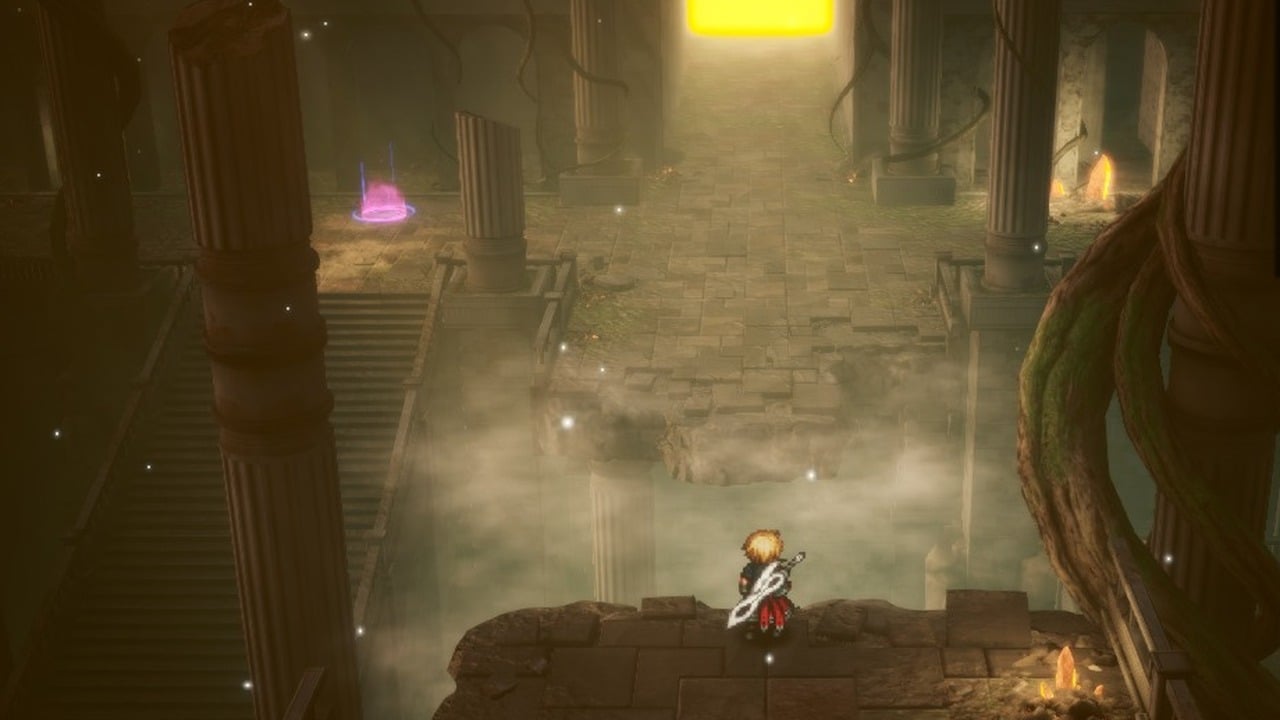
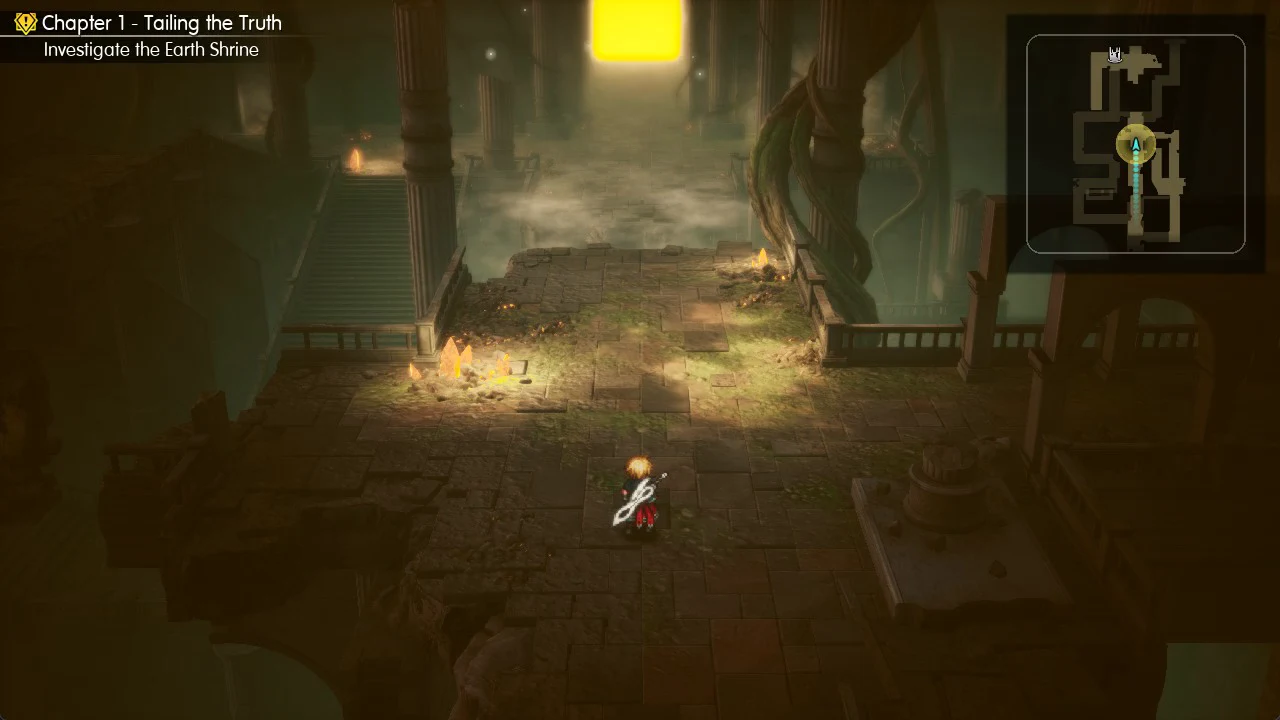
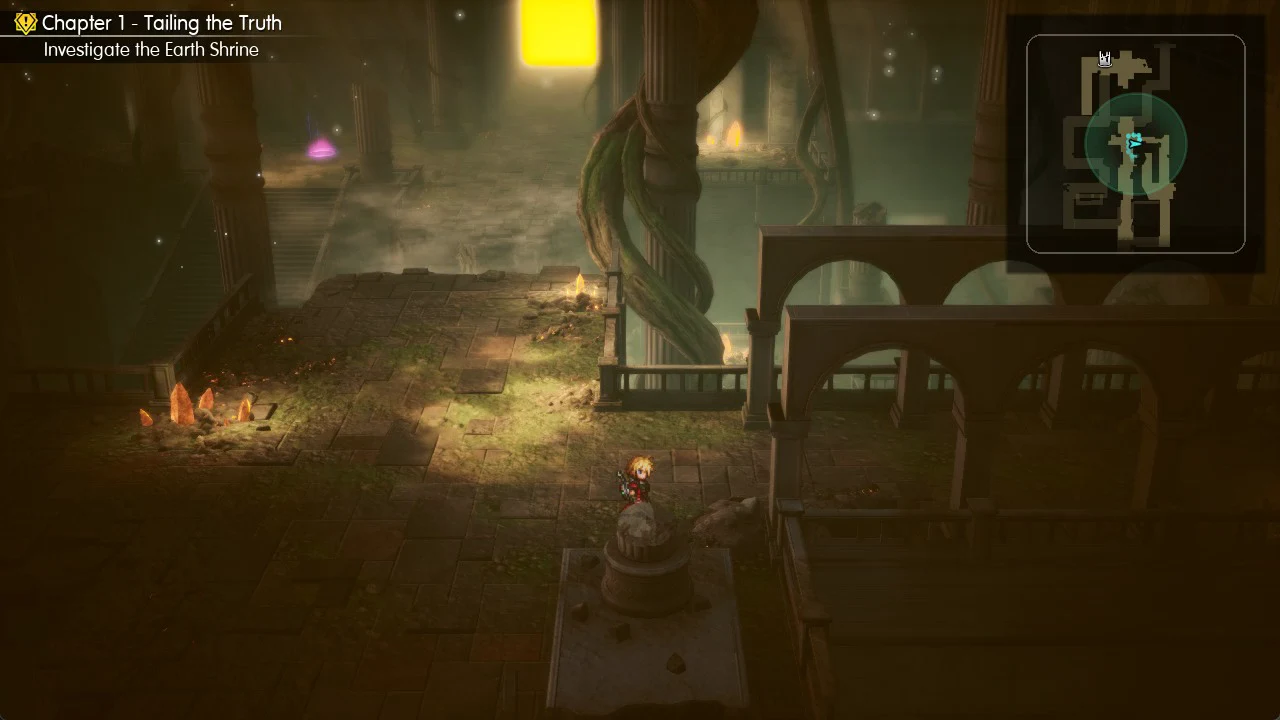
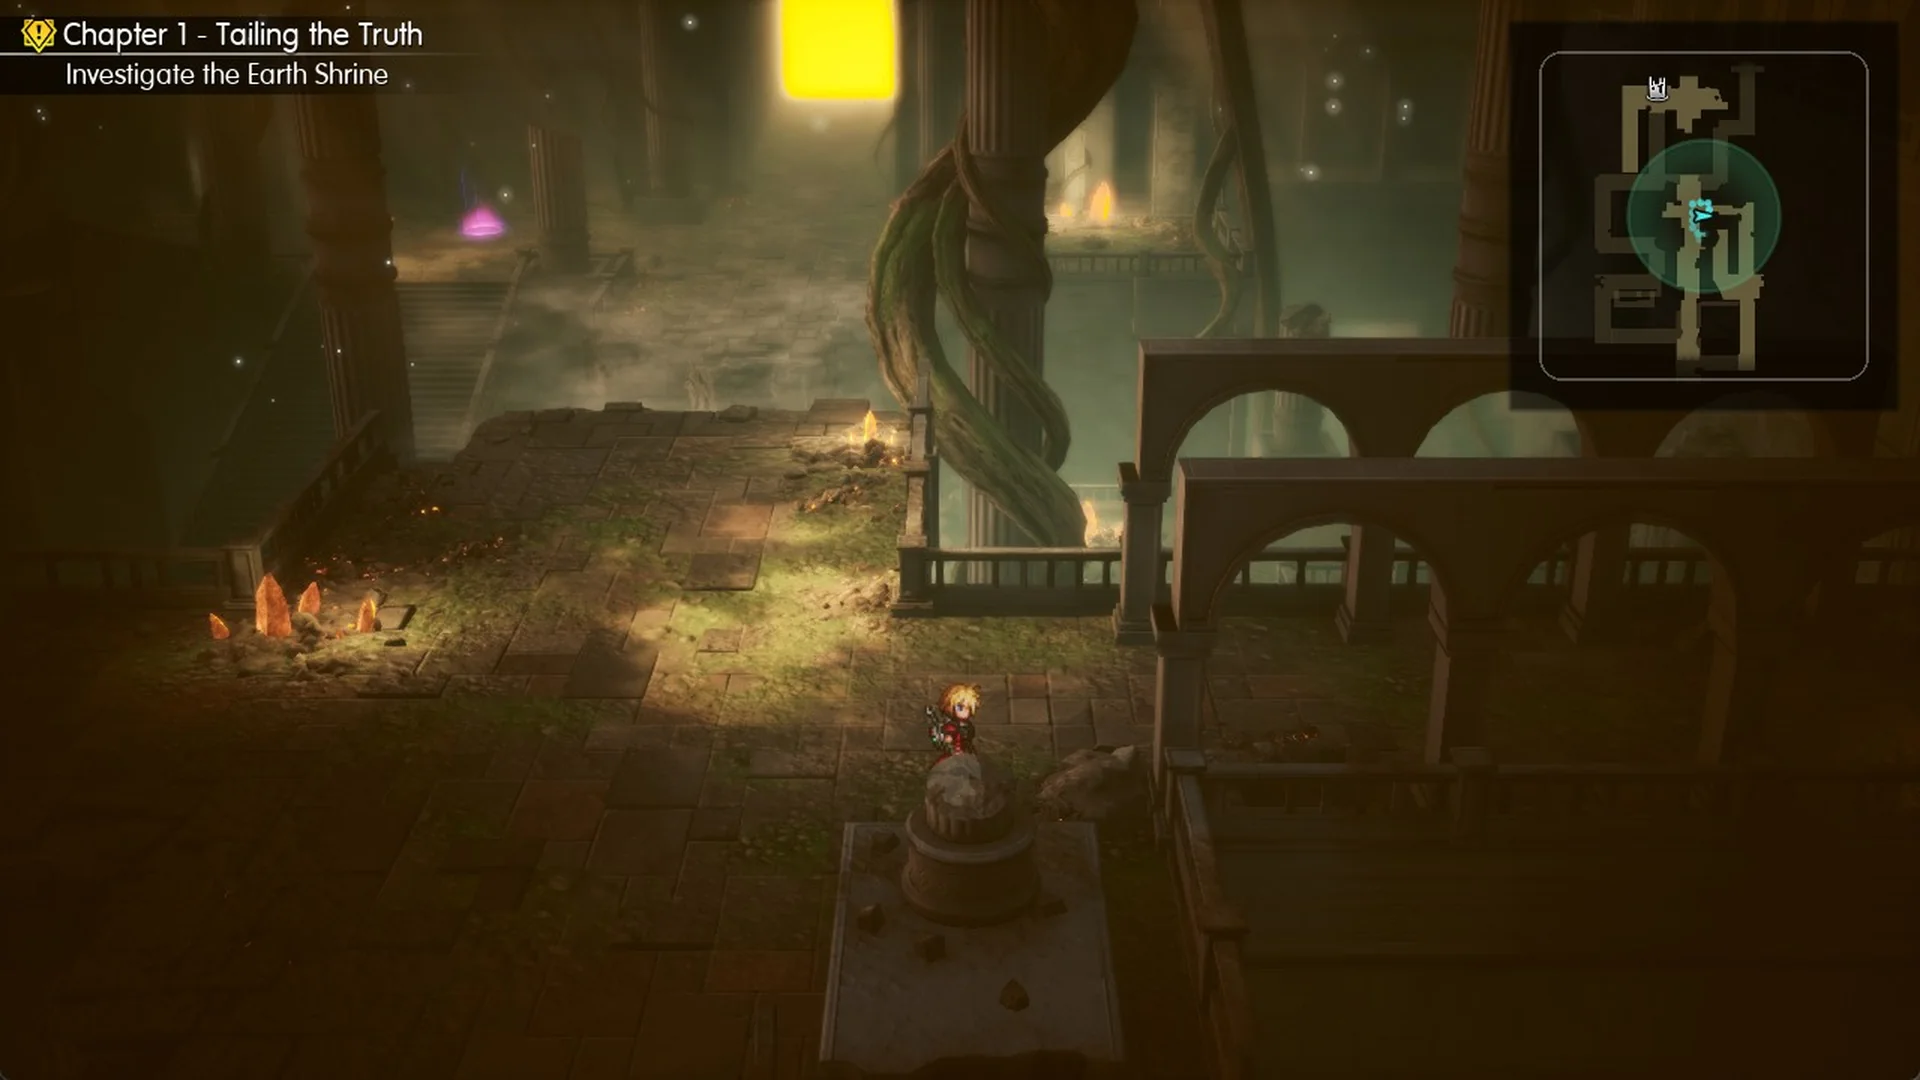
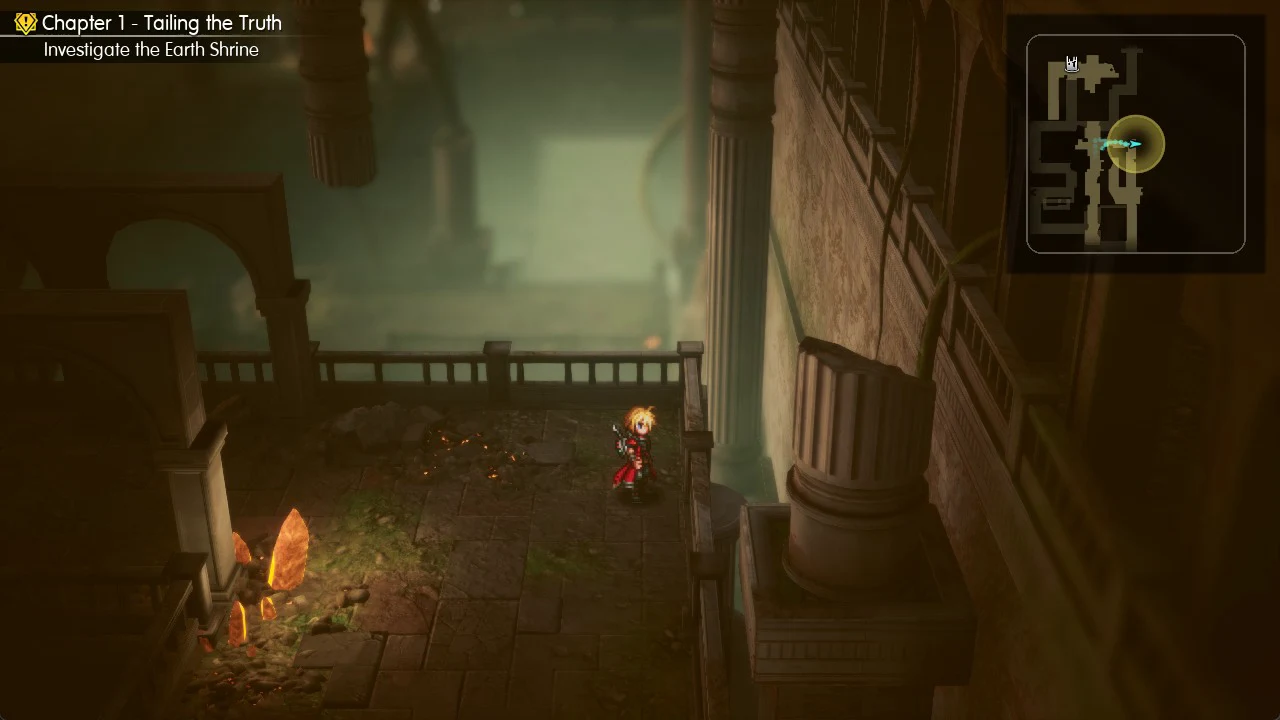
The way through the Earth Shrine is not up the central stairs. You loop around the pedestal, drop to the lower floor, cross west under the start hall, and climb the west side to the second save point, where Belmodar waits outside the Crystal Chamber.
Interactive map: Earth Shrine map
Quick answer: From the pedestal, go east, down to the lower floor, west under the start hall, then up the west staircases and grassy ramp. Use Lasswell’s Dawn Frost and Rain’s Fire on Belmodar.
Before you go in
The Earth Shrine is part of the Chapter 1 quest “Investigate the Earth Shrine” in Final Fantasy Resonance. Walking in triggers an “Autosaving…” message, and the entrance room has a save point, shown as a glowing pink circle. Stand on it, press F, and pick Save progress (our save guide covers slots and autosave).
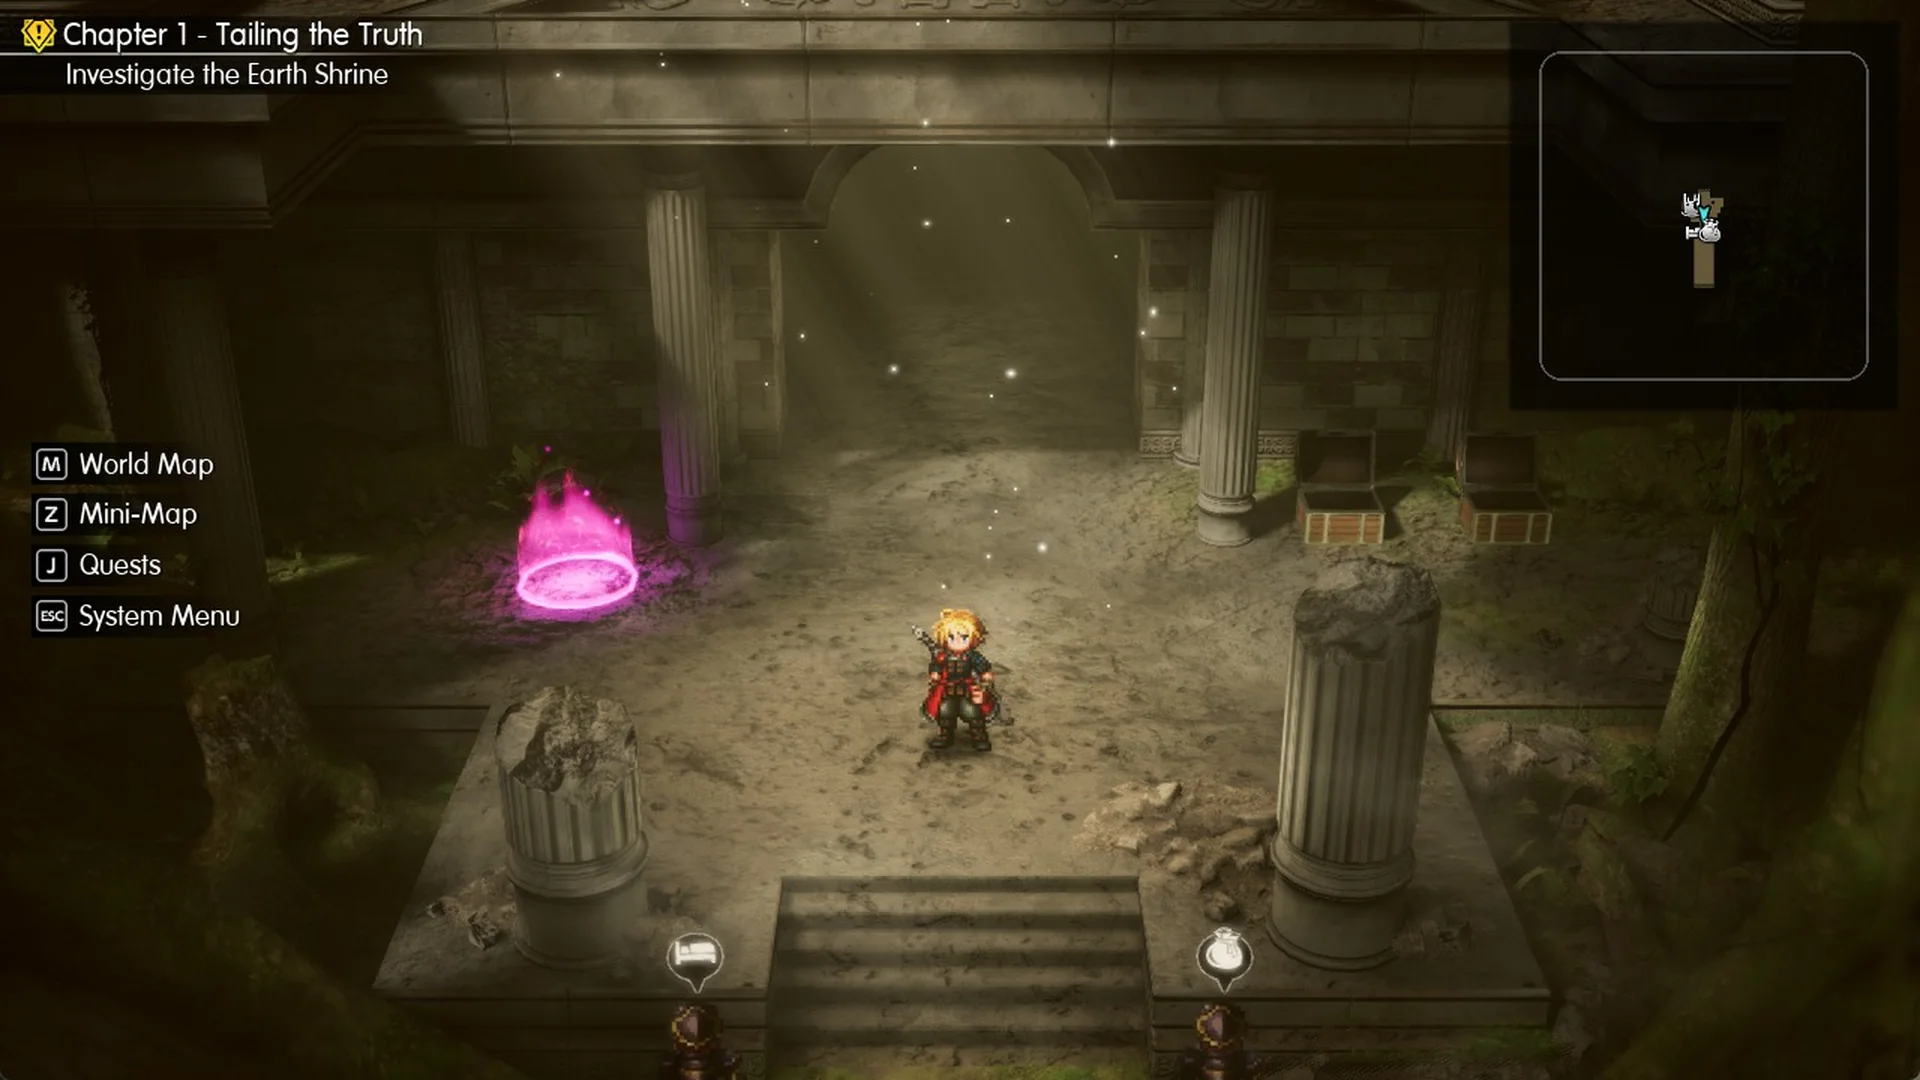
Grab the two chests in the same room before moving on: one holds a Potion and the other an Ether.
The party is Rain and Lasswell, who arrive at Lv.1 and reach Lv.3 from the random battles before the second save point (this route was played on Normal difficulty). The mini-map ring turns red right before a battle starts, which is the Encounter Sensor at work.
The shrine doesn’t provide its own dungeon map. Selecting Main Menu > Map displays only the world map for Kingdom of Grandshelt, so rely on the mini-map in the upper-right to find your way inside. Press Z to toggle the mini-map (all the keys are in our controls guide).
Earth Shrine route, step by step
The shrine is one tall hall stacked on several levels. The camera looks down from the south, so north is up the screen and west is left, matching the mini-map.
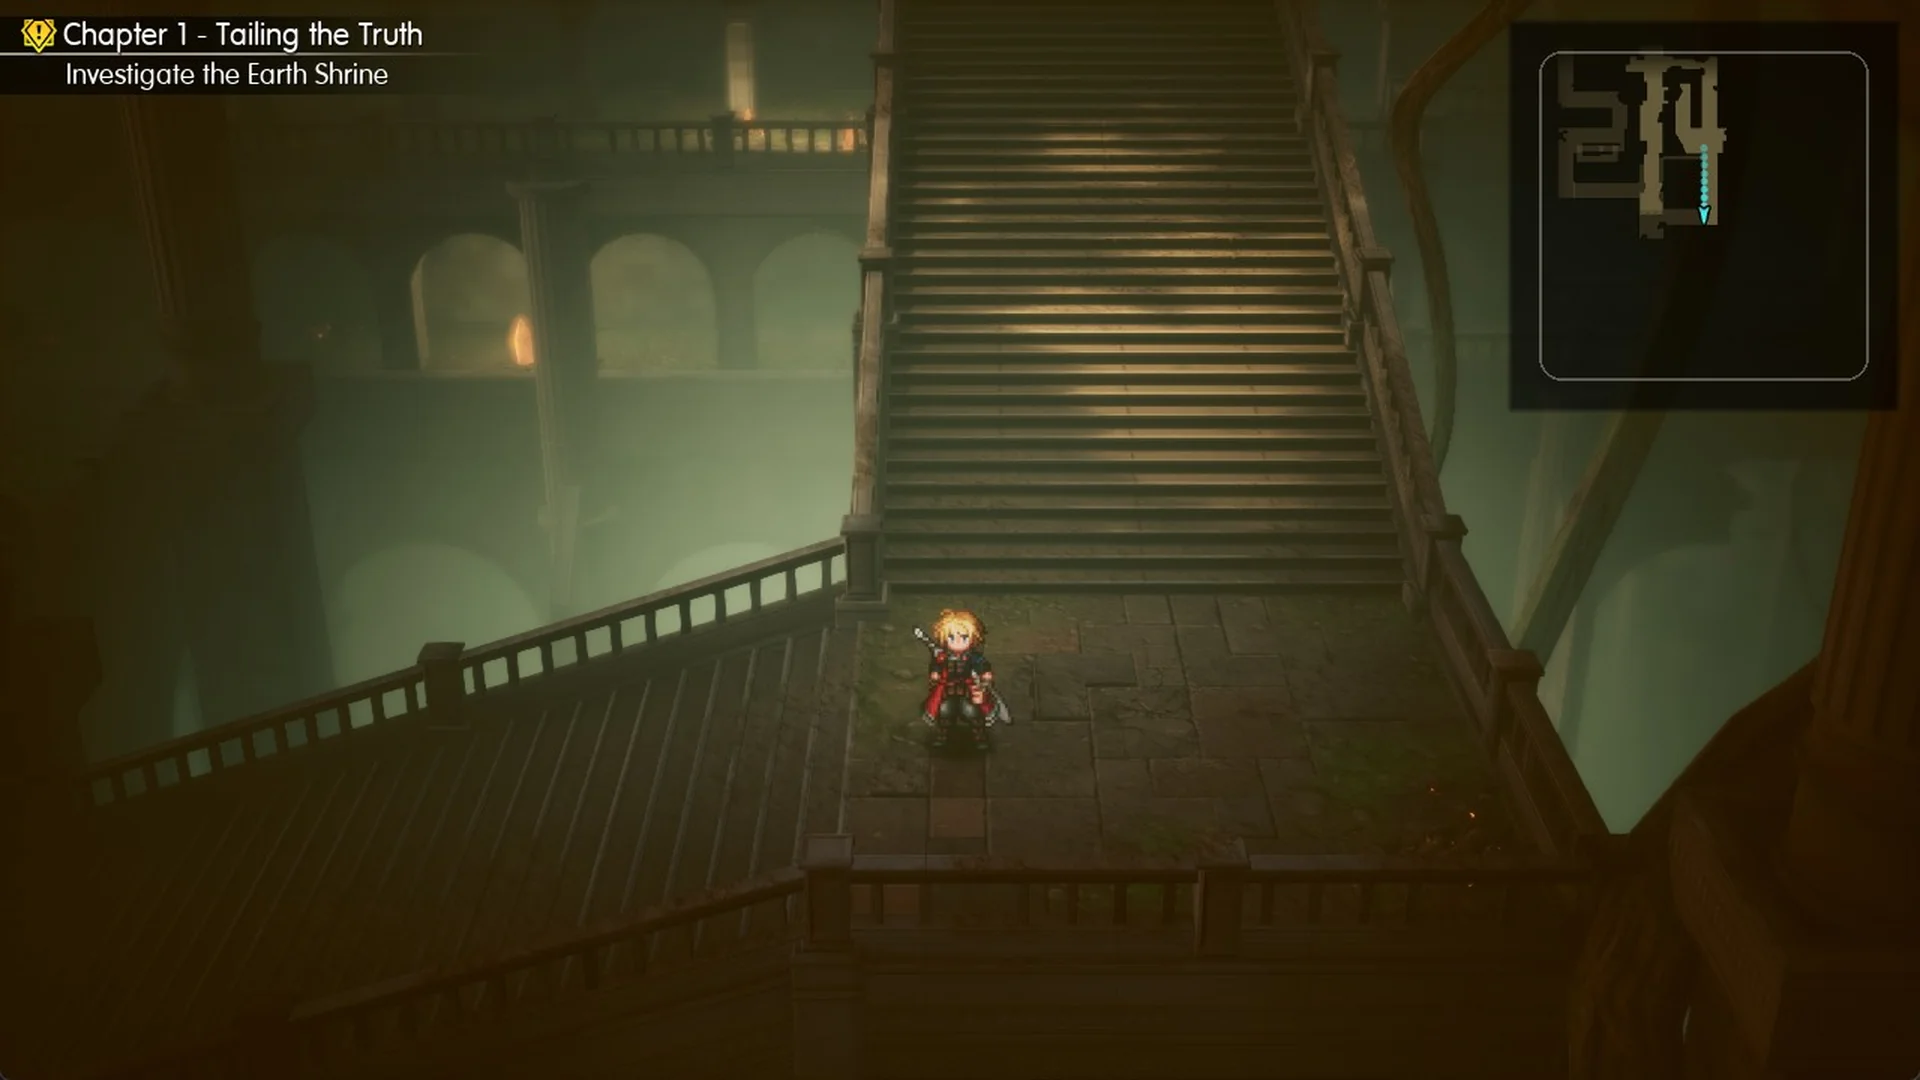
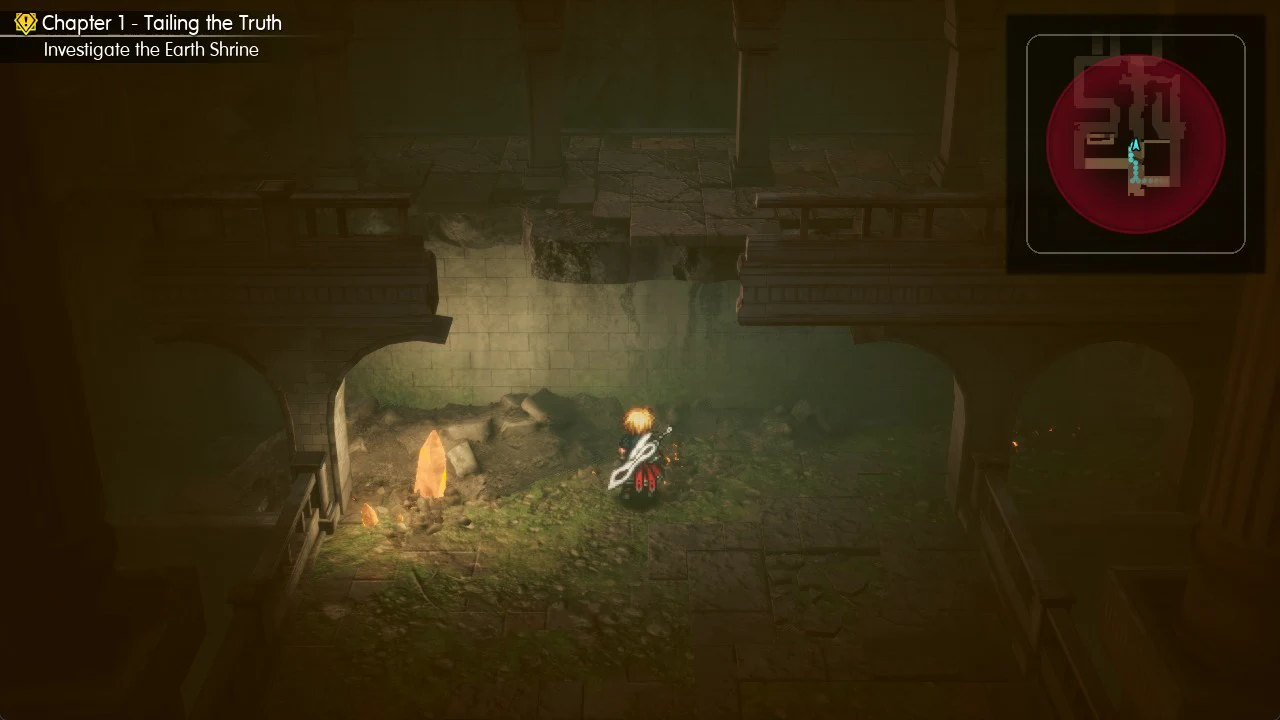
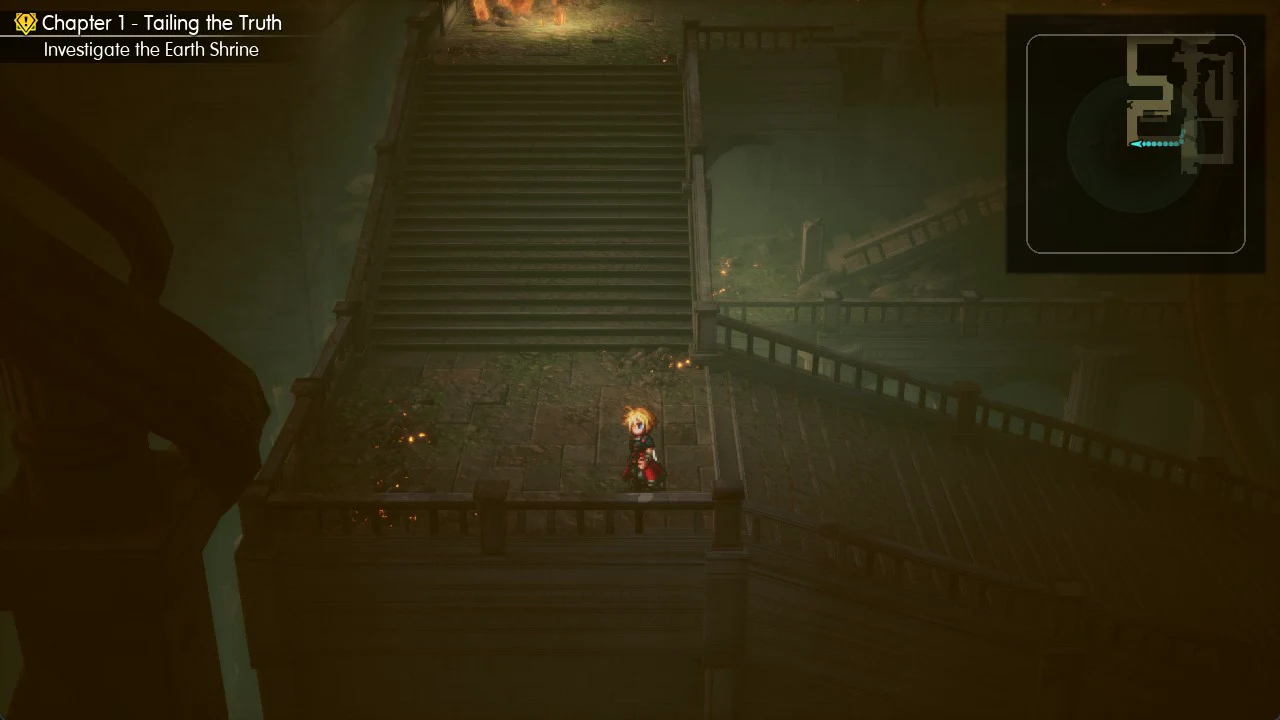
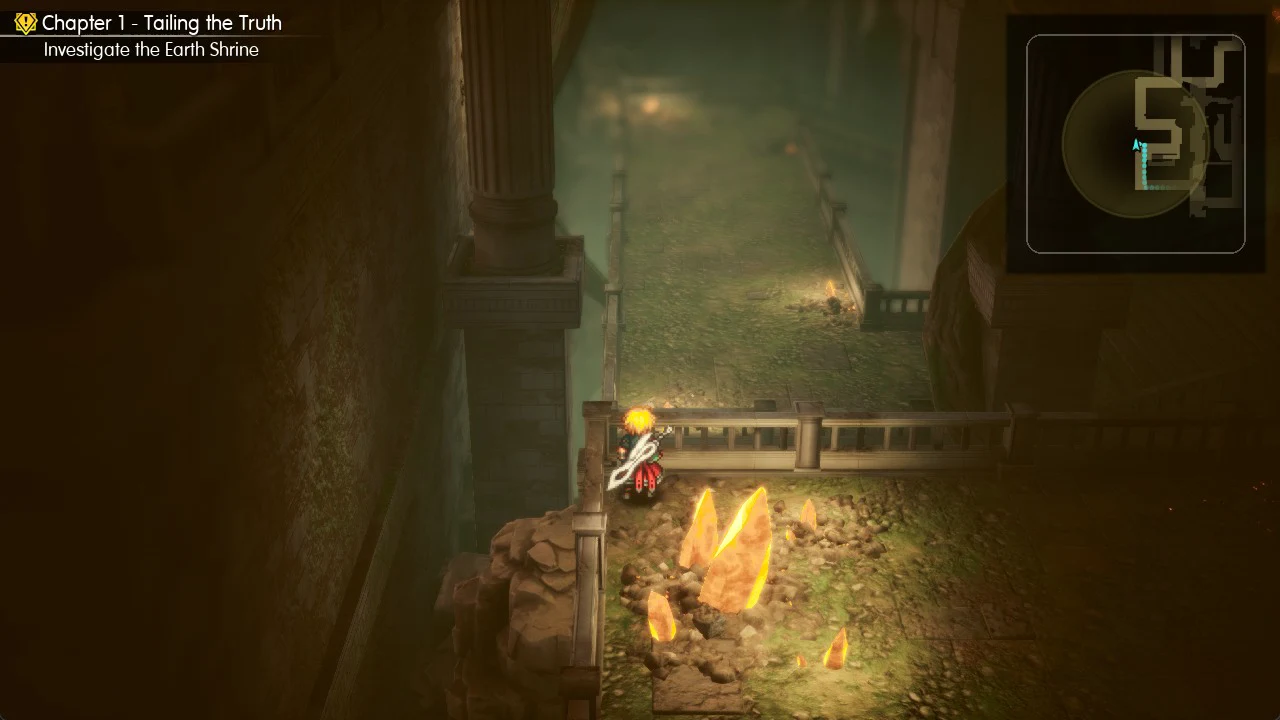
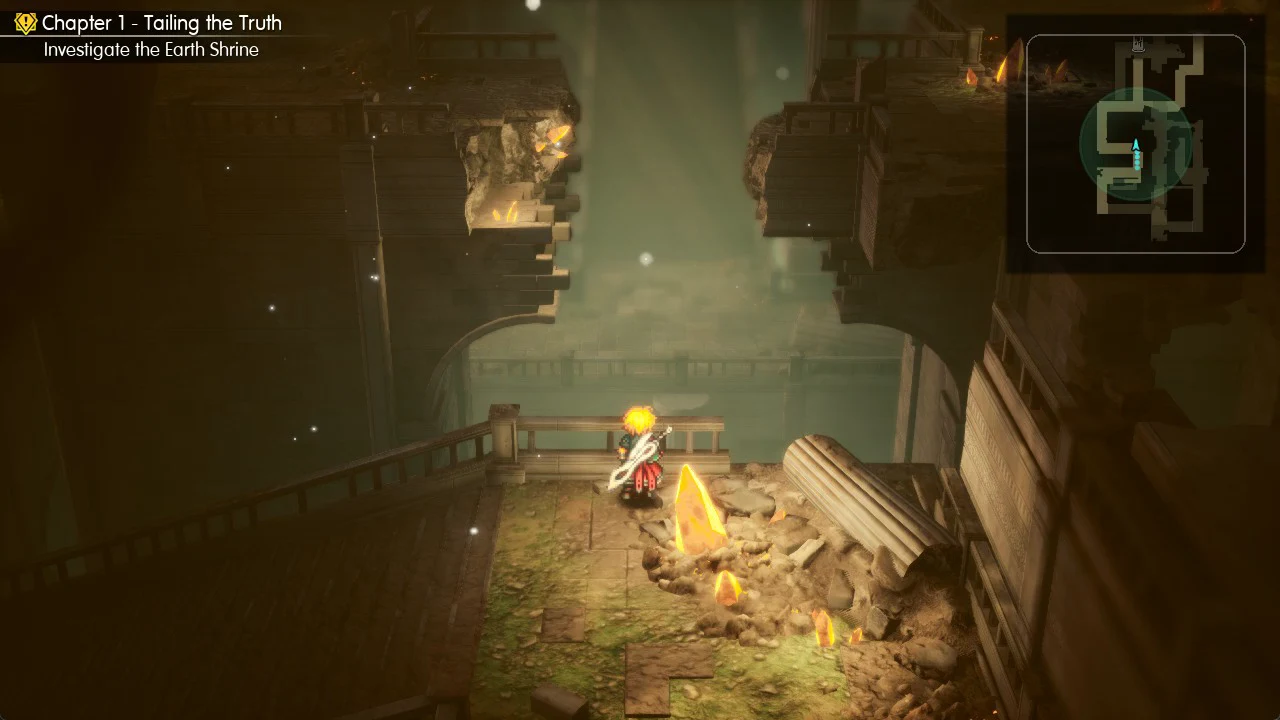
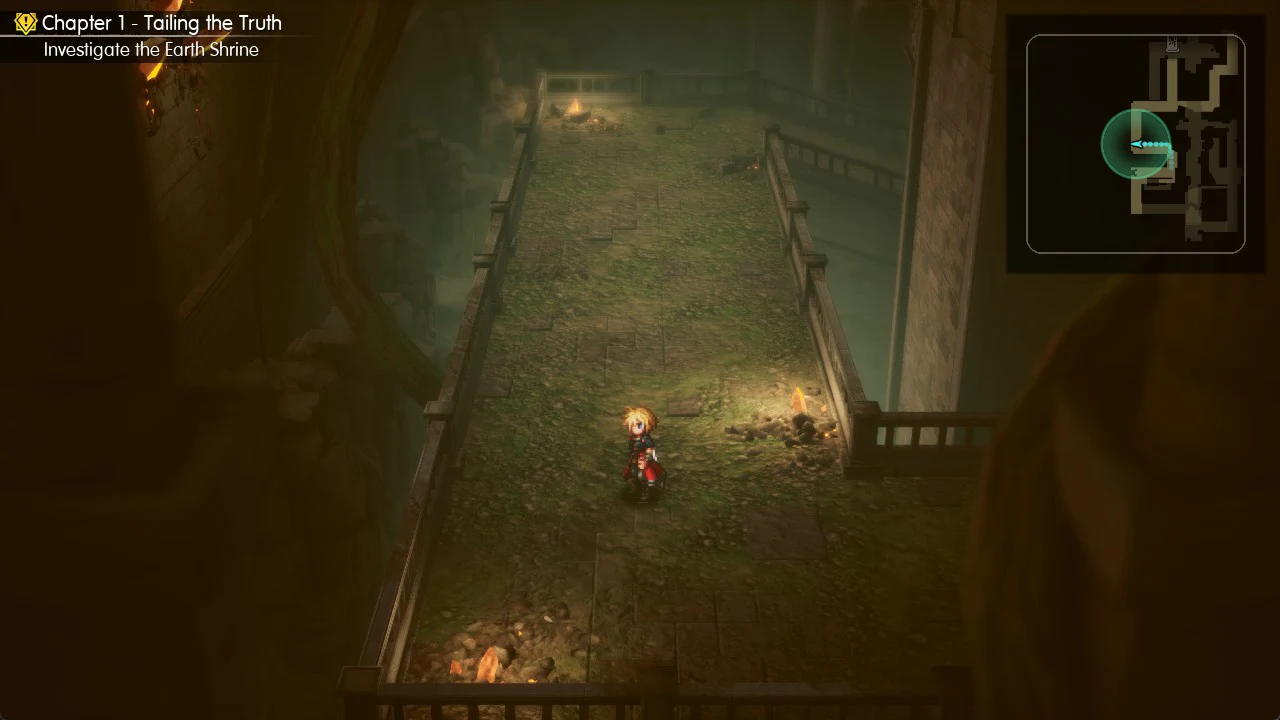
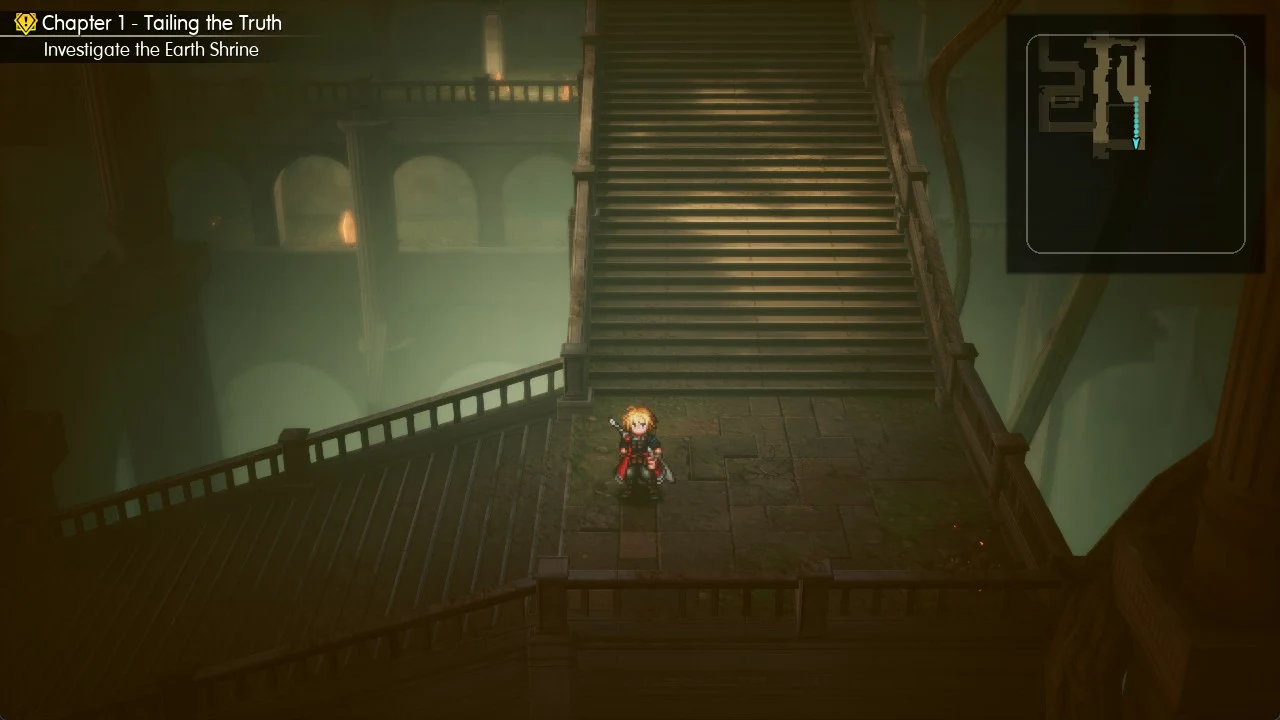
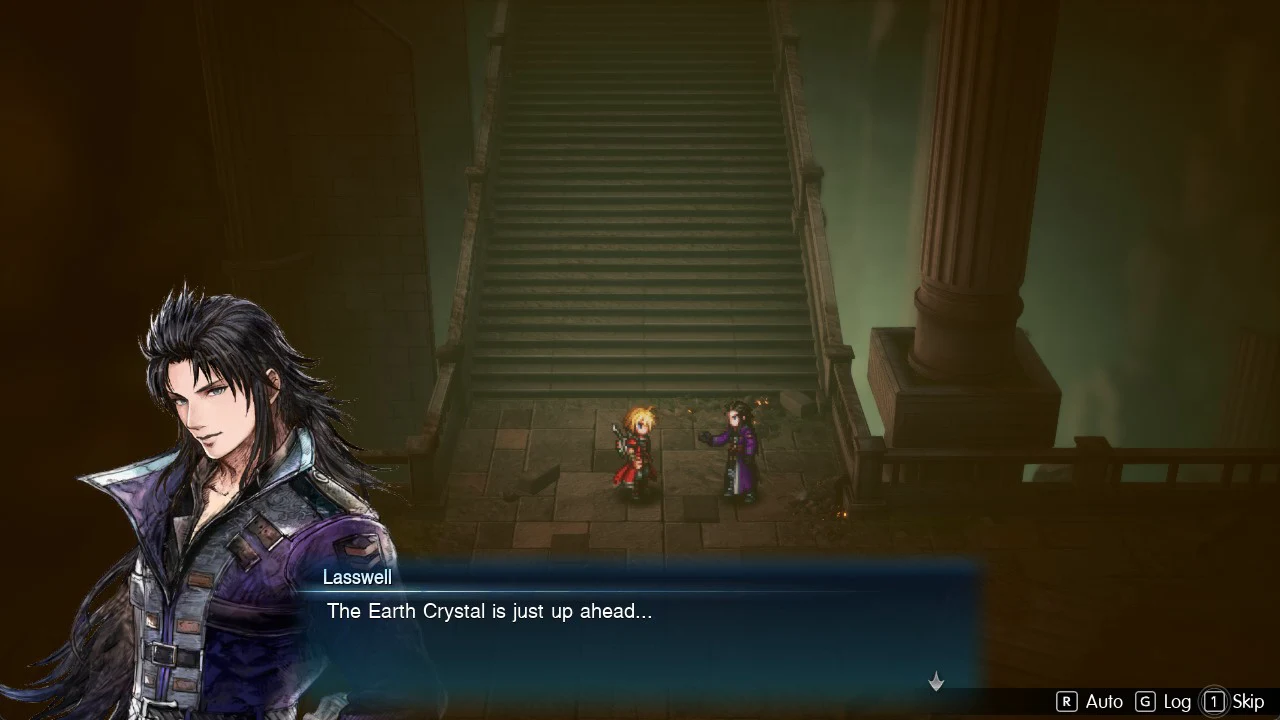
Second save point, Tent rest and Teleport
The save point at the top of the long staircase is just outside the Crystal Chamber, and Belmodar is waiting in front of the chamber entrance. Save and heal here before going any further.
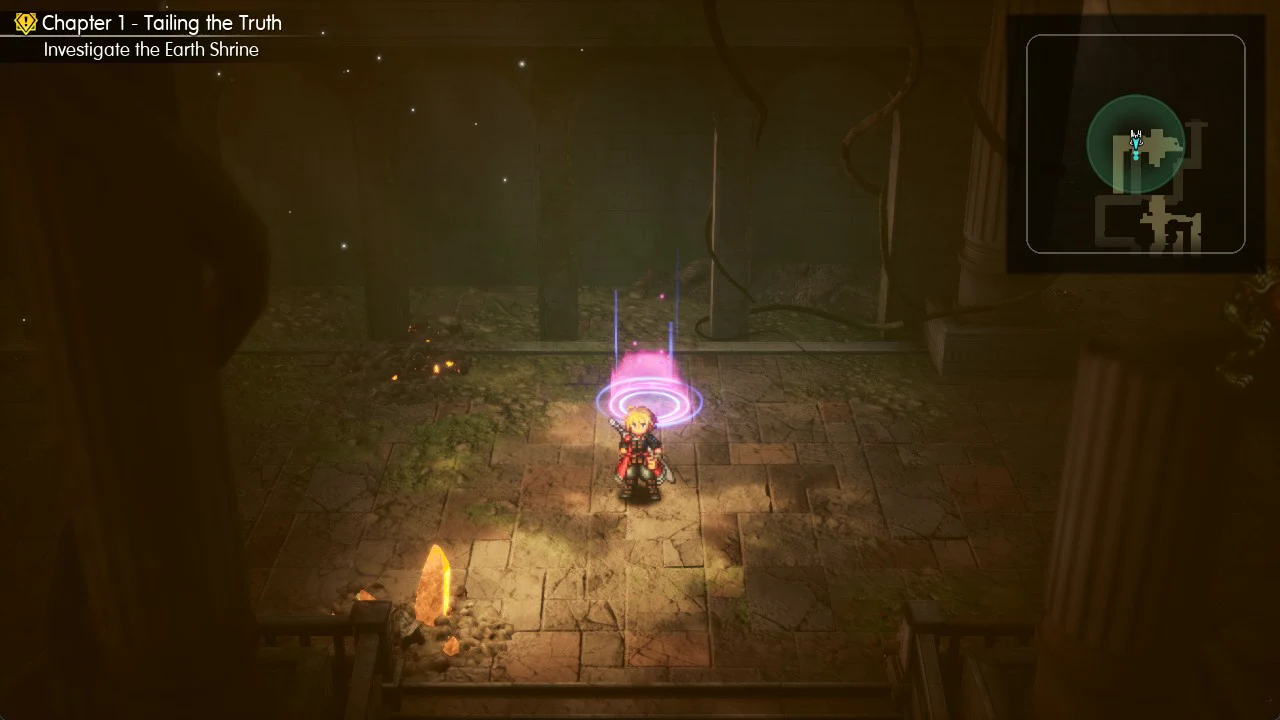
The menu at this point presents three choices:
- Save progress saves the game.
- Rest in a tent shows “Use a tent to fully restore HP and MP.” and asks you to confirm using one Tent. You need a Tent in your items.
- Teleport moves you between this save point and the one at the entrance.
The first time you touch this save point, a tutorial explains: “Teleport can be used at certain save points. When used, you can instantaneously travel between a save point at a dungeon’s entrance and one at its deepest point.” It follows with “You can now return to the save point at the entrance.” From then on, you can go back to the entrance and return here without walking the route again.
Earth Shrine chests
The Earth Shrine contains eight chests in total. Two are in the entrance room beside the first save point, holding a Potion and an Ether; the remaining six are deeper inside.
Later in Chapter 1, the side quest Dream of an Idealist brings you back to the entrance: the squadron banner sits just west of the entrance save point, at the edge of the ledge. The Dream of an Idealist walkthrough covers that step and the rest of the quest.
| Item | Count | What it does |
|---|---|---|
 Potion | 1 | Restores 200 HP. |
| Ether | 1 | Restores 50 MP. |
| Potion | 3 | Restores 200 HP. |
| Phoenix Down | 1 | Revives a KO’d ally with 25% HP. |
| Flame Scroll I | 2 | Inflicts Fire magic damage on one enemy. Throwing it increases its power and extends its target to all enemies. |
 Nodachi | 1 | Weapon: Phys. Atk 21, Mag. Atk 20 |
 Bulletproof Vest | 1 | Armor: Phys. Def 10 |
| Gil | 400 | – |
The shrine’s chests contain only two pieces of equipment, the Nodachi and the Bulletproof Vest, so check every side path before you go into the boss room.
Earth Shrine boss: Belmodar (Lv.4)
Target it and the info reads “Lv.4 Belmodar”.

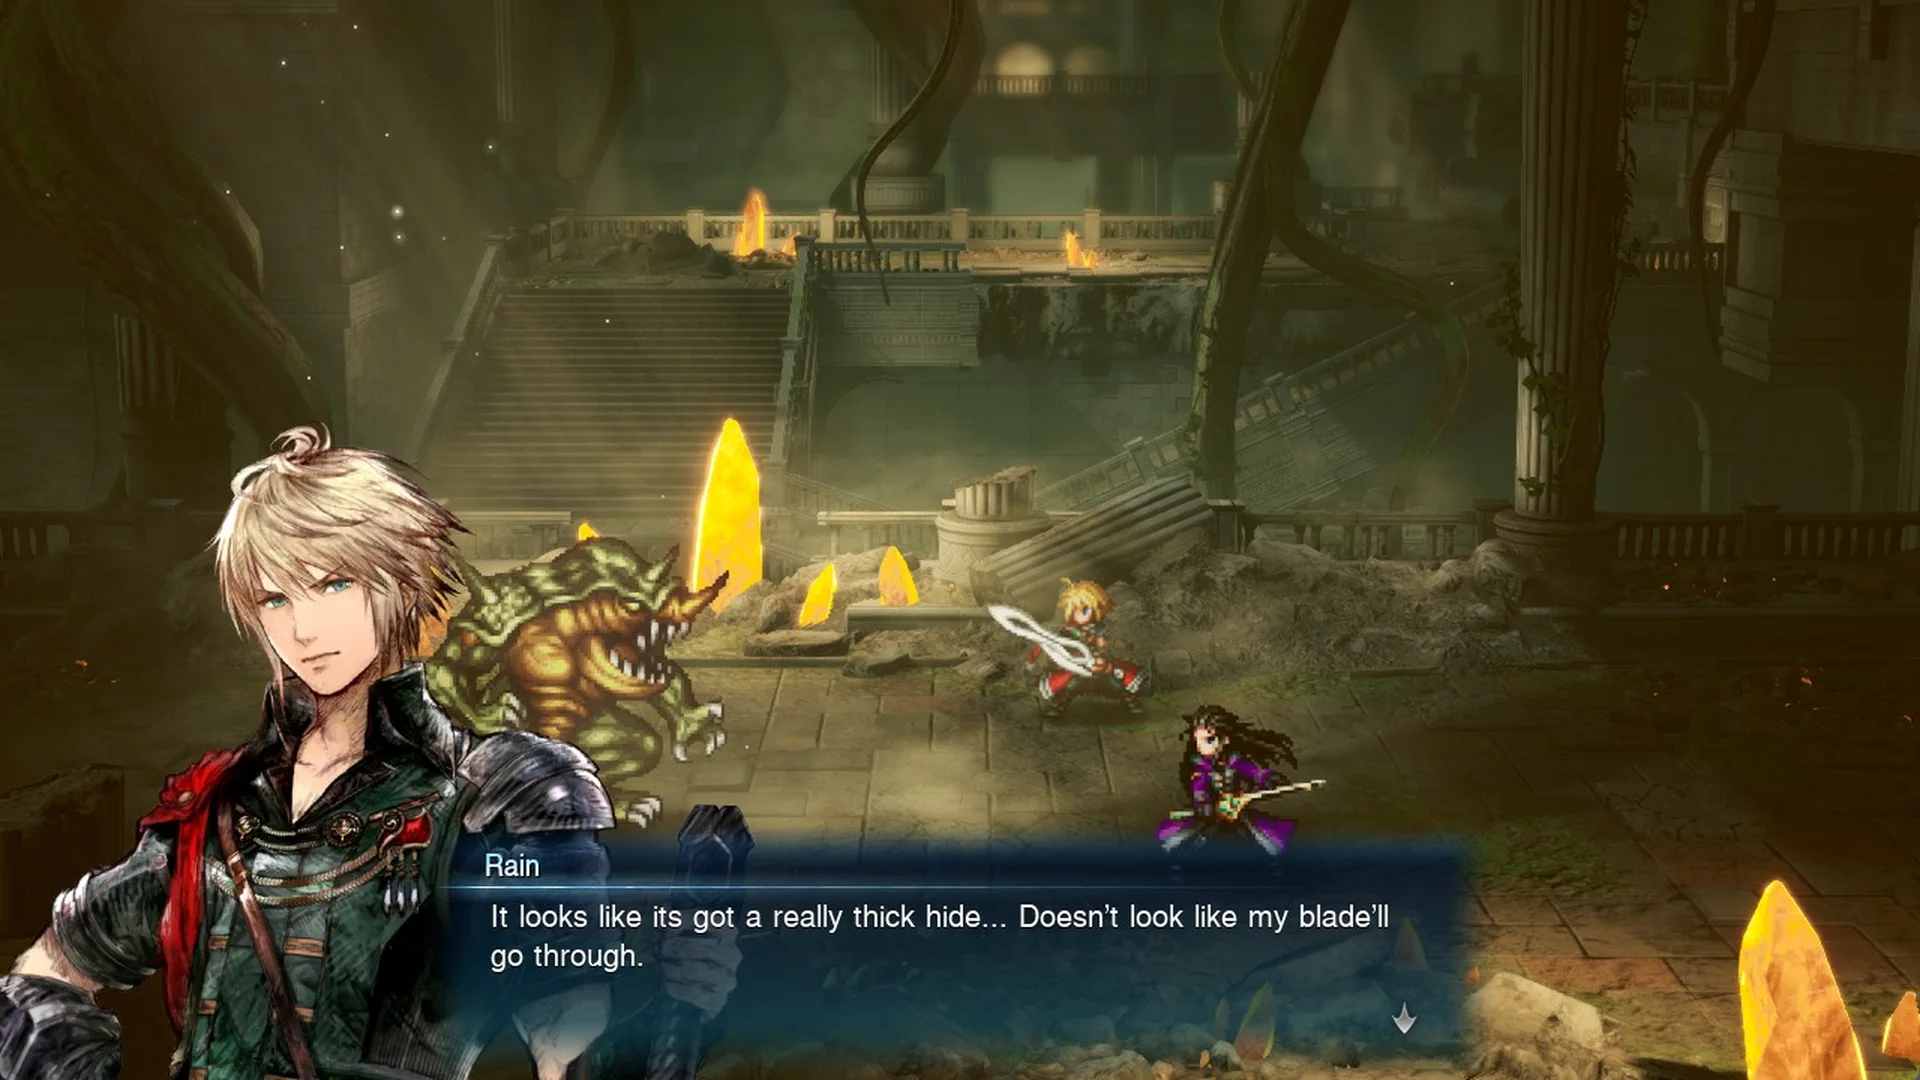
Before the fight, Rain says “It looks like it’s got a really thick hide… Doesn’t look like my blade’ll go through.” Lasswell replies “Perhaps it’s weak to your fire magic?” That’s the hint. Fire appears as one of its affinities once you’ve hit it.
| Character | Command | Cost | Job |
|---|---|---|---|
| Lasswell | Dawn Frost | 5 MP | Drain stagger gauge |
| Rain | Fire | 5 MP | Damage |
Belmodar uses Crush and Slam, both single-target hits: Slam did about 70 damage to Lasswell at Lv.3 and Crush did 113. Watch for its tell. Belmodar glows red, and its icon on the turn bar gets a red flare with a “!” before a Devastating Attack. The in-game tutorial notes that “Some enemies can unleash savage blows, which you can prevent by staggering them” and to “remember that you can always select Defend”.
Use Lasswell’s Dawn Frost each turn to wear down the stagger gauge with Ice physical damage. Once Belmodar is Staggered, its red attack is cancelled, and the round’s Bonus Phase gives you an extra action. Have Rain cast Fire every turn. Against a staggered Belmodar, one Fire deals 129 damage.
With both characters at Lv.3 and full HP after a Tent, this plan won the fight with no items used, even though a late Slam knocked Lasswell out and Rain finished Belmodar alone. Our full Belmodar boss guide covers its attacks and tells in more detail. The win pays EXP 121 and 301 Gil, and both Rain and Lasswell reach Lv.4.
After the Belmodar fight
A story scene plays inside the Crystal Chamber with an armoured figure shown only as “???”, after which Rain and Lasswell wake up. Two changes confirm the shrine is done. The Limit Burst row now appears in the battle command menu, and the quest objective switches to “Go to the town of Mitra” as Chapter 1, “Tailing the Truth”, continues.
After the shrine: Town of Mitra
Leave through the Earth Shrine’s exit and press F on “Proceed” to step out onto the Kingdom of Grandshelt world map. The game autosaves and brings up the “Map” tutorial. Press M to open the world map, which marks your current location and your destination.
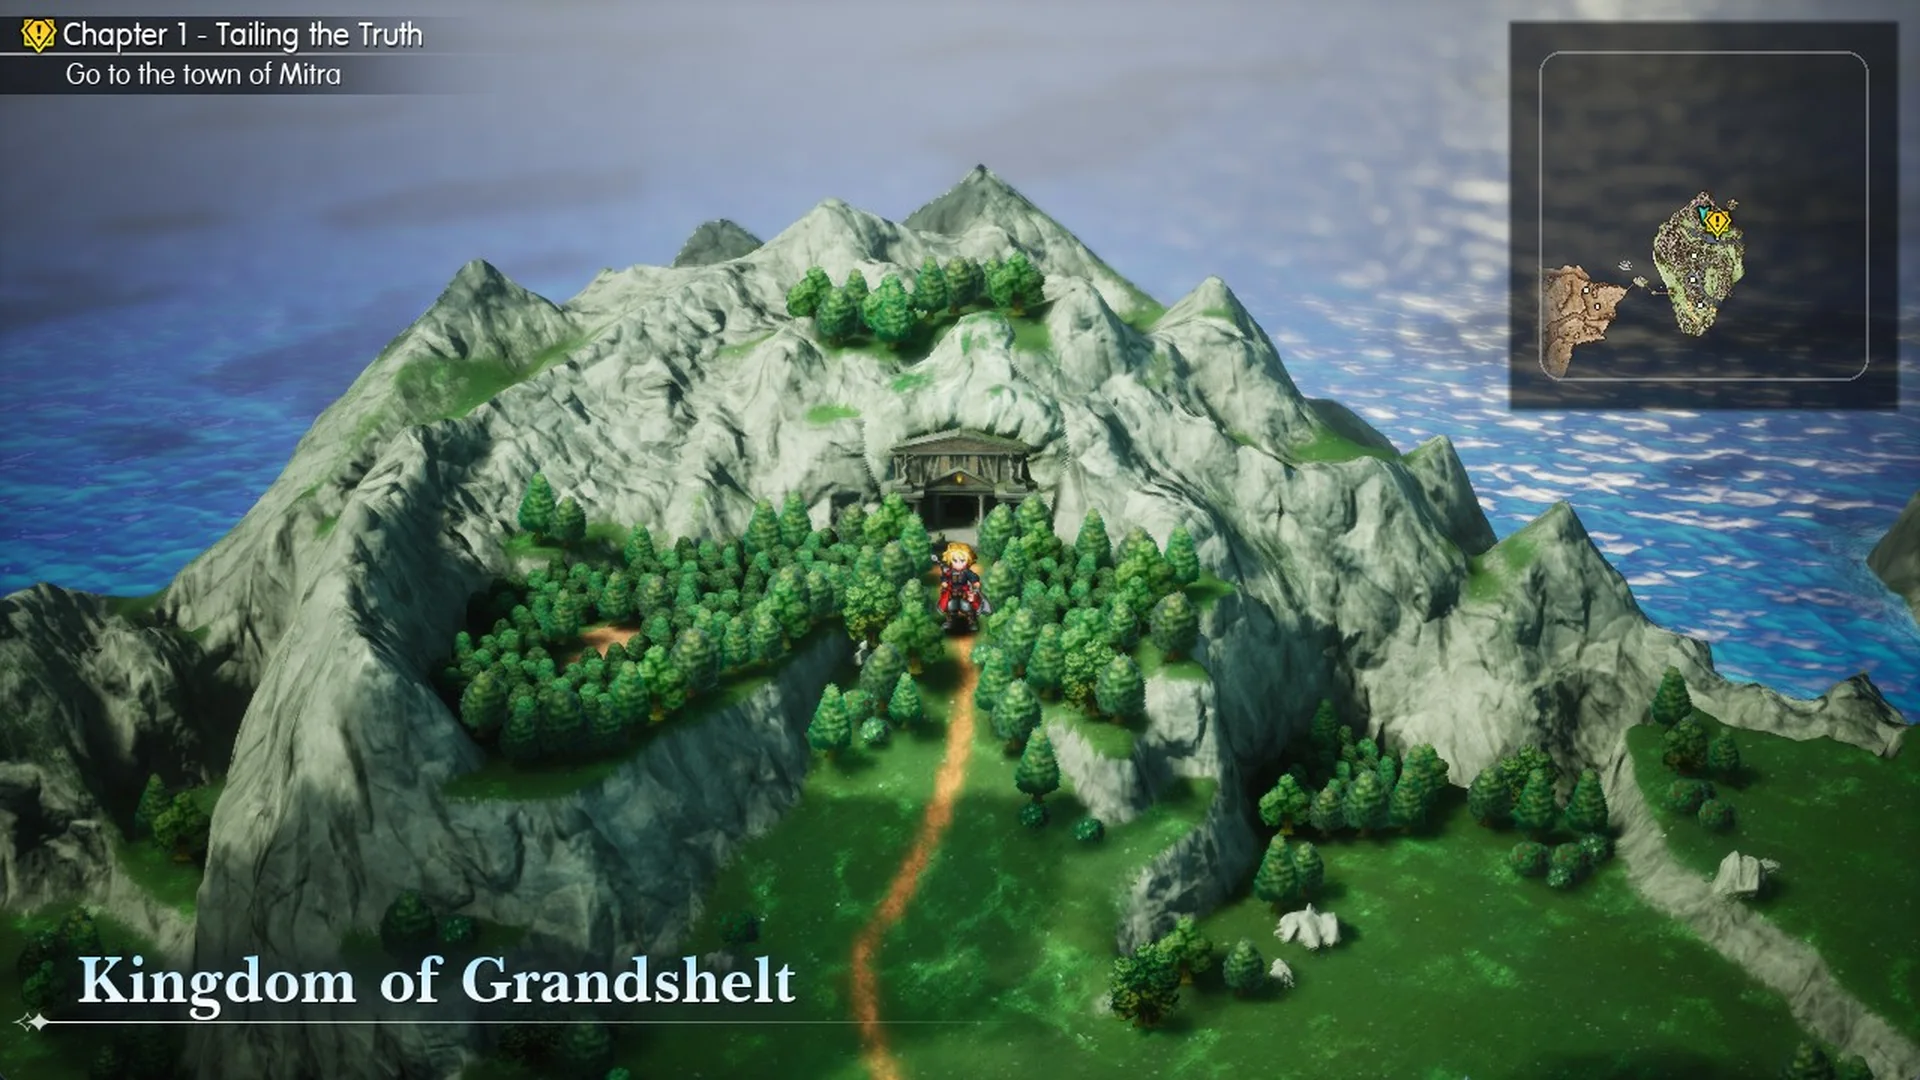
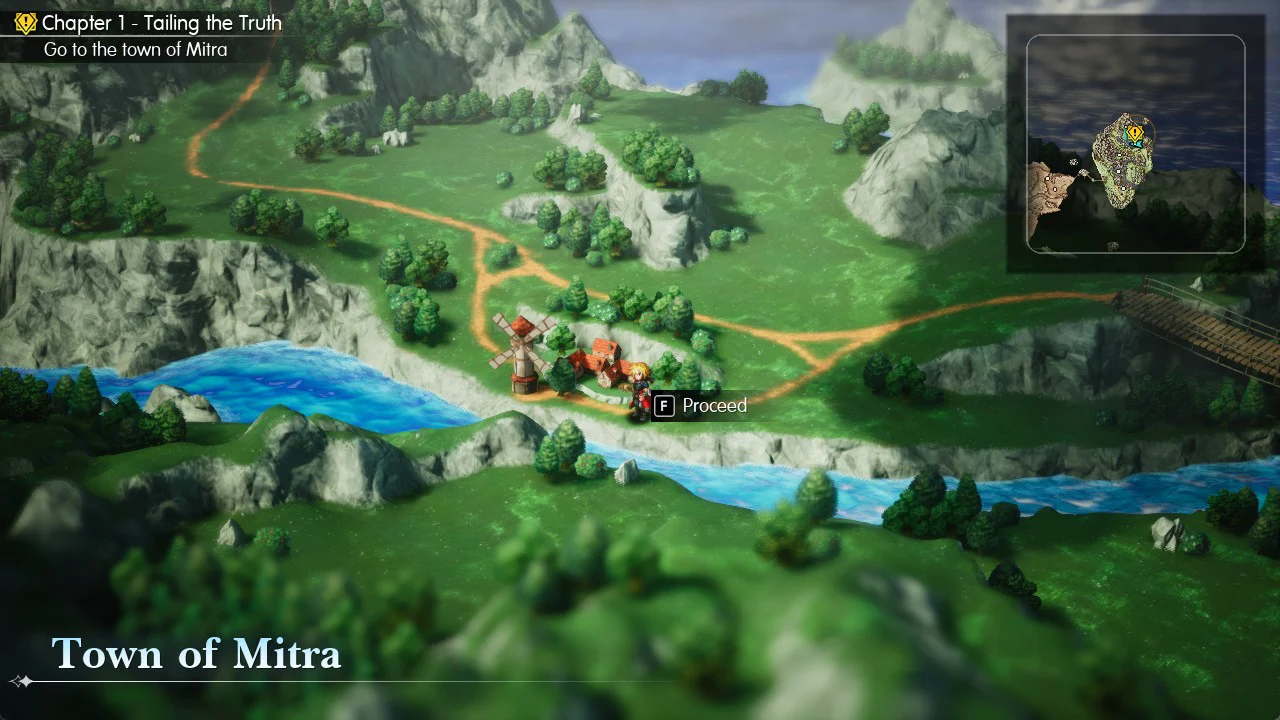
The Town of Mitra is just south of the shrine. Follow the dirt path down from the shrine to the small town with a windmill beside the river. The name “Town of Mitra” appears on screen when you reach it, and pressing F on “Proceed” takes you inside. A short story scene plays as you arrive, with Rain saying “It’s been a while since we’ve been back home”, and your objective changes to “Go to Rain’s house”. Rain’s house is where you get your first two Visions, Tronn and Leah, and the guide on how to equip Visions covers that step.
Mitra item shop
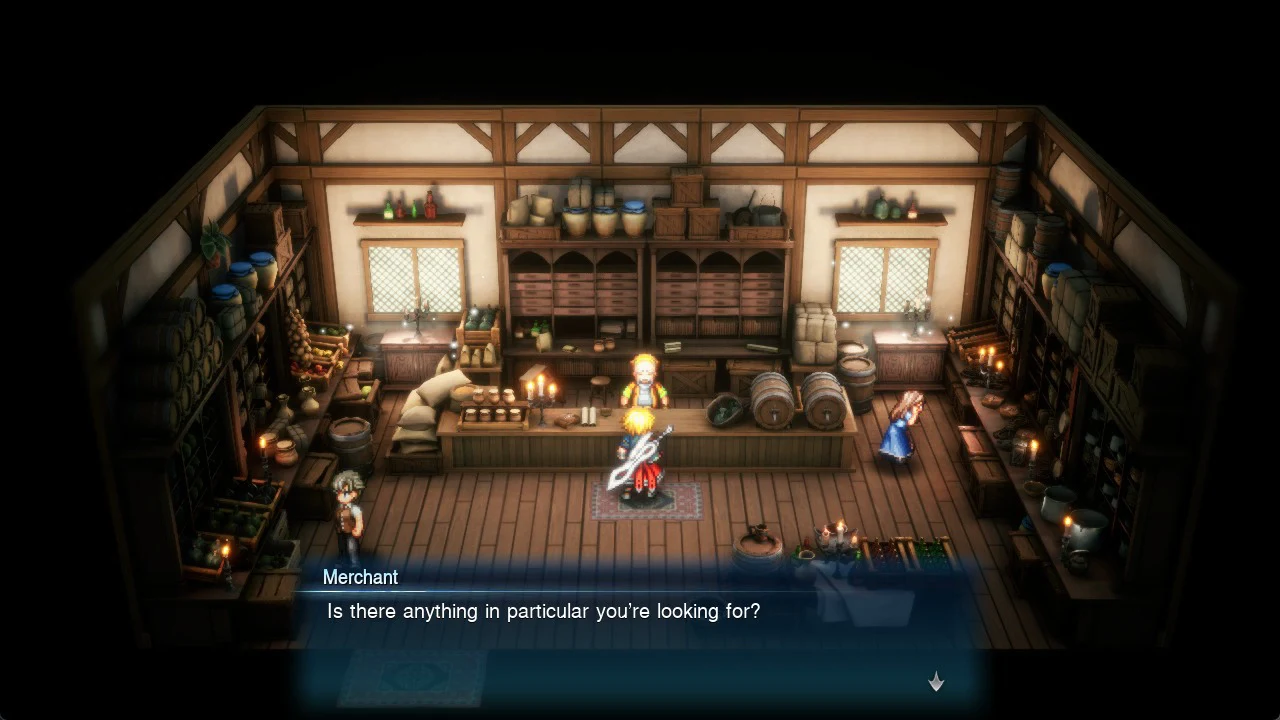
The item shop is the house with a bag sign, east of the inn, which is the house with a bed sign. The Merchant inside asks “Is there anything in particular you’re looking for?” and offers you Buy and Sell.
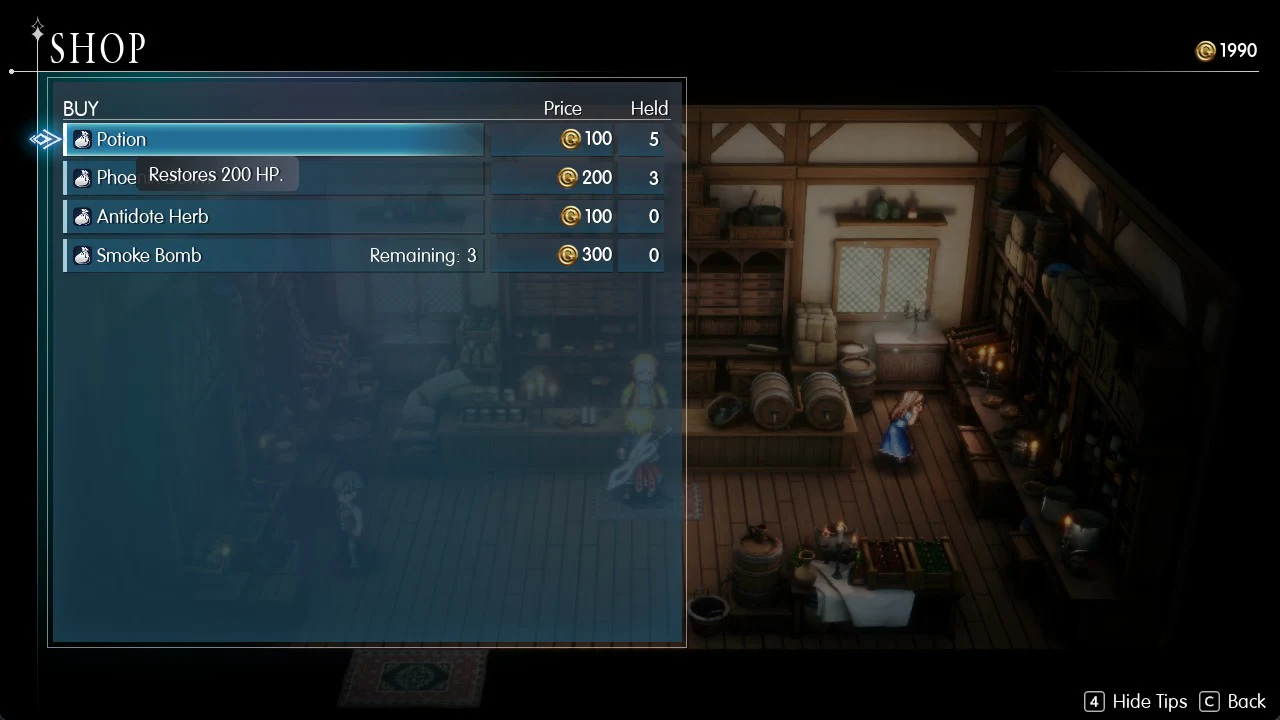
| Item | Price | What it does |
|---|---|---|
| Potion | 100 Gil | “Restores 200 HP.” |
| Phoenix Down | 200 Gil | “Revives a KO’d ally with 25% HP.” |
| Antidote Herb | 100 Gil | “Cures Poison.” |
| Smoke Bomb | 300 Gil | “Allows the party to flee from escapable battles.” |
The Smoke Bomb row shows “Remaining: 3”, so the shop holds only three of them.
Mitra weapon and armor shop
Find the weapon and armor shop in the crossed-swords-marked house, north of the item shop and beside the blue-roofed house. Inside, the left counter handles weapons and the middle one armor; a smith works at the forge on the right. From the Buy list, press R to bring up Compare Equipment.
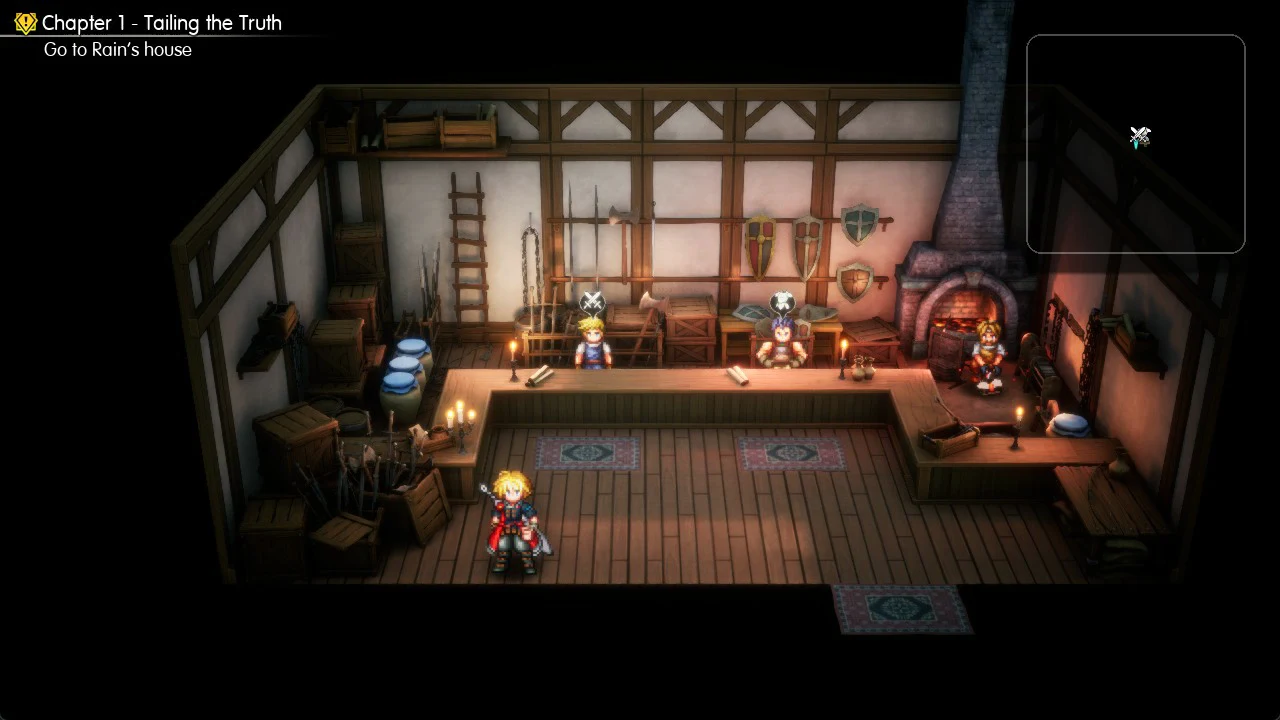
| Item | Counter | Price | Stats | Who can equip it |
|---|---|---|---|---|
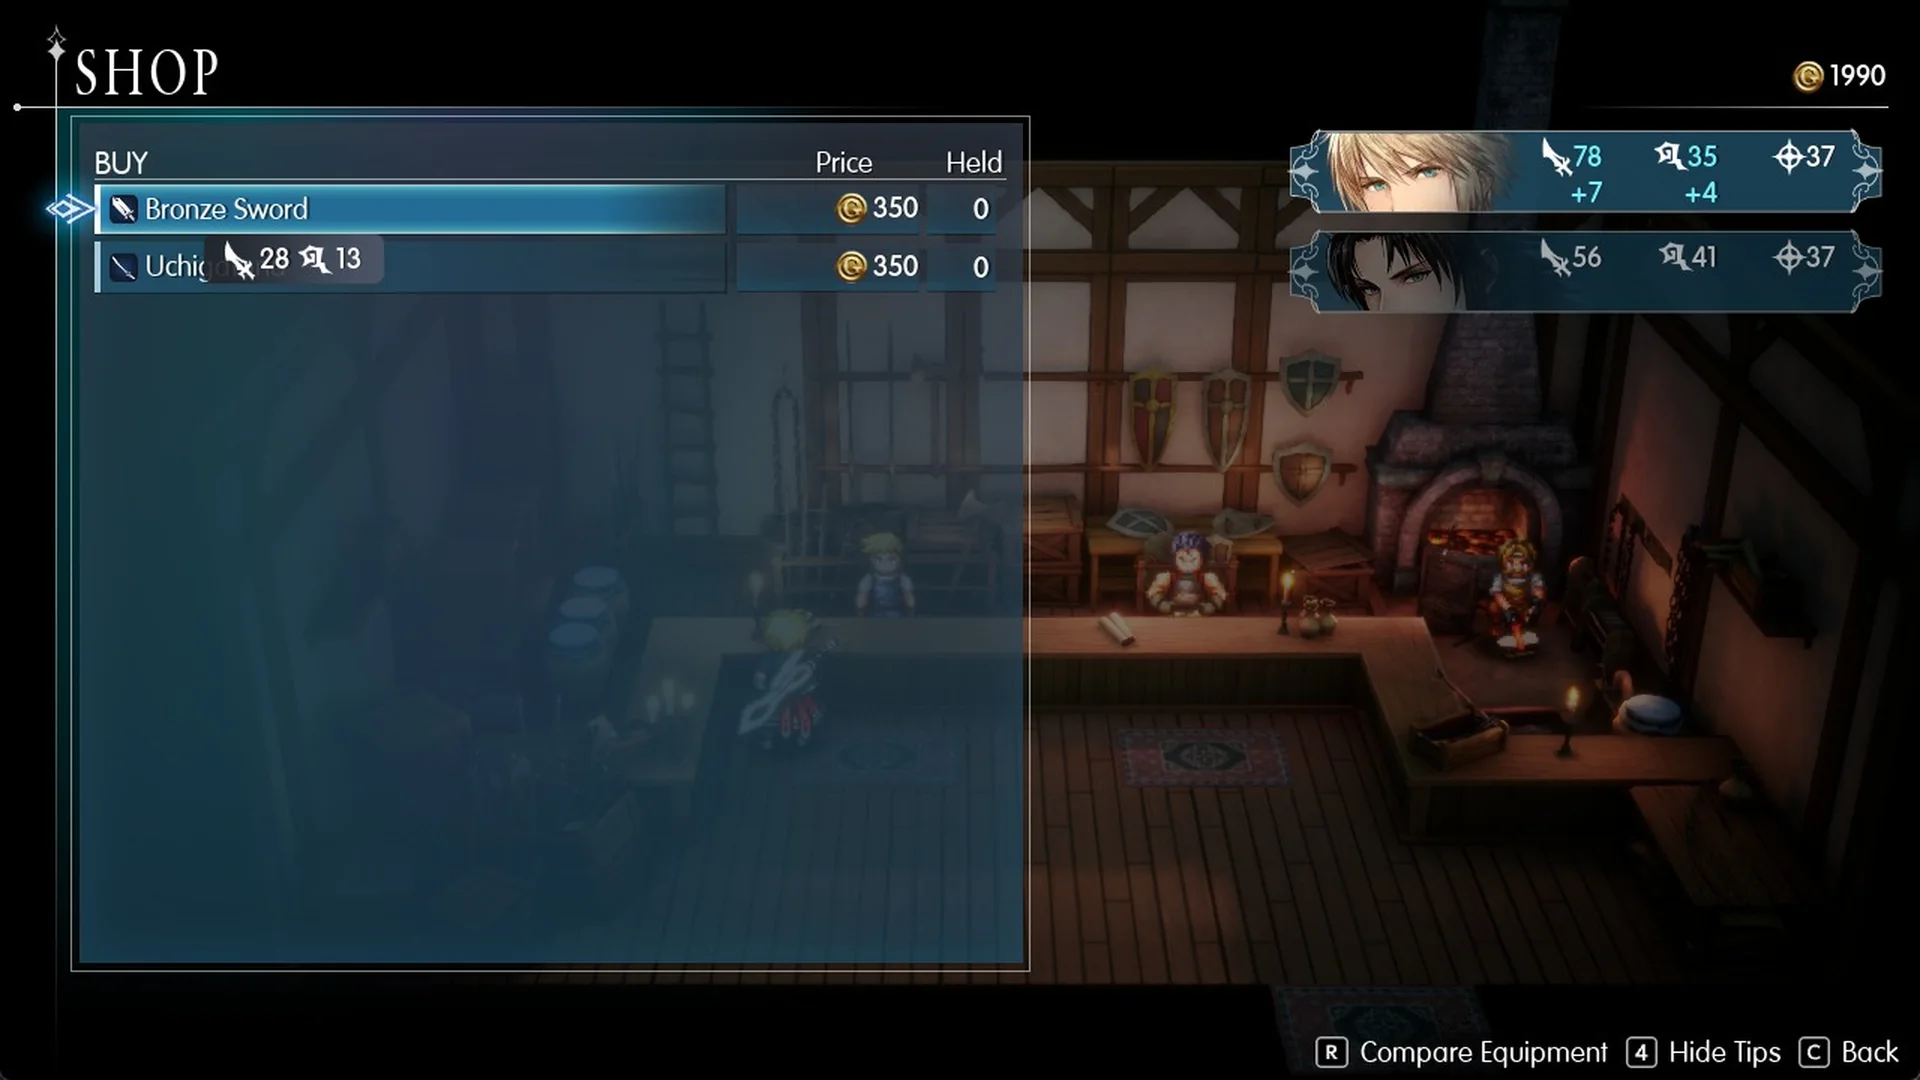
 Bronze Sword | Weapons | 350 Gil | Phys. Atk 28, Mag. Atk 13 | Rain (Lasswell cannot equip it) |
| Uchigatana | Weapons | 350 Gil | Phys. Atk 24, Mag. Atk 17 | Lasswell (Rain cannot equip it) |
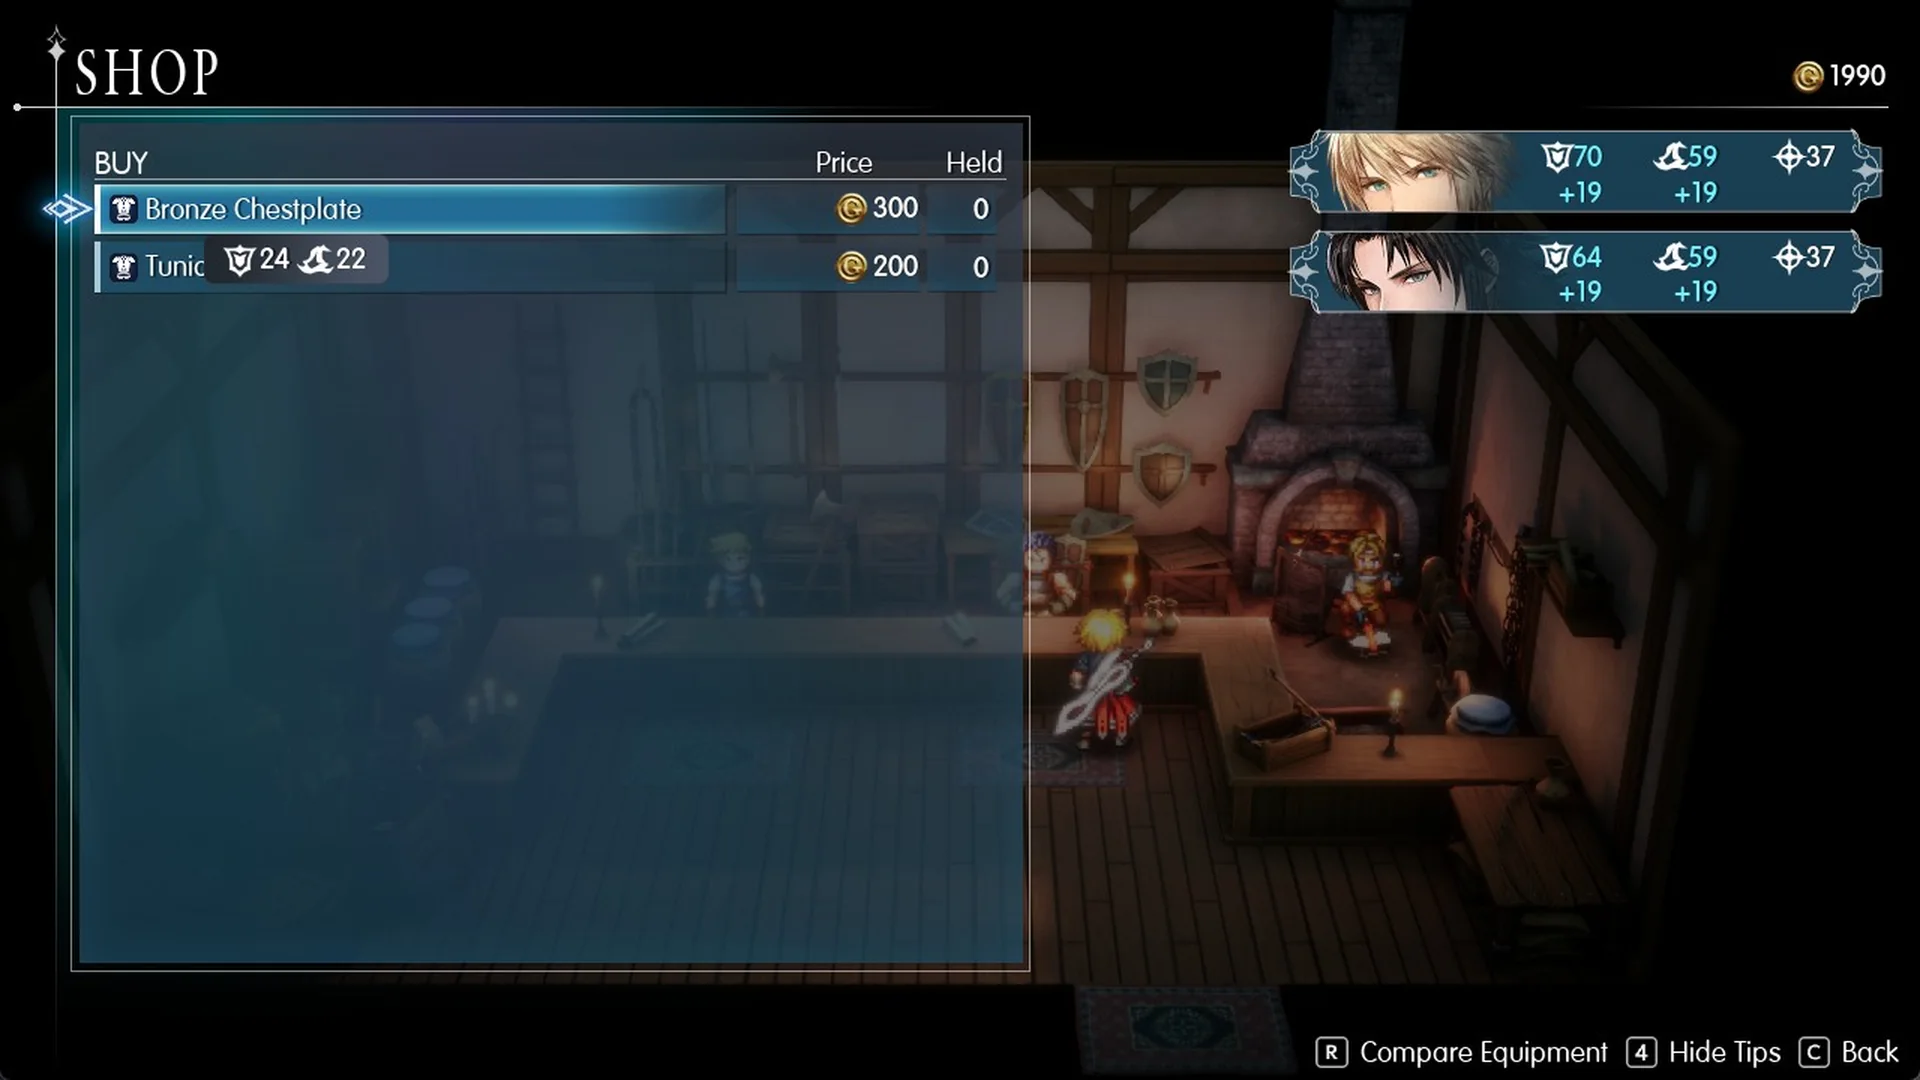
 Bronze Chestplate | Armor | 300 Gil | Phys. Def 24, Mag. Def 22 | Rain and Lasswell |
| Tunic | Armor | 200 Gil | Phys. Def 16, Mag. Def 18 | Rain and Lasswell |
Against the gear Rain and Lasswell wear when they arrive, the shop’s comparison shows the Bronze Chestplate adding +19 Phys. Def and +19 Mag. Def on each of them, and the Tunic adding +11 and +15.
The Bronze Sword adds +7 Phys. Atk and +4 Mag. Atk on Rain, and the Uchigatana adds +8 and +5 on Lasswell. On this Normal-difficulty route the party reaches Mitra with 1,990 Gil, and a Bronze Sword, an Uchigatana and two Bronze Chestplates come to 1,300 Gil in total.
Chapter 1 weapons and armor compared
The table below sets out the Chapter 1 weapons and armor with their stats, including Rain and Lasswell’s starting gear, the stock at Mitra’s weapon and armor shop, and rewards from chests in the Earth Shrine and Grandshelt Castle.
| Item | Type | Where | Price | Phys. Atk | Mag. Atk | Phys. Def | Mag. Def | Speed |
|---|---|---|---|---|---|---|---|---|
| Crimson Saber | Weapon | Rain’s starting weapon | – | 21 | 9 | – | – | – |
| Bronze Sword | Weapon (Rain) | Mitra shop | 350 Gil | 28 | 13 | – | – | – |
| Uchigatana | Weapon (Lasswell) | Mitra shop | 350 Gil | 24 | 17 | – | – | – |
| Nodachi | Weapon | Earth Shrine chest | – | 21 | 20 | – | – | – |
| Leather Armor | Armor | Starting armor | – | – | – | 5 | 3 | – |
| Bulletproof Vest | Armor | Earth Shrine chest | – | – | – | 10 | – | – |
| Tunic | Armor | Mitra shop | 200 Gil | – | – | 16 | 18 | 5 |
| Bronze Chestplate | Armor | Mitra shop | 300 Gil | – | – | 24 | 22 | – |
| Black Garb | Armor | Grandshelt Castle chest (after Hell’s Rider) | – | – | – | 26 | 23 | 8 |
Among the Chapter 1 weapons, Rain’s Bronze Sword leads in Phys. Atk with 28, versus 21 for his Crimson Saber. Lasswell’s Uchigatana provides 24 Phys. Atk and 17 Mag. Atk, while the Nodachi tops these weapons in Mag. Atk at 20. For armor, the Bronze Chestplate is the best Mitra purchase for both characters, with 24 / 22; the Tunic has 16 / 18 and adds +5 Speed, while the free Bulletproof Vest has 10 Phys. Def. After Hell’s Rider falls, Black Garb from the castle improves on it with 26 / 23 and +8 Speed.
Mitra to Grandshelt: take the upper road at the first fork
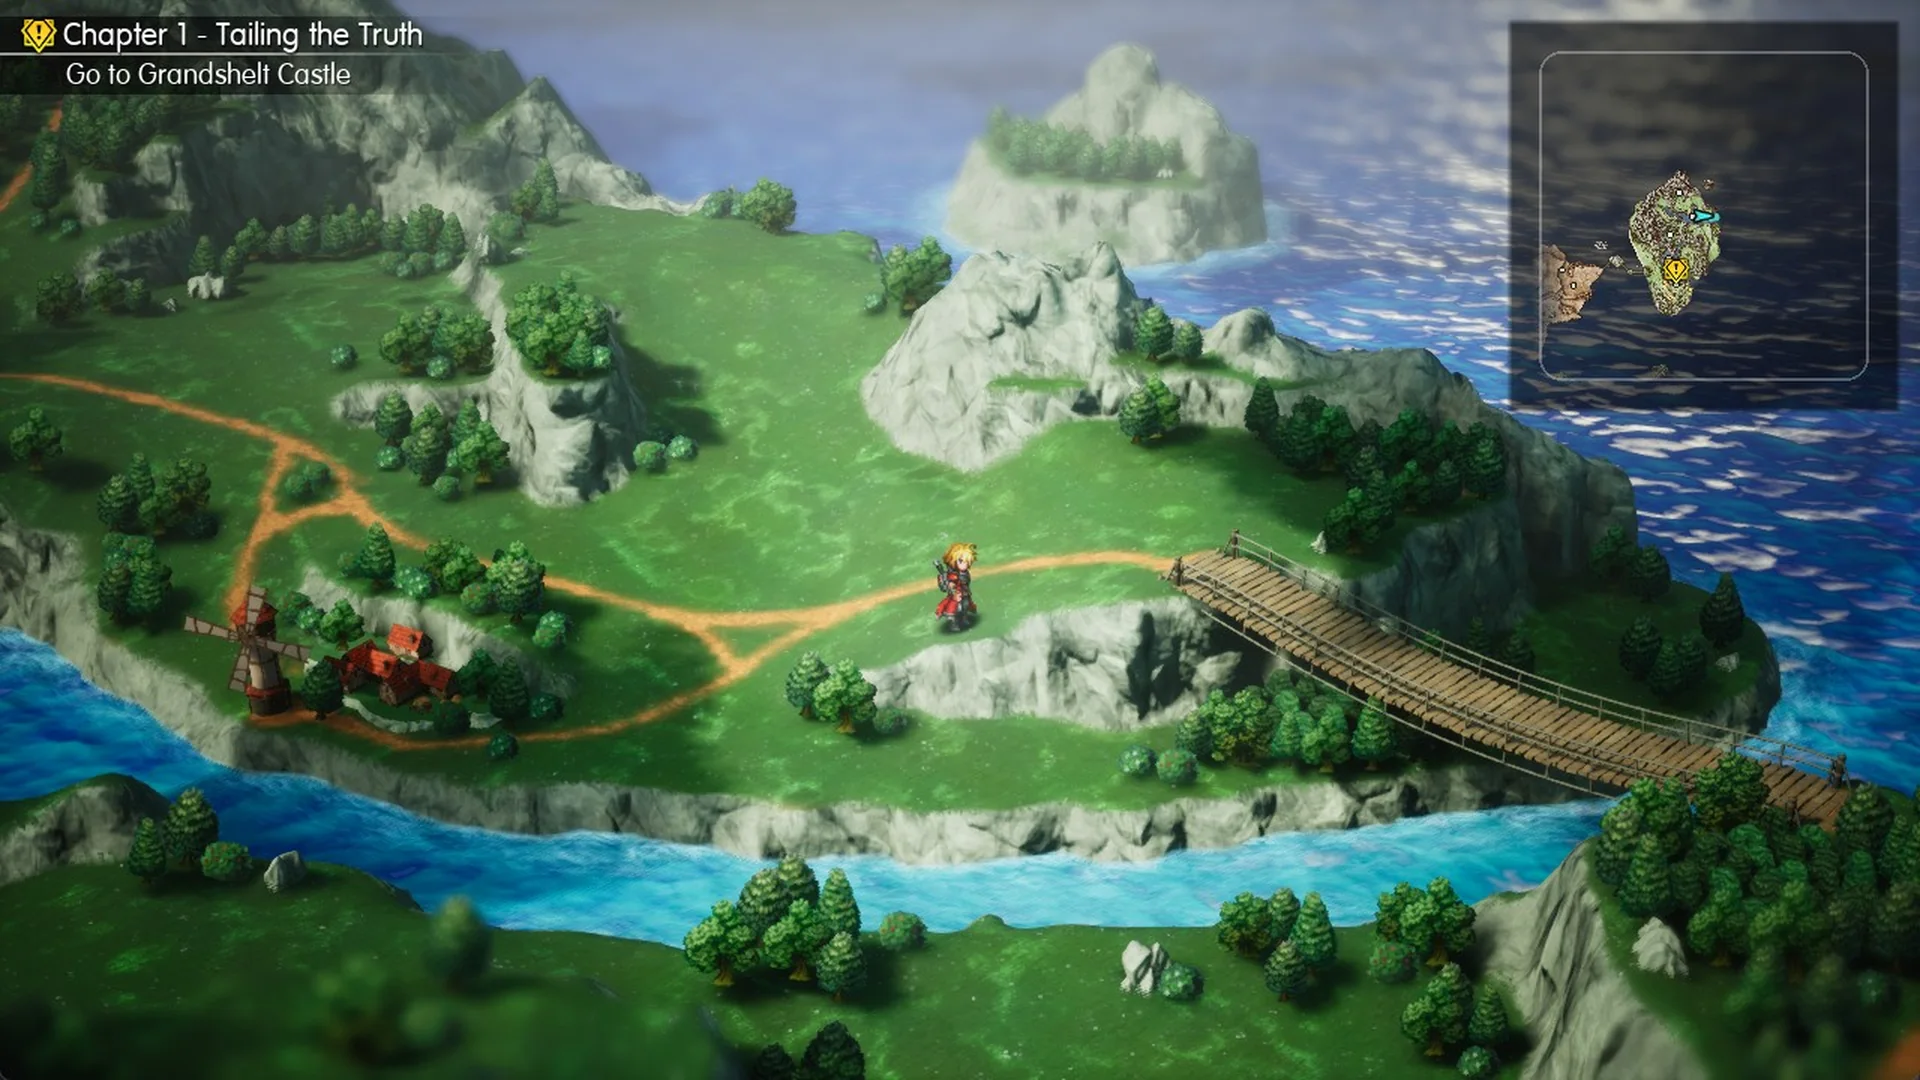
After Rain’s house and your first Visions, check the quest log: it shows “Chapter 1 – Tailing the Truth” and gives “Go to Grandshelt Castle” as the goal; the castle marker is south on the world map. Leave Mitra for the world map and travel east along the road from town. Beyond town, you’ll reach a fork: one route angles up and right, while the other runs low beside the river.
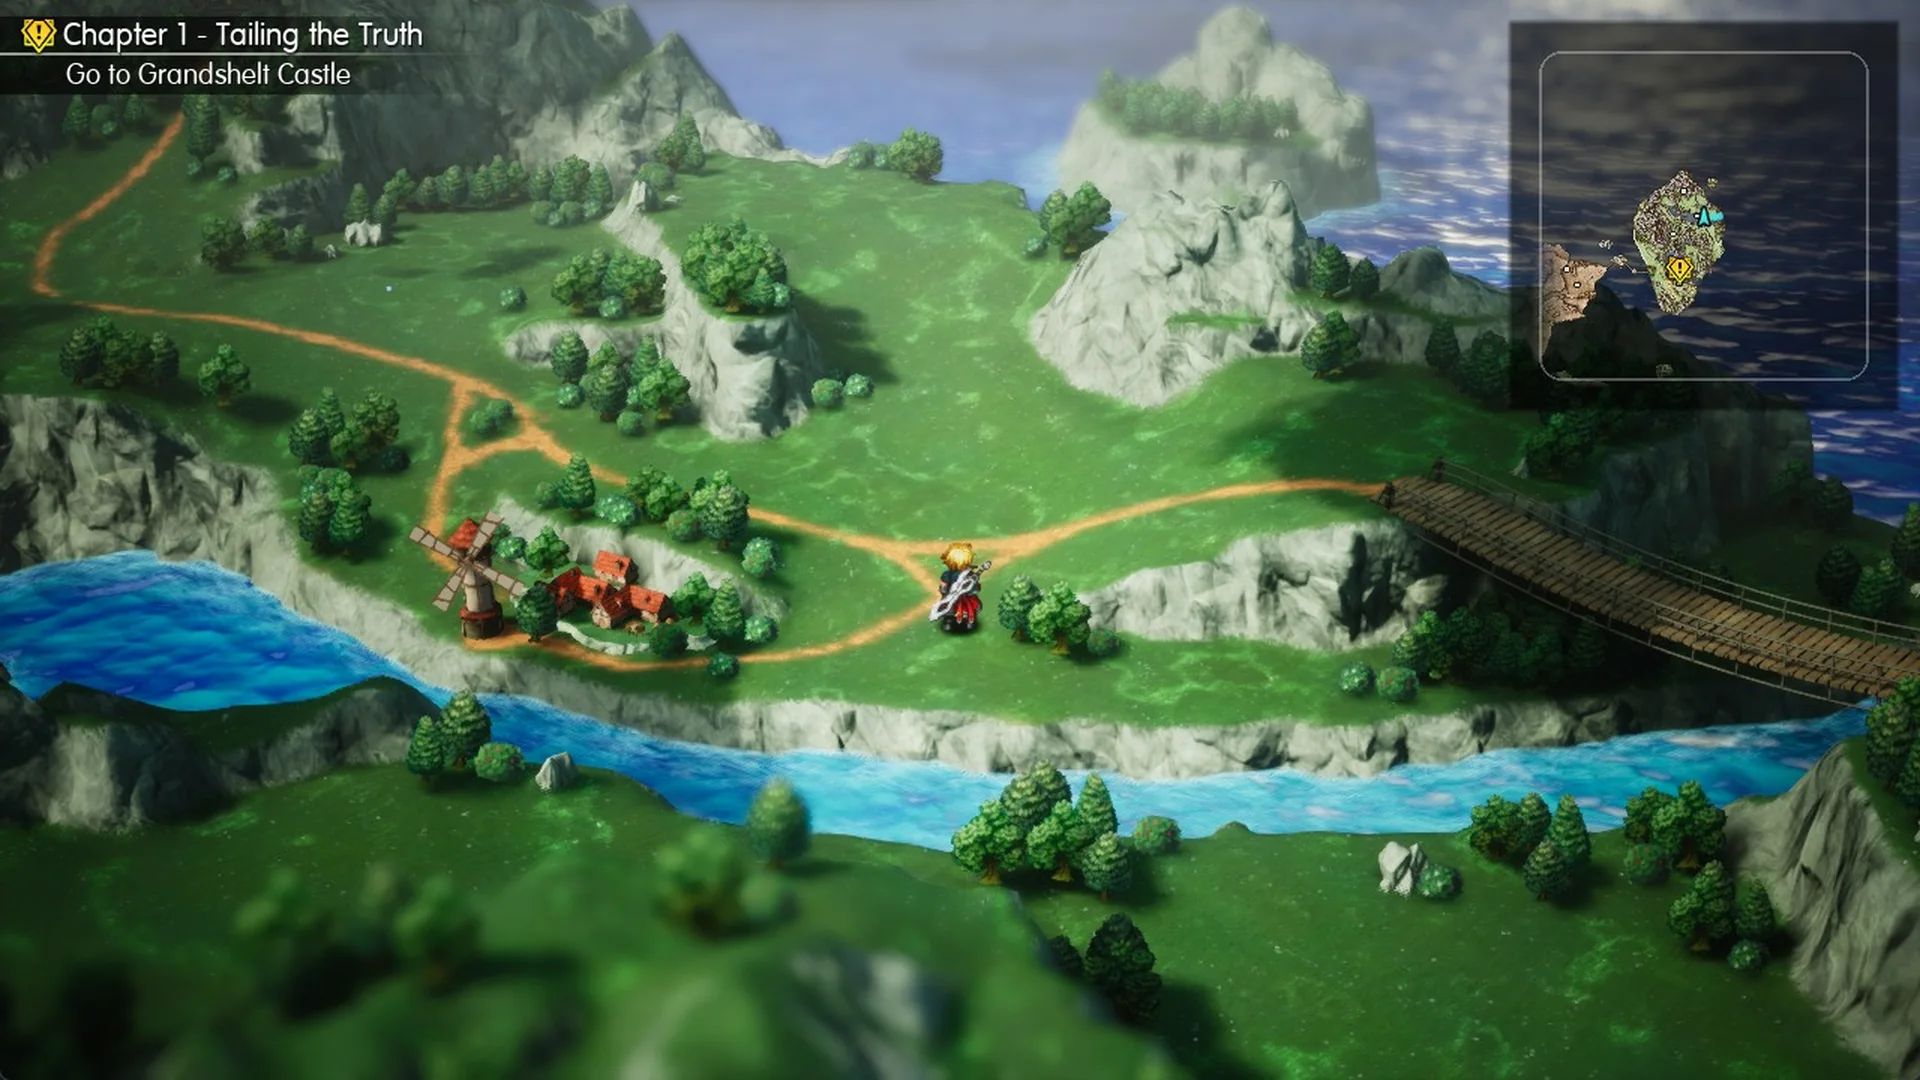
Choose the higher path. It crosses the grass eastward above the river and reaches the post at the wooden rope bridge’s western end.
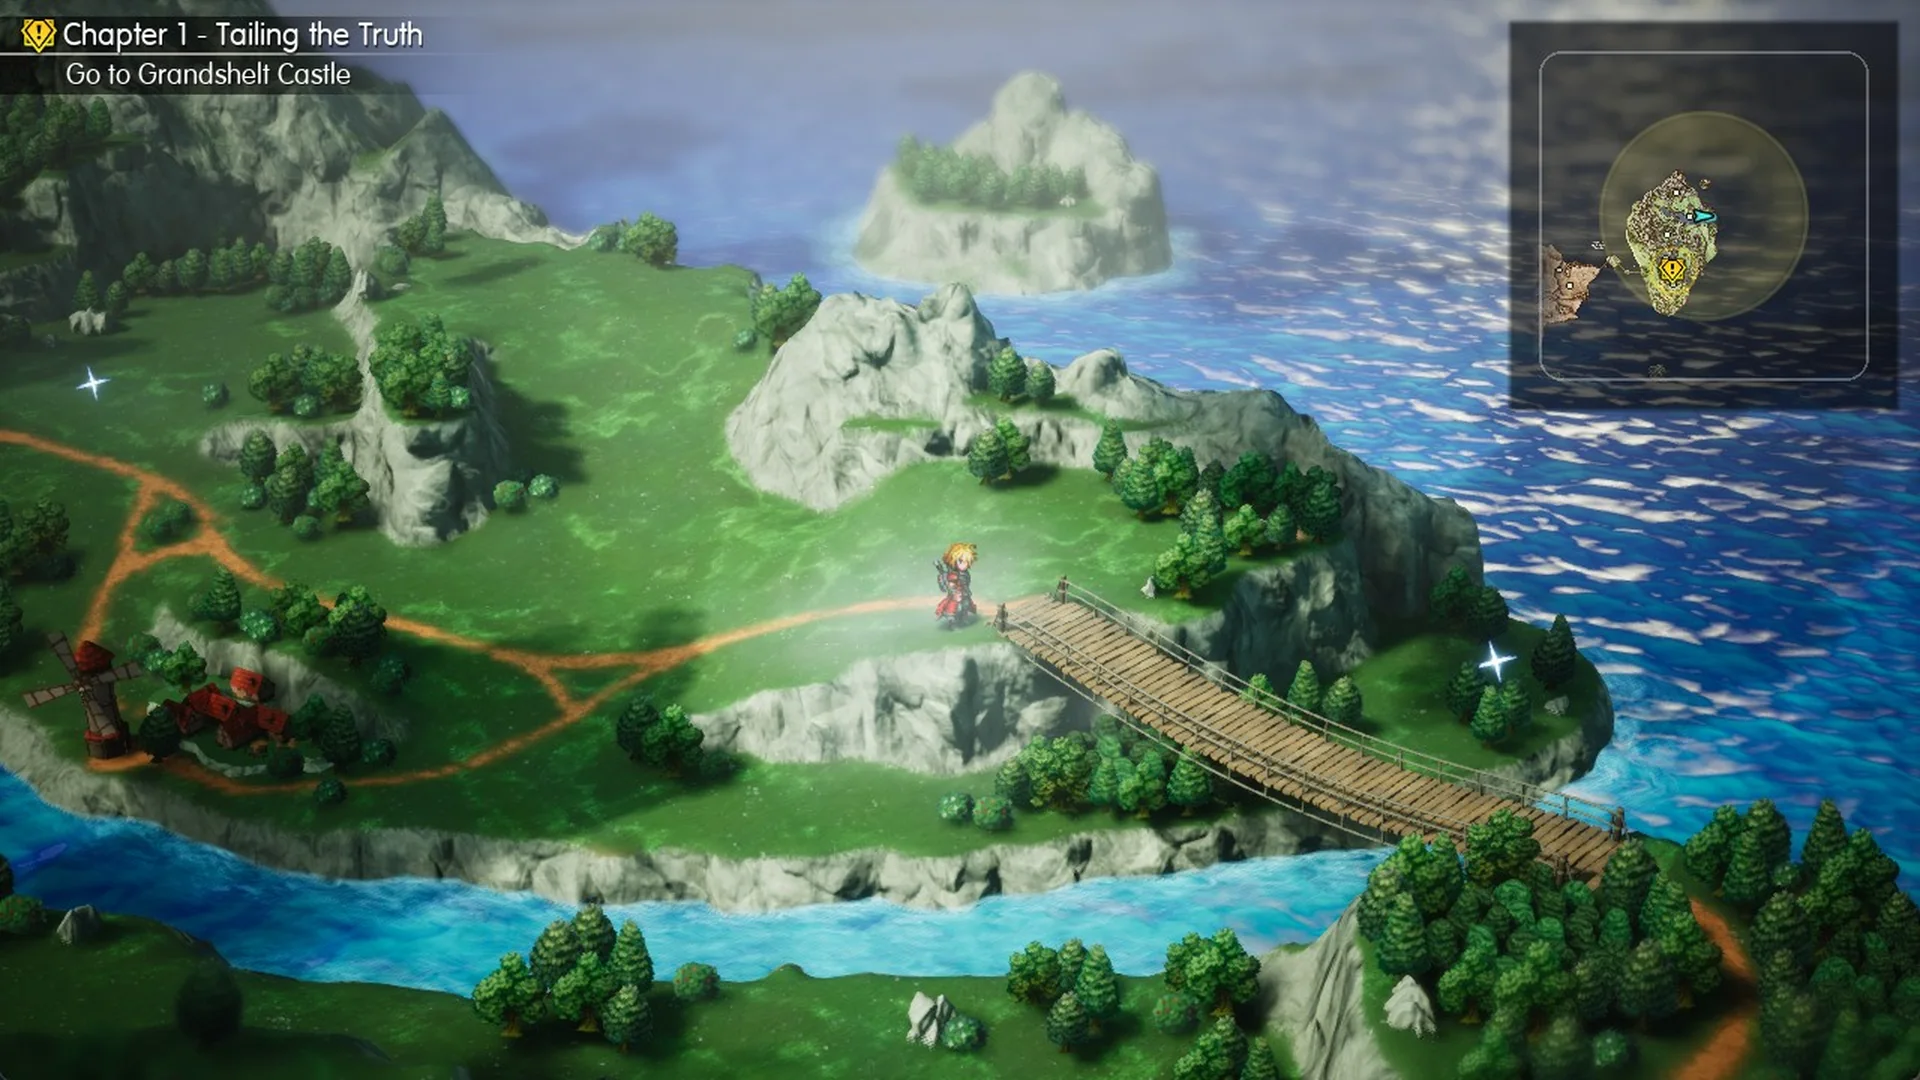
The bridge deck angles down toward the south-east, and moving right alone will push you against its rails. Instead, press down and right together (S and D on a keyboard) in short taps. This keeps your character within the rails across the span; at the south-east exit, you step directly onto the forest road leading south to Grandshelt Castle.
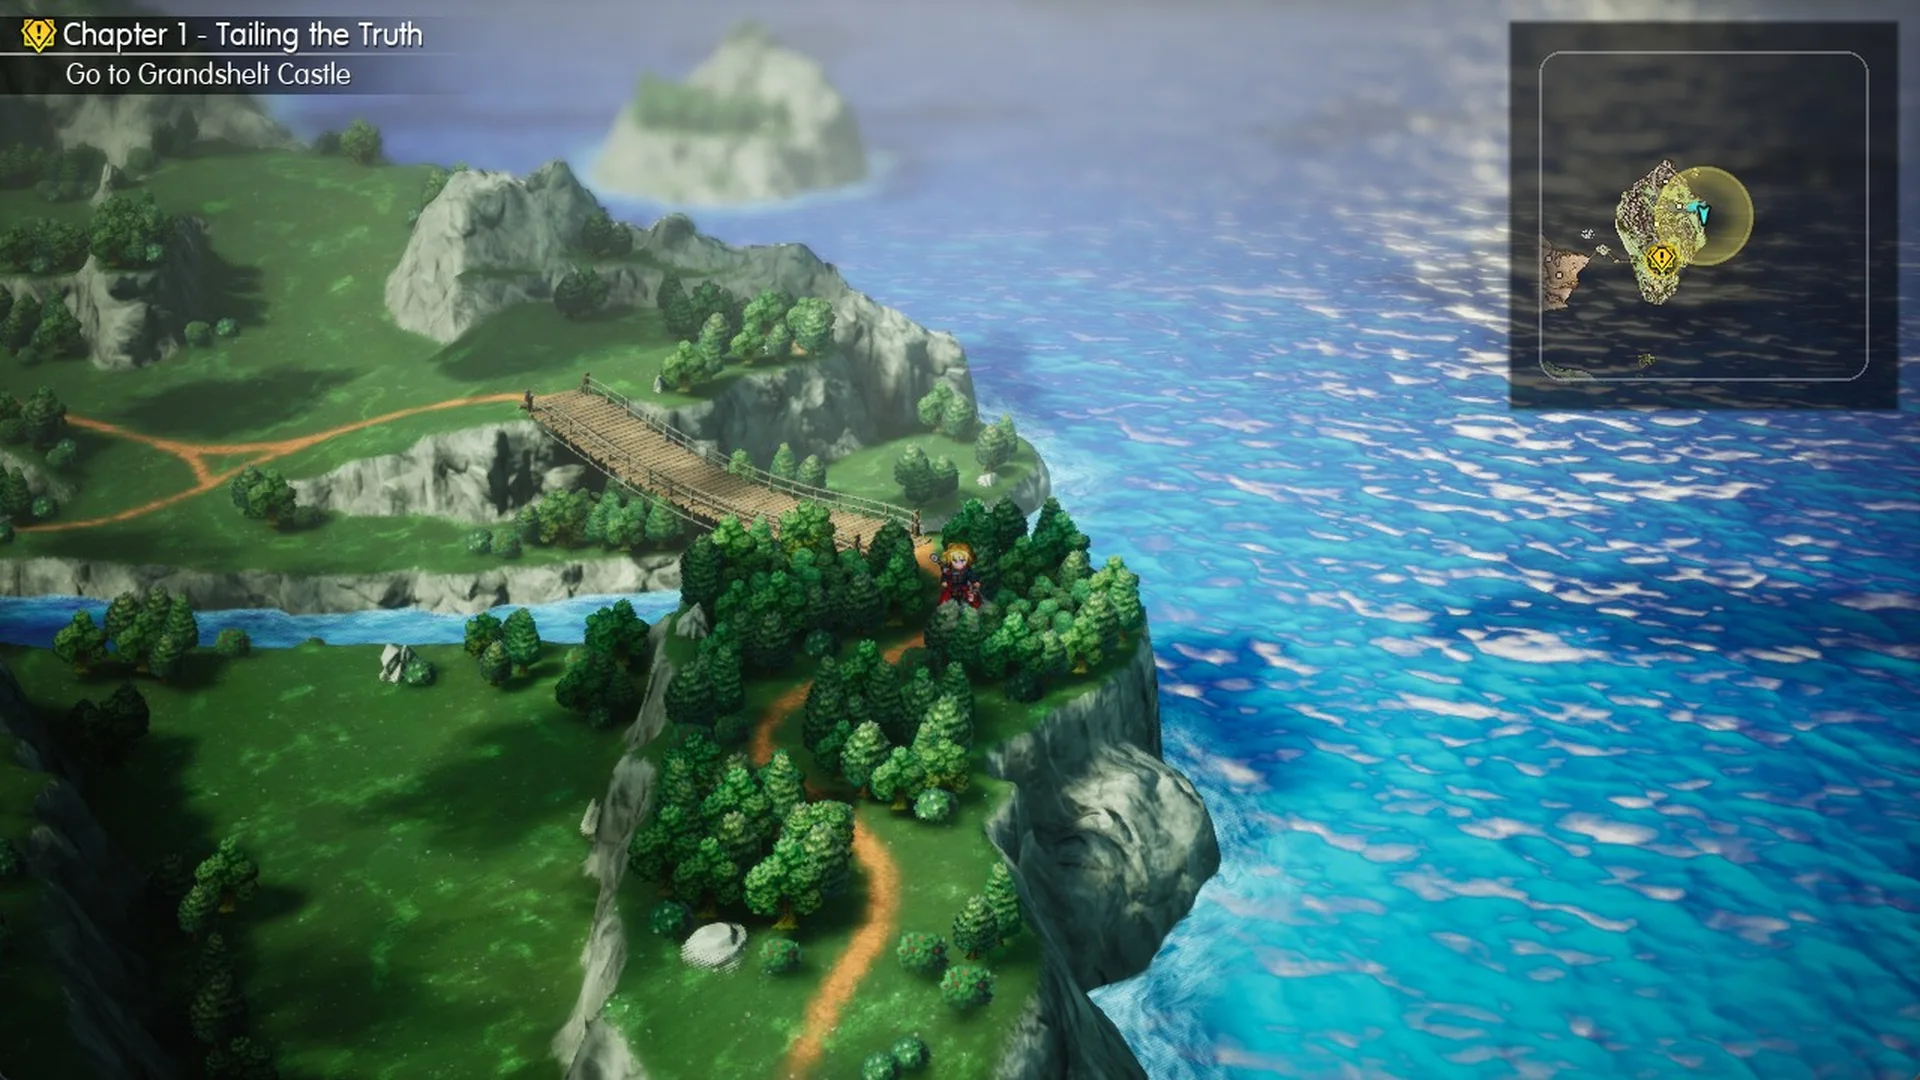
Avoid the lower route: it tracks the river beneath the bridge and ends at a fenced grassy shelf next to the bridge’s opposite end. Though it may seem to offer a crossing, fencing blocks the shelf on all sides, and it has no link to the forest road. Should you reach it, return to the junction and use the upper road.
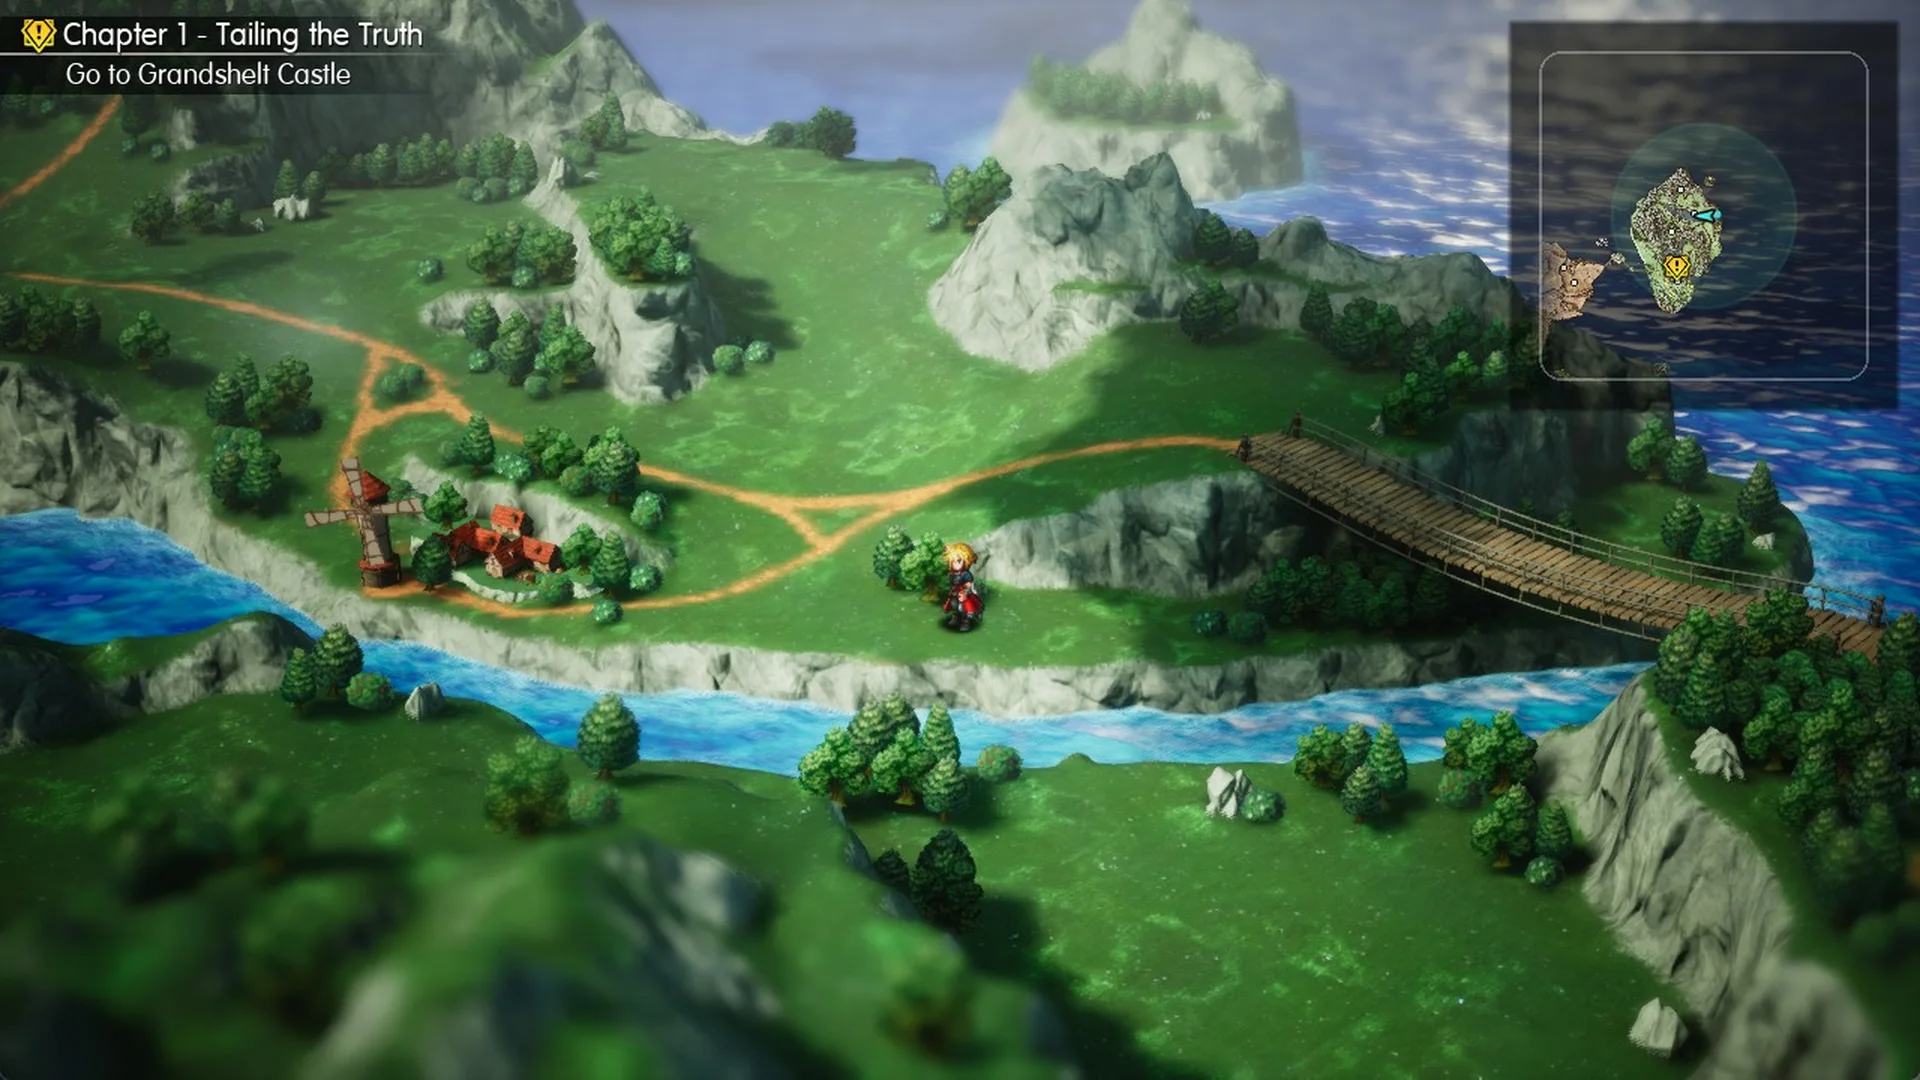
Leave the bridge and follow the forest road south, passing a signpost. It curves west and finishes at the mountain’s base, seemingly blocked. Continue west, then northwest (up and left on screen), tracing the mountain’s side; the route carries on behind it.
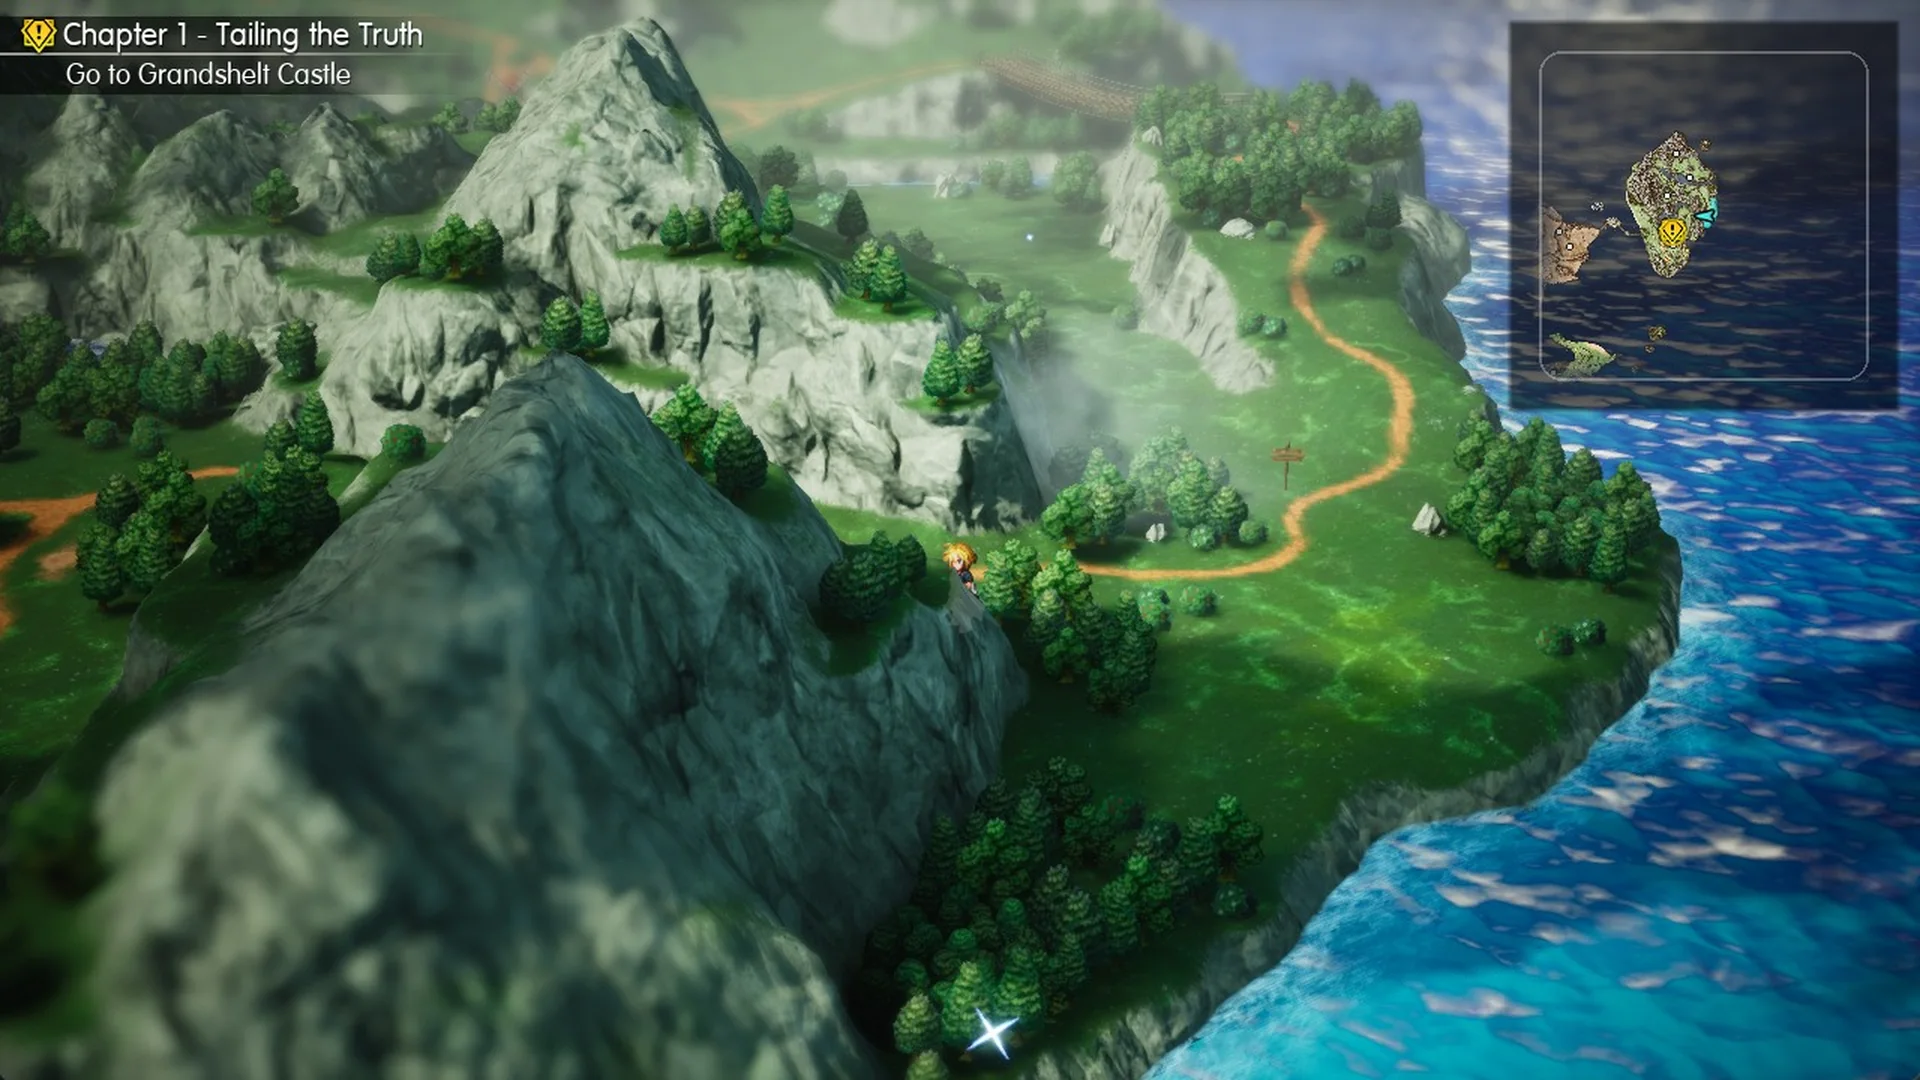
Beyond the mountain, the path opens onto a ridge where two roads descend south. Avoid the road on the right, which ends at a cliff ledge. From the ridge crest, cross the grass westward to connect with the road on the left.
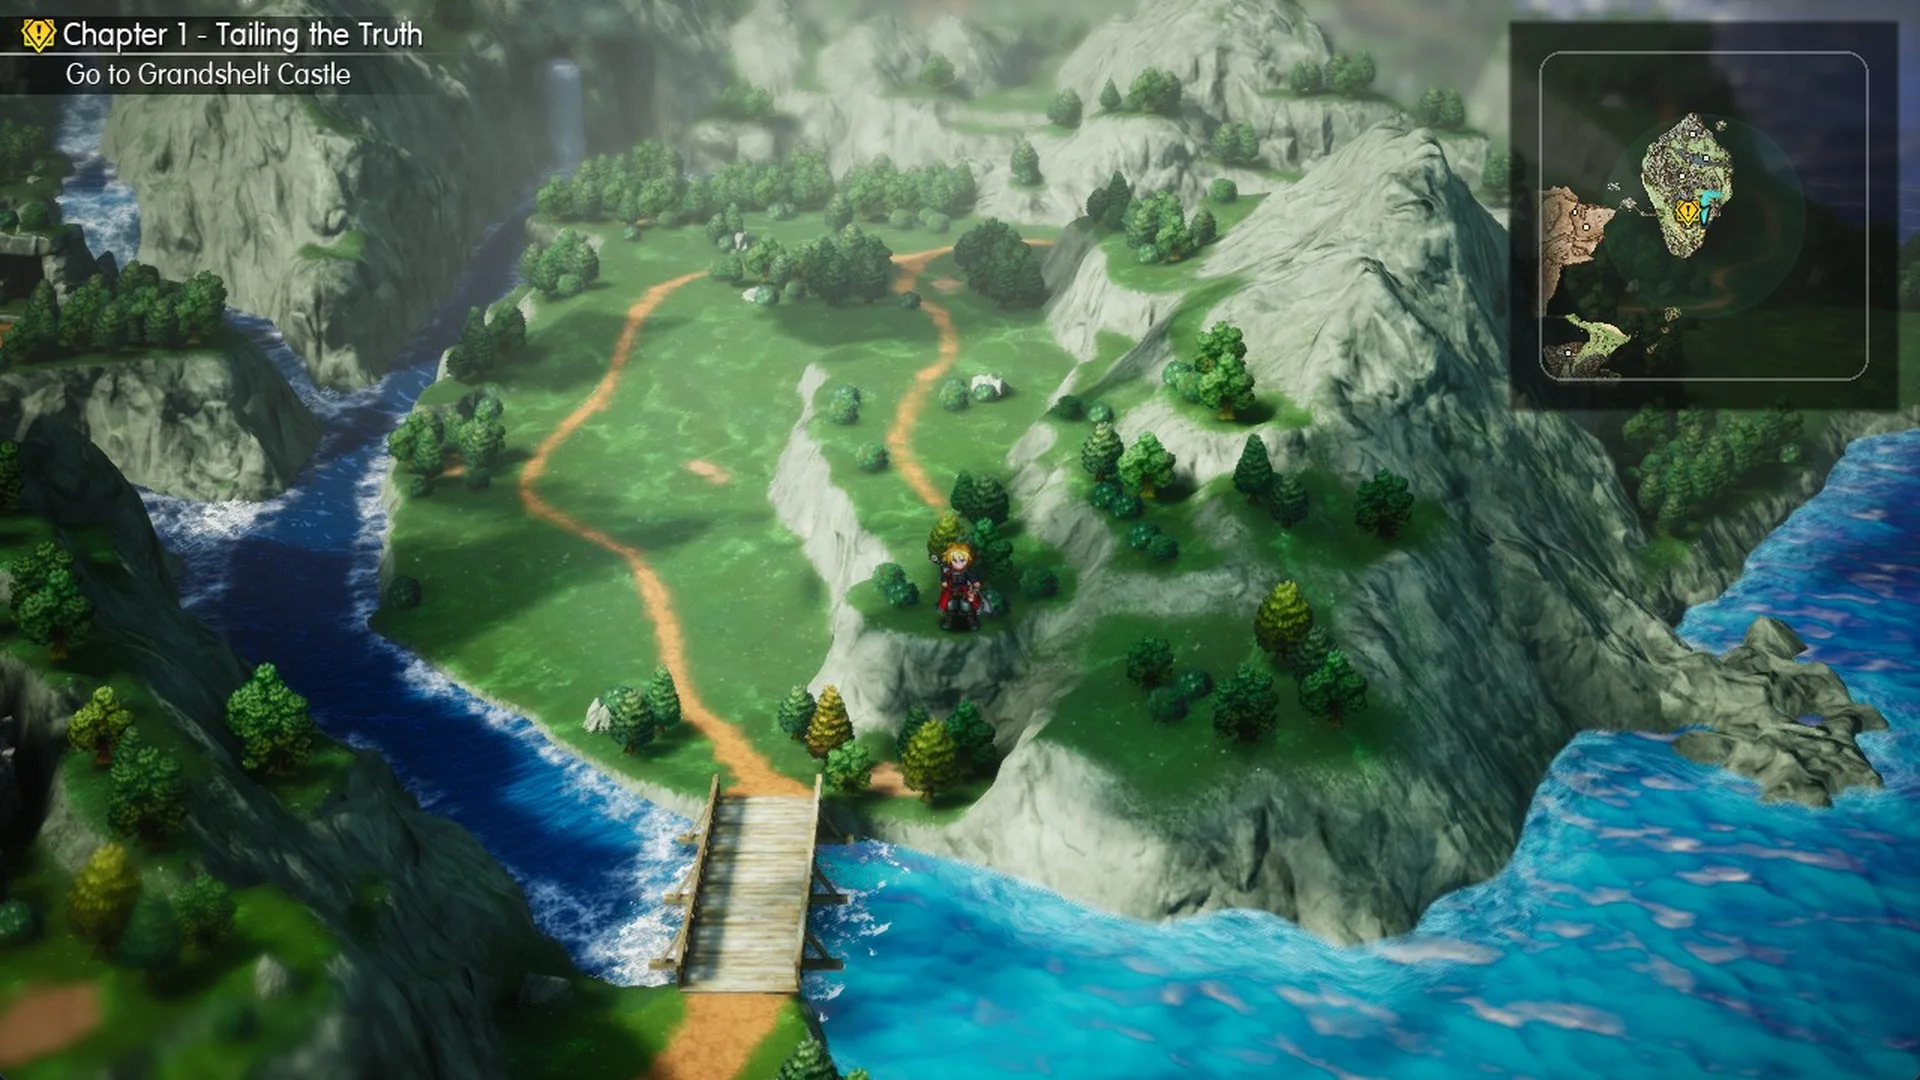
Take the left-hand road south until you reach a second wooden bridge, smaller than the rope bridge. From this spot you can see the burning capital off to the west.
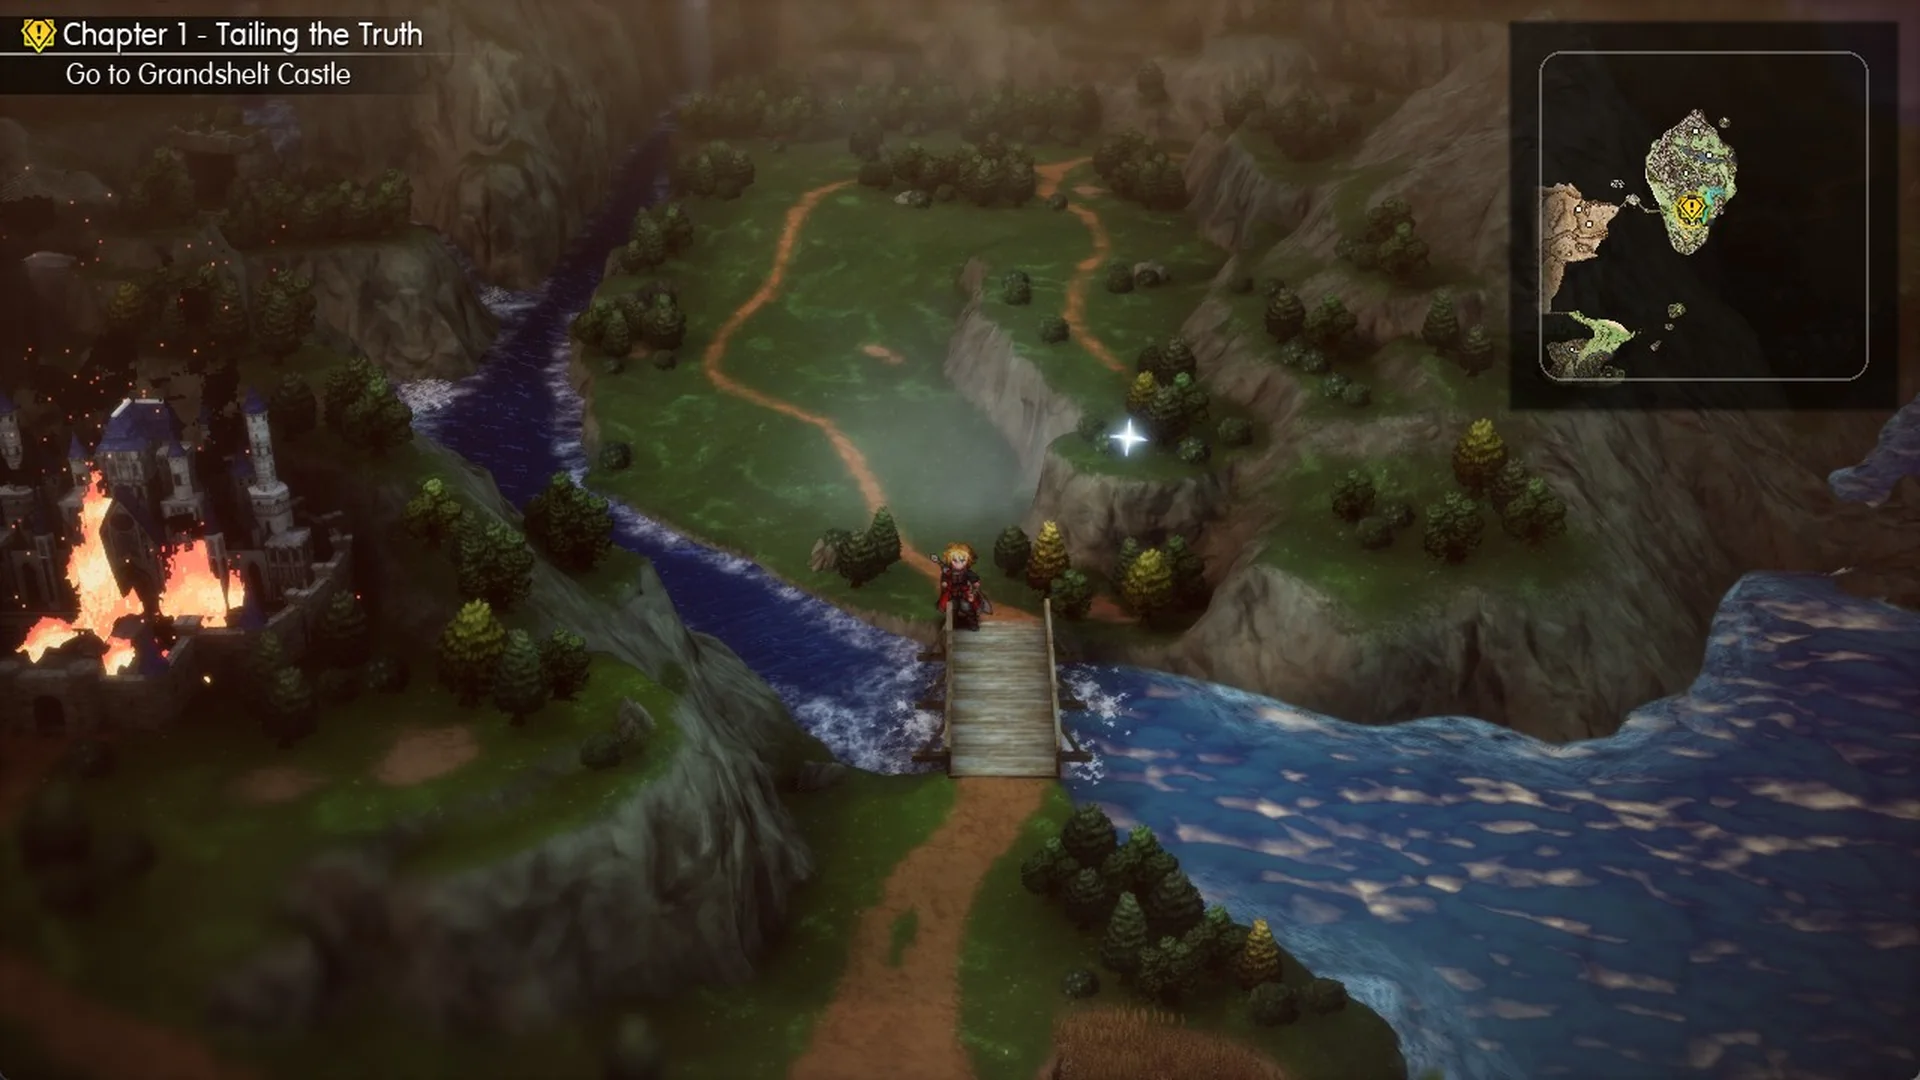
Cross the bridge, then stay on the road until you reach the capital. When you arrive, the screen shows “Grandshelt, the Royal Capital” with “Recommended Level 5”; press F on “Proceed” to enter. The game autosaves on entry. The capital’s System Menu has no Save row, but there is a save point at the foot of the castle steps, on the left: step onto the pink glow and press F, then choose Save progress.
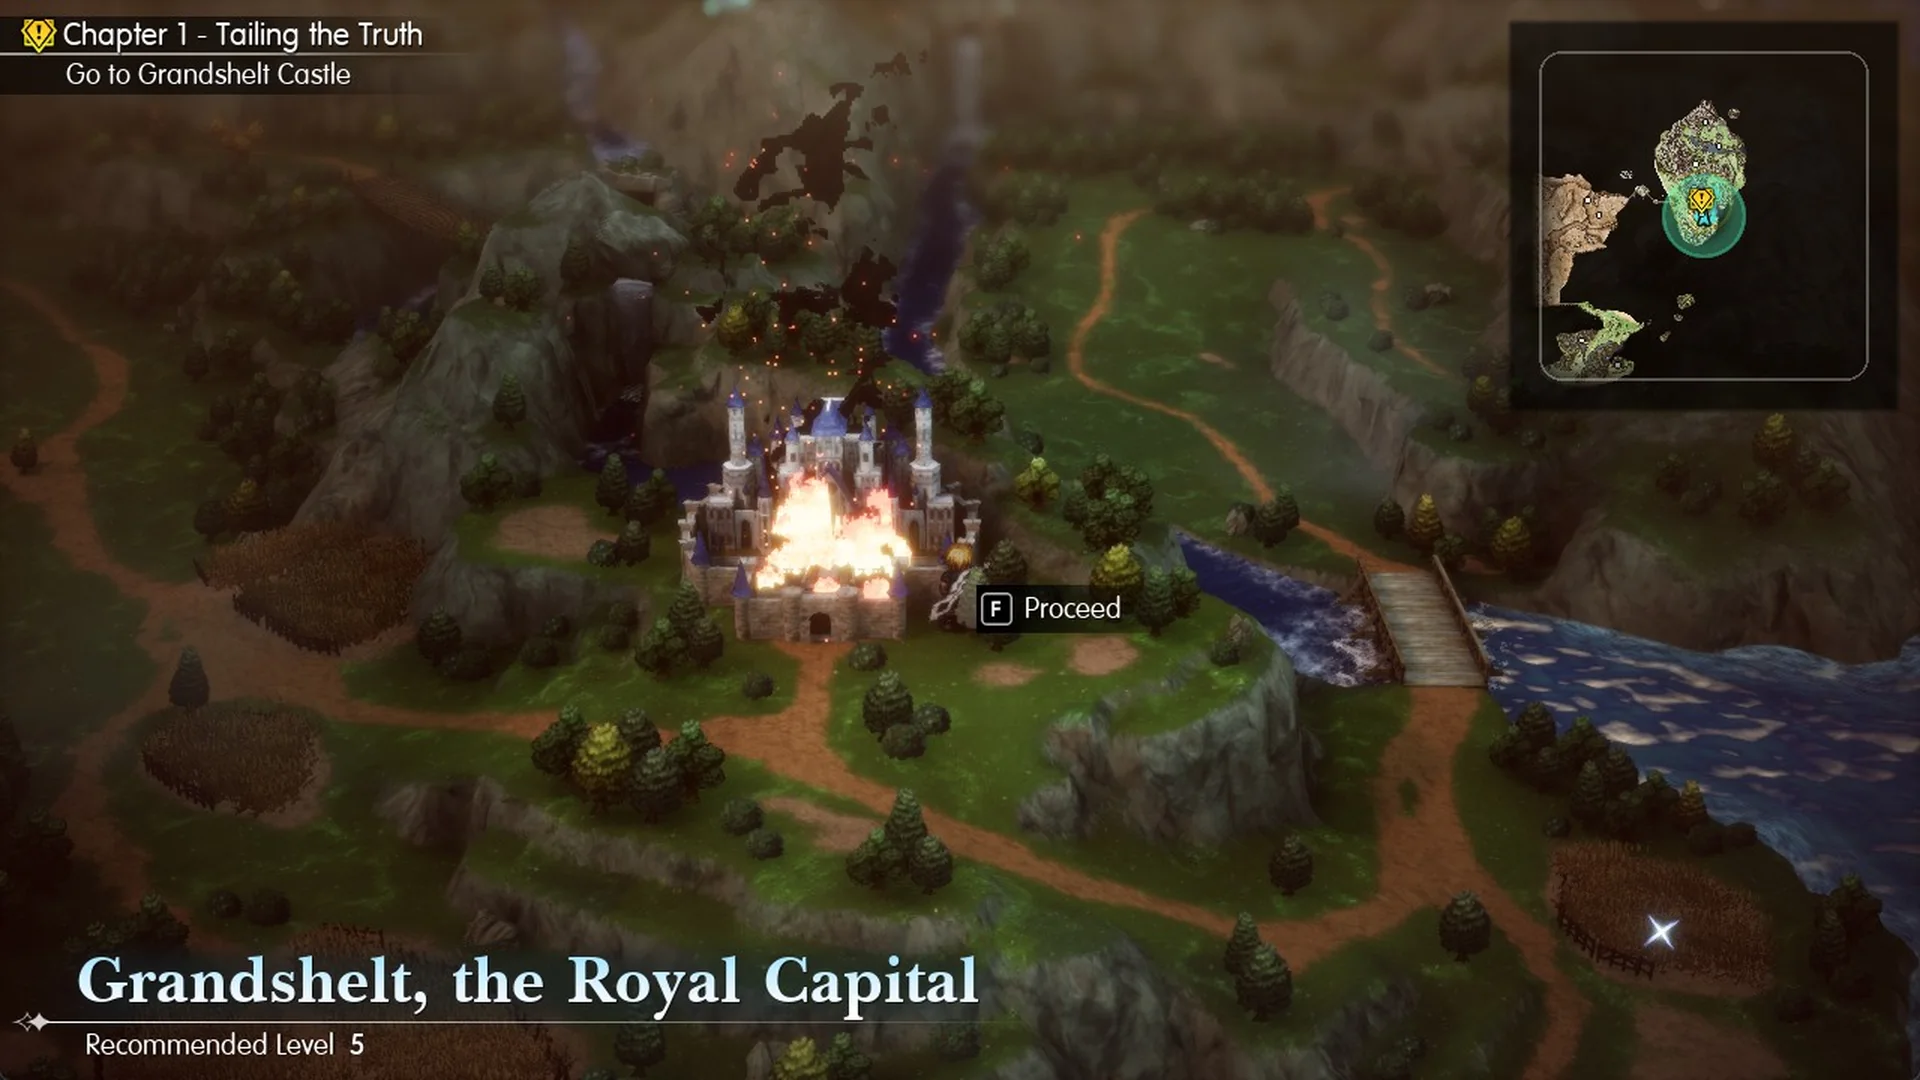
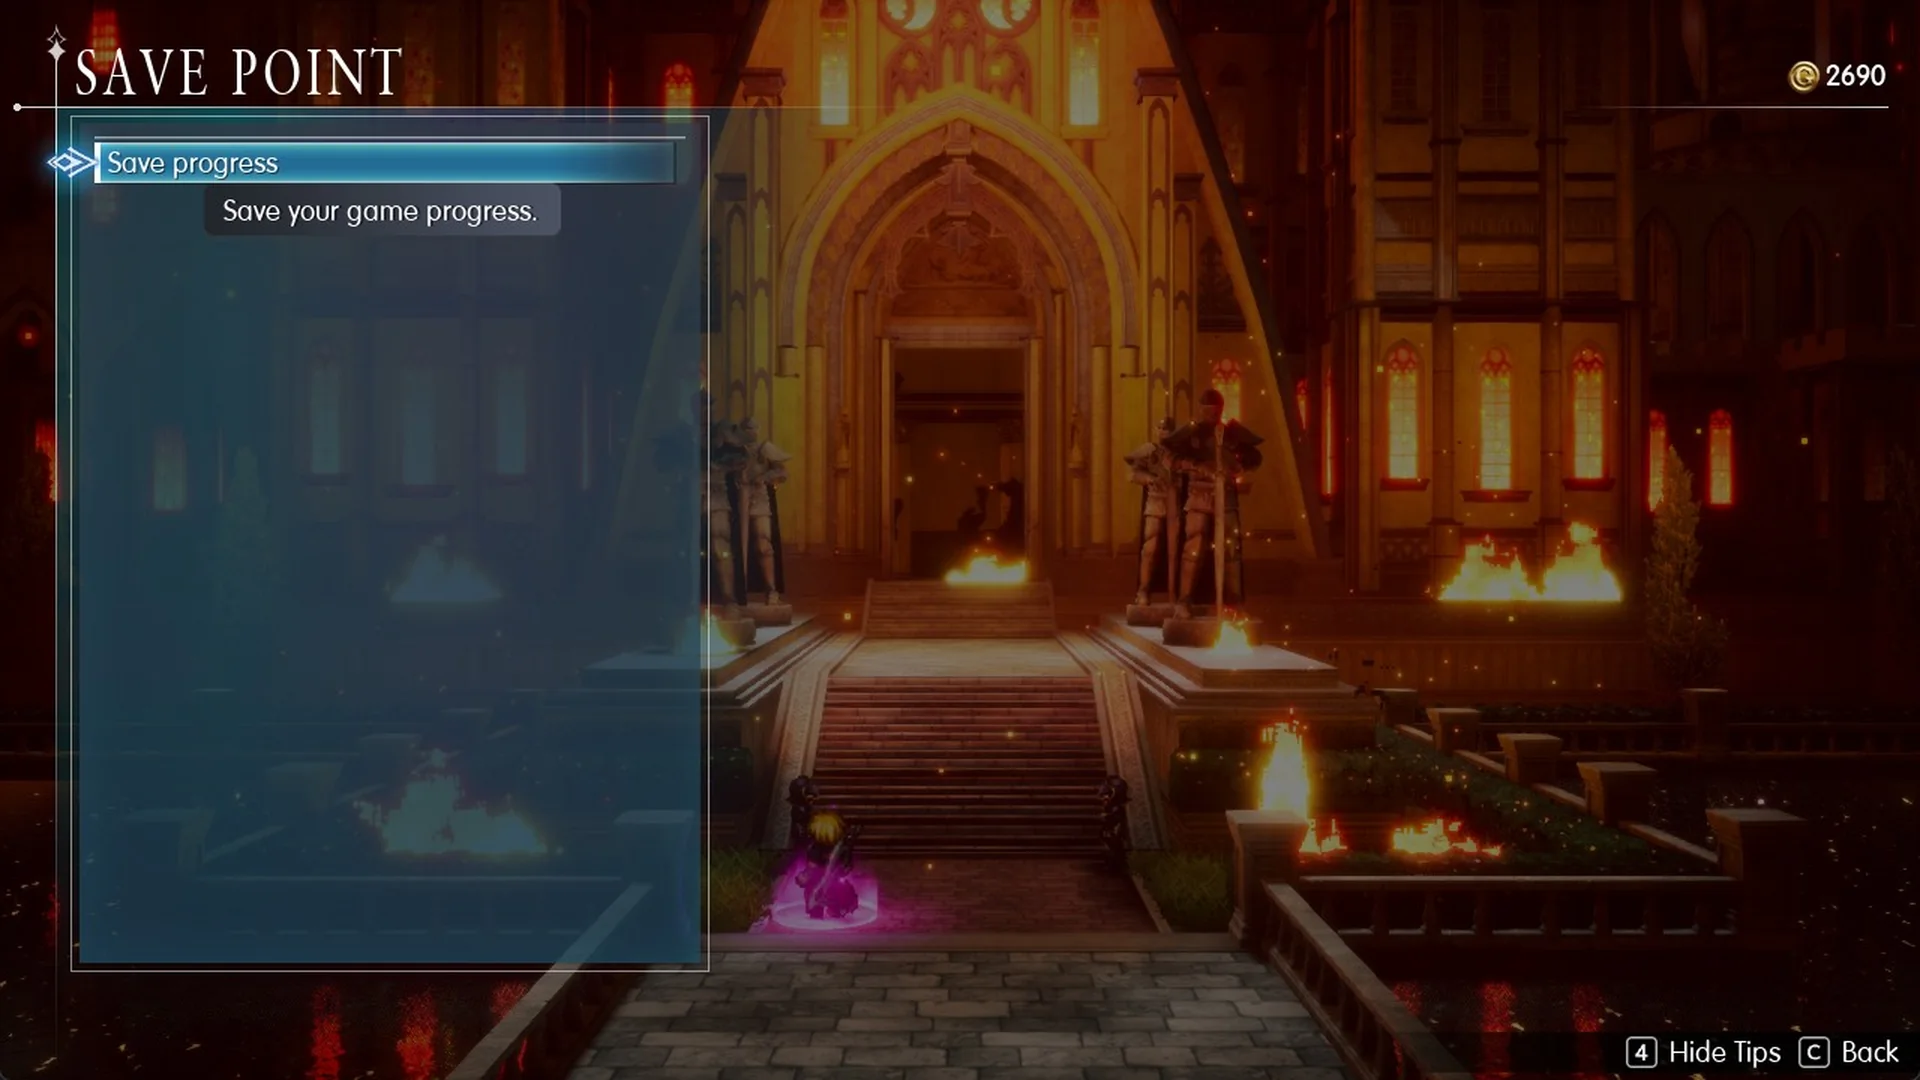
Once inside, fire blocks the grand staircase. The way past it, both chests on the way and the save point before the boss are in our Grandshelt Castle walkthrough.