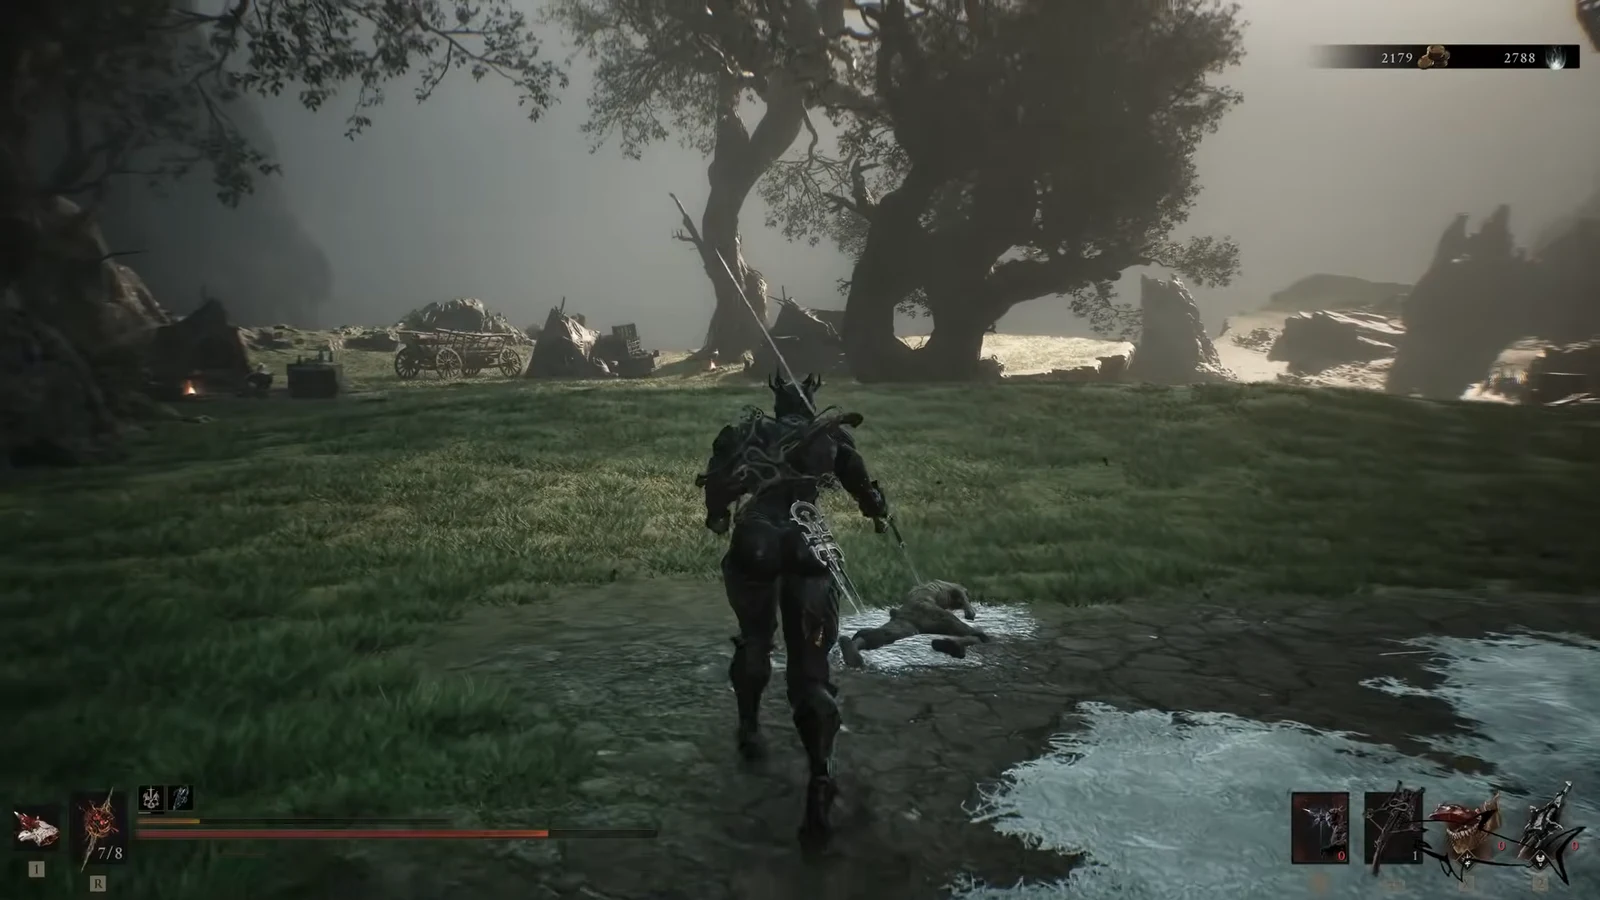
Smuggler’s Hideout is a compact dungeon in Mortal Shell 2, tucked into the Ruins of Mammon region. The entrance sits close to the Outskirts of Mammon Beacon, and the whole run takes only a few minutes once you know the path. Inside you fight tougher armored enemies, then collect a Coin of Mammon and Vendrium before riding an elevator back out.
Quick answer: From the Outskirts of Mammon Beacon, head northwest, clear the enemy camp, and drop into the cave. Take the elevator down, defeat the enemies by the waterfall, break the crates to open the chest for the Coin of Mammon, grab the Vendrium behind them, then fight past the falling rocks and heavy guards to the exit elevator.
Smuggler’s Hideout location
The dungeon is northwest of the Outskirts of Mammon Beacon, marked on your map once you pass through the fog gate for the region. It’s next to a camp holding several enemies, and the entrance is a misty cave reached by dropping down a rocky ledge.
Set the Outskirts of Mammon Beacon as your fast-travel point before you start. That way you can return and rest there once you finish, which is the cleanest way to close out the run.
Rewards inside the dungeon
| Reward | Where to get it |
|---|---|
| Coin of Mammon | Inside the chest that opens after you break the wooden crates in the chest room |
| Vendrium | Hidden directly behind the same crates |
| Common Moonshine | Picked up while clearing the enemy camp before you enter the cave |
Full route from the beacon to the exit
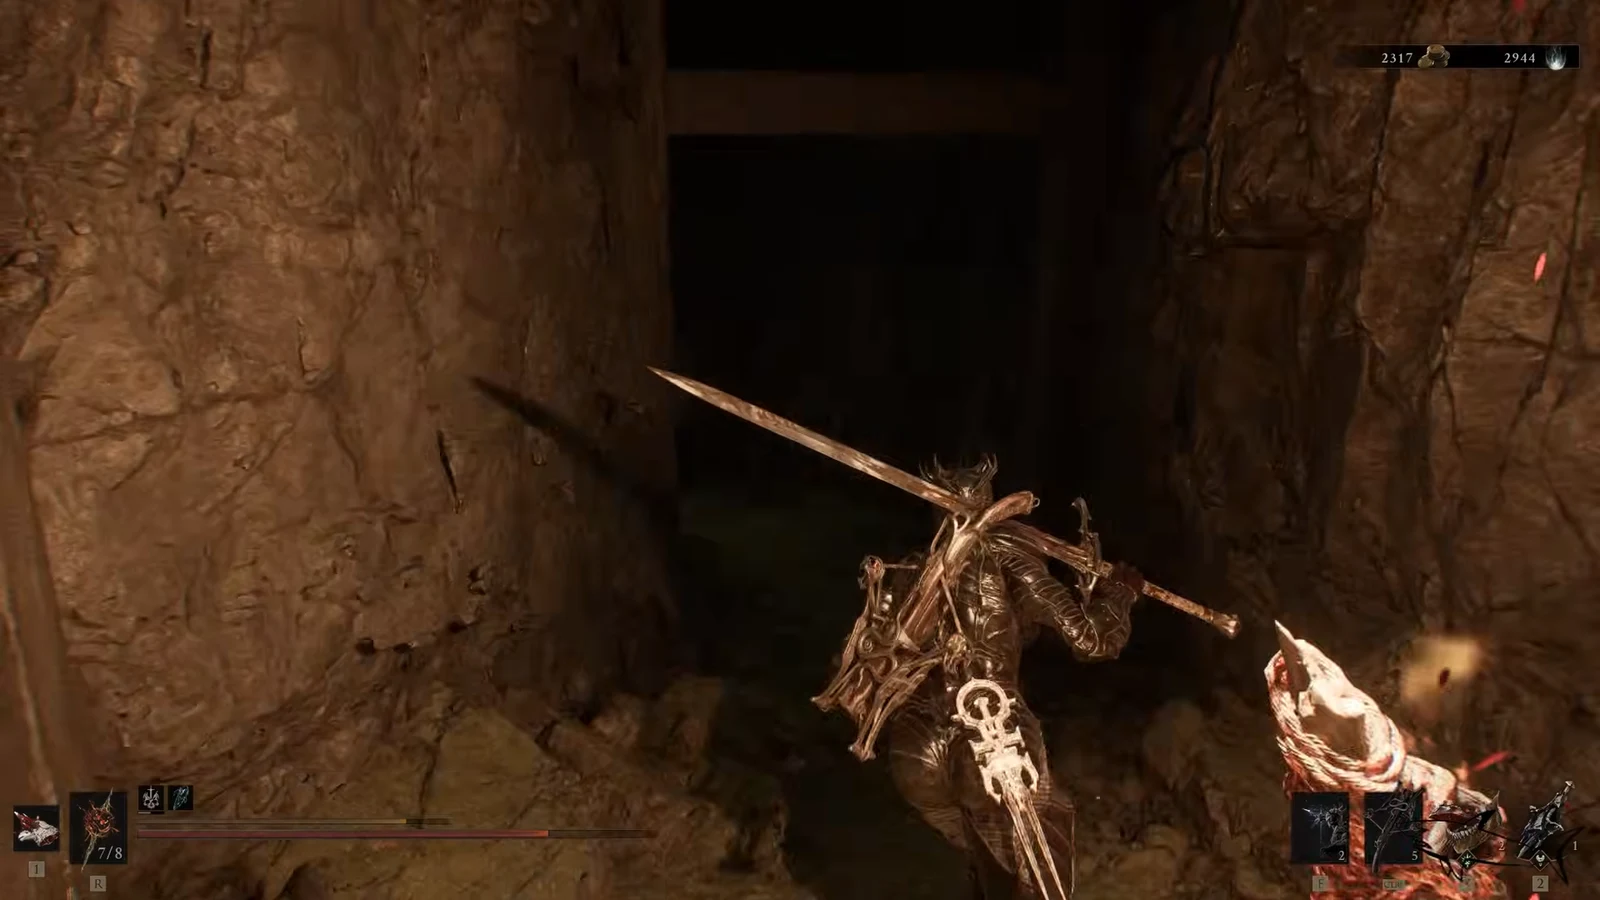
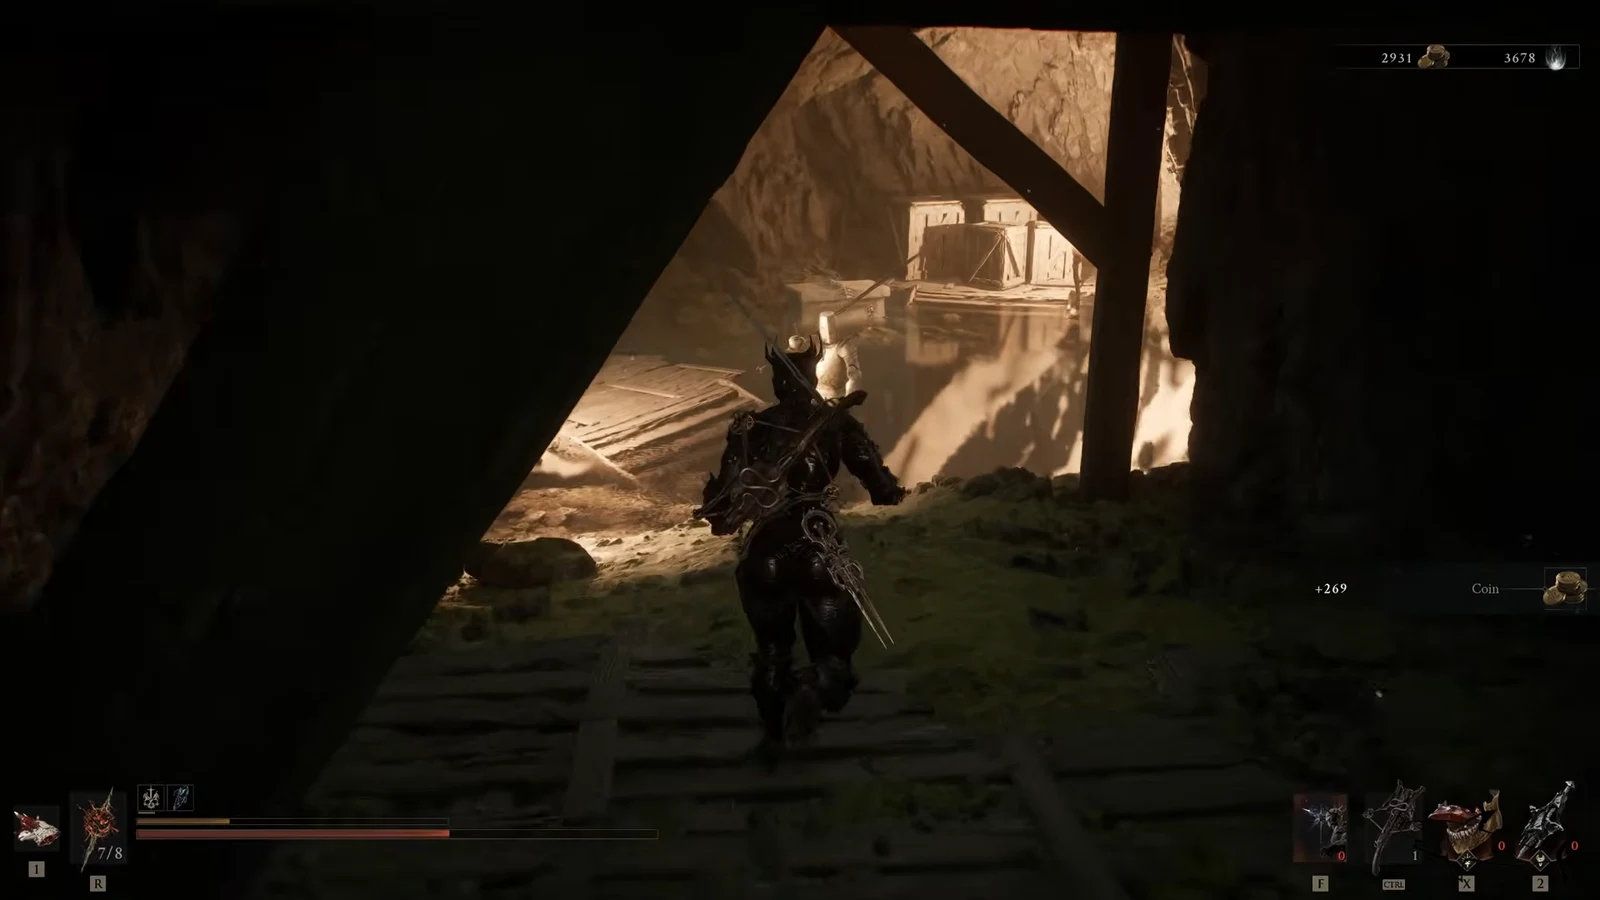
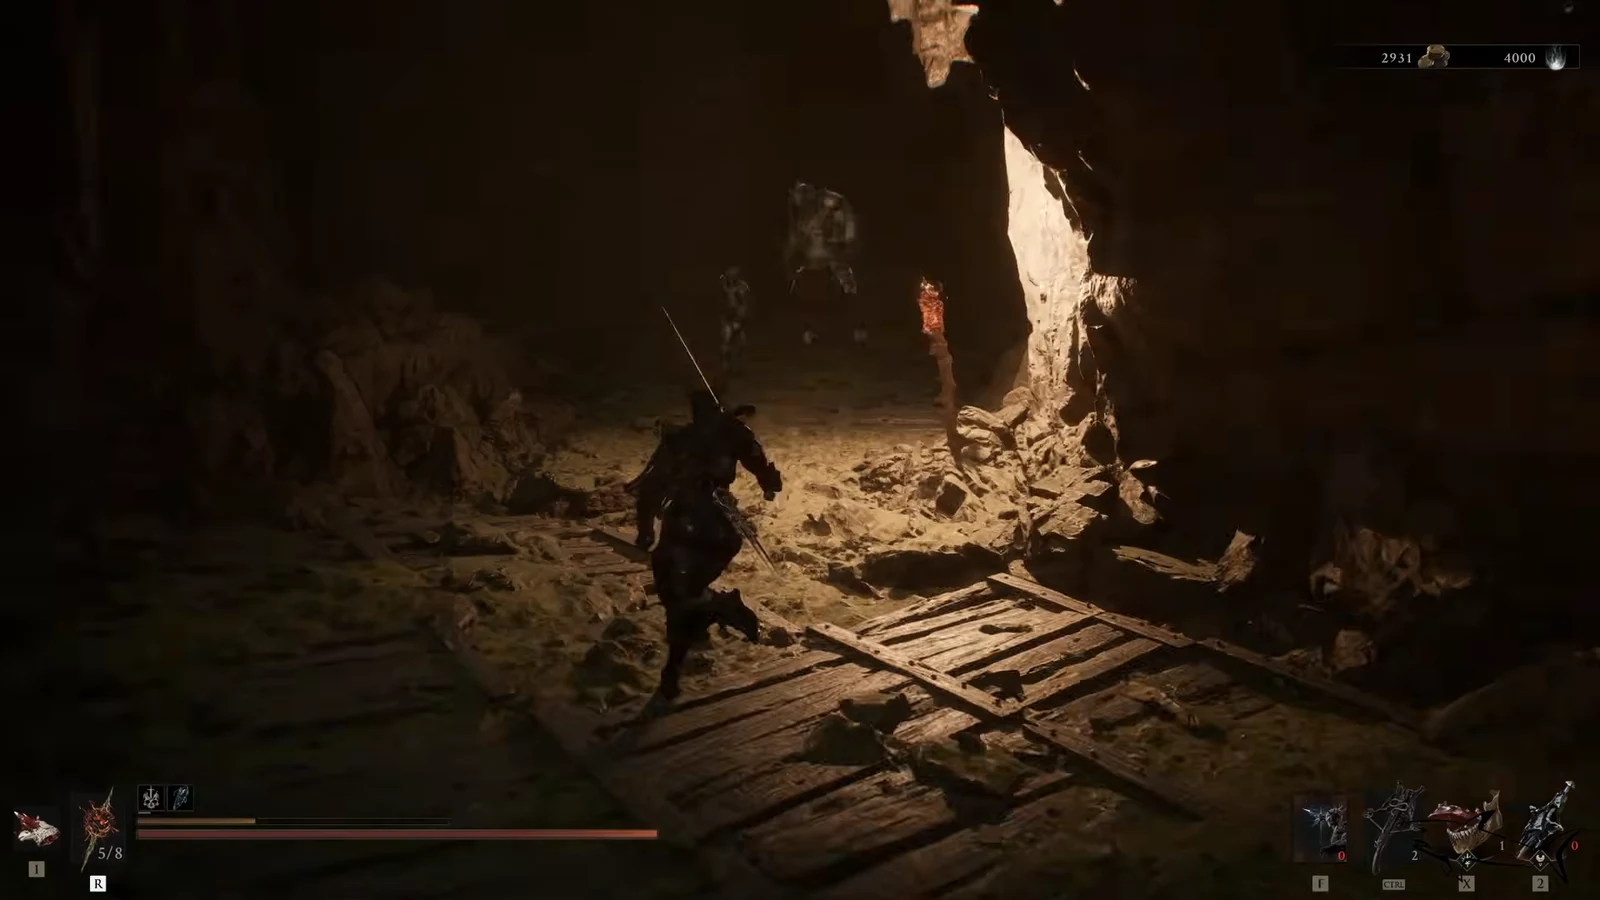
How to confirm the dungeon is complete
Return to the Outskirts of Mammon Beacon and rest. Mortal Shell 2 does not auto-mark dungeons as finished, so you track completion yourself. Open the map, move the cursor over Smuggler’s Hideout, and press the tracking input to change its icon, which flags it as done in your records.
Note: None of the dungeons in the game are missable. If you skip Smuggler’s Hideout during your first pass, you can come back and finish it later in free-roam before entering New Game+.
With the Coin of Mammon and Vendrium collected and both enemy groups cleared, the run is fully done. The whole loop from the beacon and back is short, making it an easy addition to a completion pass through the Ruins of Mammon.