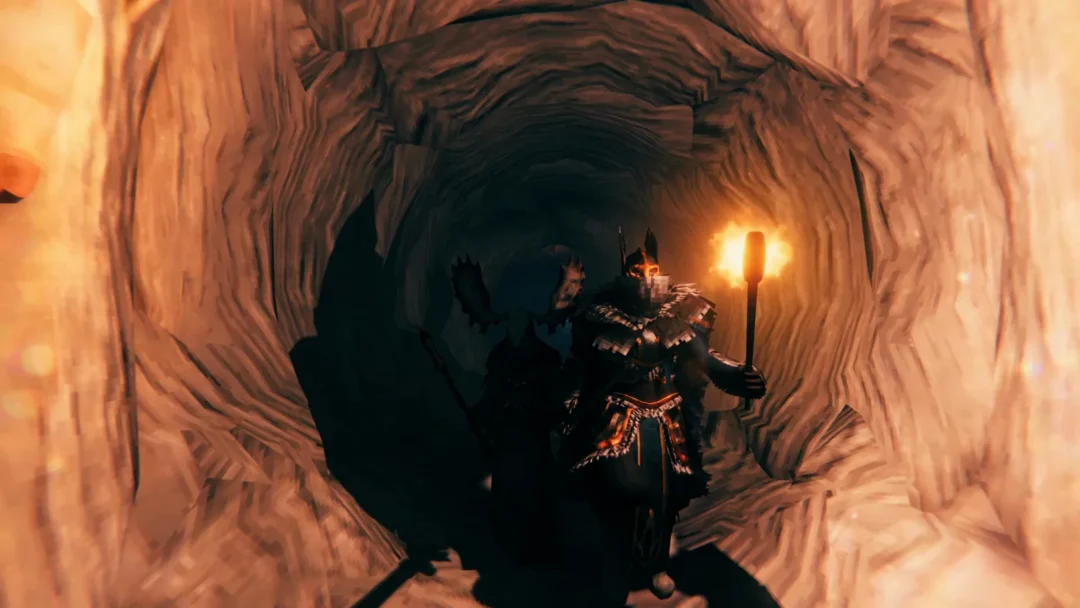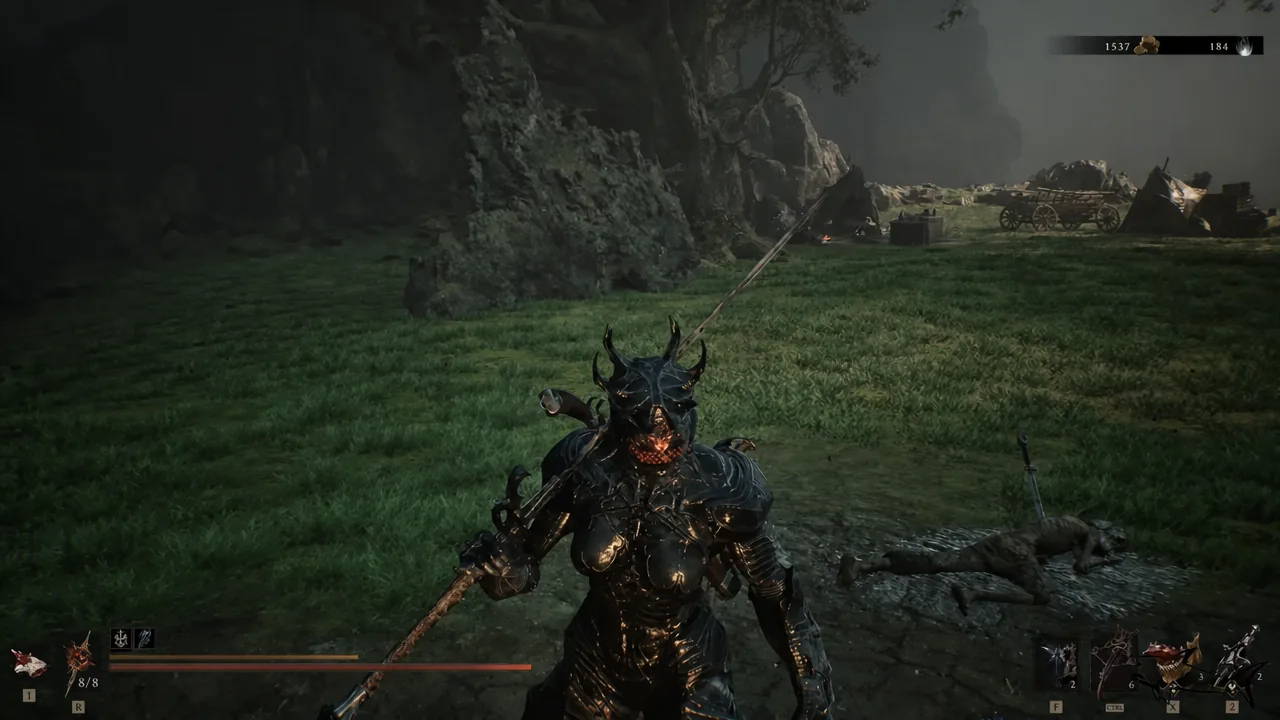
The Nightgrasp Stone is the Tarstone that puts Phantom on your weapon in Mortal Shell 2, and it is locked behind an offering chest rather than dropped by an enemy. You will not be able to open that chest on your first approach. It sits in a stone building past the Abbey Entrance area and stays sealed until three separate candles in the surrounding area have been lit.
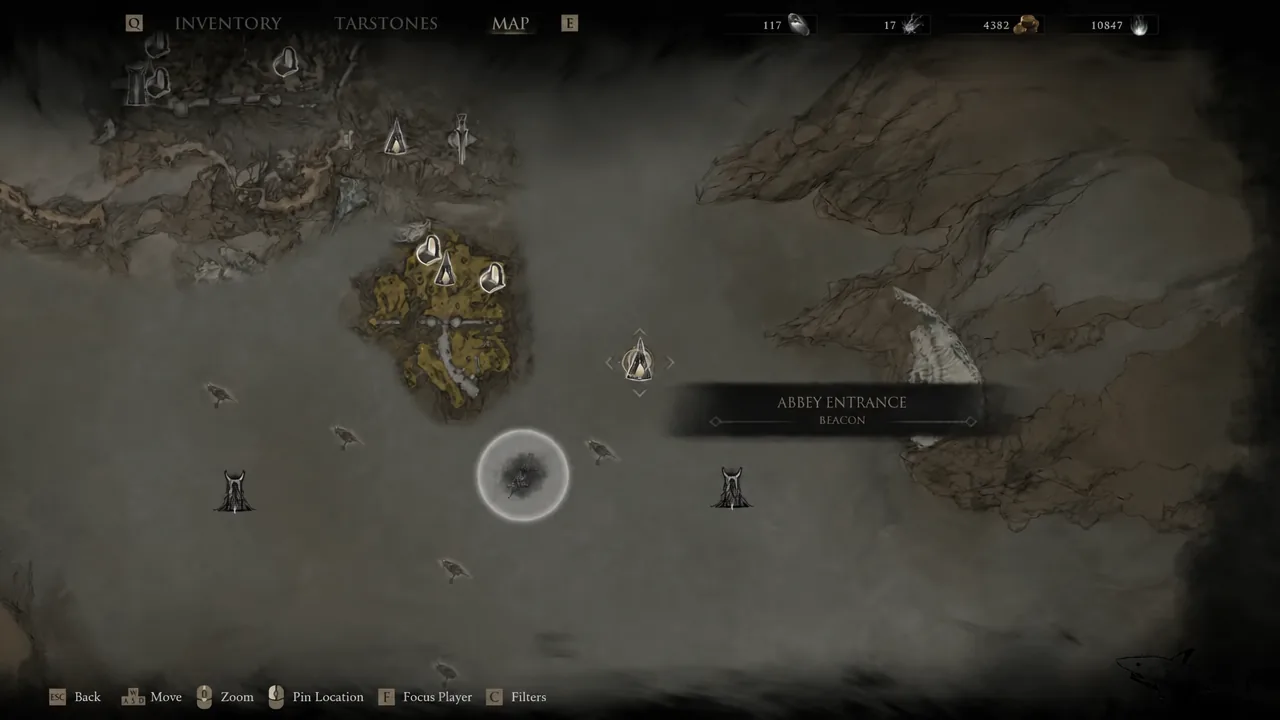
Quick answer: Travel from the Outskirts of Mammon beacon to Abbey Entrance, continue to Sester’s Refuge, then cross the bridge to the stone building. Light one candle inside the chest room, one on the cliffside pillar just outside, and one further down the lower cliff path, then open the chest.
Nightgrasp Stone: Type, weapon slot, and Phantom effect
Nightgrasp is an Infusion Tarstone, so it slots into your primary weapon and spends Resolve to coat that weapon in Phantom for a limited number of strikes. Infusion stones are not universal. Only one weapon in the game accepts this one, the Black Needle, so grabbing it is only worth prioritising if that weapon is in your rotation or on your shortlist. You can have two infusion stones equipped at once.
| Detail | Value |
|---|---|
| Tarstone type | Infusion |
| Slots into | Primary weapon |
| Compatible weapon | Black Needle |
| Effect | Spends Resolve to infuse the weapon with Phantom |
| Source | Three-candle offering chest near Abbey Entrance |
Route to the offering chest from Outskirts of Mammon
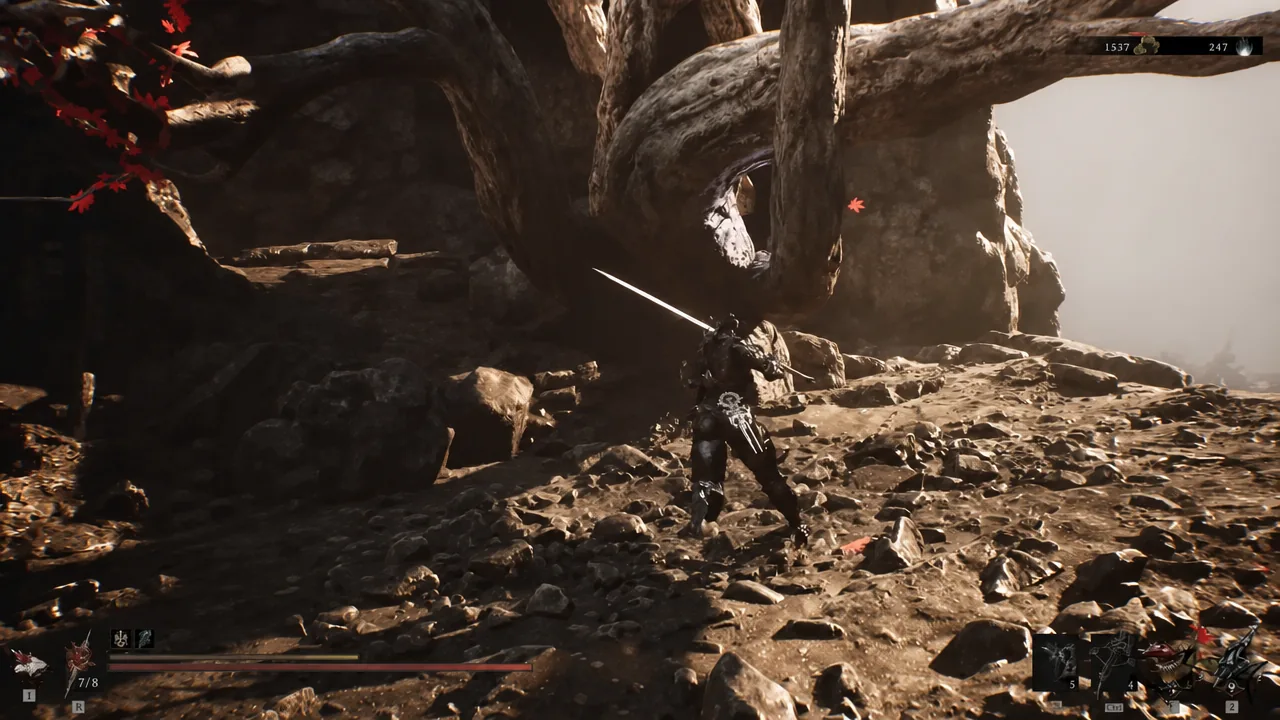
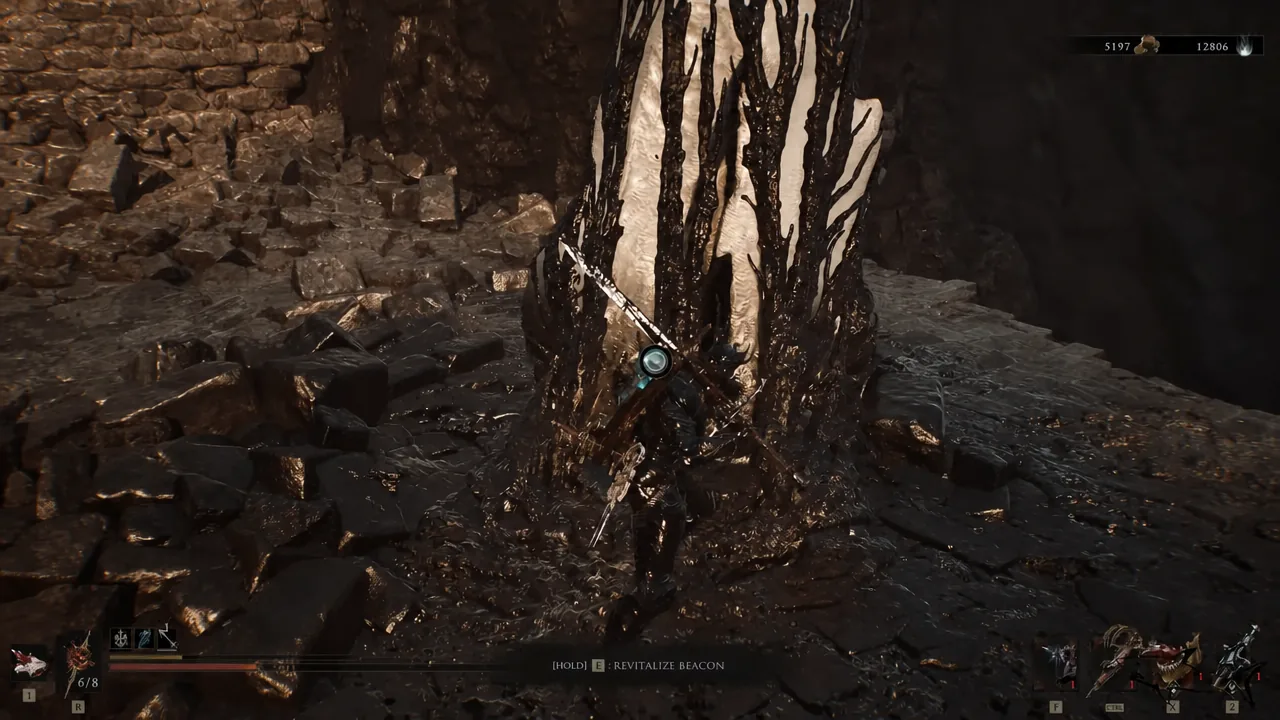
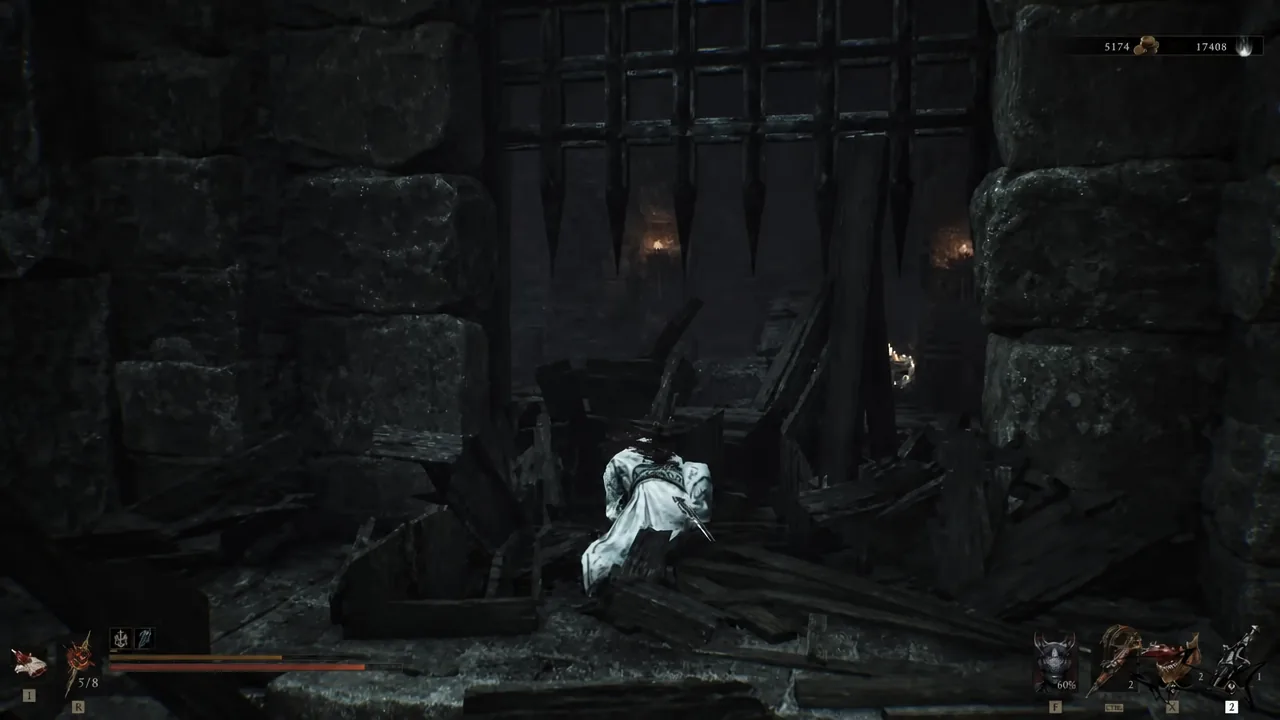
There is a breakable wall behind the stairs earlier on this route. Smashing it opens onto a sarcophagus holding the Tyrant’s Stone, which is worth grabbing while you are passing through.
Where the three candle offerings are
Interacting with the chest before you start tells you how many offerings are still missing, and that counter is your progress tracker. Lighting the first candle drops it to two, and the chest only unlocks at zero.
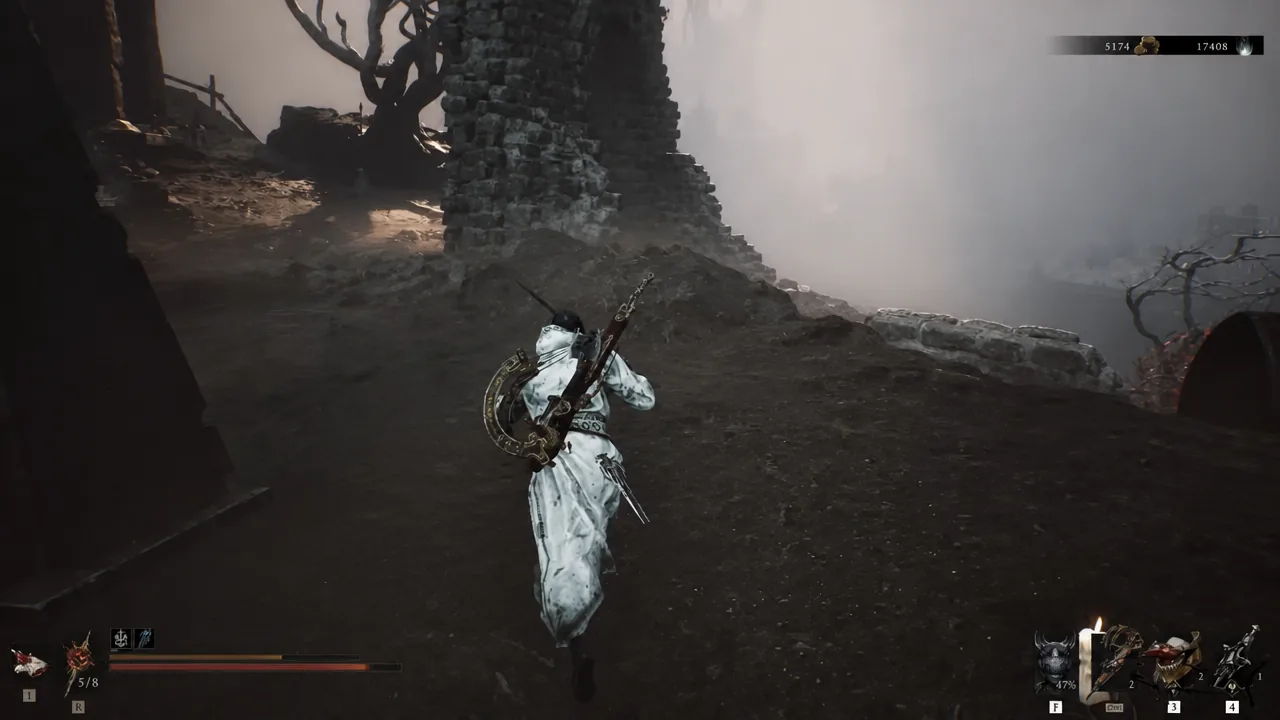
How to confirm the chest actually opened
You will know it worked when the chest no longer shows an offerings requirement on interact and simply opens, followed by the Nightgrasp Stone appearing in your inventory under Tarstones. If the prompt still lists offerings needed, one candle did not register. The usual cause is walking past a candle without triggering the interact prompt during a fight, so retrace the cliffside route and check the pillar and the lower path again.
Upgrade levels at the Tarforge in Marrow Keep
Upgrading is where this stone gets genuinely useful, because the top tier removes the strike limit entirely. To unlock those tiers you need the Etching Needles, looted from a bone chest shortly before the Magdalena, the Lady of the Woods fight. When you spot Ruk past the bridge, drop through the opening and turn right before the tunnel to find the small side area with the chest. Hand the needles to Franz at the Tarforge in Marrow Keep to expand the upgrade options.
| Level | Effect |
|---|---|
| 1 | Consumes Resolve to infuse the weapon with Phantom |
| 2 | Infusion lasts for 4 strikes |
| 3 | Infusion lasts for 8 strikes |
| 4 | Infusion is permanent |
The exact Resolve cost and strike counts shown in the item description have shifted between builds, so treat the numbers on your own tooltip as authoritative. The progression itself does not change, and the final tier always makes Phantom permanent.
Levelling it is passive work rather than a currency dump. Equip the stone, kill enemies until the experience bar on it fills, then return to Franz and pay the Coin cost for the next tier. Repeat that until Phantom stops eating Resolve altogether, at which point the Black Needle keeps the infusion up without any upkeep.