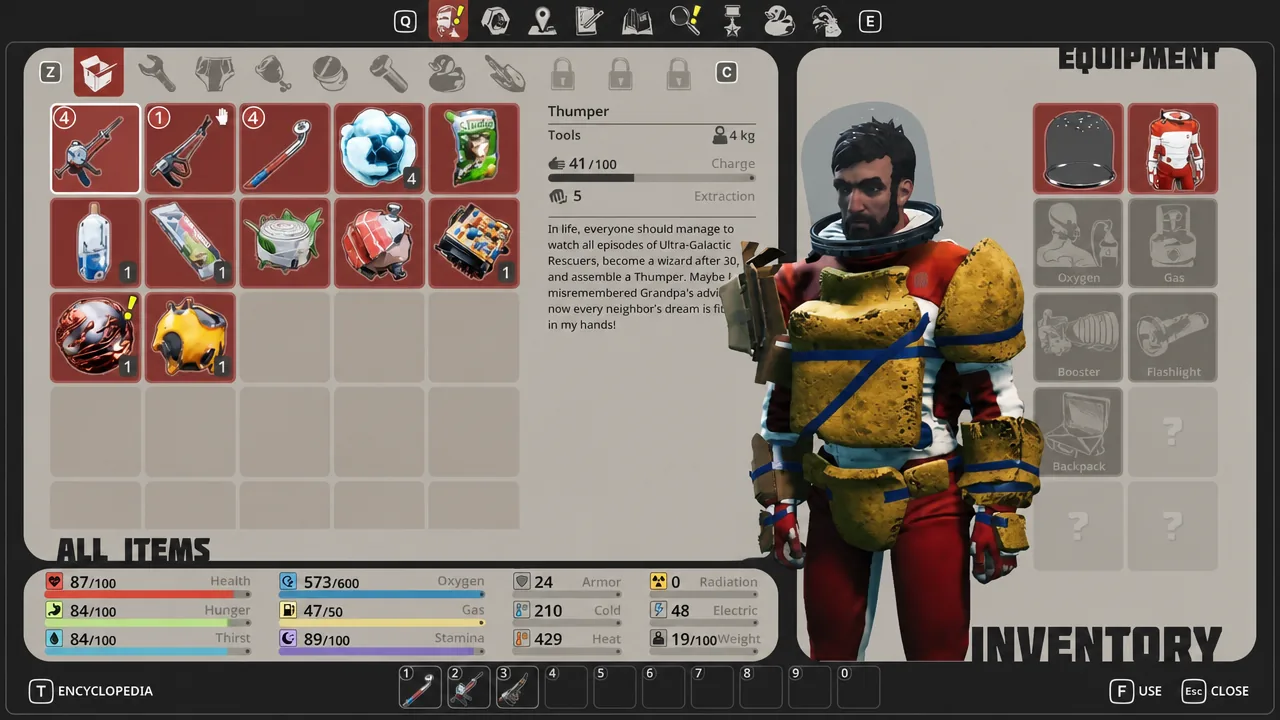
Armor in Breathedge 2 is not one crafted suit. It is a pile of junk you cut out of the Outskirts, and each piece gets bolted onto a specific part of your spacesuit. Cardboard, foam, and knitted teddy bears all count as protection, and the only thing standing between you and a warmer body is the right tool plus a trip to the Wardrobe.
Quick answer: Craft the Cutter, harvest Cardboard and Foam from the platforms and ships around the Outskirts, then fly back into the train station and slot the pieces into your Chest, arm, leg, and Body slots at the Wardrobe.
Craft the Cutter before hunting for armor
Cardboard and Foam are attached to the world, not floating loose, and only the Cutter pulls them free. The blueprint is available from the start, so this is a materials problem rather than an unlock problem. Open the crafting menu with C and check the Cutter entry against what you are carrying.
| Cutter material | Where to get it | Tool needed |
|---|---|---|
| Aluminum x4 | Large craters and asteroids | Thumper |
| Plastic x2 | Pipes sticking out from platform sides | Scrap |
| Metal x4 | Metal balls and barrels | Scrap |
Tip: the Cutter also takes a Scissors Sharp (level 1) upgrade at the Workstation in the train for Damage +5, which shortens every harvest afterwards.
Where to cut Cardboard and Foam in the Outskirts
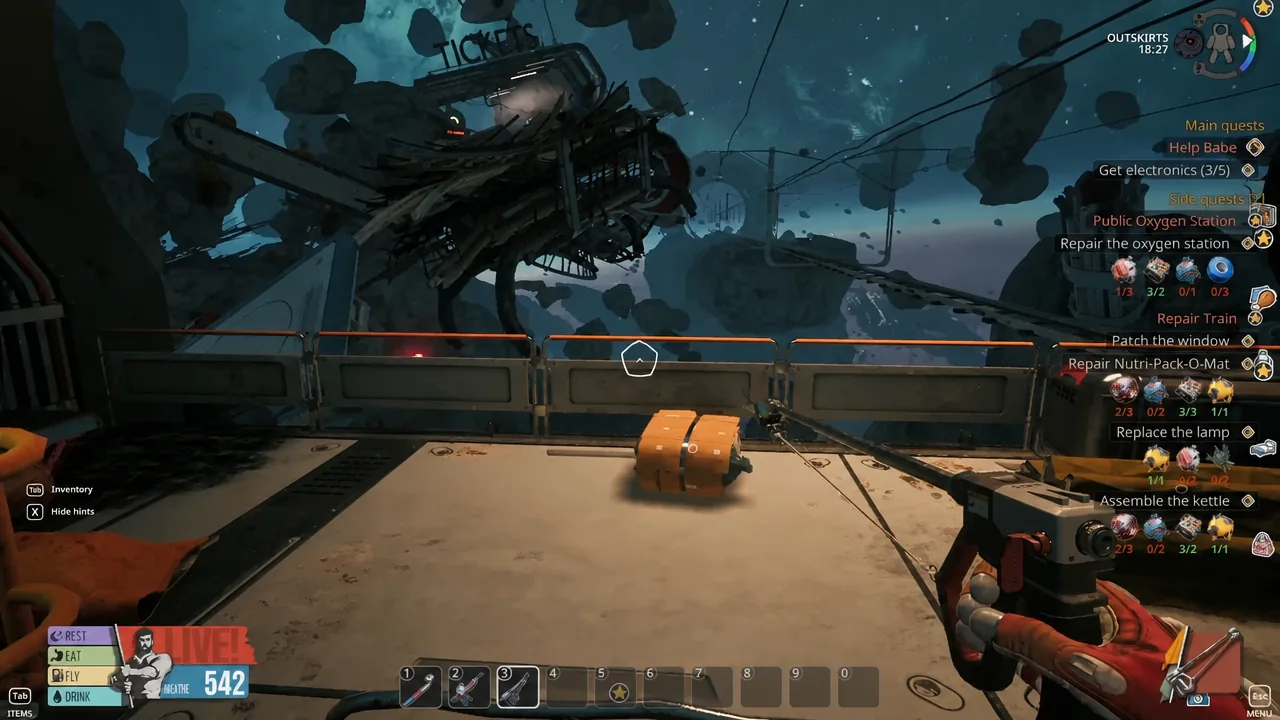
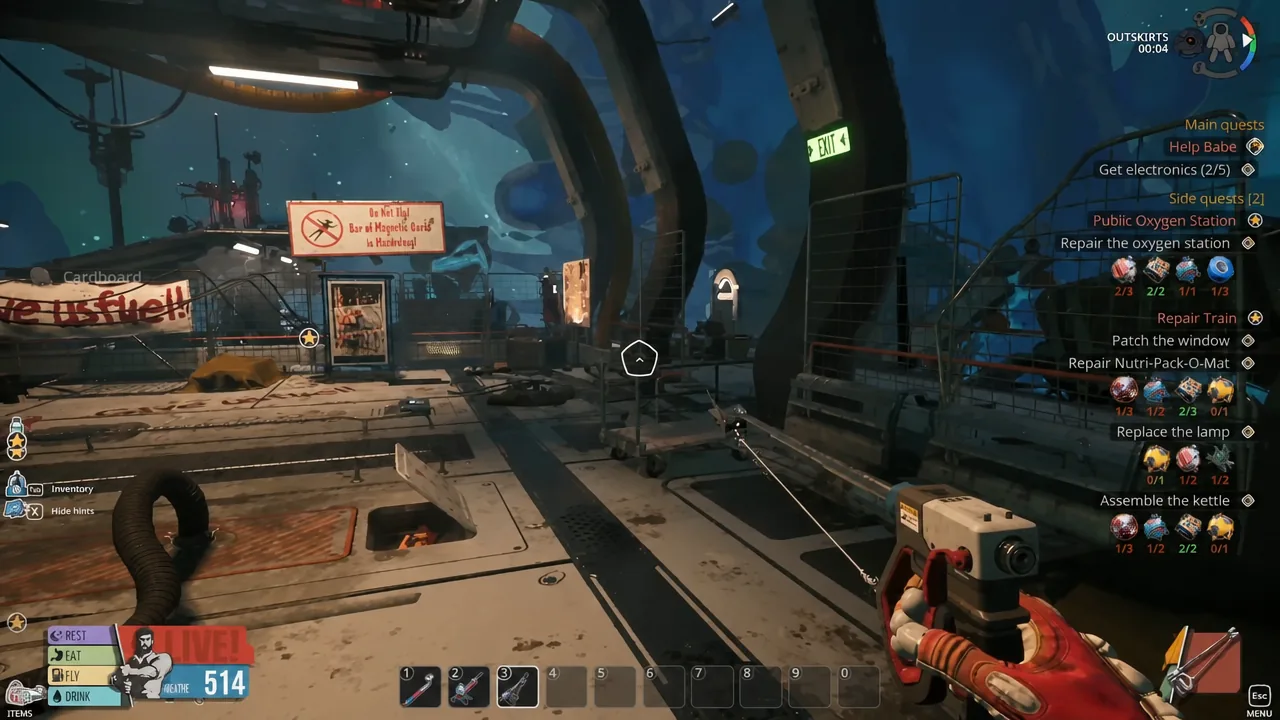
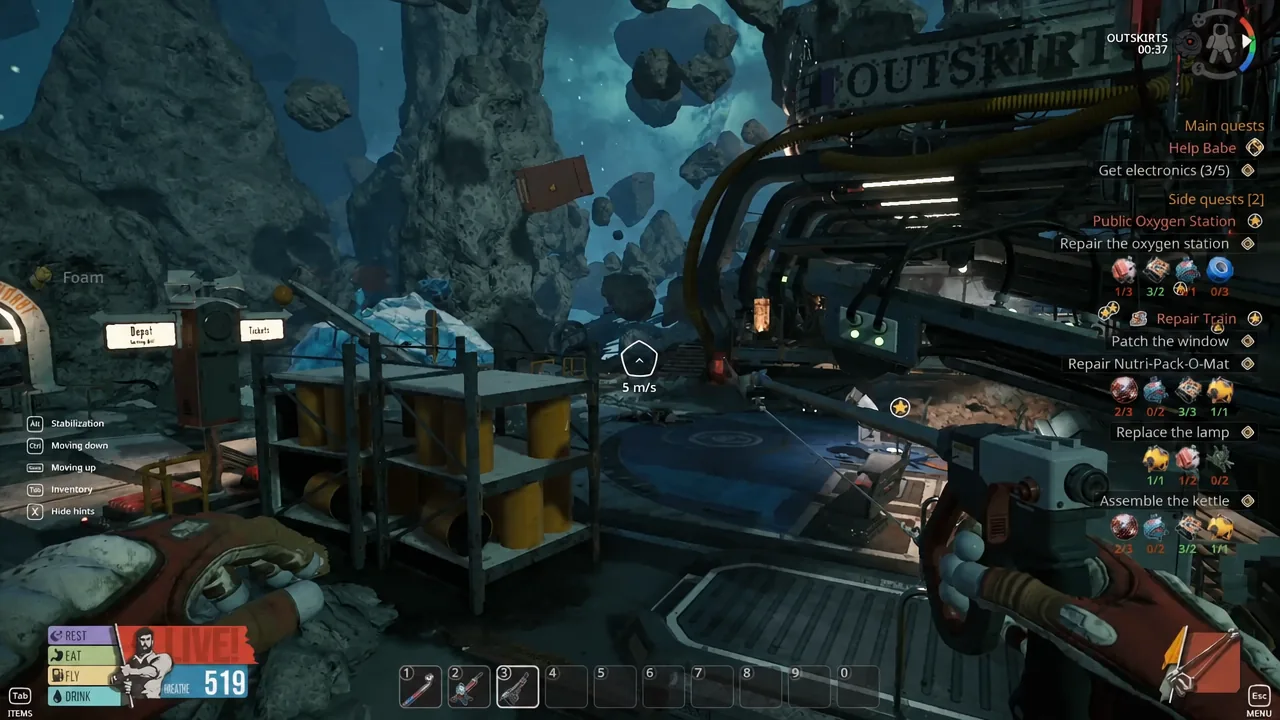
Both materials sit on the ground on top of platforms and inside ships, usually within a short flight of the crashed train. Cardboard shows up as boxes; Foam is the yellow padding stacked around structures. Look for the interaction prompt rather than the shape, because scenery that gives you no prompt is a waste of oxygen and durability.
Equip armor at the Wardrobe inside the train
Armor is never equipped from the field. The Wardrobe inside the train station is the only place the pieces attach to the suit, and it opens the Spacesuit screen with every slot laid out.
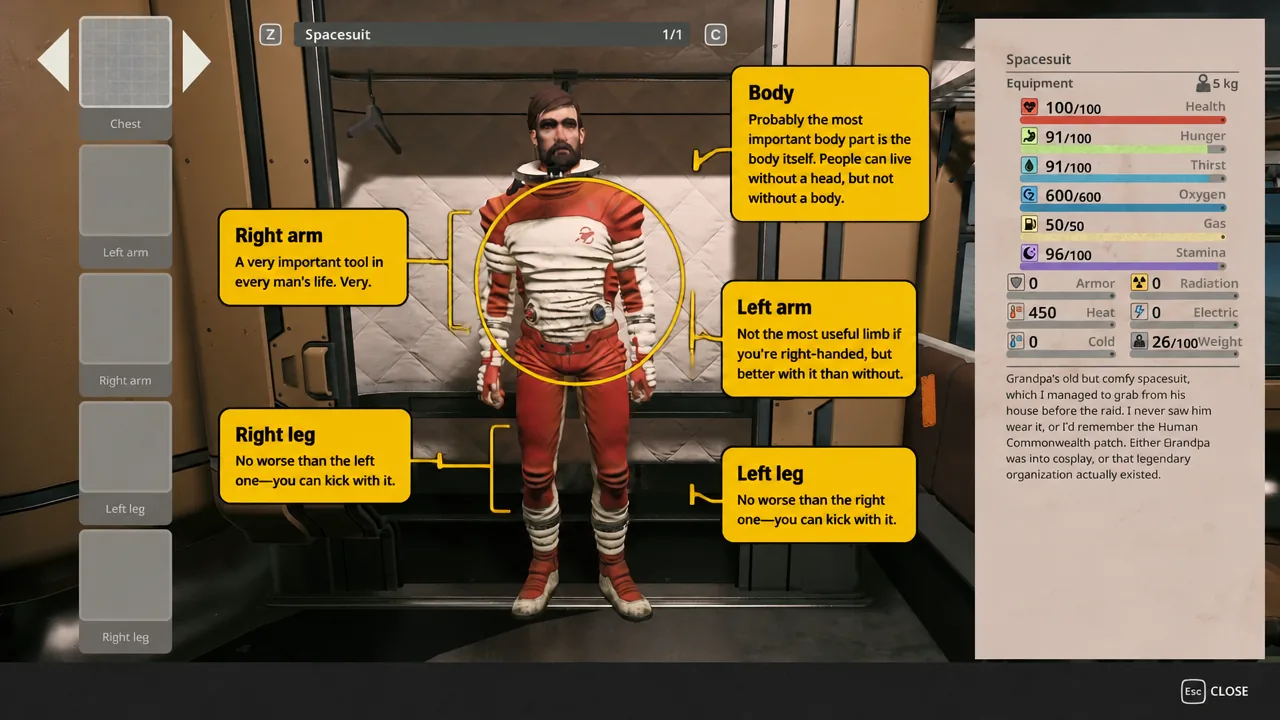
Cardboard and Foam protection values
The two starter materials do different jobs. Foam is the cold specialist and hands you the biggest single numbers, but it costs you heat protection. Cardboard is the broader pick, adding electrical resistance and a straight Armor value for the moments when something hits you.
| Piece | Stats shown in the Wardrobe |
|---|---|
| Foam | Safety drain +10% or +8%, Heat protection −2 or −1, Cold protection +90 or +66 depending on the piece |
| Cardboard | Cold protection +54, Electrical protection +48, Armor +24 |
Cold protection adds up across all six slots, which is what makes the colder industrial routes survivable. Reaching a combined 100 Cold protection is the practical threshold to aim for before heading somewhere freezing, and Foam gets you there fastest.
How to confirm your armor is equipped
Close the Wardrobe and open your inventory. Equipped pieces appear on the character model there, and they are visible on your arms in first-person view as well, so a quick glance down at your gloves confirms it without opening a menu.
If nothing attaches, the cause is almost always one of two things. Either the piece was never harvested because you swung a Scrap or Thumper at it instead of the Cutter, or you are trying to equip it away from the Wardrobe. Cardboard, Foam, and knitted teddy bears all require the Cutter, and the train is the only place the suit gets dressed.
One thing worth remembering before you strip every platform bare: the same materials feed station upgrades. The Kettle takes Foam Protection (level 1) for Processing +0.5, Cardboard Protection (level 1) for Processing +0.3, and Knitted teddy bear Protection (level 2) for Processing +0.6. Keep a small reserve of each rather than wearing everything you find, because the teddy bear you skipped is also the upgrade you will want later.