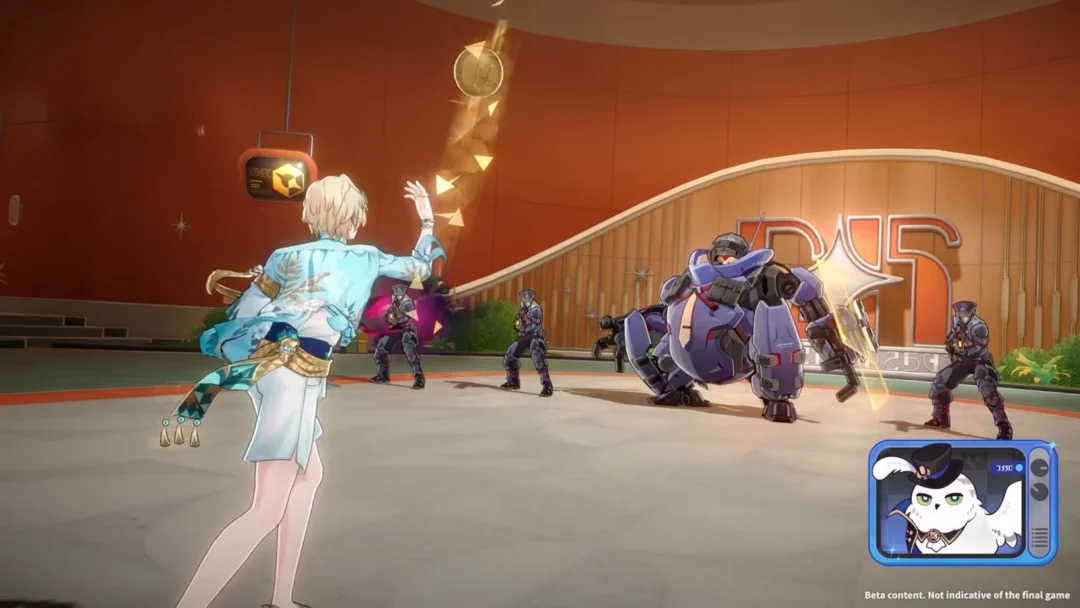
The Cryo Traveler builds their damage almost entirely from Stellar-Conduct reactions, and the highest recorded results come from layering Stellar Reaction DMG bonuses on top of a short, repeatable rotation. In a full team run against the Chimeric Winged Lion in Stygian mode, a rotation of Yae Miko, Odette, Alyosha, and Cryo Traveler cleared in 59 seconds for 4,170,556 total Traveler damage, or roughly 182,177 DPS.
Quick answer: Equip Cryo Traveler with the Exaiphanes Blade and 4-piece Disenchantment in Deep Shadow, then stack multiple 50% Stellar Reaction DMG bonuses from supports (Heart of the Furnace, Noblesse Oblige, plus Cryo units), apply Electro or Cryo to convert Superconduct/Cryo Swirl into Stellar-Conduct, and use the Burst every rotation after building 8 Frostglow stacks.
Where Cryo Traveler’s damage comes from
Cryo Traveler deals a small amount of Cryo damage but earns the bulk of their output through Stellar Glimmer reaction damage. That damage lives in two places only. The first is their Enhanced Charged Attack, available once per rotation. The second is their Elemental Burst, Frostbound Javelin.
Both sources need Frostglow stacks. When the Frostpierce Star from their Skill hits an enemy, the Traveler gains a stack of Frostglow, capped at 8. Casting the Burst consumes all stacks to increase its damage, and at 8 stacks the number of javelin strikes also goes up. A solo Cryo Traveler with no team buffs reaches only about 8,679 raw on their strongest hit, which shows how much of the four-million figure is buff-driven rather than raw personal scaling.
The Enhanced Charged Attack only triggers after a teammate deals Stellar Glimmer damage. Each instance grants a stack of Icepoint (max 3, 2-second cooldown), and at 3 stacks your Charged Attack becomes the enhanced version that deals Stellar Glimmer DMG and grants 2 Frostglow.
Cryo Traveler build for the high-damage run
The recorded tests use Level 90 Aether with the Exaiphanes Blade sword and a 4-piece Disenchantment in Deep Shadow set. That set is the strongest on-field option because it raises Stellar-Conduct Reaction DMG by 40% and adds 16% CRIT Rate against affected enemies.
| Slot | Recommendation |
|---|---|
| Weapon | Exaiphanes Blade (free, best-in-slot) |
| Artifact set | 4-piece Disenchantment in Deep Shadow |
| Sands | ATK% |
| Goblet | ATK% |
| Circlet | CRIT Rate / CRIT DMG |
| Substats | CRIT > ATK% >= EM > Energy Recharge |
Energy is rarely a problem. Constellation 1 refunds Energy on Stellar Glimmer DMG, and the Exaiphanes Blade restores Energy on hit. With a second Cryo unit, 120% to 140% Energy Recharge is enough; with a third Cryo unit, 100% to 110% covers the Burst every rotation.
How each support raises the damage number
The jump from a solo Traveler to millions of total damage comes from stacking Stellar Reaction DMG bonuses and reliable reaction triggers. The table below tracks how total damage climbed as each unit and set was added in testing.
| Setup change | What it adds | Total damage |
|---|---|---|
| Solo Cryo Traveler | No team buffs | 8,679 (strongest hit) |
| + Kuki Shinobu (Electro) | Electro to trigger Stellar-Conduct | 223,920 |
| + Diona | 50% Stellar Reaction DMG + 200 EM | 369,593 |
| + Qiqi (Favonius Sword, Tenacity) | Extra 50% Stellar Reaction DMG | 802,506 |
| Yae Miko sub-DPS | Kagura’s Verity, 4pc Disenchantment | 865,393 |
| Qiqi on Heart of the Furnace | Extra 50% Stellar Reaction DMG | 948,898 |
| + Odette (Emberwell, Furnace) | Sub-DPS + Stellar bonus | 1,037,103 |
| C6 Qiqi (Tenacity) | Buff quills + extra Stellar-Conduct stacks | 1,084,159 |
| + Alyosha (Favonius Lance, Noblesse) | 50% ATK + 100 EM | 1,187,419 |
The pattern is clear. Each 50% Stellar Reaction DMG bonus roughly doubles or heavily boosts the running total, so the goal is to pack as many of those bonuses into one team as possible without breaking the reaction chain.



The support sets that provide Stellar bonuses
Two artifact sets do most of the heavy lifting for team-wide Stellar damage, and a third provides the ATK buff that backs it up.
| Set | 4-piece effect |
|---|---|
| Heart of the Furnace | +12% ATK on Stellar Glimmer trigger, plus 50% Stellar Glimmer reaction DMG to all nearby party members (same-name sets do not stack) |
| Noblesse Oblige | Common team ATK support; good uptime when Burst ends the field window |
| Tenacity of the Millelith | +20% party ATK when an Elemental Skill hits, easy to maintain off-field |
Because the Heart of the Furnace bonus does not stack with itself, only one party member should run it. In the tested rotations, that set moved between Qiqi and Odette depending on who could hold uptime. If Odette is on the team, Cryo Traveler can instead run Tenacity of the Millelith and feed a 20% party ATK buff through their Skill.

The rotation that reaches 4.2 million
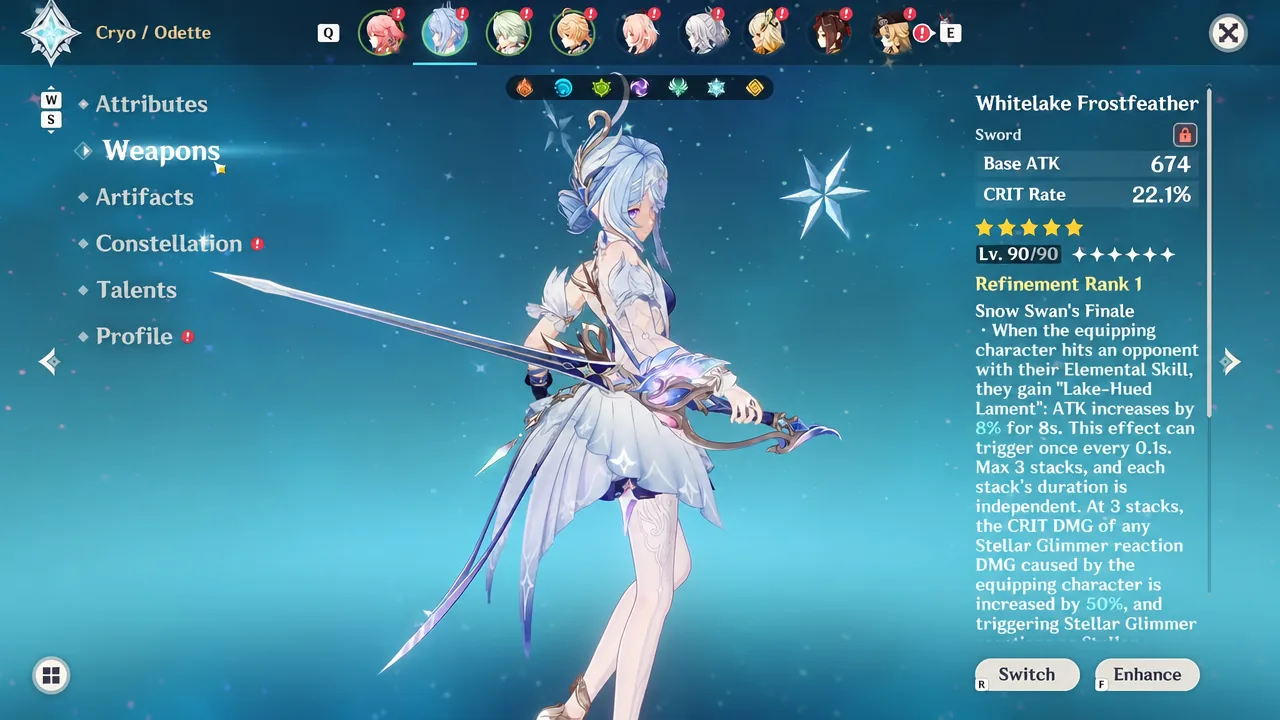
The final clip that hits 4,170,556 total damage uses Yae Miko, Odette, Alyosha, and Cryo Traveler. Odette carries the Whitelake Frostfeather sword to raise her own Stellar-Conduct damage, and the run keeps the rotation tight to fit inside the Burst and Enhanced CA windows.
How to confirm the setup is working
You know the reaction chain is live when Stellar-Conduct triggers and the surrounding area turns into a Polestar Field. Inside that field the Traveler enters the Radiance: Stellar-Conduct state, which switches their Normal, Charged, and Plunging Attacks to non-overridable Cryo through the Ever-Keen Frost passive.
The Enhanced Charged Attack only appears after a teammate deals Stellar Glimmer damage, so if your Charged Attack is not enhancing, your enabler is not applying its element on schedule. Likewise, a weak Burst means you cast before reaching 8 Frostglow. Build all 8 stacks first, then Burst, and the javelin count and damage jump accordingly.
Stacking three separate 50% Stellar Reaction DMG bonuses, keeping a reliable Electro or Cryo trigger on the field, and bursting only at full Frostglow are the three levers that separate a six-figure result from a multi-million one. Everything else in the run is timing the 15-second loop so those buffs never lapse.