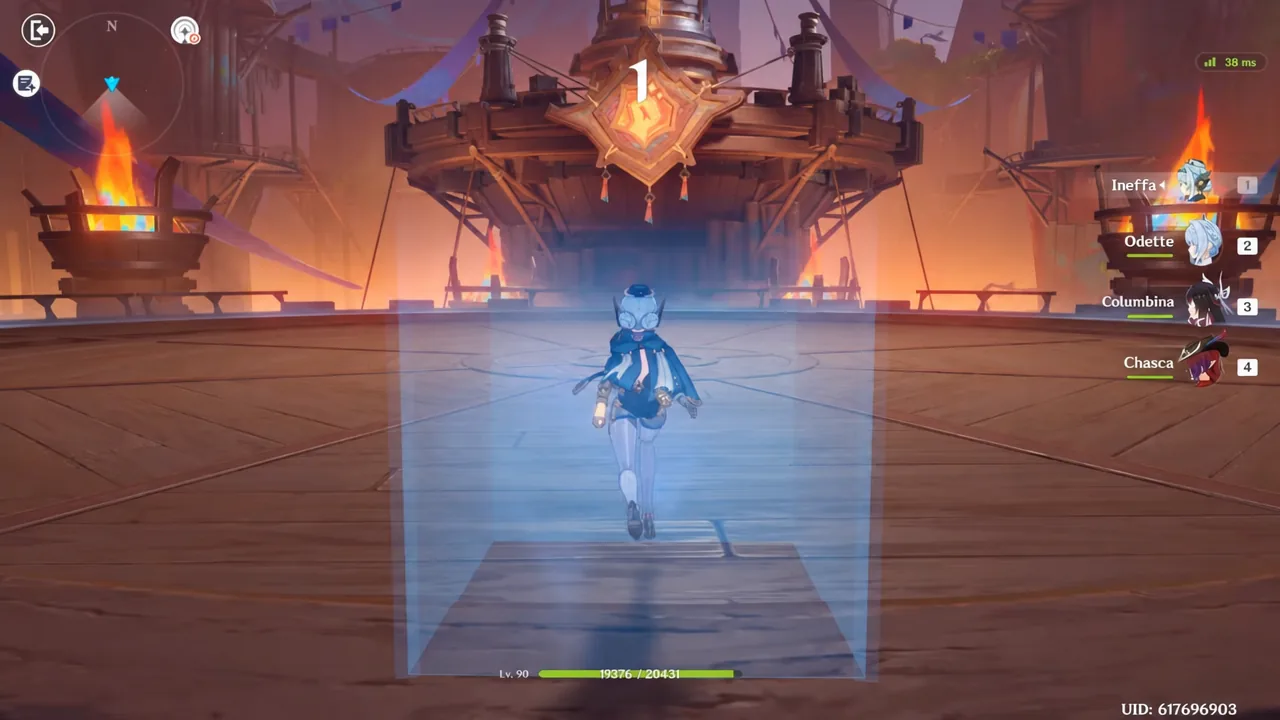
Dire is the hidden sixth difficulty of Stygian Onslaught in Genshin Impact 7.0, sitting one step above Fearless. It pits you against three bosses back to back, each with a large health pool and a shield mechanic that ignores raw damage until you interact with it the right way. Clearing Dire comes down to matching the correct reaction to each shield, then unloading during the short window when the boss is exposed.
Quick answer: Bring a Stellar-Conduct team for the Chimeric Winged Lion, a Bond of Life or shielded team for the Veteran Wind Operative, and a Lunar-Charged or Electro team for Knuckle Duckle. Break each boss’s ward with its intended reaction, then burst it during the paralyzed window.
Dire difficulty rules and rewards
Dire is Difficulty 6, a step past Fearless. The three bosses carry far higher health than they do on lower tiers, so a team that clears Fearless will need more investment to hold up here.
Co-Op does not help you at this level. Support matchmaking only works up through the lower difficulties, and both Fearless V and Dire VI rewards are solo only. If you want to team up with others in your own world, you can, but the top-tier clears are meant to be done alone.
Two hours after each phase reset, the Exalted Ones become available. These are 16 characters, refreshed daily based on the entire server’s Dire completions, that grant bonus ATK, DEF, and HP. The buff only applies to characters you already own. Being listed does not hand you a free copy of that character.
Boss shields and the reactions that break them
Every boss in this lineup protects itself with a ward that blocks damage. You cannot brute-force these shields on Dire. Each one has a specific reaction or element that drains it, and only after the ward breaks does the boss become vulnerable and take backlash damage based on what it absorbed.
| Boss | Shield type | How to break it | Dire HP |
|---|---|---|---|
| Chimeric Winged Lion | Electro Ward (40 gauge) | Stellar Glimmer reactions; a Stellar reaction strips 16 units instantly | 23.35M |
| Veteran Wind Operative | White Damage Shield | Damage it down while dodging or shielding the Hunt Down attack | 17.5M |
| Knuckle Duckle | High-RES Ward with Stamping Devices | Kill the Ducklings, favoring Electro-Charged or Lunar-Charged hits | 25.9M |
Chimeric Winged Lion: Stellar and Cryo
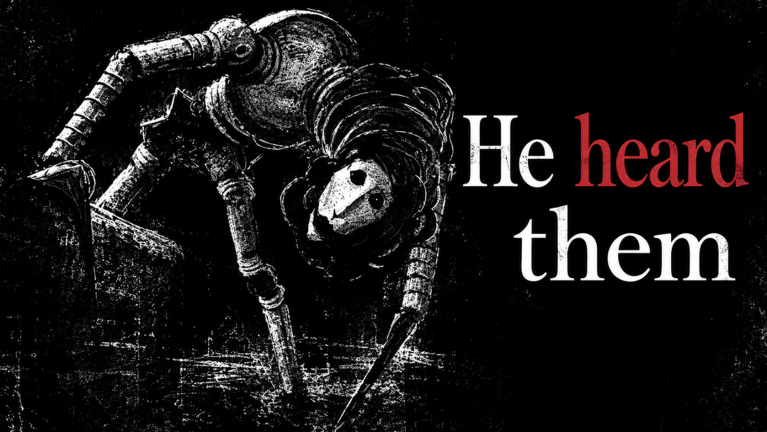
The Chimeric Winged Lion is the new 7.0 boss, and it is built around Stellar teams. A few seconds into the fight it raises a resilient Electro Ward. Elemental Reactions chip that ward, but Stellar Glimmer reactions do the heavy lifting, with a single Stellar reaction removing 16 of its 40 gauge units at once.
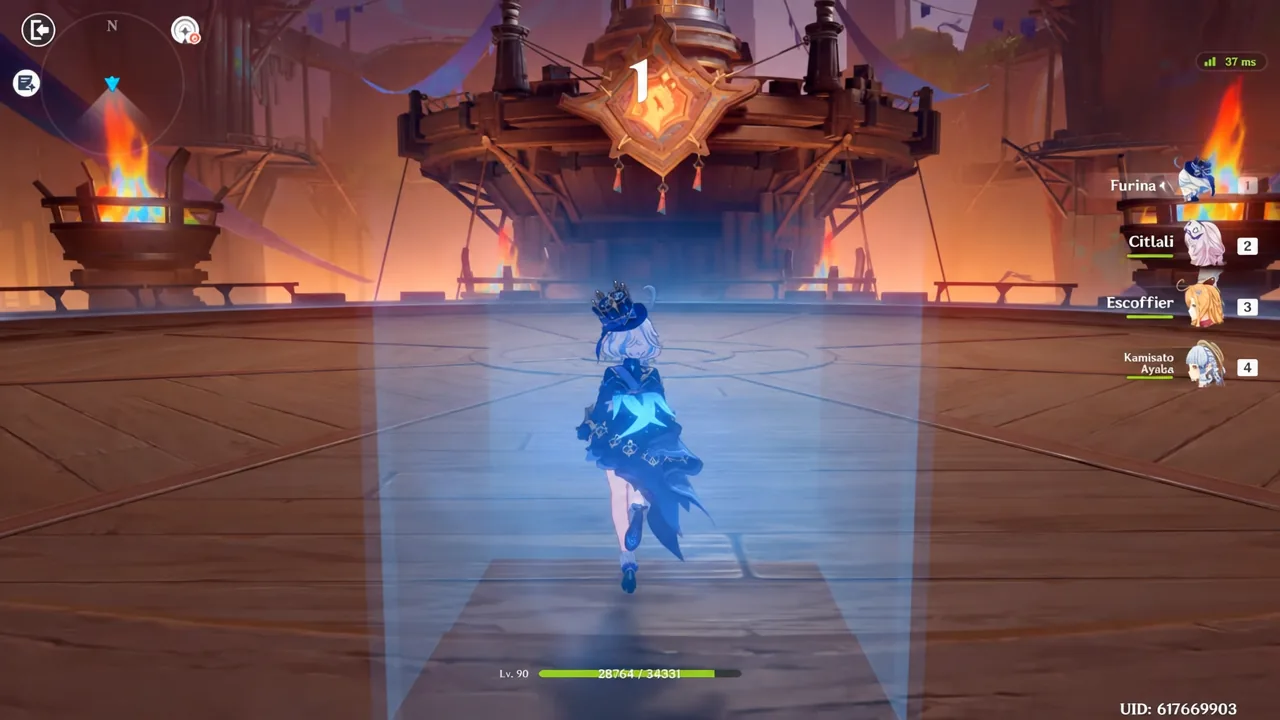
Once the ward breaks, the boss stops attacking and becomes paralyzed, and its Cryo and Anemo RES drop sharply for a short time. That is your damage window. The boss also cycles through an aerial phase where it fires Gale Bolts, then tries to absorb Anemo Orbs to recover. You can pop those orbs with Hydro, Pyro, Electro, or Cryo, or interrupt the whole thing by landing Stellar Glimmer damage on it.
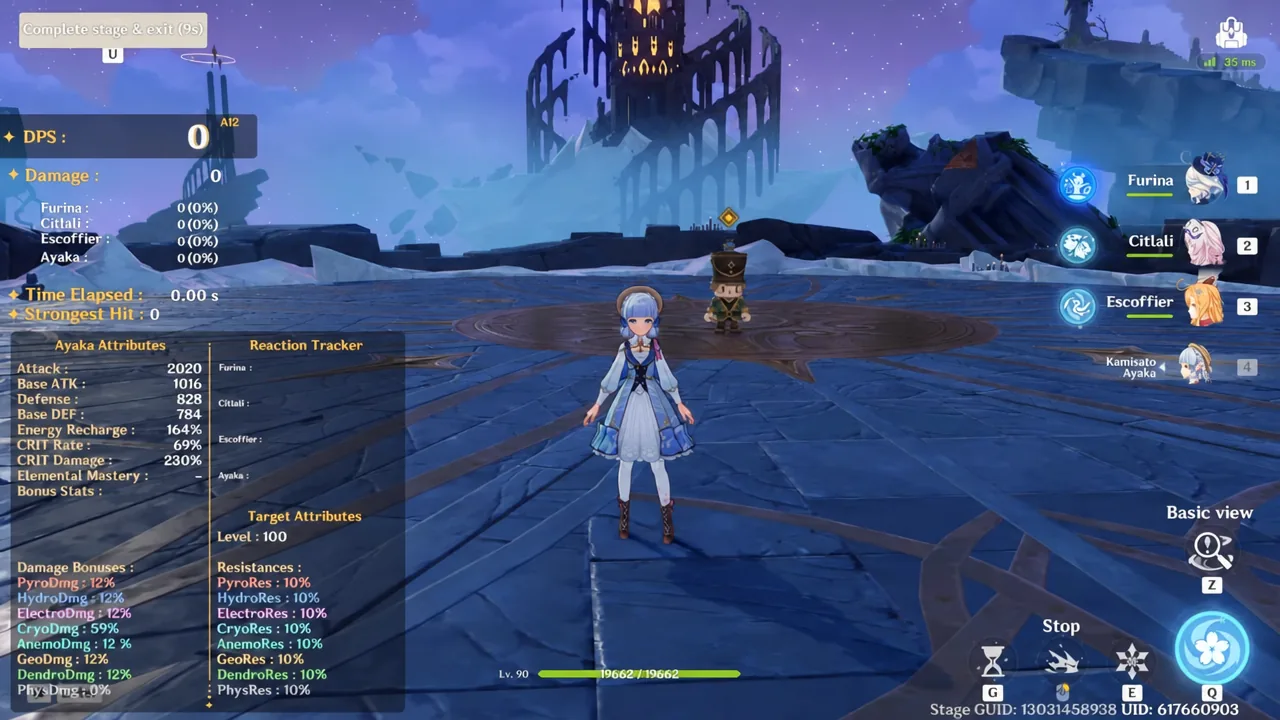
The cleanest core here is Sandrone, Odette, and Yae Miko, with a flex slot. Wriothesley or the Cryo Traveler can replace Sandrone as the main damage dealer. If you don’t run Stellar, a non-Stellar Cryo team built around Ayaka with Escoffier, Shenhe, and Furina works thanks to the reduced Cryo RES, and strong Pyro teams around Mavuika or Arlecchino are also viable.
Veteran Wind Operative: Bond of Life and shields
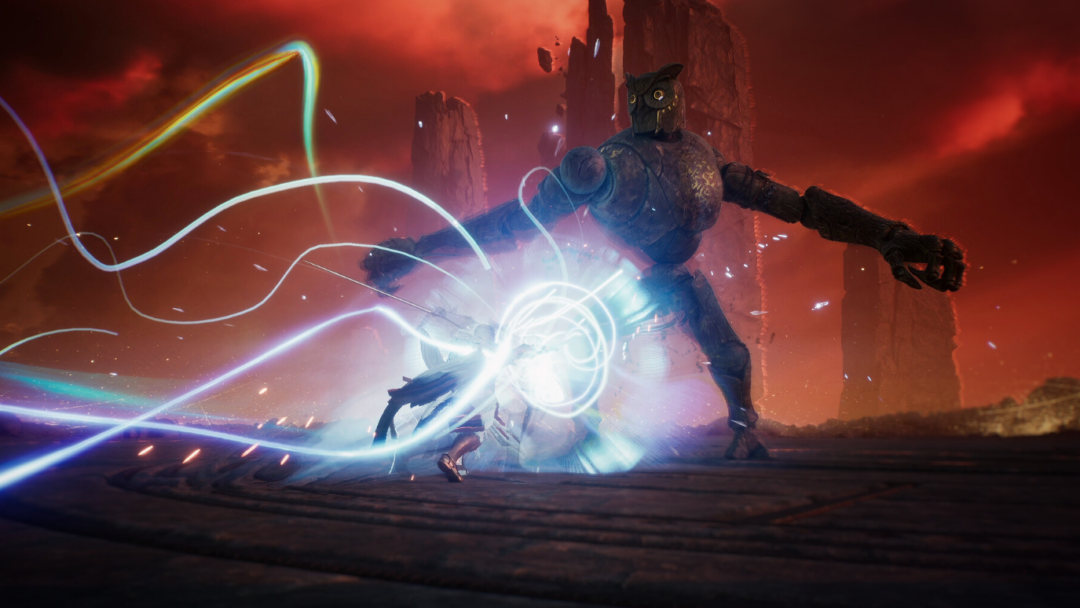
The Veteran Wind Operative is the returning Fatui operative with an Anemo coat instead of Cryo. Mechanically she plays almost exactly like the Cryo version, but with a bigger health pool and increased Anemo RES. The Anemo swap is actually helpful, since teams no longer get a Cryo aura slapped on them that slows their tempo.
Her signature move is Hunt Down. She spends part of her own HP, gains a large White Damage Shield, and launches an attack. If that attack lands on an unshielded character, she heals and slaps a heavy damage-over-time debuff on your active unit. While her shield is up, she also applies a very large Bond of Life to your whole team that you cannot heal off.
The counter is to either dodge Hunt Down cleanly or block it with your own shield. Once you break her White Damage Shield, she takes damage equal to what she absorbed, and she can raise it up to about three times in a fight. Bond of Life carriers like Arlecchino and Clorinde love this fight, since the Bond she forces onto you feeds their damage. A strong team is Arlecchino, Nicole, Chevreuse, and Fischl, with Citlali, Sucrose, or a shield unit as alternatives.
Knuckle Duckle: Lunar-Charged and Electro
Knuckle Duckle returns unchanged, and it heavily favors Lunar-Charged teams. Shortly into the fight it enters Heavy Duckstruction Mode, raises a White Damage Shield with very high RES, and spawns floating Stamping Devices, the little Ducklings, to harass you. The ward’s resistance is too high to simply damage down.
The trick is the Ducklings. Kill them and each death chews into the boss’s ward. They are far weaker to Electro than anything else, and repeated Electro-Charged or Lunar-Charged hits will record on them until they self-destruct and crash into the boss, damaging its shield. On Dire, the Ley Line disturbance makes the devices more resilient, but Electro-Charged and Lunar-Charged damage on them becomes more effective, and the crash damage scales up with how much the device absorbed first.
Once every Duckling is gone, the ward breaks. The boss loses its extra RES, its Electro RES drops further, and it becomes incapacitated from Overloaded. It stays exposed for a while before shielding again. Flins, Ineffa, Columbina, and Sucrose is a strong lineup here, and teams around Varesa or Neuvillette with Ineffa and a shield or heal support also clear it.
Recommended teams per stage
| Stage | Core team | Key alternatives |
|---|---|---|
| Chimeric Winged Lion | Sandrone, Odette, Yae Miko, flex | Wriothesley or Cryo Traveler; Ayaka Cryo; Mavuika Pyro |
| Veteran Wind Operative | Arlecchino, Nicole, Chevreuse, Fischl | Clorinde, Furina, Citlali, Sucrose |
| Knuckle Duckle | Flins, Ineffa, Columbina, Sucrose | Varesa, Neuvillette, Xilonen, Iansan |
Tip: Use the Exalted Ones buff on characters you already own before starting a run. Since the list changes daily, a boss that walls you today may be far easier tomorrow if one of your damage dealers gets the ATK, DEF, and HP boost.
How to confirm a Dire clear
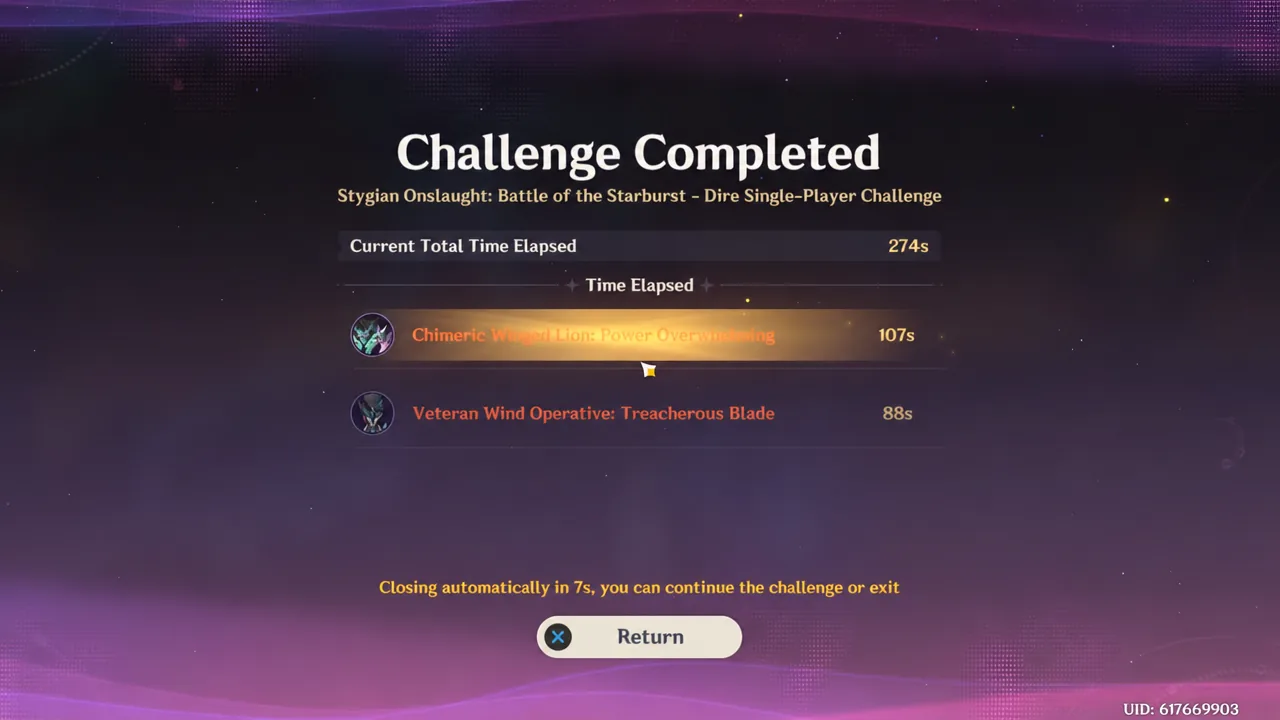
You know a run is complete when the Challenge Completed screen appears after the third boss, showing your total elapsed time across all three fights. A full Dire clear runs all three battles in sequence, so the timer only stops once the final boss falls.
If a boss refuses to take meaningful damage, the cause is almost always the ward. You are trying to damage through a shield that ignores raw hits instead of triggering the intended reaction. Land Stellar Glimmer on the lion, break the operative’s shield while avoiding Hunt Down, and clear every Duckling on Knuckle Duckle. Once the ward drops, the boss becomes vulnerable and the backlash lands, and that is when your real damage goes in.