The Den is where a Star Wars Zero Company campaign is won or lost between missions. Credits are tight, and the base only lets you build or improve one facility per cycle at the start, so every purchase locks you out of something else for several missions. The upgrades that matter early are the ones that improve a system you use constantly, rather than a single operator or a single blaster.
Quick answer: Buy the Black Market first, then Black Market Quality I, then a Medbay upgrade, and put your mission and contact influence into Zone Dorn until it hits Tier 3 for the extra facility upgrade slot.
Den upgrade priority list
Upgrades are split across three tabs. Facilities change how the base itself works, Crew changes your operators and their relationships, and Weapons changes blaster performance. The ranking below assumes a first playthrough where credits are scarce.
| Upgrade | Priority | Why |
|---|---|---|
| Black Market | Buy first | Unlocks purchasing of weapon mods and utility items |
| Black Market Quality I | Buy first | Raises stock from Basic to Superior gear |
| Medbay (Medical Bed II) | Very high | Only way to clear injuries; deeper levels cut medical supply costs |
| Mid zone influence (Dorn, Leth, Forn) | Very high | Extra facility slot, credits, and a mod slot for everyone |
| Networking | High | +2 influence every time you send a contact |
| Teamwork III | High | Opens the Lounge, giving Bond XP to benched operators |
| Additional Weapon Mod Slot | High | Applies to every operator’s blaster |
| Combat Readiness I | High | +1 Advantage at the start of every fight |
| Droid Repair Bay | Conditional | Essential with astromechs, skippable without them |
| Crew Quarters | Situational | Raises the hire cap, but a small squad works fine |
| Weapon damage and crit chance | Mid-campaign | Only worth it once several operators share a weapon type |
| Range and Overwatch | Low | Value depends on your difficulty setting |
Black Market: upgrade the shop before the gear
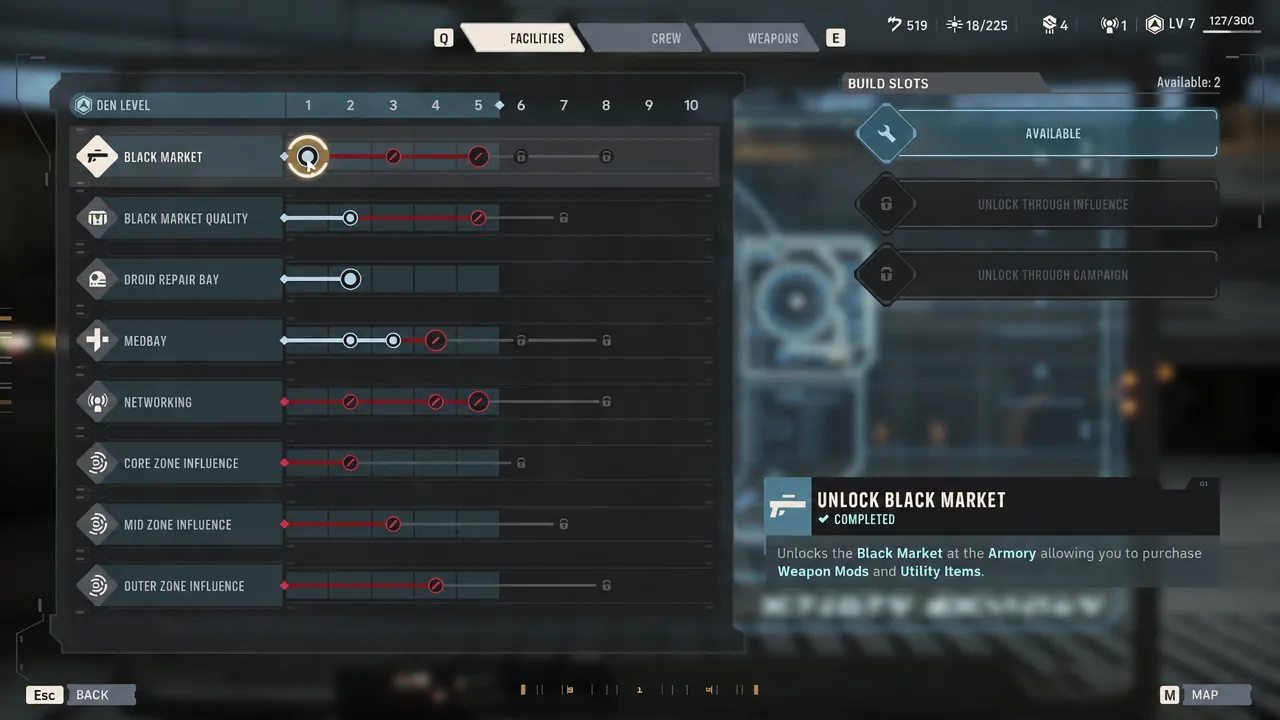
The Black Market is available at Den Level 1 and is the single best opening purchase. It turns on the shop where you buy weapon mods and utility items, which is your main supply line for anything better than starting kit. Without it, your squad’s equipment is capped by whatever missions happen to drop.
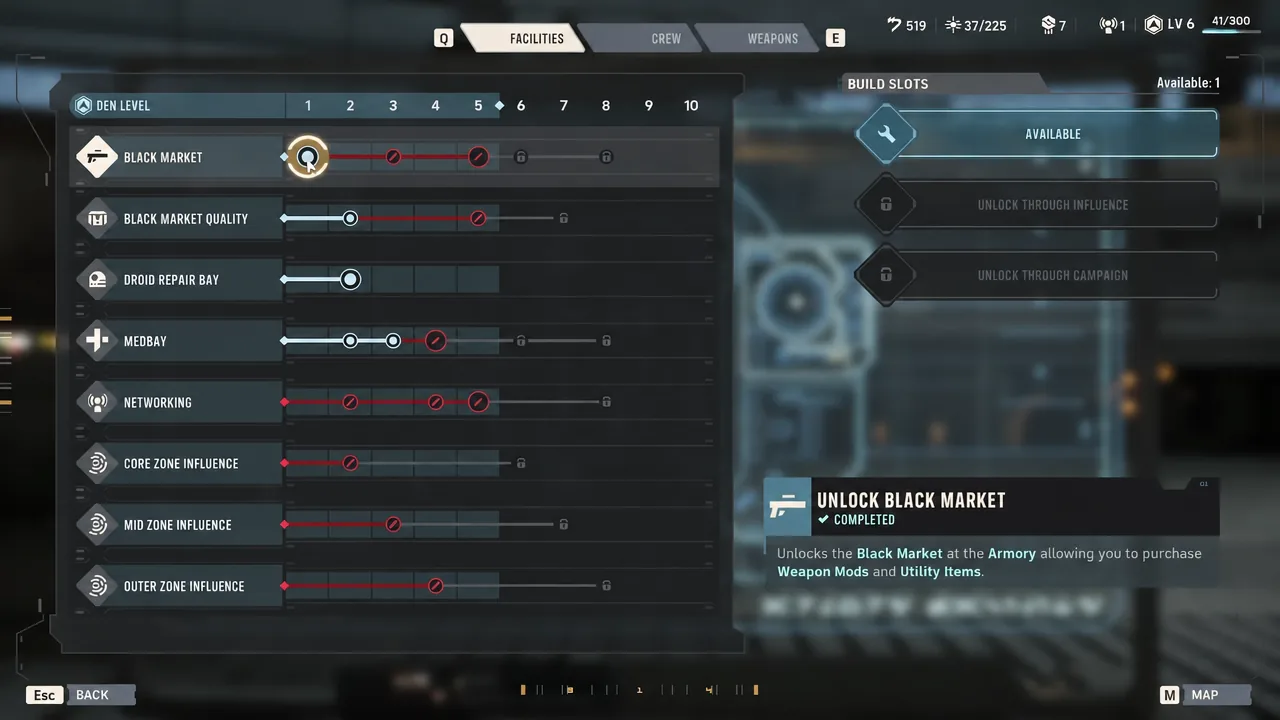
Black Market Quality is the follow-up, and it can be started as early as Den Level 2. The first node lifts the shop’s stock from Basic to Superior, which is a flat stat increase on everything you buy. The second node knocks 15 percent off prices, and higher tiers eventually put items like thermal detonators on the shelves.
Note: improving the source of your gear beats improving one piece of gear. Later Black Market levels beyond quality, such as extra storage capacity, are fine to postpone unless you are sitting on spare credits.
Medbay: the only place injuries get removed
Medical Bed II is the upgrade to grab as soon as it is affordable at Den Level 2. The Medbay is the only facility that clears injuries from operators, and injuries stack up fast once you start accepting the riskier Operations that hand out the best intel. Being able to put two hurt operators on bed rest at once keeps your best squad members available instead of benched for cycles.
Pushing the Medbay to Level 3 unlocks cheaper medical supplies, which matters most on higher difficulties where permadeath is in play. If you are clearing missions cleanly on a lower difficulty, the deeper Medbay levels can wait.
Zone influence: Dorn, Leth, and Forn first
Influence is not technically a facility, but it is the fastest way to make your Den upgrades cheaper in real terms, because one of its rewards is a third facility upgrade slot per cycle. The middle band of zones carries the strongest payouts, so route your operations there and check a zone’s influence tier before picking between two missions with similar rewards.
| Zone | Reward |
|---|---|
| Dorn (Tier 3) | Extra facility upgrade slot, so you can build more than one thing per cycle |
| Leth (Tier 2) | 250 credits per mission |
| Leth (Tier 3) | Higher-quality stock at the Black Market |
| Forn (Tier 3) | A weapon mod slot for every operator |
| Esk (Tier 3) | Permanent health increase for all operators |
| Herf | Assorted Den rewards including capacitors and 30 Global Bond XP |
Dorn goes first because the extra slot compounds. Every cycle after you earn it, you are building two or three things instead of one, and that gap widens for the rest of the campaign. Leth is the natural second target since it pays you in credits on the way to a Black Market quality bump, and Forn’s mod slot applies to the whole roster rather than one operator.
Missions are not the only source of influence. Each cycle you can also send contacts to a zone, and multiple contacts can go to the same zone in a single cycle. Idle contacts are wasted influence. The Networking upgrade adds +2 influence per contact sent, which looks minor on one dispatch and becomes significant across a full campaign of them.
Crew upgrades worth buying once facilities are set
Teamwork Level 3 is the standout. It opens the Lounge, where operators who stay behind still earn Bond XP while the rest of the company is deployed. That is the fix for the most common roster problem in the game, where four favourites become strong and everyone else falls behind. Pair it with actually rotating operators through your squad, because bonds only grow between characters who fight together, and using a backup action mid-fight also feeds Bond progress.
Combat Readiness I gives +1 Advantage at the start of every encounter, which front-loads access to Advantage abilities and shortens fights. The Additional Weapon Mod Slot is the other easy pick, since it makes every blaster in the company better rather than one. Crew Quarters raises how many operators you can hire, and the roster cap can eventually climb from seven up to 20, but a tight squad of specialists covers most missions without it.
Weapon upgrades: damage and crit, and only when shared
Weapon upgrades are the easiest way to burn credits for almost no return, because they apply to a single weapon type. If only one operator carries a Longarm, upgrading it improves one operator. The rule of thumb is to wait until at least two or three squad members share a weapon class before investing.
When you do buy in, base Damage is the reliable choice and unlocks at Level 3 for everything except the Longarm. Critical Chance is worth it only if you are already stacking crit through skills, gear, and Bond upgrades on those operators. Pistol Movement Distance and Rifle Movement Distance, both at Level 2, pay off when several operators share that weapon and you want more repositioning room. Range and Overwatch upgrades are tied to how effective range behaves at your chosen difficulty, so play a few missions and see whether you are missing shots before committing.
Upgrades to skip or delay
- Individual weapon upgrades before your squad composition has settled.
- The Droid Repair Bay if you are not fielding astromechs; it becomes a priority the moment you are.
- Deep Medbay levels while you are finishing missions without casualties.
- Black Market storage and cost nodes beyond the first quality tier, unless credits are plentiful.
- Outer zone influence and Networking pushes into zones whose rewards you do not need.
Side operations expire on timers, and letting some lapse is fine. Chasing every expiring mission pulls your influence in four directions at once and slows the zone tiers that actually change your Den.
How to confirm the credits landed well
You can check each of these without guesswork. After Black Market Quality I, the shop’s stock should list Superior items instead of Basic ones. After Dorn reaches Tier 3, the Den should offer more than one facility upgrade slot in the same cycle. After Teamwork III, operators left at the Den should gain Bond XP while a mission resolves, and after Combat Readiness I you should start encounters with one Advantage already banked.
Get those four in place and the rest of the Den sorts itself out. From there, credits go toward whatever your squad actually fields, which is a much easier decision once your operators are no longer stuck with starting gear.