The four missing children are the backbone of a long run in 99 Nights in the Forest. Every one of them stretches your day limit when rescued, and each one has to be befriended, fed, and kept alive if you want their tents to upgrade and the camp to fill out. The loop is fixed and repeatable, so once you know the order, a 99-day run stops being a gamble.
Quick answer: Free a kid from a dungeon gate to rescue them, then find that kid’s specific trinket in the world. The prompt “Find [Kid]’s trinket to befriend them” is replaced by “[Kid] has been befriended. You need to keep them fed,” which is the only confirmation that the kid is locked in.
Rescuing the kids and how each one extends the day limit
The missing kids board is where the run starts. It tracks which children are available, and a new name unlocks on it as you progress, which is how Koala Kid appears as the fourth and final guest. Each kid sits behind a locked dungeon gate, so you need the tools and combat gear to open it and clear whatever is inside before you can reach them.
The moment a kid is freed, the game prints “A Missing Child has been rescued” along with the number of days added to your survival cap. The bonus grows with each rescue, so the order you find them in shapes how much room you have later.
| Kid | Days added on rescue | Personal items that turn up in the run |
|---|---|---|
| Dino Kid | +2 | Dino Kid’s Crayon |
| Kraken Kid | +3 | Kraken Kid’s Seashell, Kraken Kid’s Kraken Toy, Kraken Kid’s Lunchbox |
| Squid Kid | +4 | Squid Kid’s Squid Toy, Squid Kid’s Pocket Watch, Squid Kid’s Lunchbox |
| Koala Kid | — | Koala Kid’s Koala Toy, Koala Kid’s Dreamcatcher, Koala Kid’s Lunchbox |
Finding trinkets to befriend each kid
Rescuing a child is not the same as befriending one. After the rescue, the objective switches to a trinket hunt, and the trinket is tied to that specific kid. Dino Kid’s Crayon, Kraken Kid’s Seashell, and Koala Kid’s Dreamcatcher are all pulled from the same pool of world loot, which means chests, dungeons, cabins, sheds, and cultist buildings.
Splitting up helps here. Sending one player to a dungeon while the other sweeps a mansion or the Cultist Stronghold covers far more chests per day than clearing everything together. Strongholds are the densest loot, but they are also where cultists hit hardest, so bring healing and be ready to fall back to the campfire.
Lunchboxes and toys show up alongside trinkets and are announced the same way, with lines like “Squid Kid’s Lunchbox has been found.” Collecting them is how you build up each kid’s set over the course of the run.
Feeding the kids, cooking, and farm plots
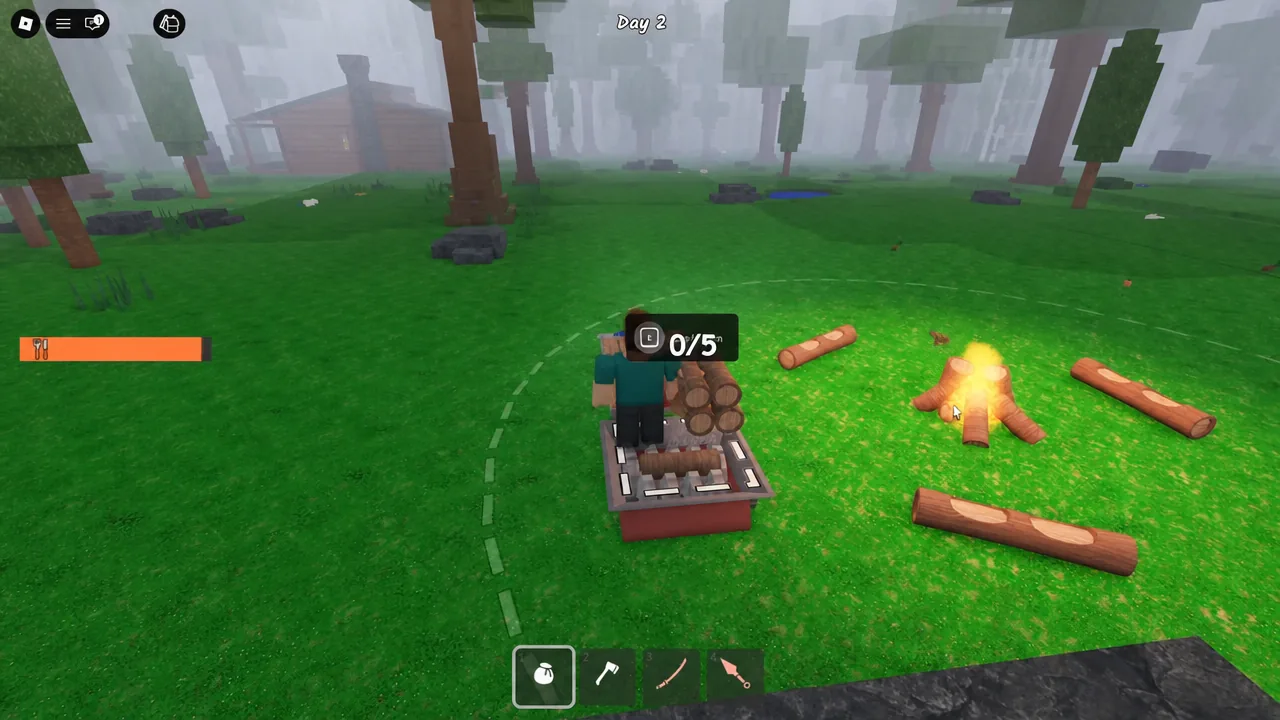
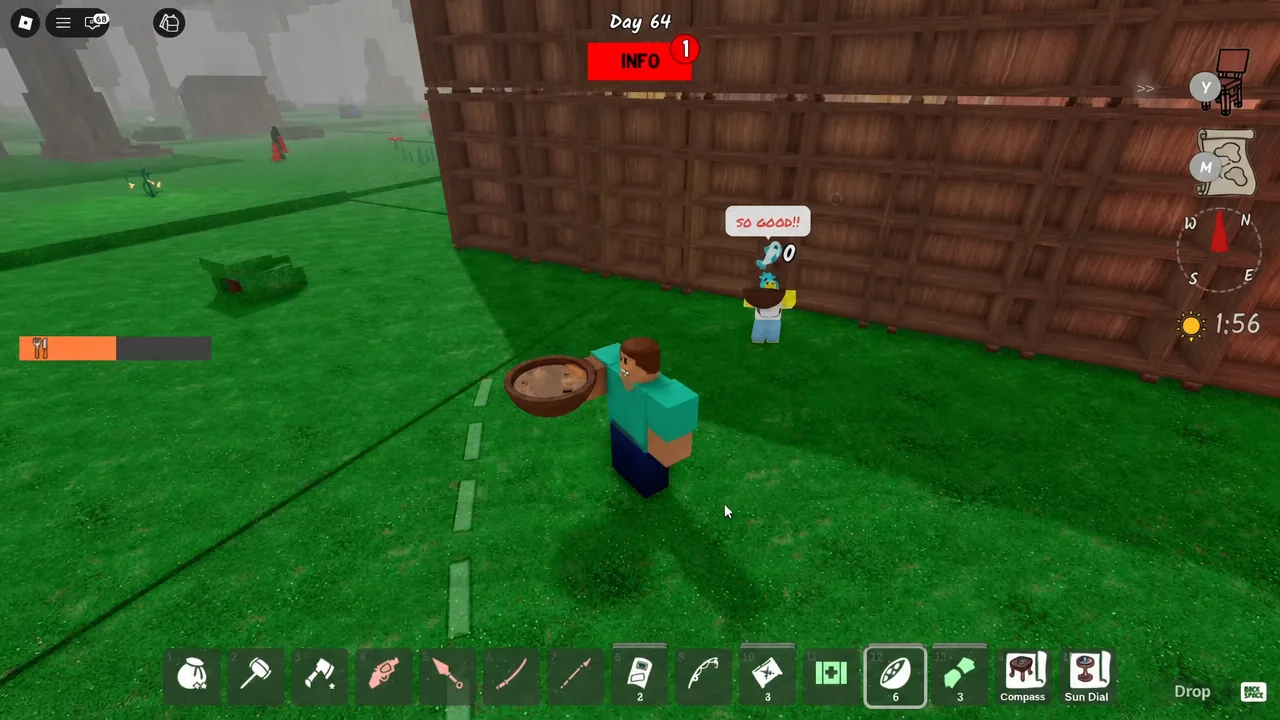
The befriend message spells out the ongoing cost: you need to keep them fed. Four hungry kids burn through supplies quickly, and raw meat is not the answer. The game explicitly tells you to cook meat before eating it, so a campfire and later a Crock Pot are worth building early.
Farm plots take the pressure off. They give you a repeatable crop cycle instead of relying on hunting, but they have a placement rule. Trying to build one too near the fire returns “can’t plant this close to fire,” so lay them out at the edge of your base footprint and expand outward as the fire grows.
Note: keep a stock of cooked food banked before a long trip. Being away on a dungeon run while the kids starve is the most common way a good run collapses.
Healing injured kids and recovering from a death
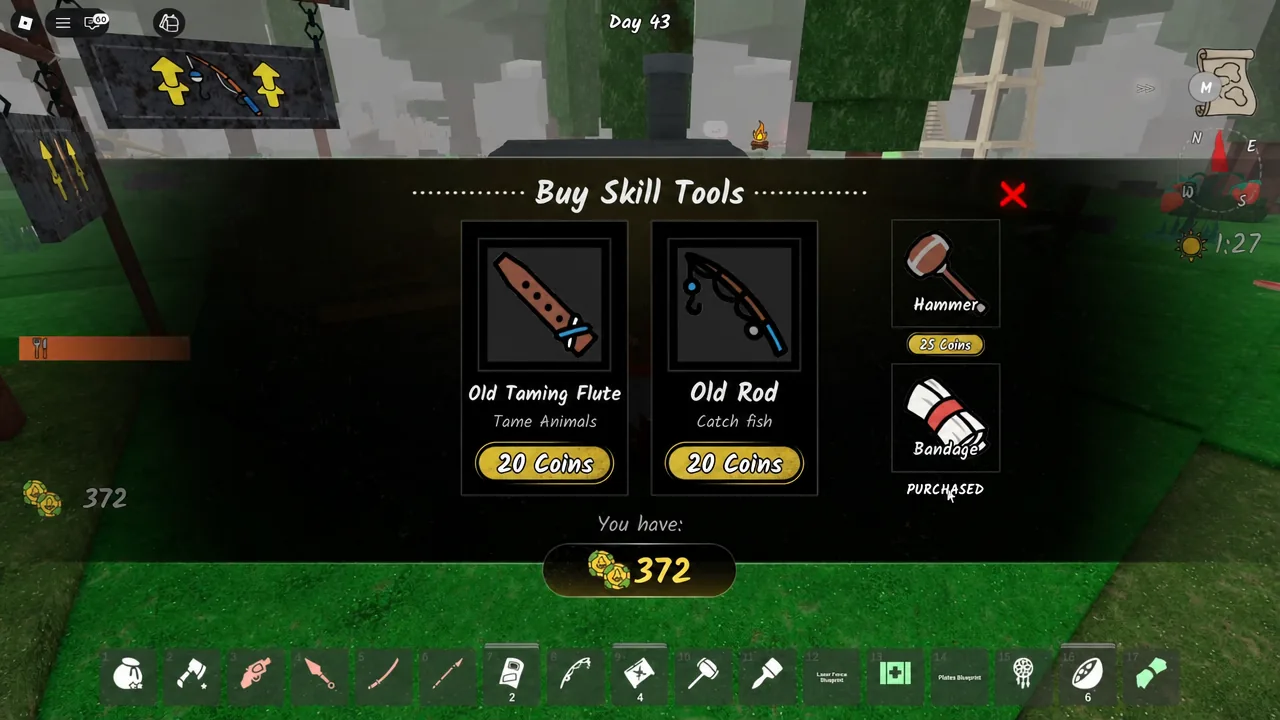
Kids take damage during night raids, and injured kids need to be treated rather than just fed. Skill tools are bought from the shop menu, and Bandages are the item to grab first. Once purchased, the entry is marked PURCHASED in the Buy Skill Tools list, so you can tell at a glance what you already own.
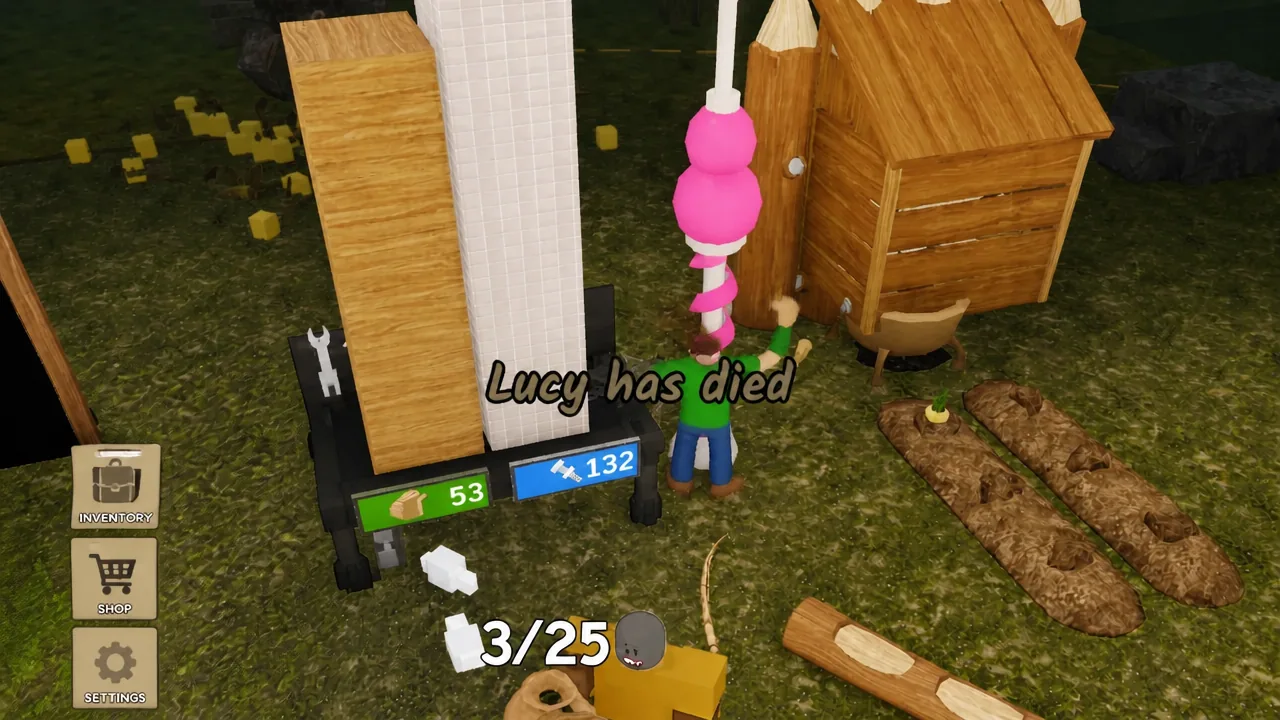
Players can die too, and the alien ship is a real risk. Scanning your face at the ship is one of the more dangerous interactions on the map and can kill a teammate outright. A downed partner can be revived, but the run stalls while it happens, so do risky scans with food, fuel, and defenses already stocked.
Leveling the kids to Level 5
Once a kid is befriended and fed, their level climbs, and Level 5 is the ceiling that matters. Reaching it visibly upgrades that kid’s tent, which is why a decorated camp only really comes together late in a run. Feeding consistently and returning their found items is what drives the progression, so the trinket hunt never stops being useful.
Campfire offerings and revealing the full map
Offerings are burned at the campfire and each one changes how the map treats you. The set includes the Coinsplosion Offering, Red Chest Offering, Blue Offering, Fairy Offering, Apple Tree Offering, Chest Luck Offering, and Fishing Offering. Chest Luck in particular pays off during a trinket hunt, while Apple Tree and Fishing take pressure off your food supply.
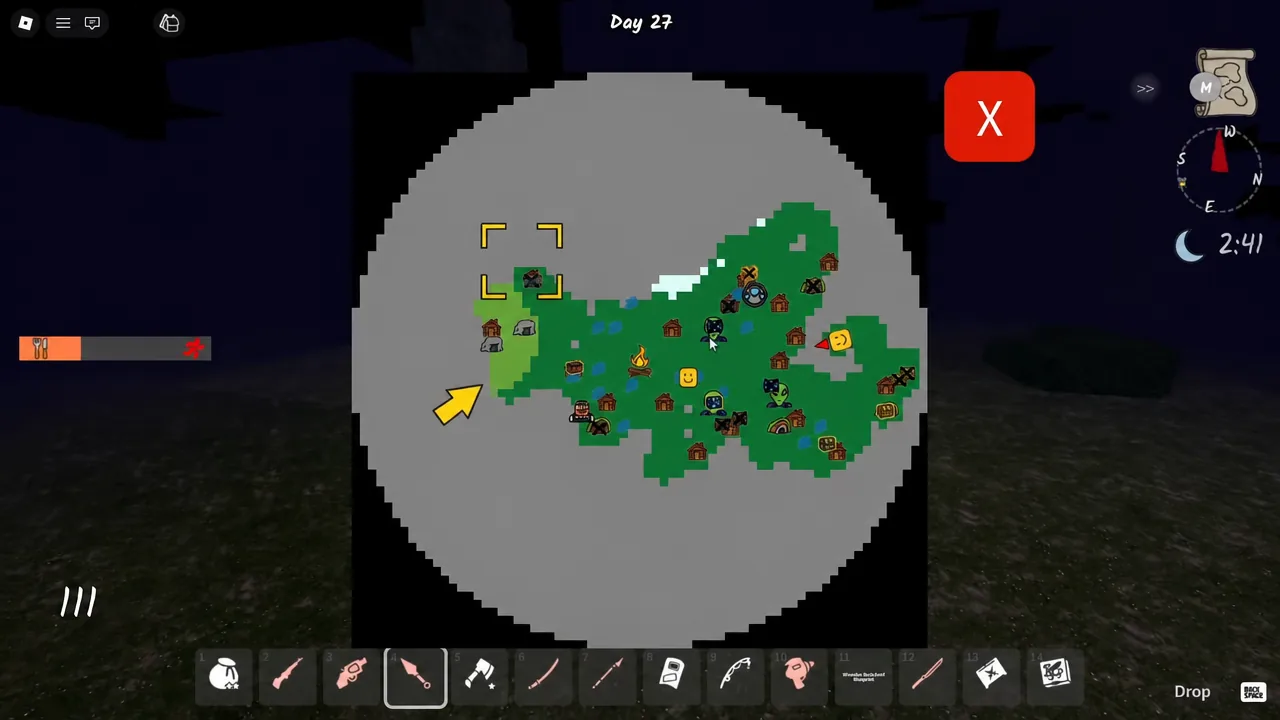
Growing the fire also grows your view of the world. Hitting the second tier prints “Fire level 2 map expanded,” and finishing it gives you “The Fire is Complete. The entire Map is revealed.” That full reveal makes the last stretch of trinket collecting far less random, so feeding fuel into the fire is a progression step, not just maintenance.
Base structures that hold up past Day 50
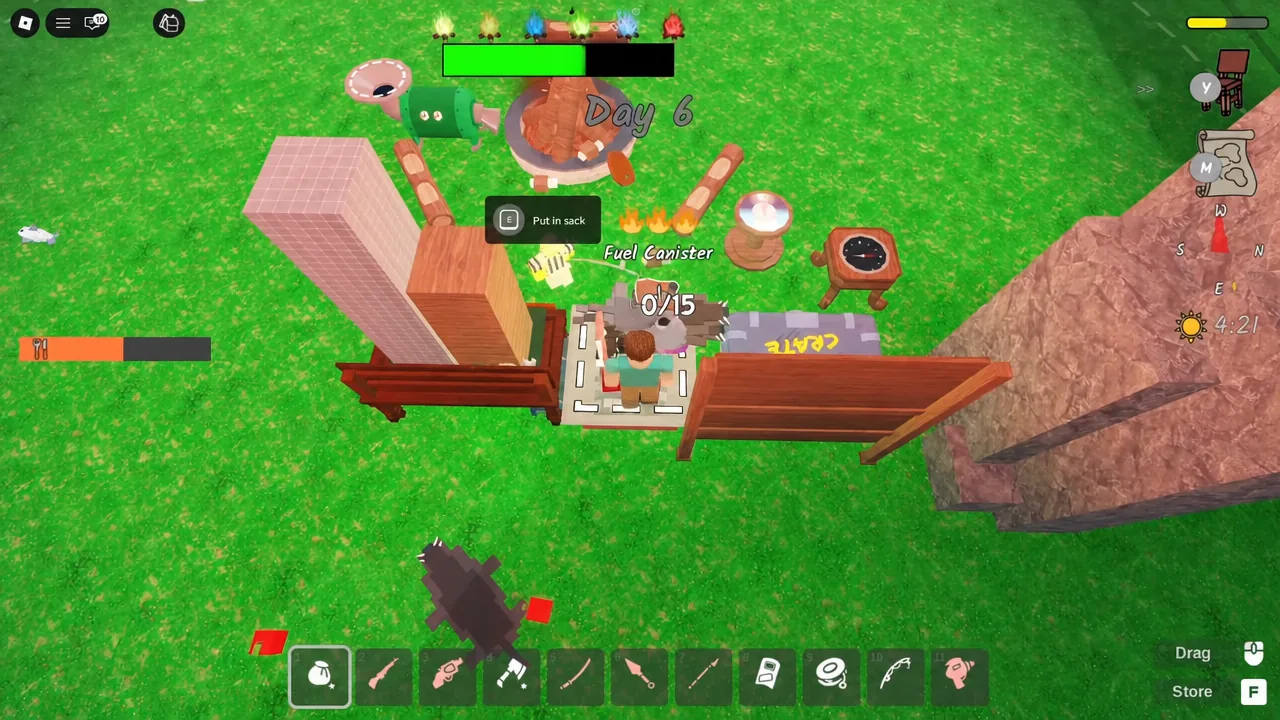
Wolves and cultists both raid at night, and cultist waves get heavier the deeper you go. A Log Wall gives you a perimeter early, and an ammo crate keeps ranged weapons usable during a defense. Later structures like the radar and the laser fence are what carry a base through the Day 90 to Day 99 window.
Everything else runs through the crafting bench, which you upgrade in stages. Each upgrade unlocks more blueprints, including quality-of-life tools like the compass and sun dial, plus Wood Rain Storage for water. Buying blueprints and trading with the Pelt Trader are both faster than grinding raw materials for every item.
Setting up the sleepover camp
The camp build is the payoff once all four kids are at Level 5. Arranging the four tents in a circle keeps the kids grouped together, and each one can be given their own bed, which you can upgrade later. Bookshelves, tables, flags, and painted fences are all bought furniture, so bank coins during the mid-run before you start decorating.
Day 99 is a milestone rather than a hard stop. Clearing it awards diamonds and posts your completion time, and the run can continue well past it — a fully decorated camp is comfortably achievable by Day 108 if the kids stay fed.
How to confirm a kid is befriended, and what blocks it
There is no ambiguity in the confirmation. A rescue posts the “A Missing Child has been rescued” line with the day increase attached. Befriending posts “[Kid] has been befriended. You need to keep them fed.” If you are still seeing “Find [Kid]’s trinket to befriend them,” the kid is rescued but not yet befriended.
| What you see | What it means |
|---|---|
| Kid still listed on the missing kids board | Not rescued yet; find and open their dungeon gate |
| “Find [Kid]’s trinket to befriend them” | Rescued, but the trinket is still out in the world |
| “[Kid] has been befriended. You need to keep them fed.” | Befriended; feeding is now required to keep them and level them up |
| Tent unchanged at camp | The kid has not reached Level 5 yet |
The realistic failure points are narrow. A trinket that hasn’t spawned in the chests you’ve opened simply means more of the map is left to search, which is where the full fire reveal and Chest Luck Offering earn their keep. Beyond that, an unfed or untreated kid will hold your progress back no matter how much loot you bring home, so food and Bandages come before decoration every time.