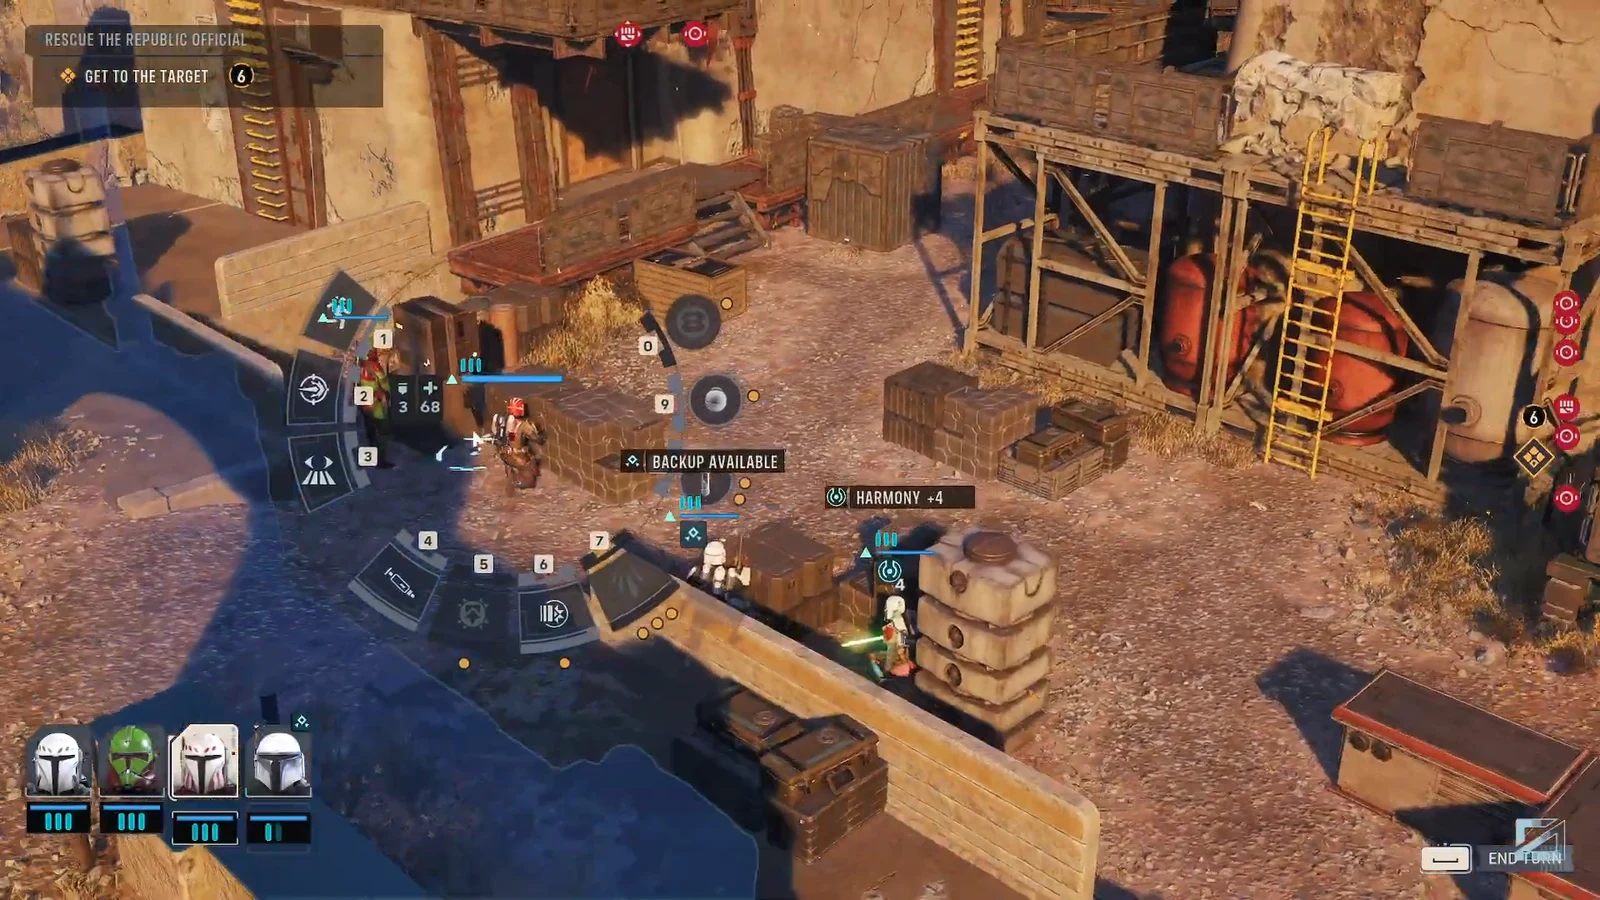
Cantina Takedown is a rescue mission in Star Wars Zero Company that runs on two separate clocks. The first is explicit — a six-turn countdown to reach a captured Republic Officer while Infinite Coil forces hold the street and the rooftops. The second is implied. The moment the officer is freed, the objective flips, reinforcements arrive, and the mission stops being about killing droids and starts being about leaving.
Quick answer: Push straight toward the target on turn one, open with a Droid Popper on the grouped rooftop enemies to daze them, and reach the Republic Officer before “6 TURNS REMAINING” runs out. Then move all five operators into the marked evacuation zone with the officer still alive to close out the mission.
Cantina Takedown objectives and fail conditions
The mission tracker changes twice, and each state has its own requirement. Nothing asks you to clear the map, so any enemy you fight should be one that is physically in the way or shooting at someone you need alive.
| Objective on screen | What it requires |
|---|---|
| GET TO THE TARGET | Move an operator into contact with the Republic Officer before the turn counter empties. |
| 6 TURNS REMAINING | A hard limit on the first phase. It counts down every time your turn ends. |
| RESCUE THE REPUBLIC OFFICIAL | The overall mission goal that stays active through both phases. |
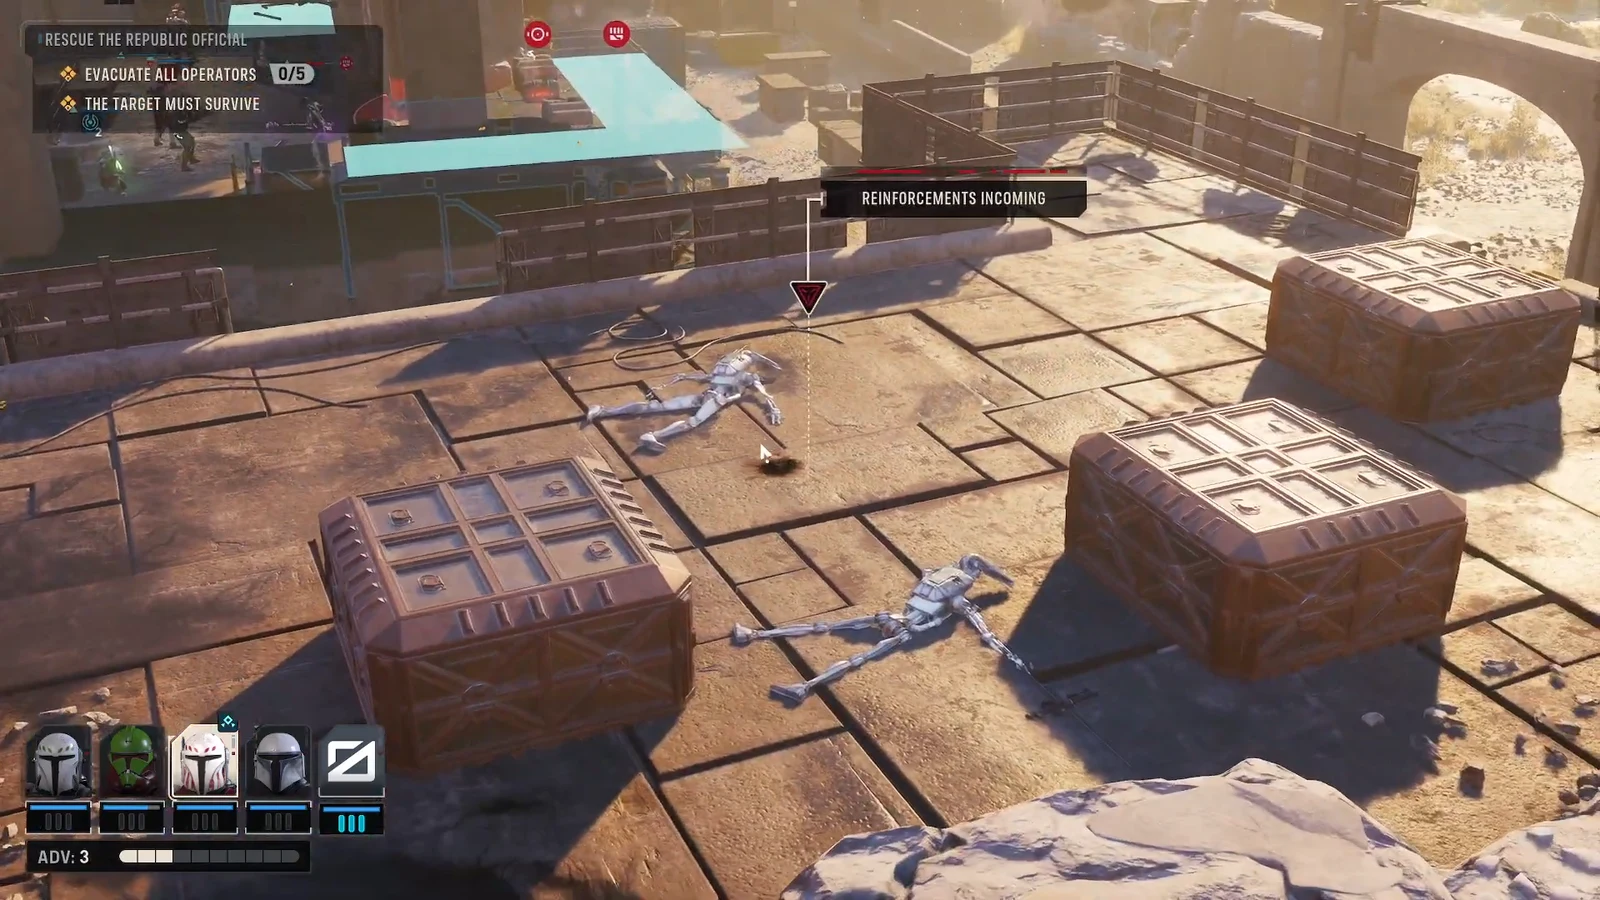
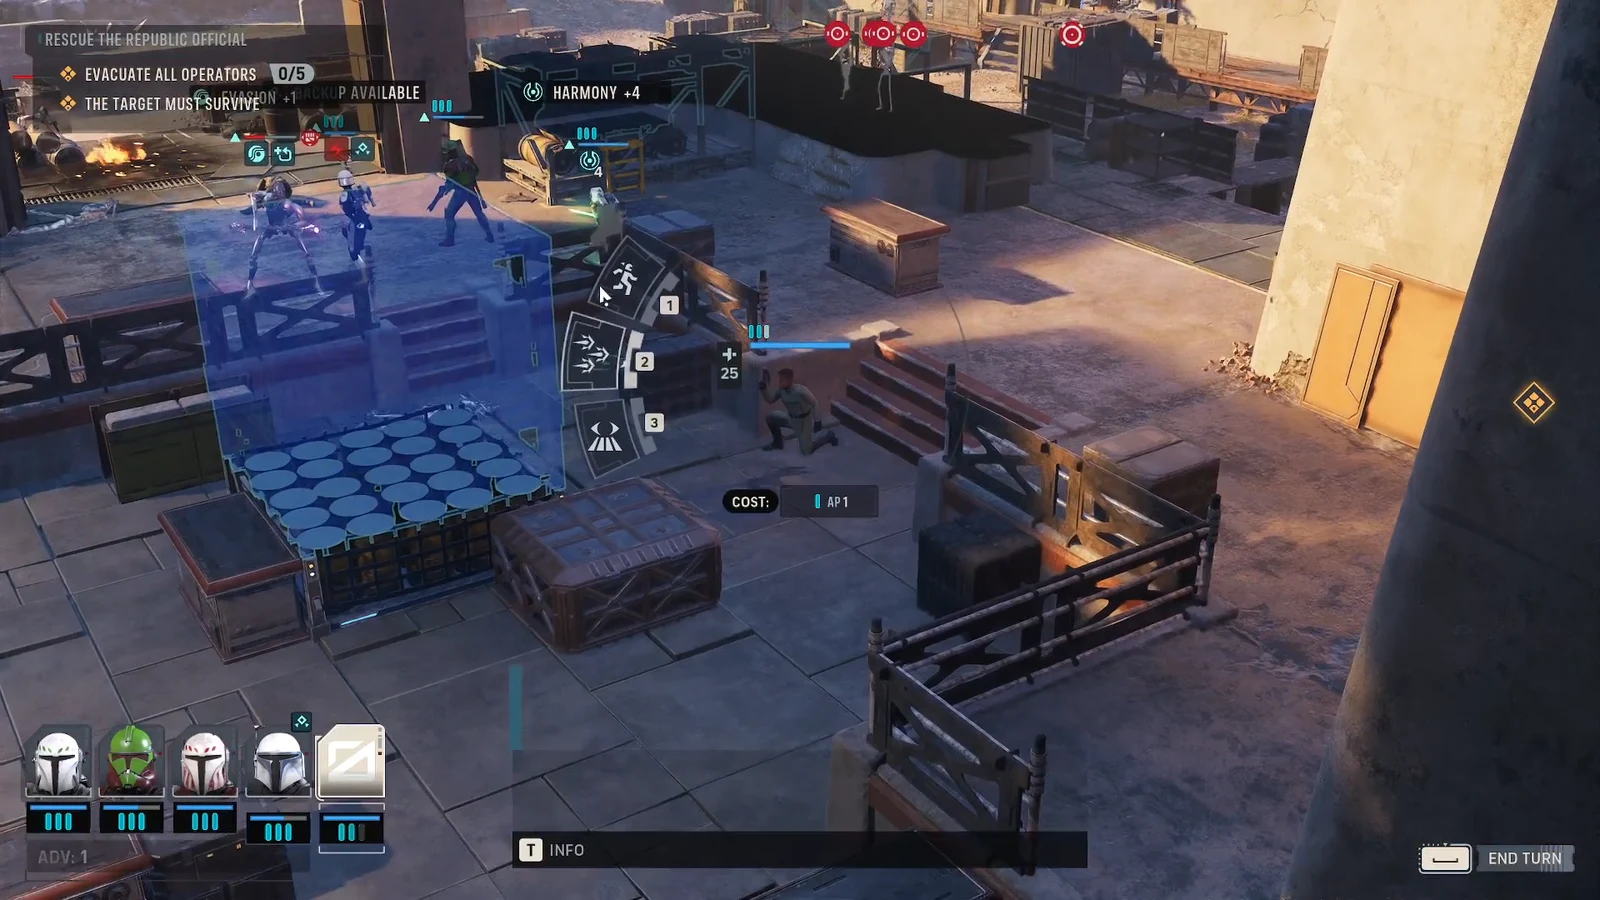
| EVACUATE ALL OPERATORS 0/5 | Five operators, not four, must be standing in the marked evacuation zone. |
| THE TARGET MUST SURVIVE | The Republic Officer dying ends the run of the mission, at any point. |
Note: the 0/5 counter is the detail that catches people out. Zero Company normally fields four operators per mission, and Cantina Takedown gives you an extra body to account for. Everyone in the count has to be inside the zone at the same time.
The abilities that beat the six-turn clock
Every operator gets three action points per turn to move, shoot, and use abilities, and a timed mission punishes anyone spending all three on careful repositioning. The tools below are the ones that buy turns rather than kills.
| Tool | Why it matters here |
|---|---|
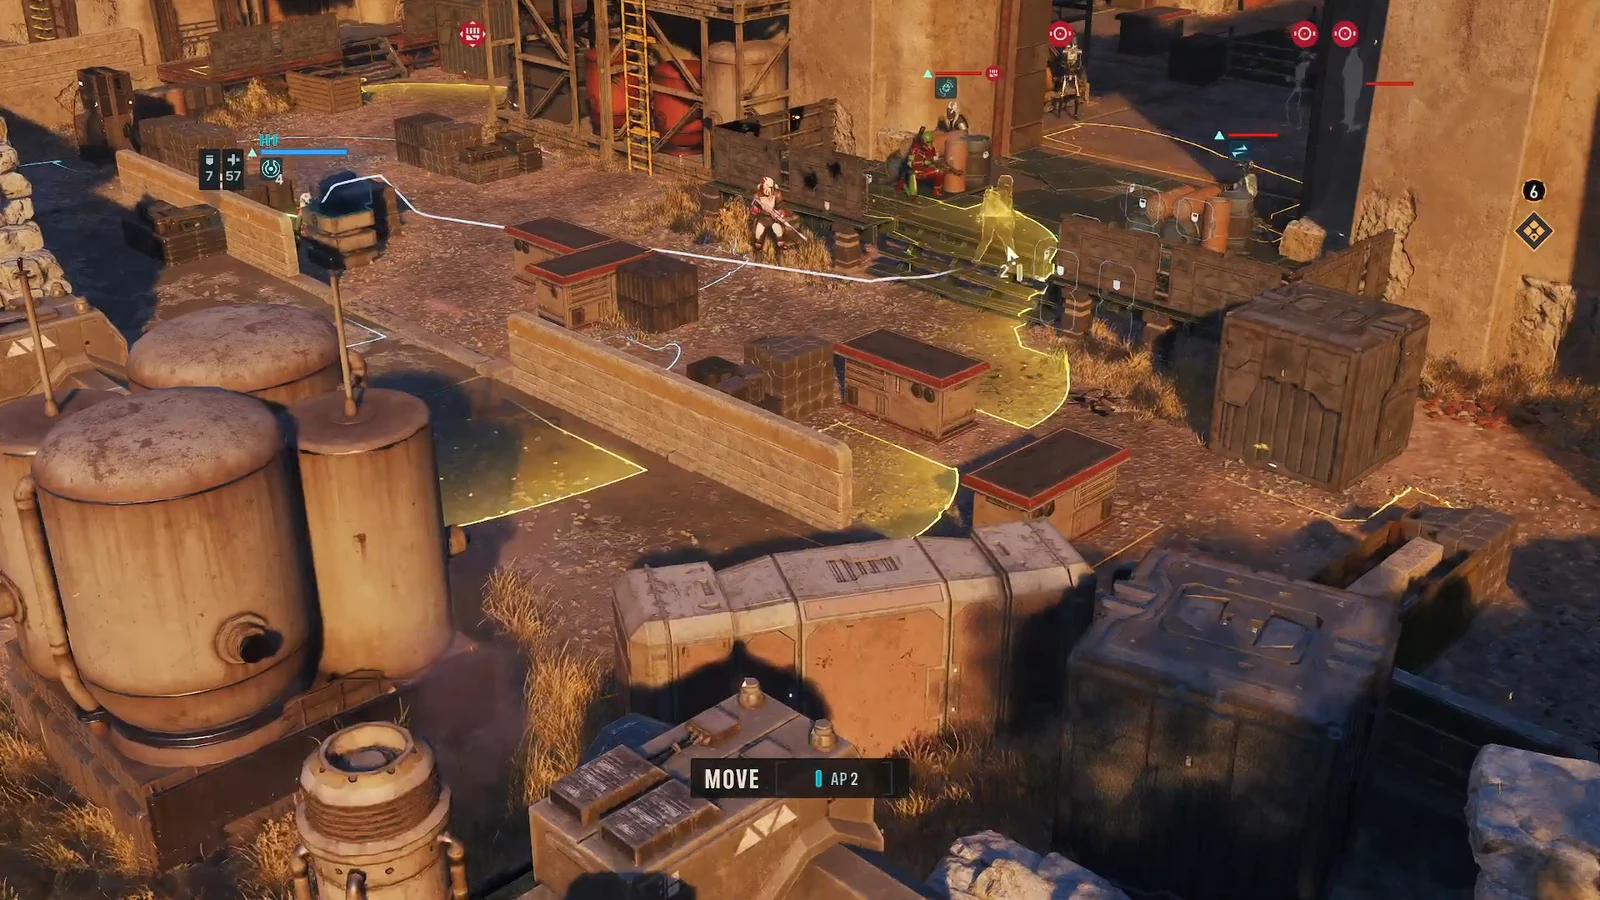
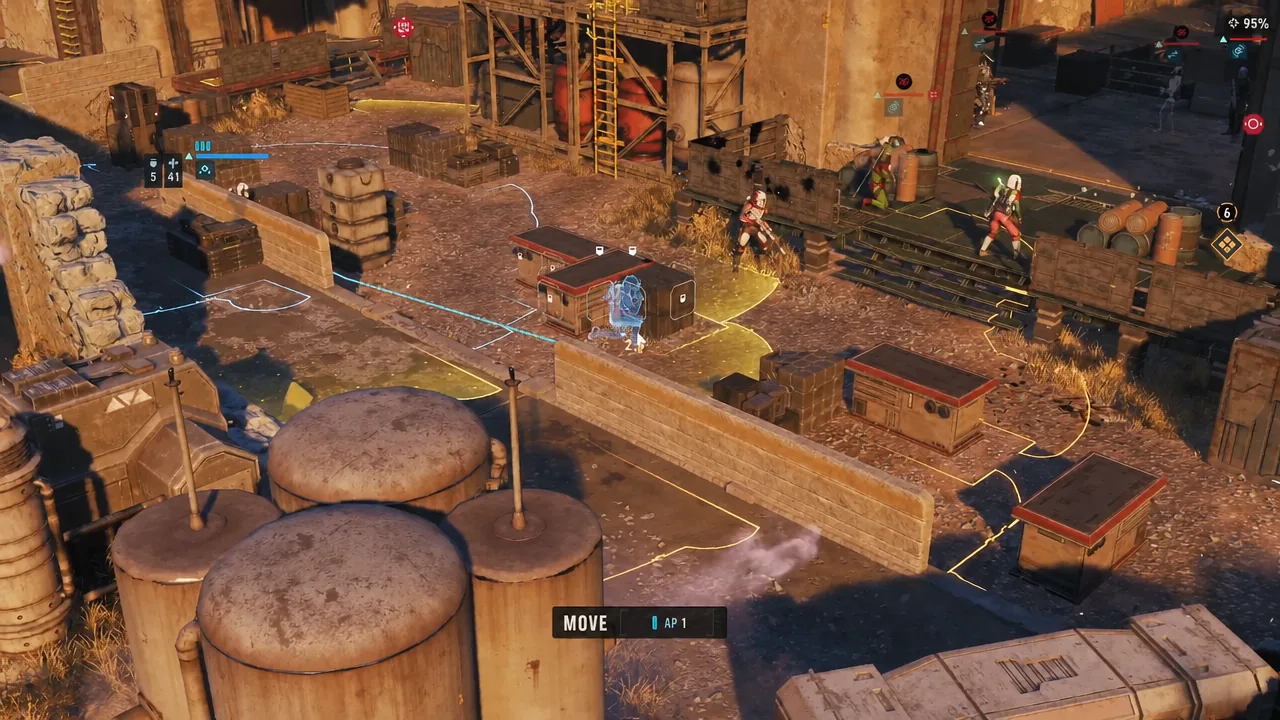
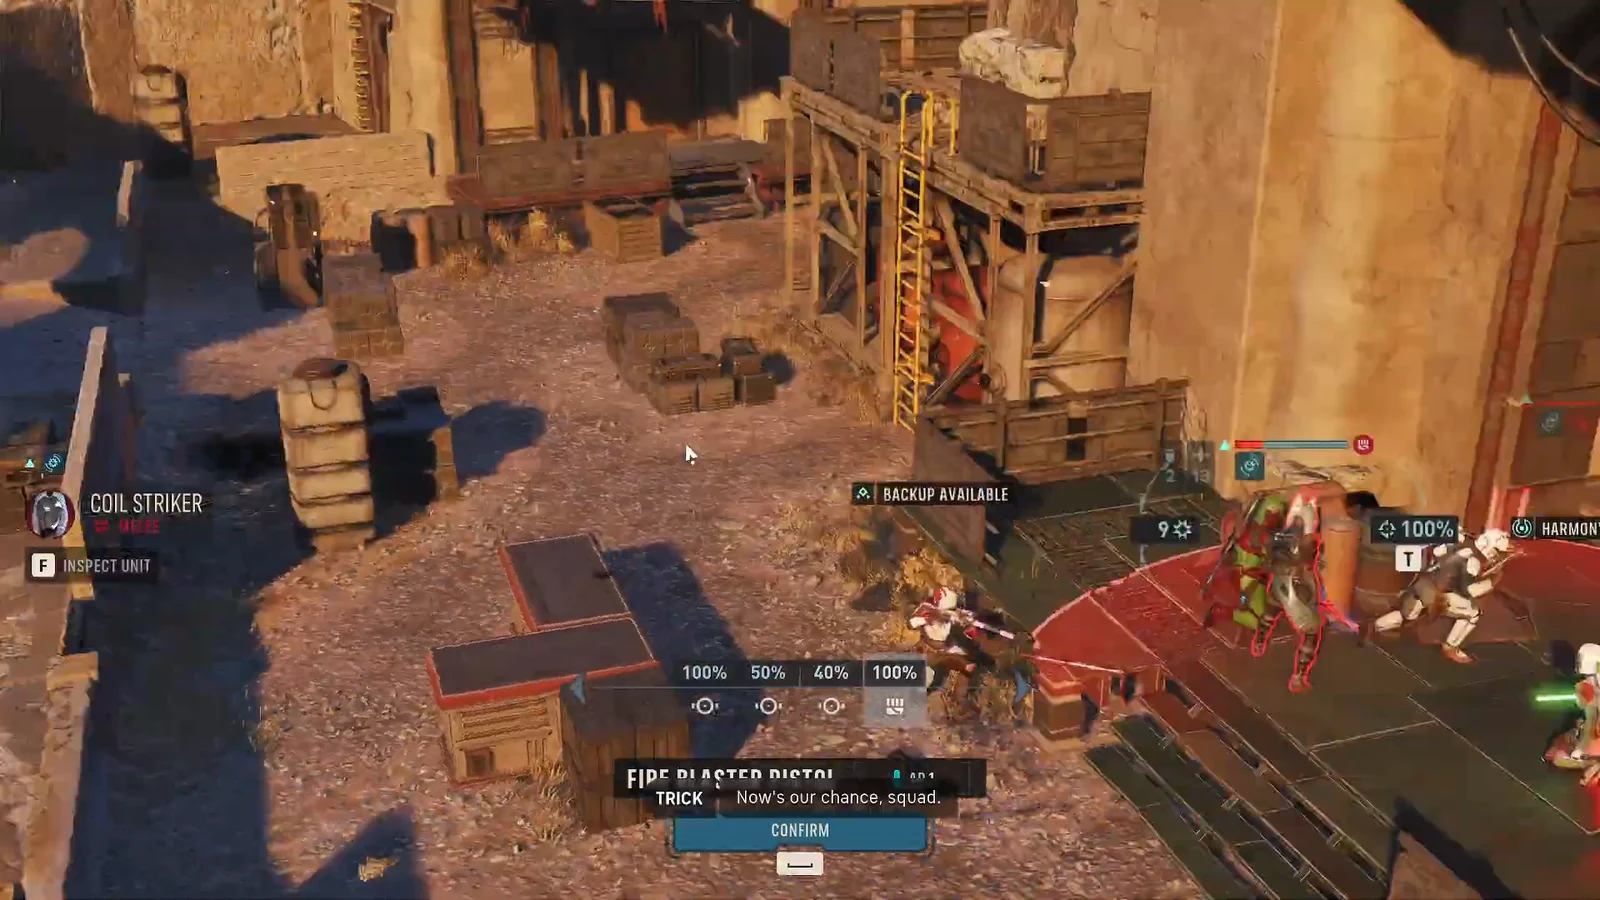
| Droid Popper | An EMP that dazes clustered droids. Best used on the rooftop group on your opening turn, before they can set up fire on the approach. |
| Electroweb Surge III / Electroweb Dart III | Cly Kullervo’s shock abilities, which hit several targets at once and shut down groups blocking the route. |
| Combat Jump II | Cly’s jetpack move. It crosses gaps and rooftops in one action instead of walking the long way around. |
| Tel-Rea Vokoss and the Force | Heavy melee damage on anything guarding the officer, plus Push and Pull to shove enemies into explosives or hazards. |
| Impact Bomb | Damage on demand for tight enemy groups, useful when a clump of Coil troops sits between you and the target. |
| Noble Stance | A defensive posture worth holding when an operator has to stand exposed during the retreat. |
The opposing force is Infinite Coil, and the mix includes Coil B1 Battle Droids, Coil Strikers, Coil Brutes, Coil BX Droid Commandos and a Coil Magnaguard. Ion and shock damage is the efficient answer to the droid half of that list.
Phase 1: Reach the Republic Officer in six turns
Phase 2: Evacuate all five operators
Reaching the officer swaps the tracker to EVACUATE ALL OPERATORS 0/5 and brings in Coil reinforcements. Rescues in this game trigger fresh spawns, and the new arrivals tend to appear between the squad and the exit, so treat the second half as a fighting retreat with a fixed destination rather than a victory lap.
How to tell the mission actually completed
Success is visible on the objective tracker before anything else happens. The evacuation count fills to 5/5, the mission resolves without waiting for the remaining Coil forces to be killed, and you return to the Den with the mission rewards applied.
There are only a few ways it goes wrong, and all of them map directly onto the stated conditions. The turn counter emptying before an operator reaches the officer ends the first phase in failure. The Republic Officer dying at any point fails the mission outright, since the target survival requirement stays active after the rescue. And an evacuation that ends with fewer than five operators in the zone simply does not resolve, which leaves the squad standing in a kill zone while more reinforcements arrive.
One thing worth weighing before you sprint for the exit: Coil units that survive a mission come back stronger in later encounters. On a timed rescue, letting them go is usually the right call, but it is a cost you are paying later rather than a free escape.