Neverness to Everness is generous in its first few hours and stingy after that. The early flood of Fons, pixels, and upgrade materials makes it feel like nothing you spend really matters, and then somewhere around Hunter level 35 the tap closes. Accounts that struggle later almost always made the same mistakes early on: sitting on the Tycoon system, spreading levels across a dozen characters, and burning pixels on whatever the game offered that day.
Quick answer: Finish Chapter 1, complete Chiz’s side quest to unlock the Tycoon system, then push Tycoon rank as your top priority. Save 1,000,000 Fons for the Eden Apartments, pick one core team, and reserve 180 pixels every week for Pilgrimage before spending anything else.
Unlock the Tycoon system as early as possible
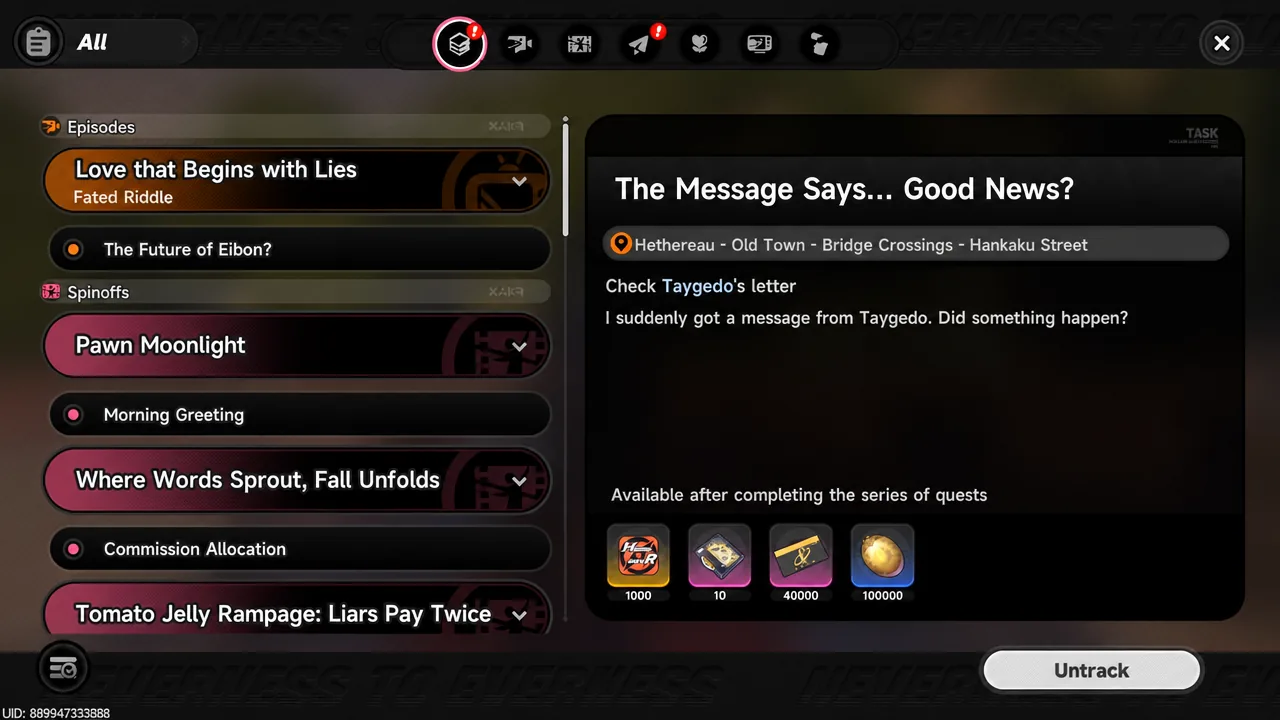
The main story is the gate for nearly everything, so run it first and keep tracking objectives instead of wandering off into the city. Chiz’s side quest becomes available after Chapter 1, and finishing it opens the Tycoon system.
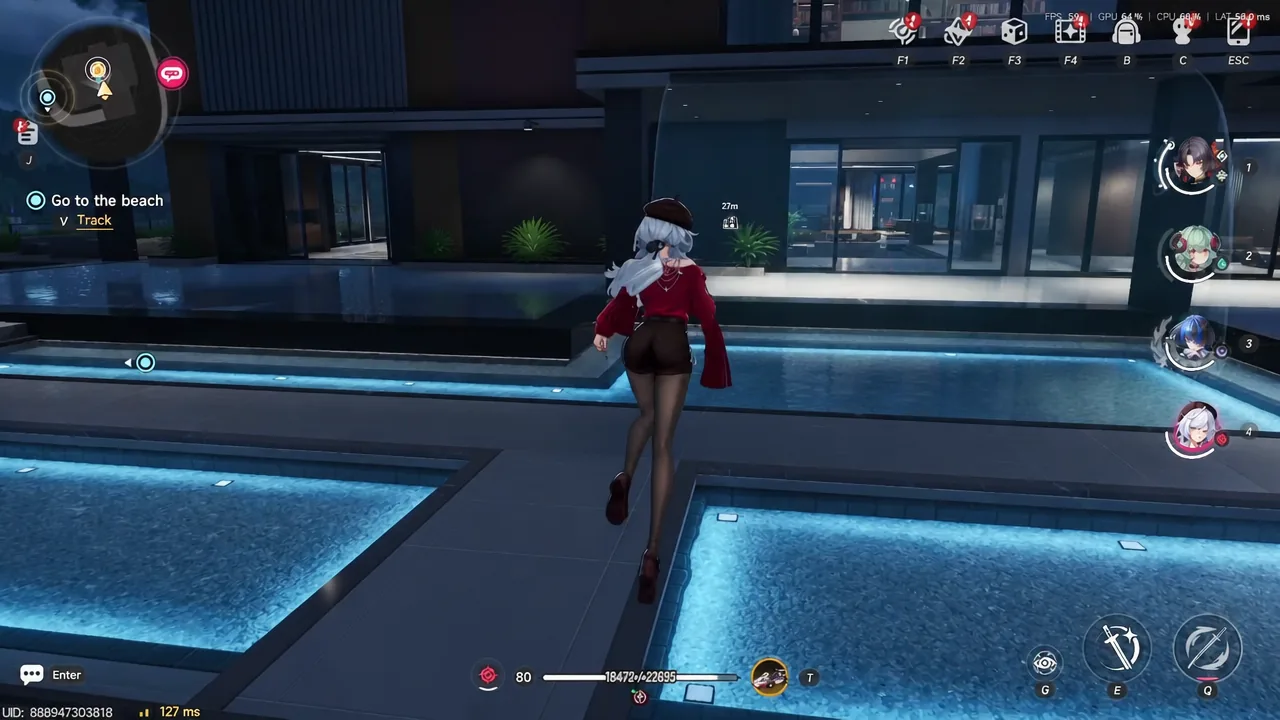
Tycoon rank is the single most valuable early investment because it raises your stamina cap, widens the Hunter Exchange, and hands over the S-class character Chiz. The stamina ceiling reaches 700 at Tycoon level 23, which changes how much you can farm in a day. Chiz then generates up to 40,000 Fons daily, with a stored cap of 250,000 Fons at A6, so collecting regularly matters.
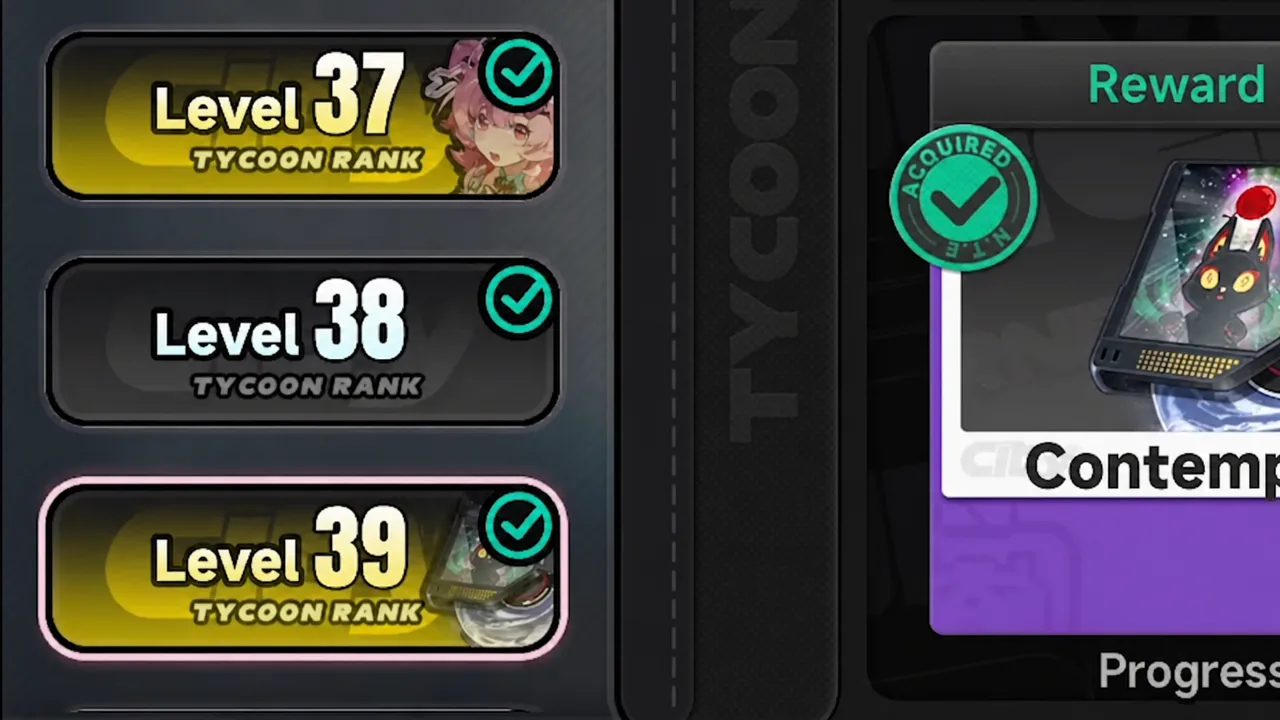
To confirm it is live, hold the Radial Menu button — TAB on keyboard, L1 on a PlayStation controller, LB on Xbox — and look at the bottom-right slot, where City Tycoon sits by default.
Where your Fons income comes from
Fons is the currency that gates housing, upgrades, and most quality-of-life purchases, and it comes from a handful of repeatable sources rather than combat drops. Set all of them up early and the 1,000,000 Fons goal stops feeling impossible.
| Source | Payout | Requirement |
|---|---|---|
| Chiz | Up to 40,000 daily (250,000 stored at A6) | Tycoon system unlocked |
| Cafe by Origen | 150,000–170,000 per 72 hours | Shop investment and character life skills |
| Mammon boss | 50,000–100,000 weekly | Egyptian cat furniture |
| Gold vaults | 10,000–15,000 weekly | Found around the city |
| Hethereau Hobbies | Scales with stamina spent | Weekly stamina dump |
The Cafe is the biggest single lever. Investing in shops and leveling your characters’ life skills raises foot traffic, which pushes revenue toward the 170,000 Fons ceiling. Because it caps at 72 hours, collecting every other day is enough — leaving it for a week wastes income.
Buy the Eden Apartments before anything else
The Eden Apartments cost 1,000,000 Fons and raise your character pixel cap from 240 to 360. That is a permanent 50 percent increase to how much stamina you can bank, which quietly doubles as your farming ceiling once you start chasing boss materials. The purchase also comes with an anomaly butler that sweeps domains instantly.
Note: treat this as a savings target, not an impulse buy. Do not spend down to zero on furniture or cosmetics until the apartment is bought, with one exception — the Egyptian cat furniture, since it is what lets you fight the Mammon boss for weekly Fons.
Pixel spending by Hunter level
Pixels are your stamina, and the correct spend changes as you level. Dumping them into boss materials at level 20 leaves you without the EXP and money to actually use those materials, and the reverse is true later.
| Stage | Spend pixels on |
|---|---|
| Before level 35 | Character EXP and Beetle Coins |
| Level 35–45 | Boss materials for your core team |
| Level 40–45 onward | High-rarity console farming |
| Every week | 180 pixels held for Pilgrimage |
Pilgrimage runs cost 60 pixels each and you get three per week, so the 180-pixel reserve is non-negotiable. Set it aside first, then spend whatever is left on the bracket you are currently in.
Standard banner discount and building one core team
New accounts get a discount on the standard banner, where the first 10-pull costs eight pulls instead of ten. Reaching 50 pulls on that banner awards a free character selector, which is the cleanest way to fill a gap in your lineup rather than gambling on it.
Once you have that selector, decide on a team and stop pulling levers elsewhere. Match characters by their synergies instead of stacking whoever has the highest damage number, then funnel every material into those units.
Do not over-invest in A-rank characters or spare Arcs
A-rank characters are useful for clearing early content, but pouring materials into them past what your current stage needs is the most common way accounts stall. Haniel is the exception worth real investment. Everyone else on the A-rank roster should get the minimum required to keep your team functional.

Arcs follow the same rule. Only level the Arcs that are equipped on characters you actually field. An Arc leveled for a unit sitting on the bench is a material loss you feel later at the boss-material stage.
The daily and weekly routine that keeps income flowing
The routine is short, and skipping it is what makes an account fall behind rather than any single bad pull. Daily tasks take a few minutes; weekly ones are where the large Fons and material payouts sit.
| Cadence | What to do |
|---|---|
| Daily | Clear daily quests, spend pixels, collect Cafe income, check Nakupa’s Pool, gift characters to raise bonds |
| Weekly | Spend stamina on Hethereau Hobbies, run Pilgrimage three times, defeat the Mammon boss, open gold vaults around the city |
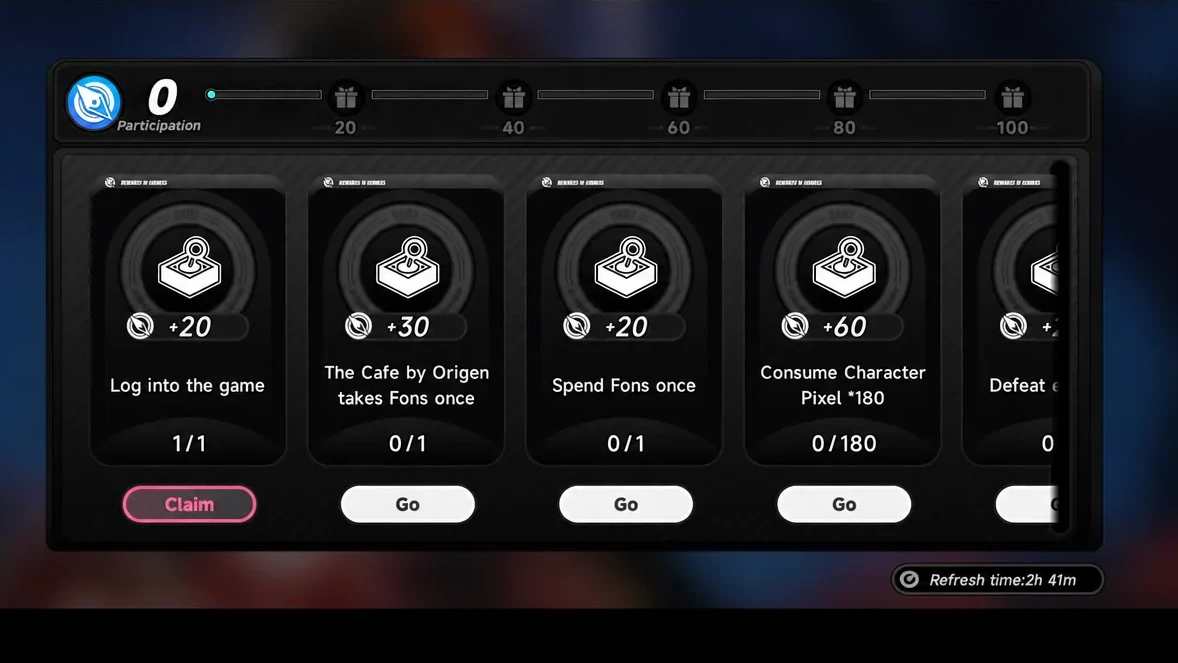
Daily quests are claimed from the participation screen, and rewards do not collect themselves — an unclaimed reward stays unclaimed until you tap it.
Side quests worth doing, and why getting arrested helps
Hethereau has more side content than you can reasonably clear, so filter it. Prioritize quests that unlock bosses tied to the characters you are actually building — Baicang’s and Morphix’s quest lines are the obvious examples — and leave the rest for when you need exploration rewards. Adventure content is reachable straight from the main menu.

Getting arrested is not a punishment here. Jail opens unique escape routes and their associated rewards, and pushing your heat to five stars leads to a high-difficulty boss fight. It is content, not a setback, so there is no reason to play cautiously around the police.
Put in order, the whole plan is short. Push the main story, clear Chiz’s side quest and level Tycoon, bank 1,000,000 Fons for the Eden Apartments, lock in one team, match pixel spending to your level bracket, and keep the daily and weekly loop running. Do that and the mid-game resource crunch never really arrives — the accounts that hit a wall are the ones that spread everything thin before the systems that pay for it were switched on.