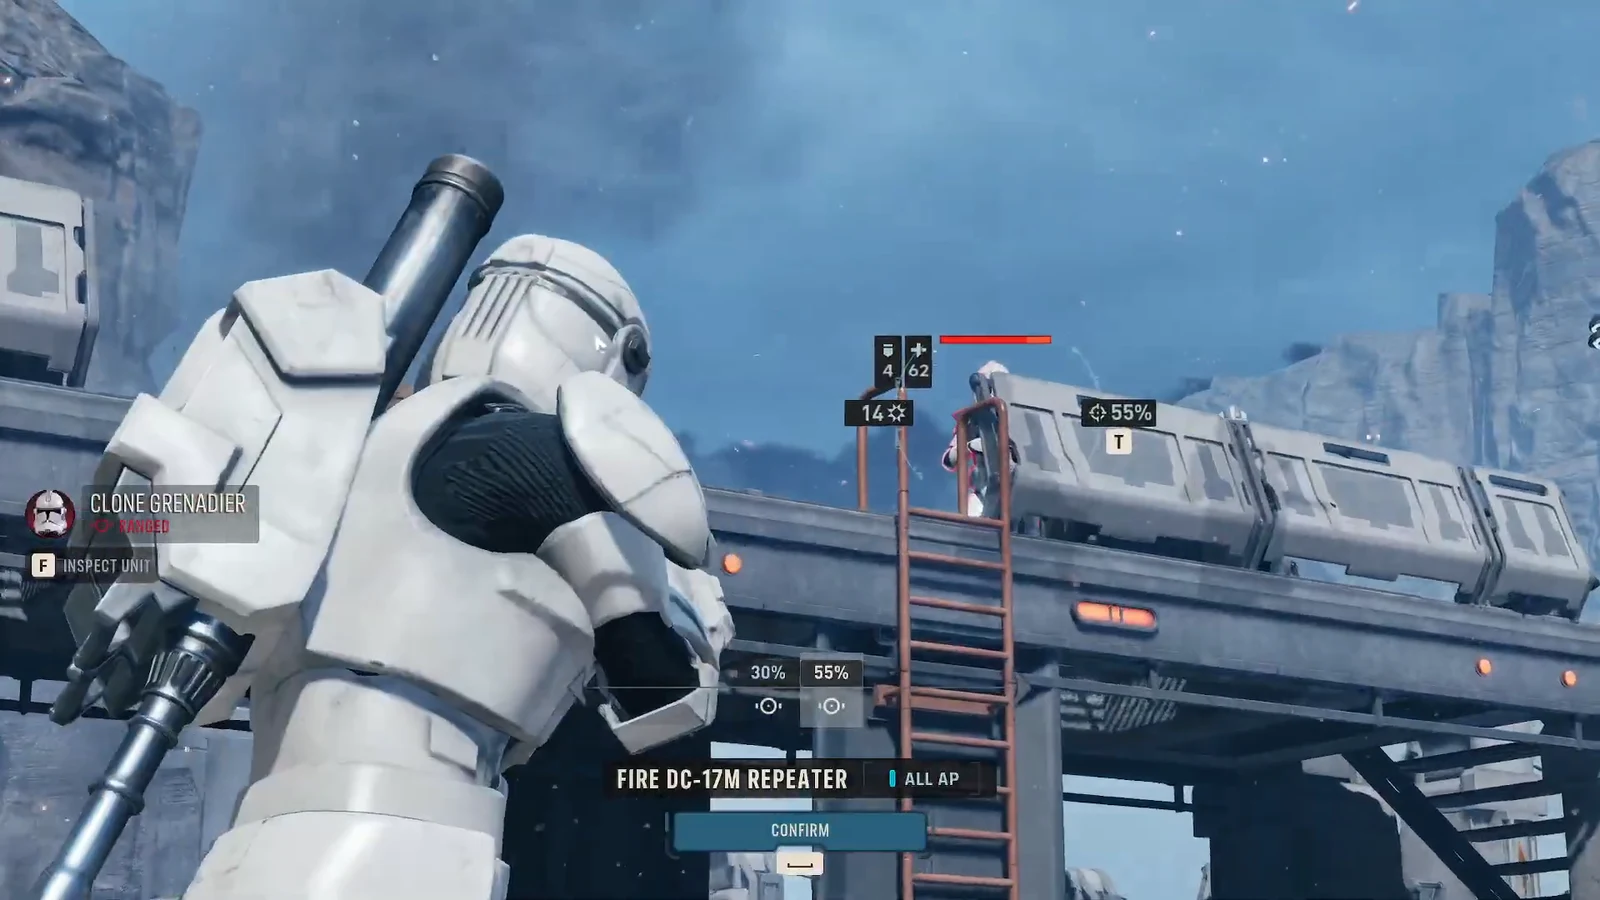
Detainment Protocol is a two-part fight. The first half is a race against a turn counter to reach a captured astromech held behind an elevated bridge. The second half flips the mission on its head, turning your strike squad into an escort detail with a droid that cannot be healed by conventional means and a squad of Stormtroopers dropping between you and the exit.
Quick answer: Fight through the bridge and interact with PICO-5 before the six-turn counter runs out, then end a turn with all five operators and the astromech standing inside the green evacuation grid on the right side of the map.
Detainment Protocol mission conditions
Two objectives run back to back, and the second one only appears once you touch the droid. Read the banner at the top of the screen after every objective change, because the win condition is not the same one you started with.
| Element | Detail |
|---|---|
| Opening objective | GET TO THE ASTROMECH |
| Turn limit | 6 TURNS REMAINING when the mission starts |
| Squad | Five operators — Hawks, Trick, Cly Kullervo, Fred and Bond |
| Target | PICO-5, tagged on the battlefield as CAPTURED ASTROMECH |
| Second objective | EXTRACT THE ASTROMECH, with EVACUATE ALL OPERATORS and THE ASTROMECH MUST SURVIVE |
| Enemies | Clone units holding the overhead bridge, then Stormtrooper reinforcements |
| Completion | All five operators plus PICO-5 end a turn inside the green evacuation grid |
Abilities that decide the fight
The map funnels enemies into tight clusters twice — once on the bridge, once at the evacuation route. Anything that hits multiple targets or moves a body out of the way is worth more here than raw single-target damage.
| Ability | Why it matters here |
|---|---|
| Call for Backup | Lets a second operator add fire to the same target in one turn, which is how you delete bridge defenders quickly |
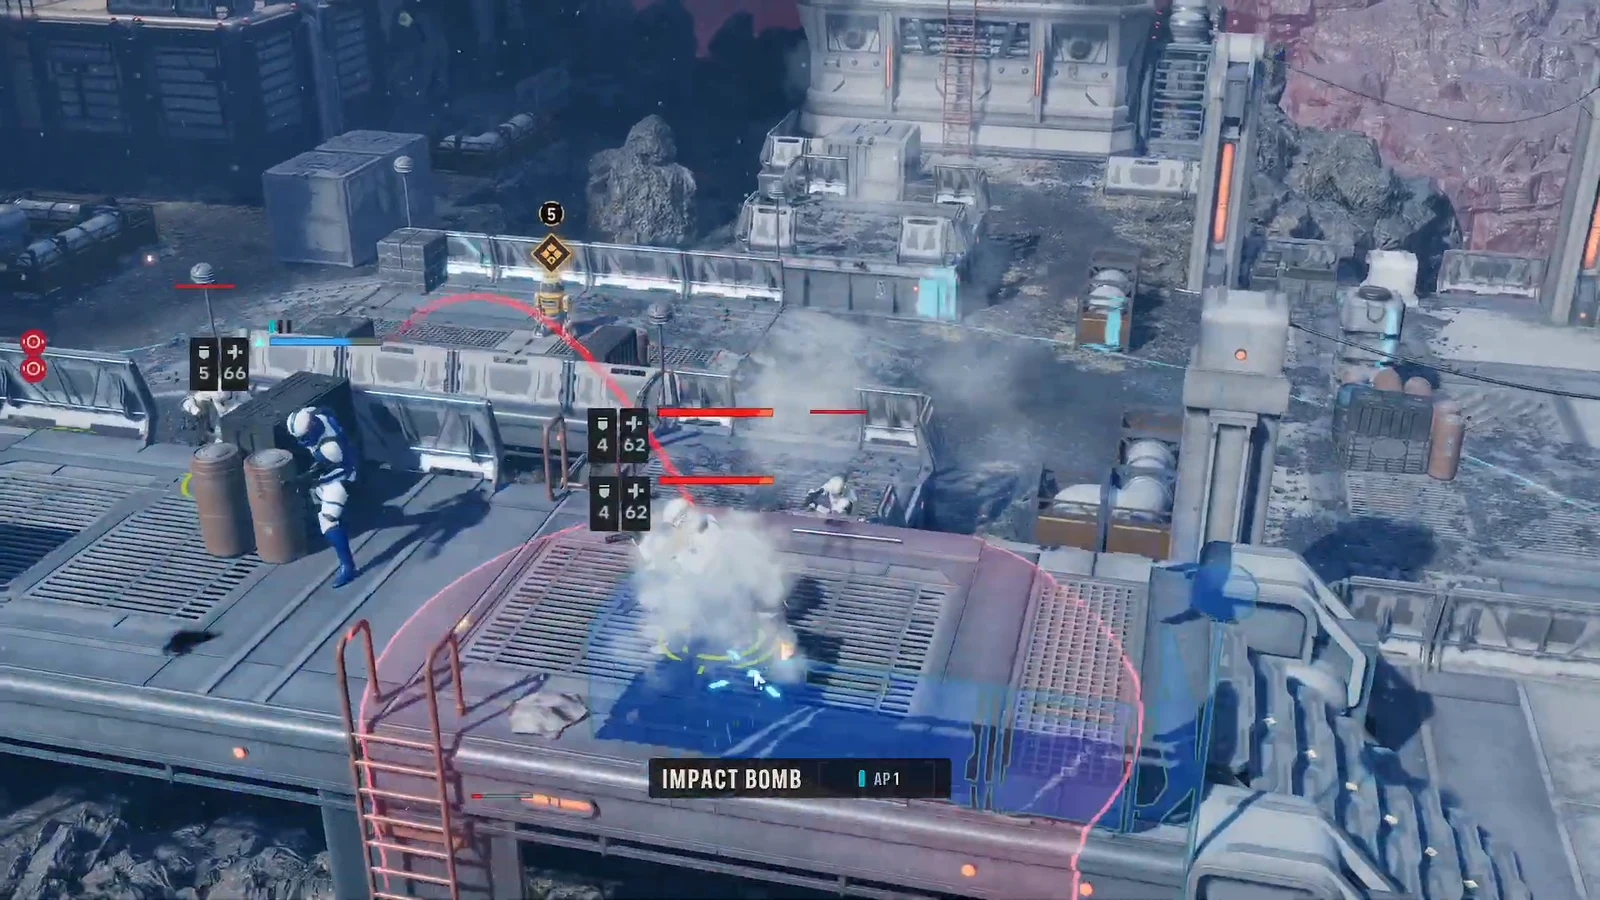
| Sweeping Salvo III | Wide-area attack that clears several enemies standing shoulder to shoulder on the bridge |
| Impact Bomb | Thrown explosive for stacked targets you cannot line up with normal fire |
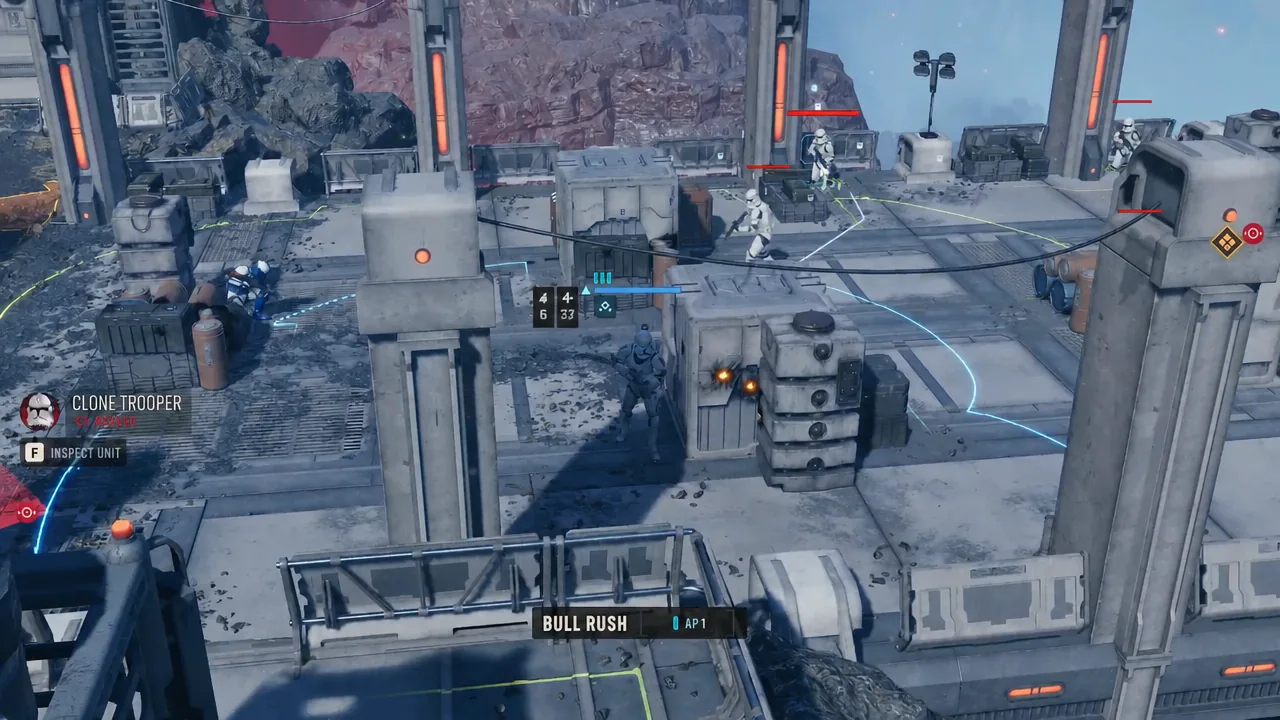
| Bull Rush | Melee shove that physically displaces an enemy standing in your path to the evac zone |
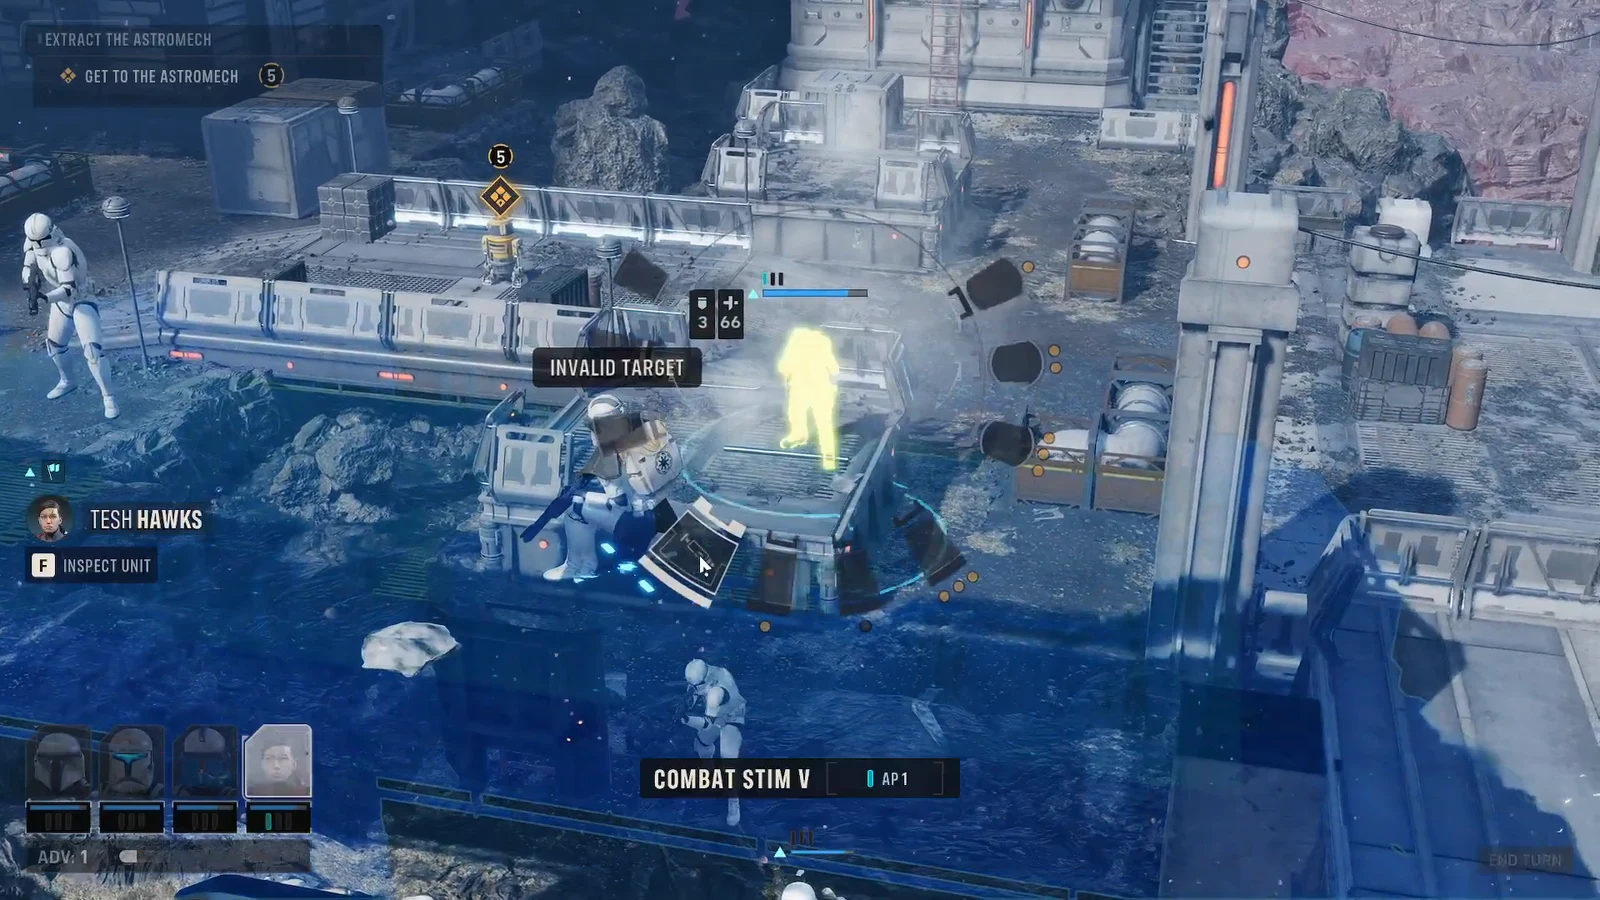
| Combat Stim V | Stat buff to apply before a push; it only lands on valid targets |
| Taunt and Bulwark | Hold a chokepoint with a durable operator while the rest of the squad moves |
Phase one: reach the astromech before the six-turn clock expires
What changes the moment you secure PICO-5
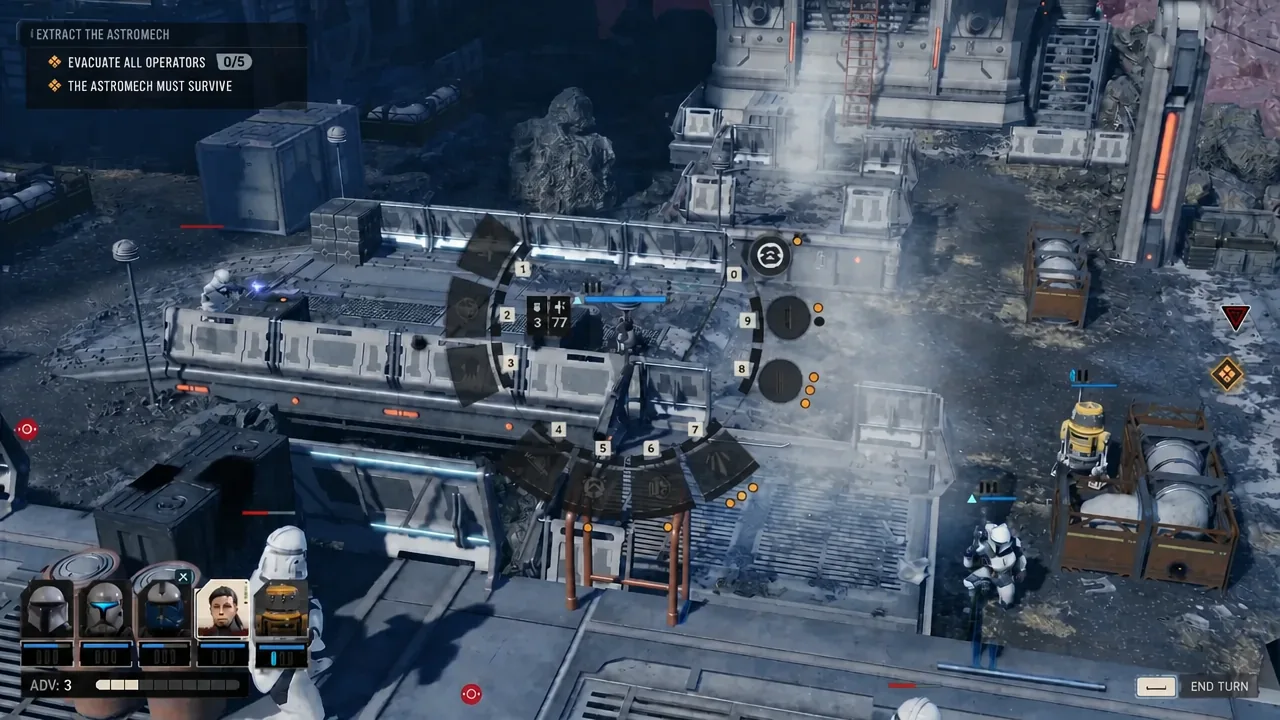
Freeing the droid immediately rewrites the objective. The banner switches to EXTRACT THE ASTROMECH, and two conditions get pinned underneath it — EVACUATE ALL OPERATORS and THE ASTROMECH MUST SURVIVE. A REINFORCEMENTS INCOMING warning fires at the same time.
PICO-5 also becomes a unit you control, with its own turn and its own kit. That includes Self Repair, Enhanced Scanners, Deep Target Scan and Built-in Comlink. Treat the droid as a fragile sixth body you now have to walk across the map, not as an extra gun.
Note: A medic cannot patch up an astromech. Self Repair is the only way to restore its health, so use it the moment the droid takes meaningful damage instead of saving it for later.
Phase two: clearing the path to the evacuation zone
How to confirm the mission completed, and why it fails
Success is unmistakable. With all five operators and PICO-5 standing inside the green evacuation grid at the end of your turn, the mission resolves on the spot rather than rolling into another enemy activation.
There are only a few ways this one goes wrong. The six-turn counter runs out before anyone reaches the droid. PICO-5 dies during the escort, which breaks the survival condition outright. Or the squad reaches the zone with a straggler still outside the grid while Stormtroopers occupy the tiles you needed, which is exactly the situation Bull Rush exists to solve.
Played cleanly, Detainment Protocol rewards restraint more than aggression. Win the bridge with focused fire and one good area attack, spend the remaining turns walking rather than shooting, and the extraction takes care of itself.