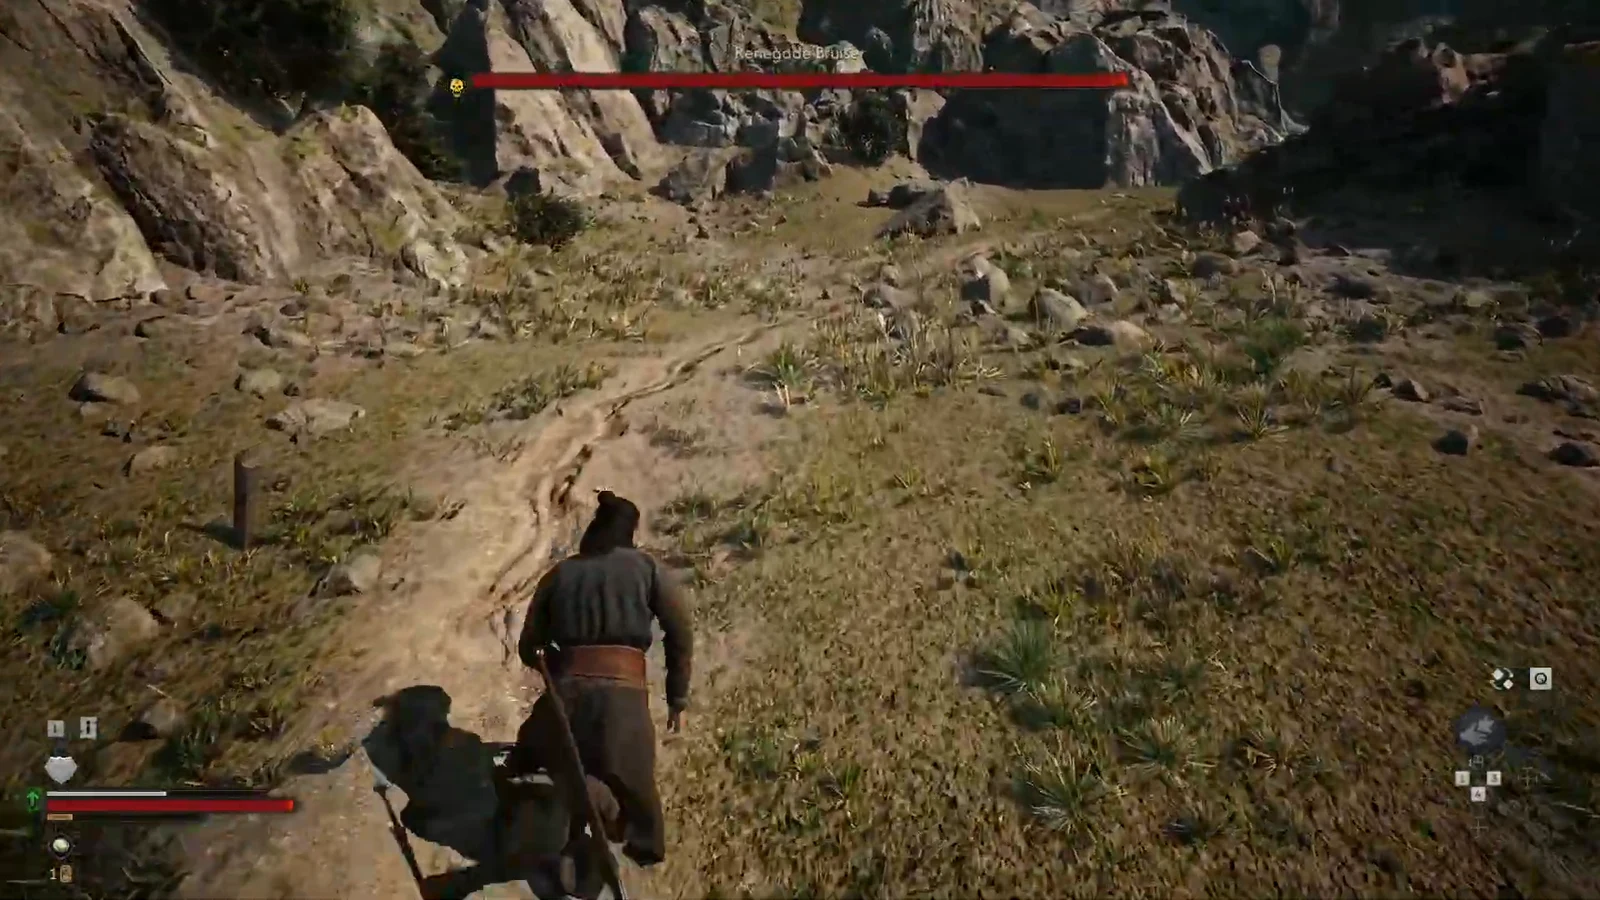
Laslea Glen hides a small bandit stash behind two fights and one hour of digging. The map that points to it sits in plain view inside an occupied bandit house, and the chest it marks is buried in a cave with a very large animal sleeping in front of it.
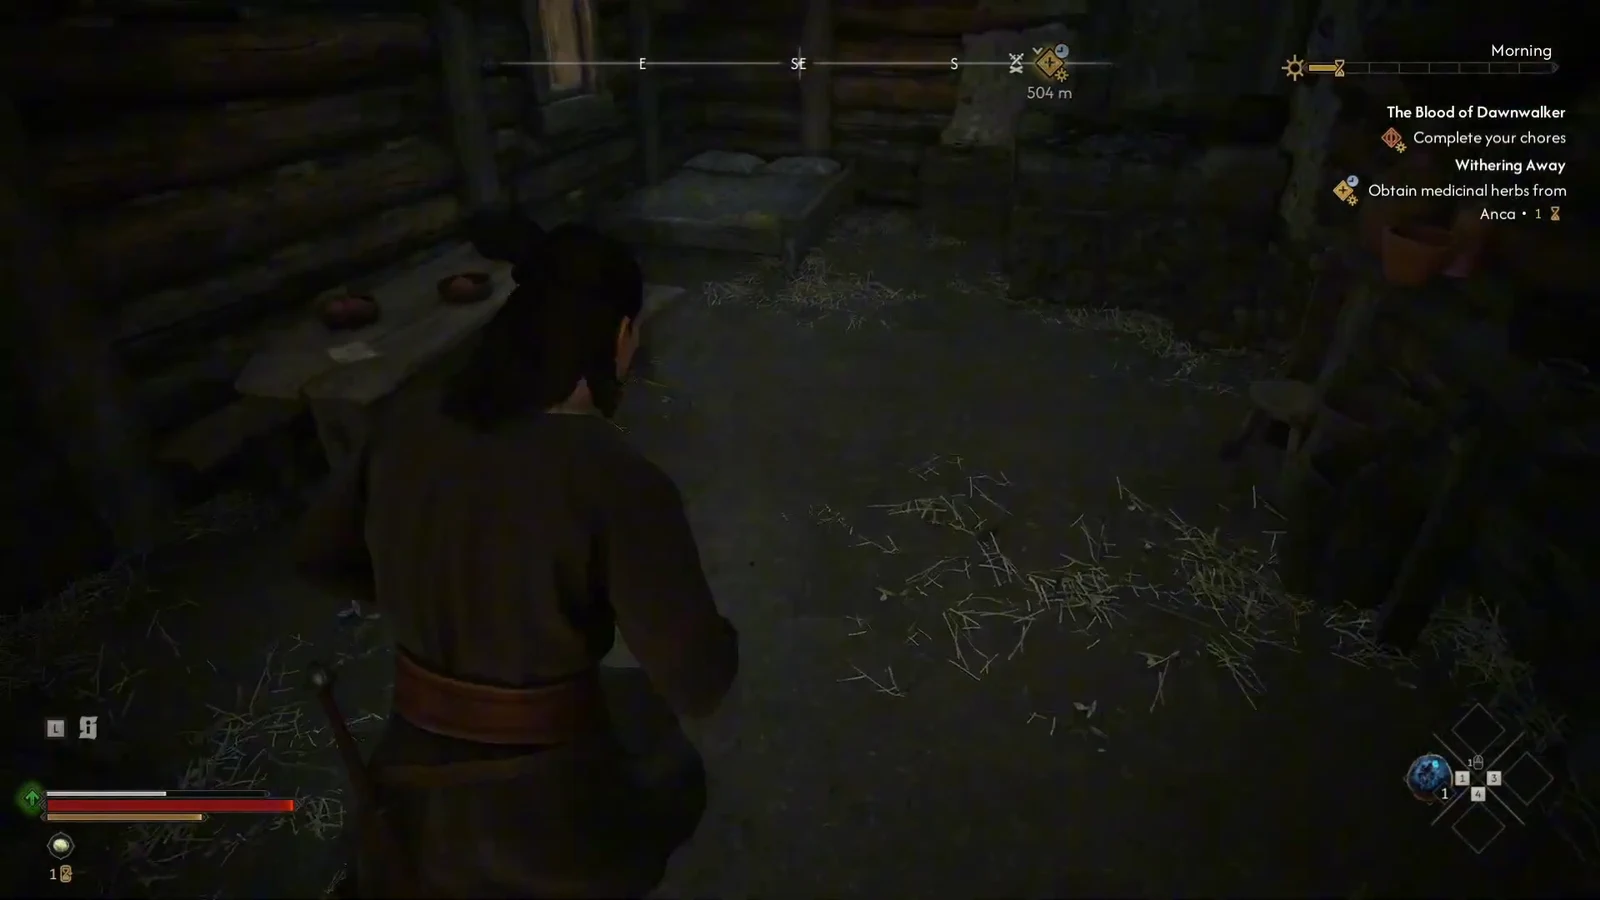
Quick answer: Take the Treasure Map: Laslea Glen from the table inside the bandit house near the Outlaw’s Gorge Shrine, then head east and south to the bear cave, kill the Ravenous Bear, pick up the shovel by the disturbed earth, and dig.
Treasure Map: Laslea Glen location (bandit camp near Outlaw’s Gorge)
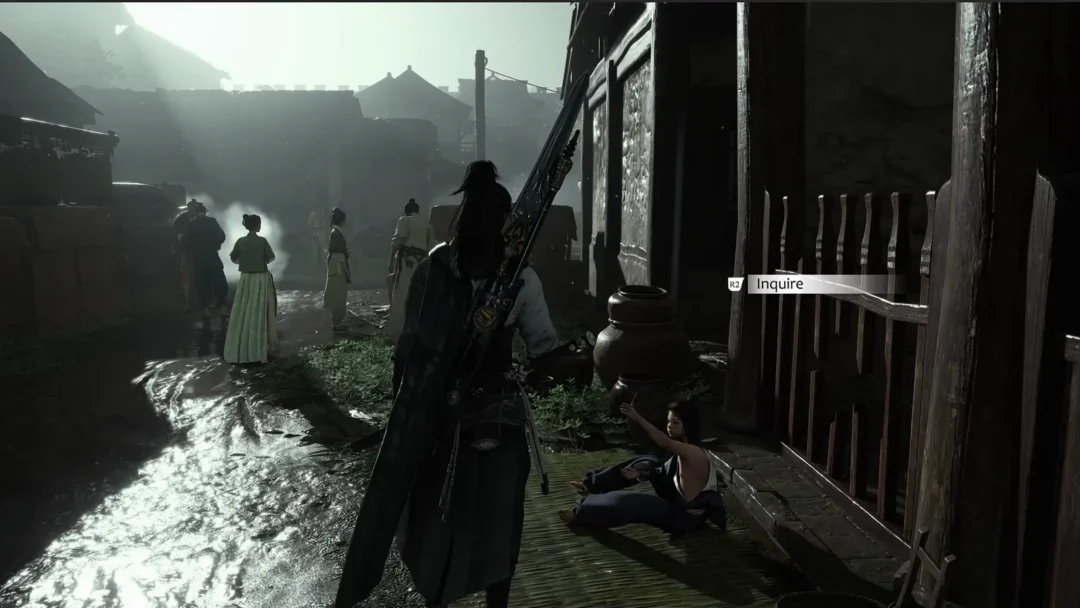
The map lives in the bandit camp built around an abandoned house in the hills east of Laslea Glen village, close to the church and within easy walking distance of the Outlaw’s Gorge Shrine. Fast travelling to that shrine is the cleanest approach if you have already unlocked it.
Where the buried treasure actually is
Open the map from your inventory and you will see a red X drawn over a stretch of terrain. The X is approximate rather than exact, so lining it up against your world map gets you to the right area but not to the dig site itself. Do not waste time hunting the precise pixel.
From the Outlaw’s Gorge Shrine, head east and then swing south along the slope. You are looking for a cave mouth on the hillside, and you will know you are close when you find corpses scattered outside it and a patch of freshly disturbed earth. That earth is the dig spot.
How to beat the Ravenous Bear guarding the cave
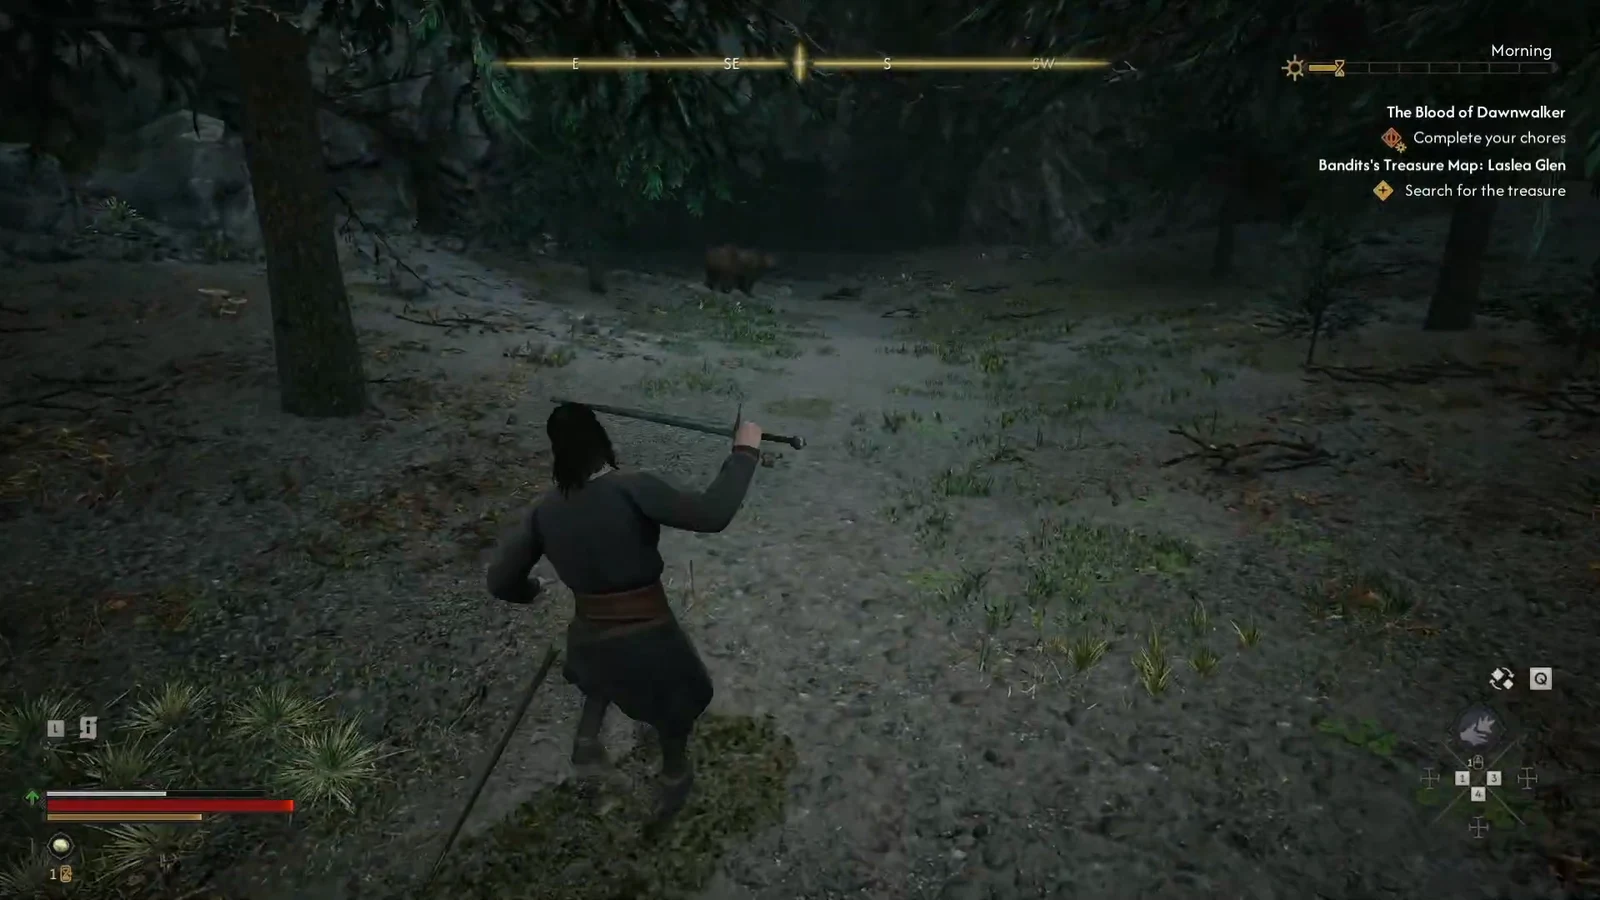
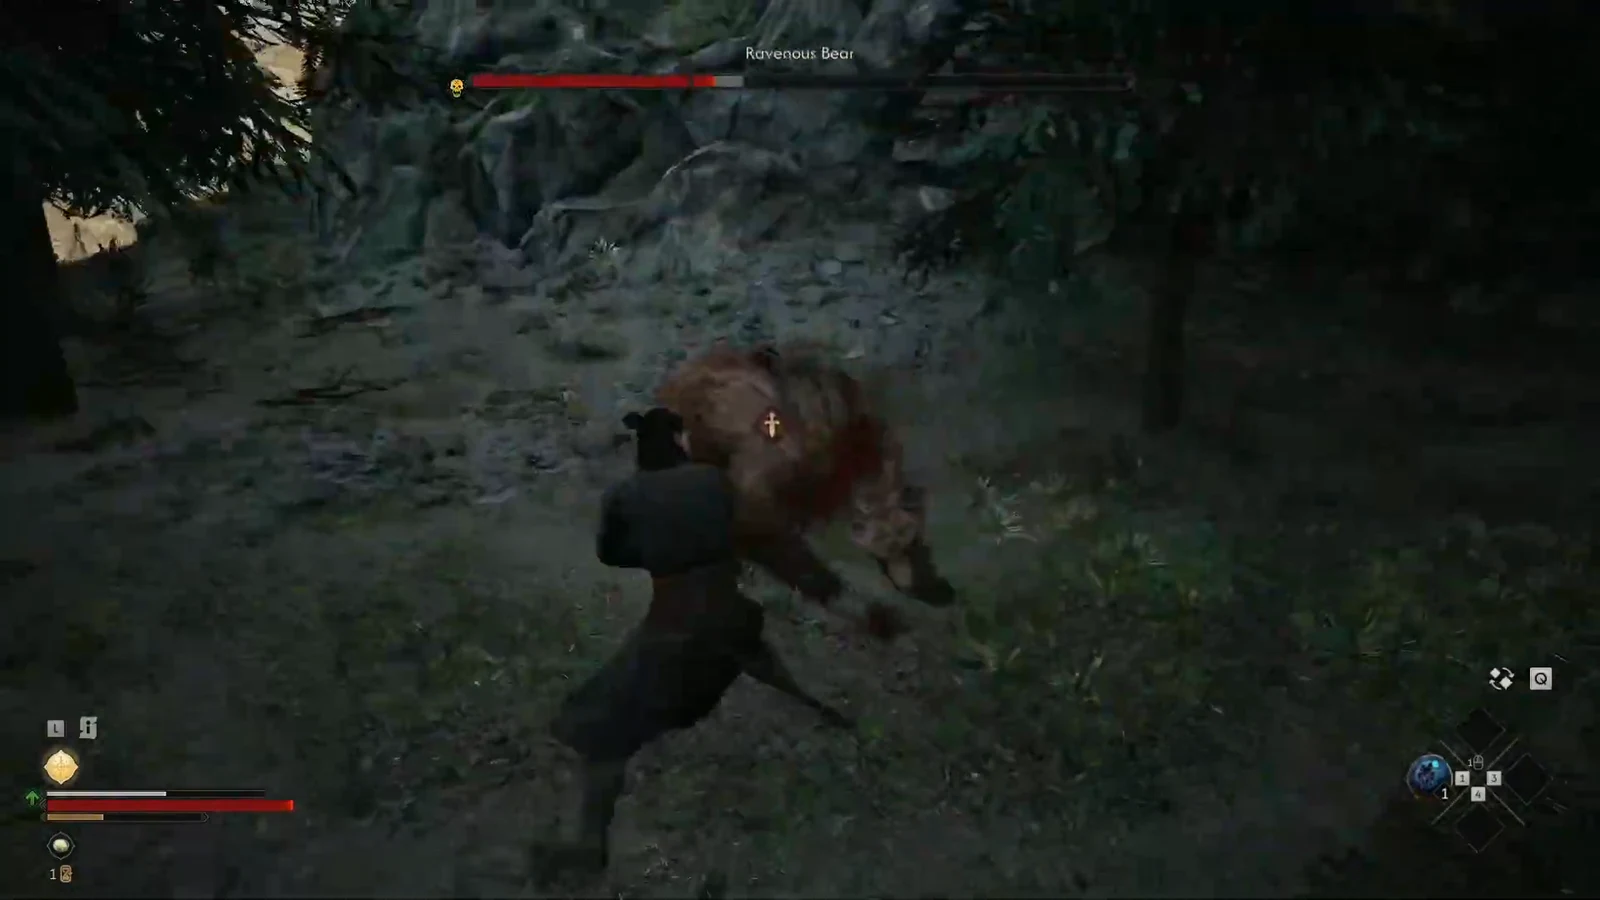
A Ravenous Bear rests at the cave entrance, and it is a proper health-bar fight rather than a piece of wandering wildlife. Killing it also adds a Bear entry to your glossary, and the body can be looted afterwards for venison and crafting materials.
Two of its attacks cannot be blocked. The first is a charge that flattens you outright. The second starts with the bear rearing onto its hind legs before slamming the ground directly in front of it. Both are telegraphed clearly enough to sidestep, and a clean dodge opens a window for a counterattack.
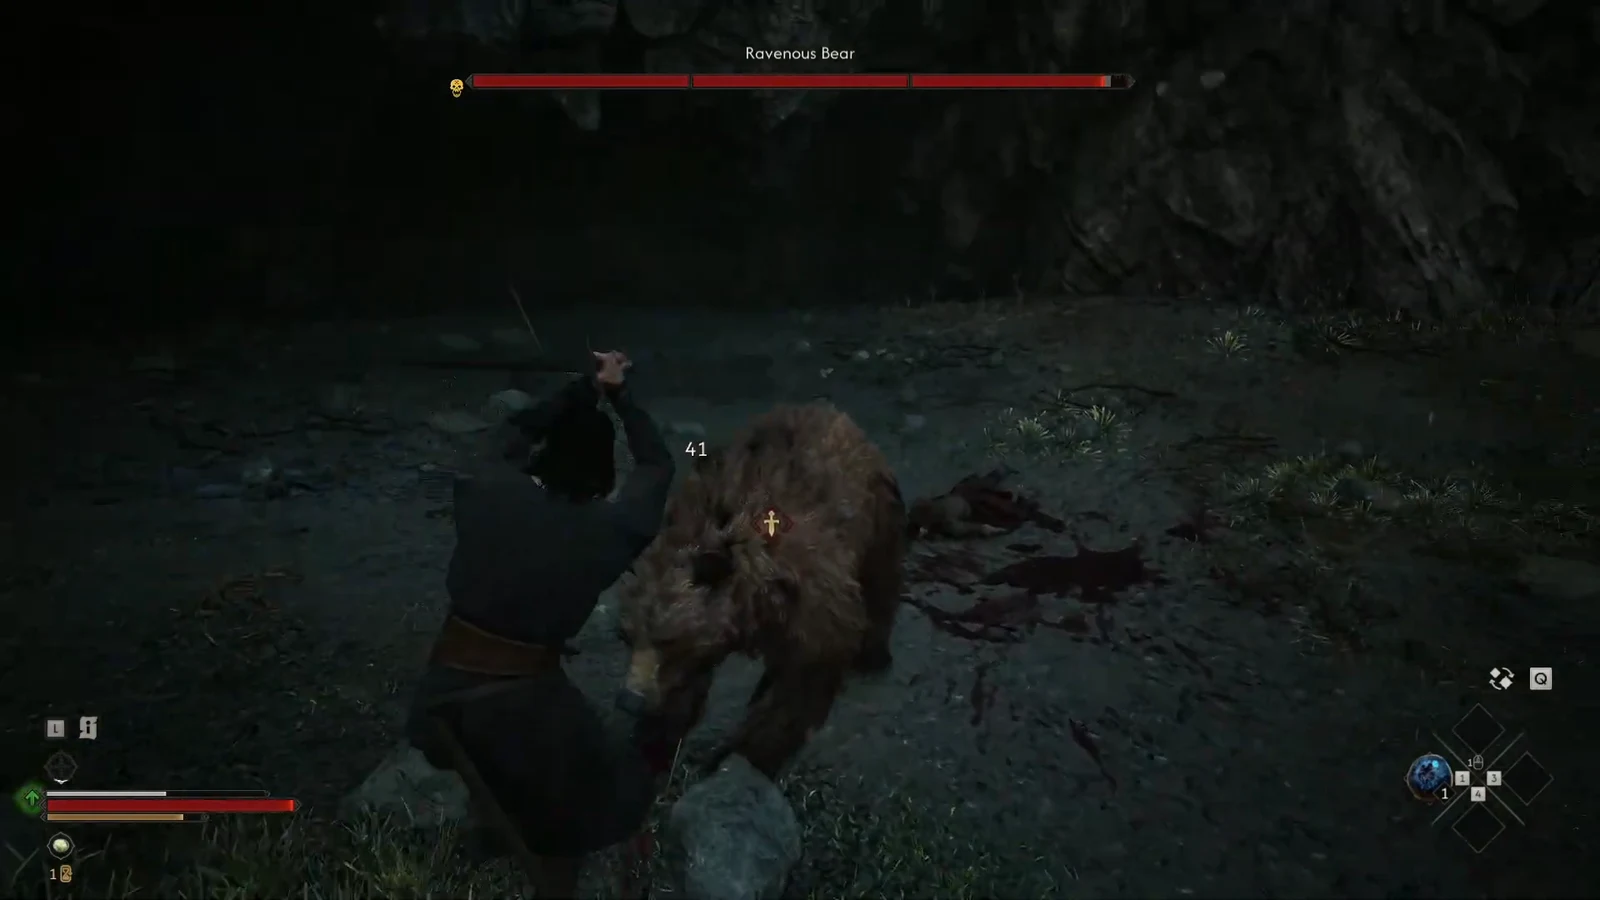
Note: make sure you are actually holding a weapon before the fight starts. The fist fight stance has real limitations against an enemy this size, and switching back to a sword mid-swing is how these fights go badly.
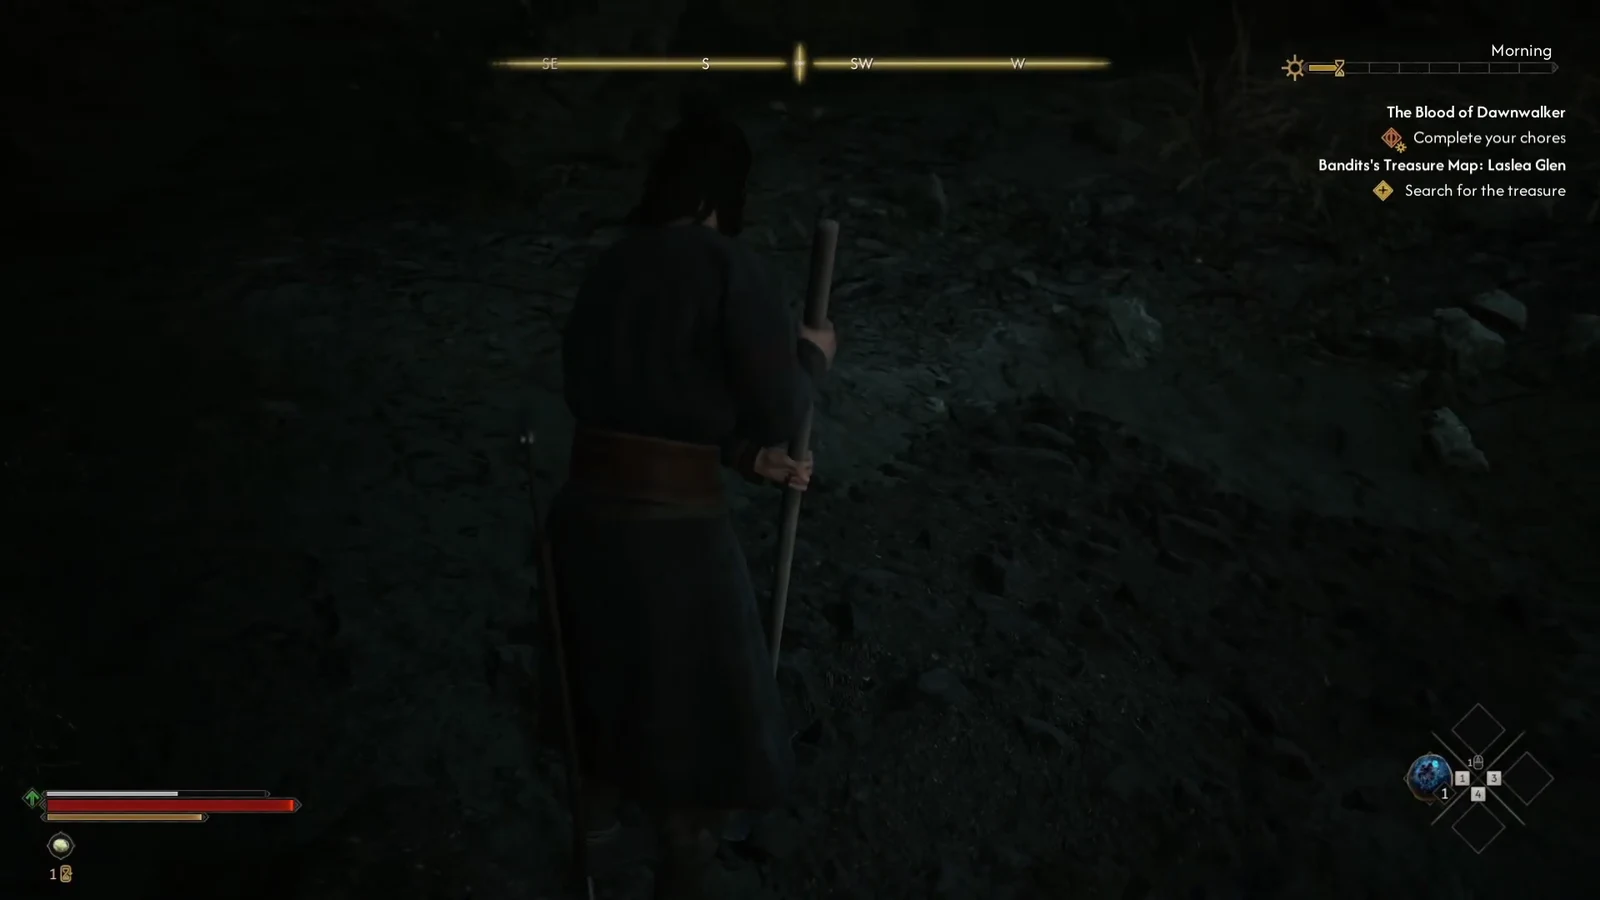
Digging up the chest and confirming the activity ended
Bandit’s Treasure Map: Laslea Glen rewards
| Reward | What it does |
|---|---|
| 100 Denarius | General currency for merchants, armourers, innkeepers and blacksmiths |
| Recipe for Minor Fortitude Paste | Adds a craftable consumable to your recipe list |
| Polished Long Cleaver | Sword with a Weapon Art, a bonus attack Coen can trigger once it recharges |
| Valuable trinket | A gold or jewelled item for selling; the exact piece varies between playthroughs |
The Polished Long Cleaver is the meaningful pull here. Early on, an extra recharging attack matters more than the coin, and the paste recipe is a reasonable bonus for a stash this small.
Time cost and when to run it
Clearing the bandit camp takes one time segment and the dig takes another, so budget two hours of in-game time in total. During the prologue, when segments are tightest, that is a noticeable spend for a small chest.
Skipping it early costs you nothing. Side content in Vale Sangora does not expire as long as you have not started it, so the camp, the map and the bear will all still be there after the prologue. If you want a zero-cost activity in the same area instead, the Dead Drop stash west of the Outlaw’s Gorge Shrine consumes no time at all.
The one thing worth remembering is that the map is not a prerequisite for the cave. If you happen to wander east and kill the bear first, the dig site is still there waiting, and picking up the map afterwards simply formalises what you already found.