

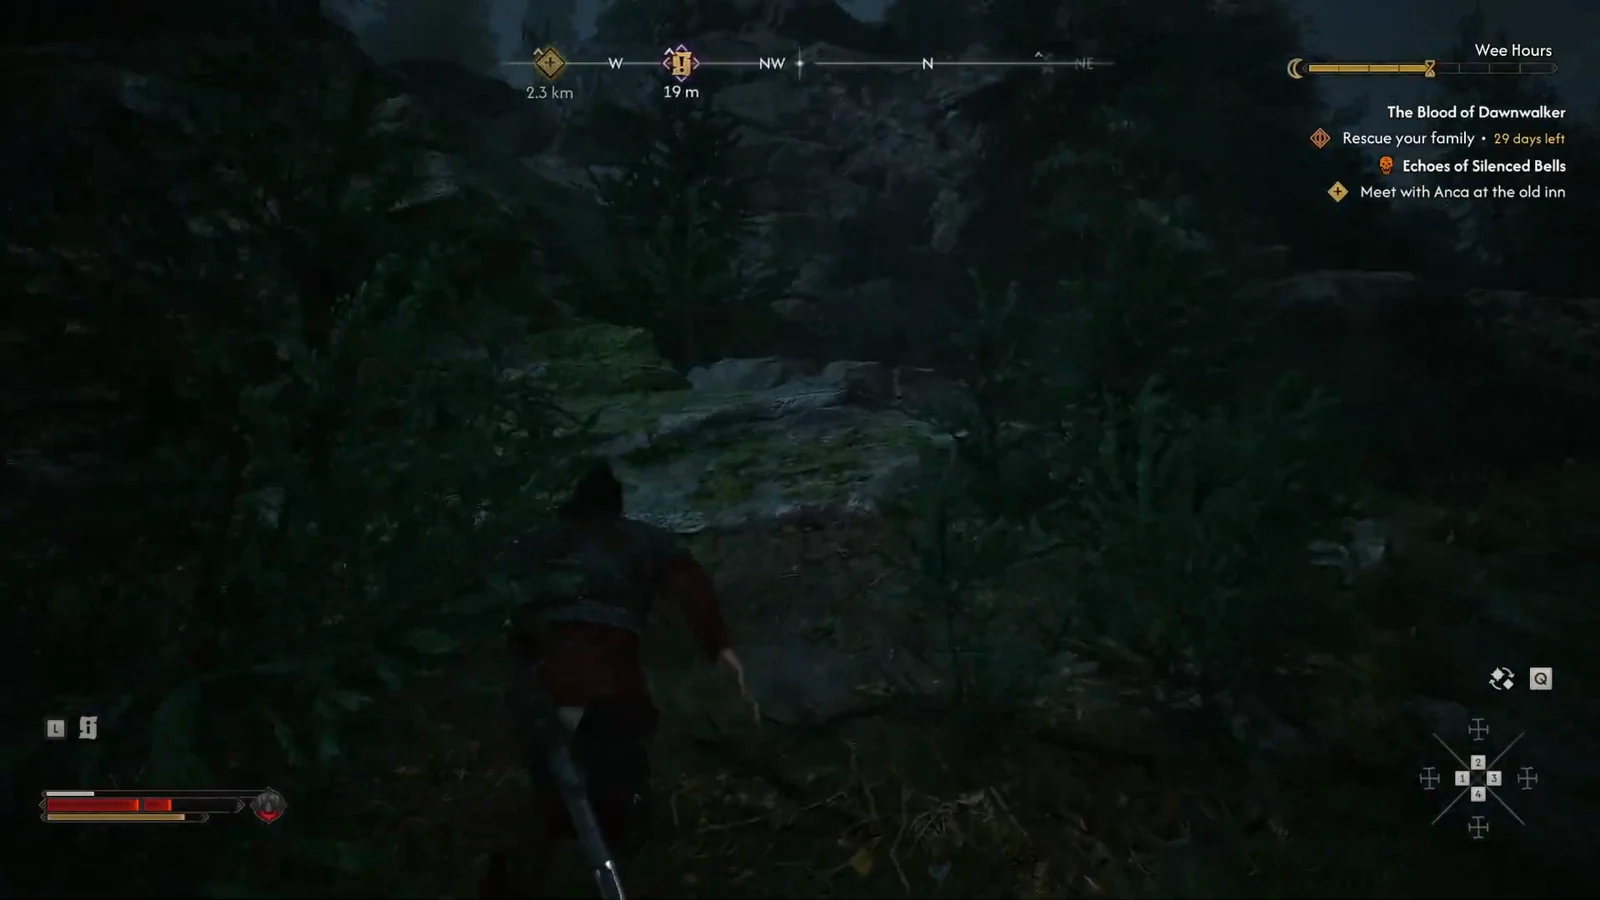
A Pilgrimage for Power: Bear Trouble is one of the quieter side quests in The Blood of Dawnwalker, and one of the few that hands you a Witchcraft manual for doing little more than climbing a mountain and killing the thing at the top of it. There is no quest giver to talk to. A wall of wind chimes starts ringing, Coen decides to find out why, and the quest logs itself.
Quick answer: Follow the wind chimes and cairns up the mountain trail, kill the Ravenous Bear at the summit, inspect the body and the bloody knife on the west side of the clearing, then inspect the uriash glyph carved into the central stone. That last step burns 2 time segments and rewards 250 XP plus the Ravenous Flock Manual.
Bear Trouble requirements, location, and rewards
The quest gates behind a main-story mission, and it costs you real in-game time, so check both before you commit to the climb.
| Detail | Value |
|---|---|
| Quest name | A Pilgrimage for Power: Bear Trouble |
| Region | Briar Sloughs, up the mountain path south of Laslea Glen |
| Trigger | Wind chimes ringing across the river, northwest of the Briar Sloughs tower |
| Requirement | Complete Smoke and Ashes |
| Time cost | 2 time segments (spent inspecting the glyph) |
| Rewards | 250 XP, Ravenous Flock Manual |
| Fail state | None |
Objectives run in a fixed order: follow the windchimes, defeat the bear, explore the top of the hill, and inspect the uriashi glyph.
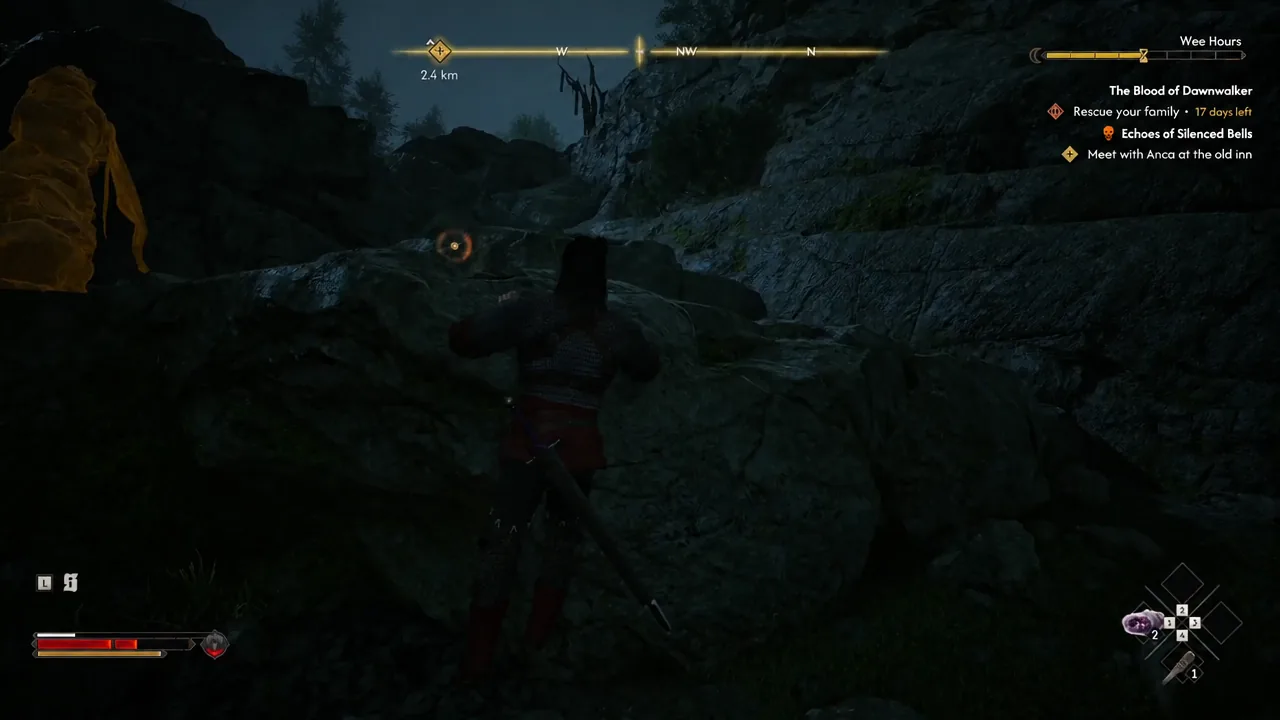
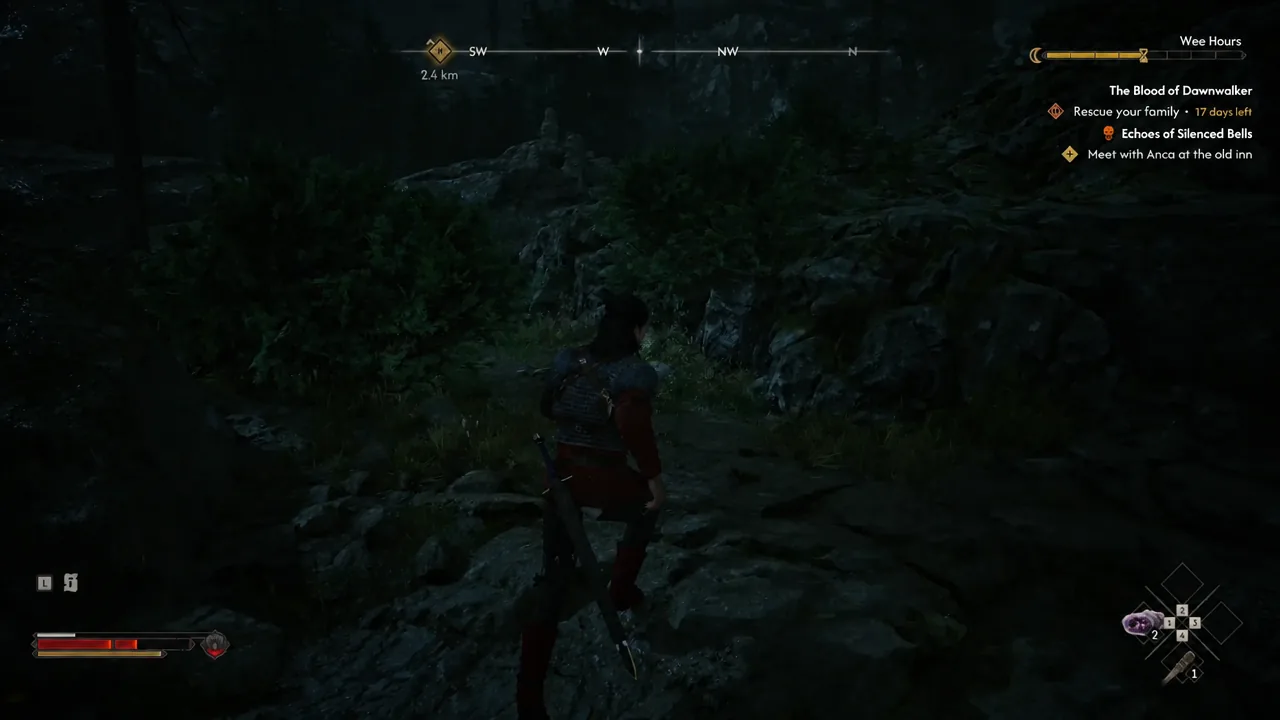
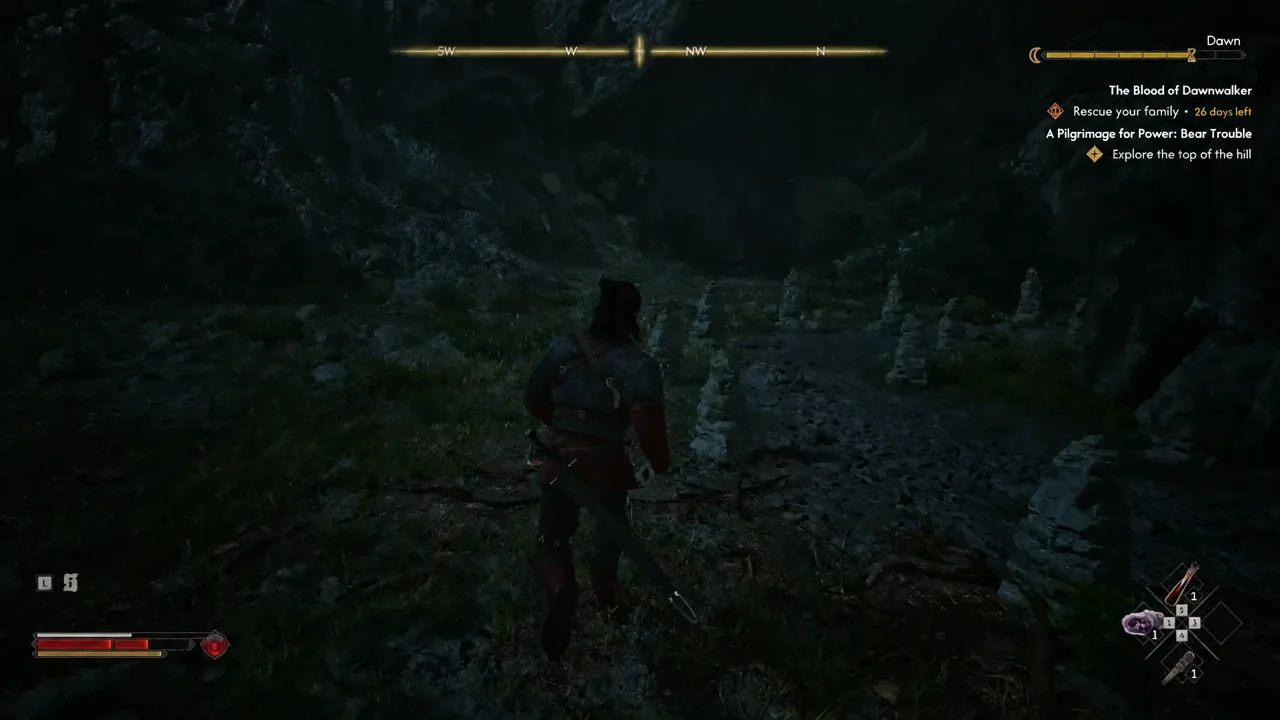
Follow the wind chimes up the mountain trail
How to beat the Ravenous Bear
This is the same Ravenous Bear you may have already fought at Outlaw’s Gorge, with the same two-move pattern. It opens with an unblockable charge that flattens you, and it rears onto its hind legs before slamming the ground directly in front of it. Both are red-flagged, so parrying is not an option.
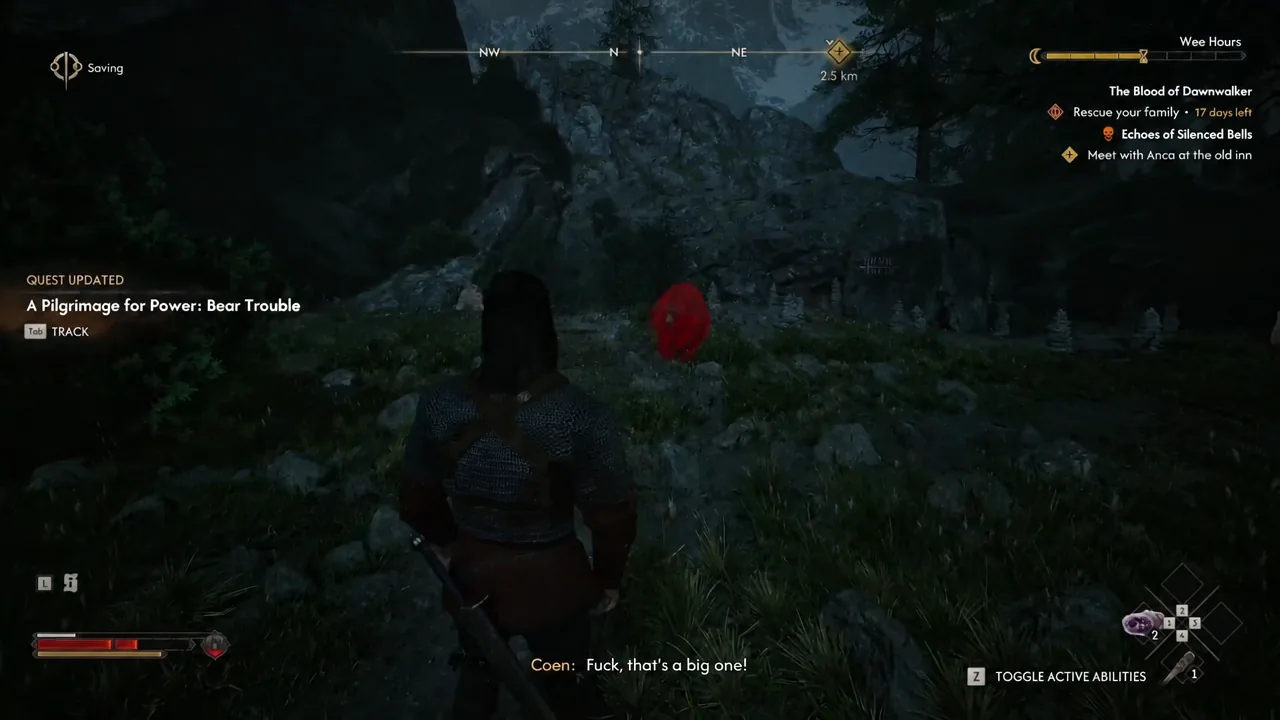
Dodge sideways rather than backward on both attacks. A perfect dodge leaves the bear briefly exposed and lets you follow up with a counterattack, which is the fastest way to chew through its health without trading hits. Voracious Bite and Burning Blood are worth having ready if you want the fight over quickly.
Explore the top of the hill: The body and the knife
With the bear down, head to the west side of the clearing, toward the cave mouth behind the large rock. A uriash body is lying there, badly mauled. Coen notes the beast tore the man apart, and examining the wound on his forearm reveals a deliberately cut symbol rather than a claw mark.
Then inspect the bloody knife on the ground near the stone pillars. Coen recognizes it as the dead uriash’s own, well cared for, and the two clues together tell him the man was performing some kind of witchcraft ritual when the bear found him. Both inspections are required, so do not skip the knife.
Inspect the uriash glyph to unlock the Ravenous Flock Manual
Return to the center of the stone circle and interact with the glyph carved into the large rock. The prompt reads “Inspect the uriash glyph – 2h,” and confirming it copies the pattern down while advancing the clock by two hours. Coen points out the design closely matches the hexes Anca showed him, which is why it is worth copying at all.
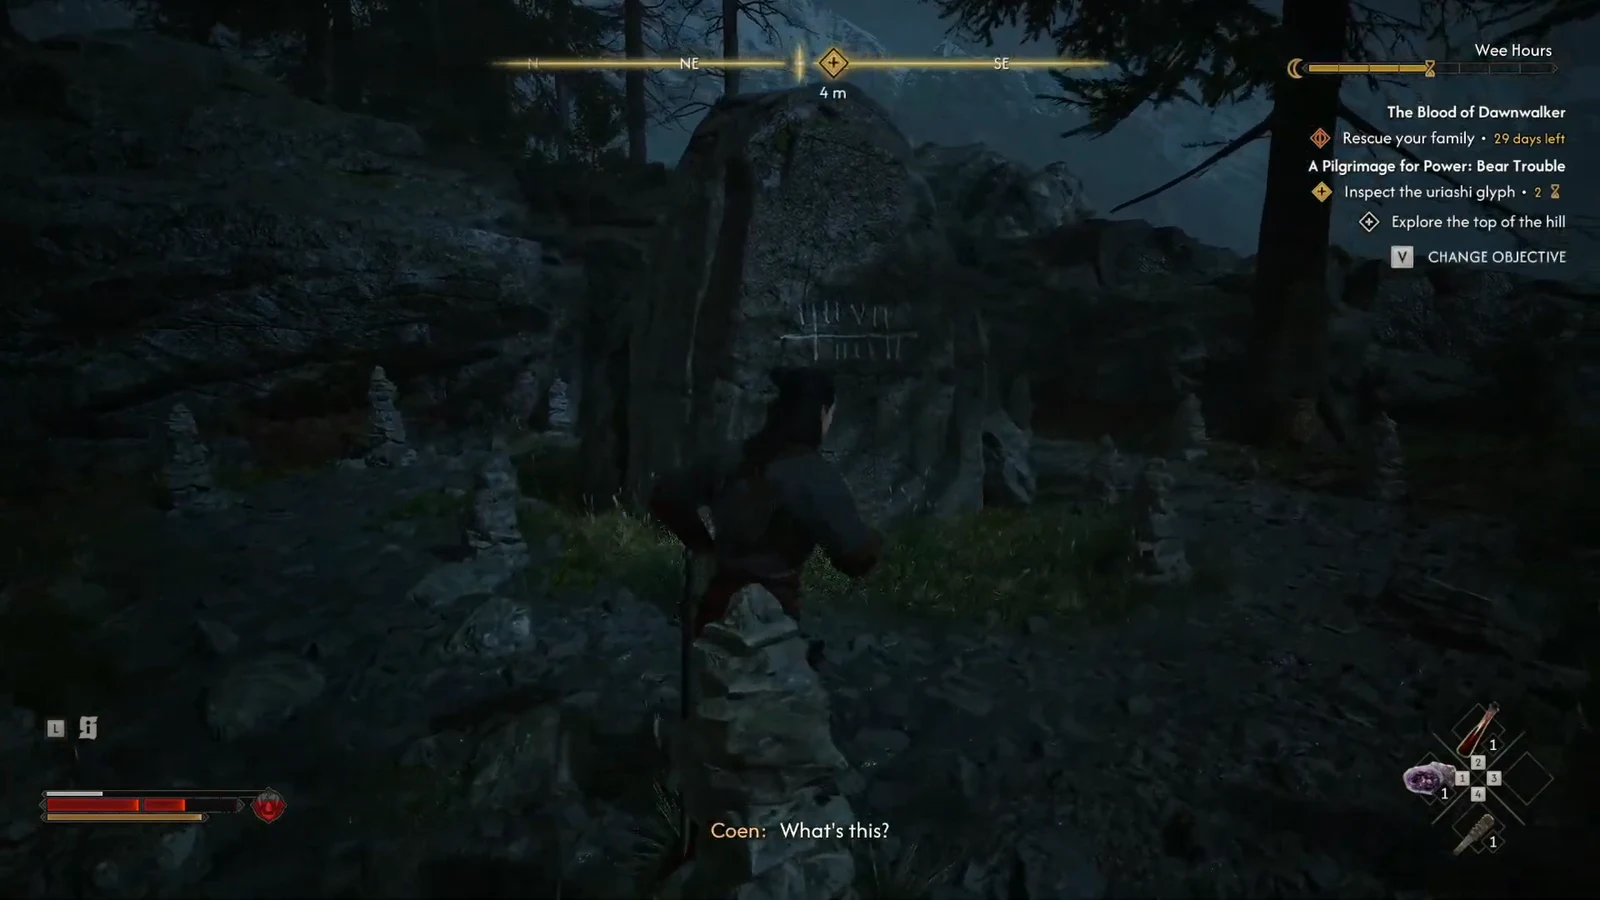
Note: two time segments is not trivial with a 14-day countdown running on the main story, so plan the climb around a stretch of the day you were already willing to spend. There is no fail state on the quest itself, but the clock does not pause for it.
Confirming the quest completed and using the manual
You will see a “Time Has Passed” screen, followed by the Ravenous Flock Manual and 250 XP dropping into your rewards, and Coen remarking that the pattern is not overly complicated and he should be able to use its power. Once the glyph, the body, and the knife have all been inspected, the log flips to QUEST ENDED.
The manual does nothing sitting in your bag. Open your inventory and read the scroll to apply it, which unlocks the next level of the Ravenous Flock power in the Witchcraft tree. If the ability still shows its old rank in the Character menu, you picked up the manual but never read it.
Skill manuals like this one turn up all over the map, in chests at Soldier Camps, Bandit Camps, Monster Lairs, and Ancient Circles, from Witchcraft vendors, and occasionally as random enemy loot. There are far more of them in circulation than you need to max everything out, but Bear Trouble is one of the cleaner ways to grab a Ravenous Flock upgrade early, as long as you can spare the two hours.





