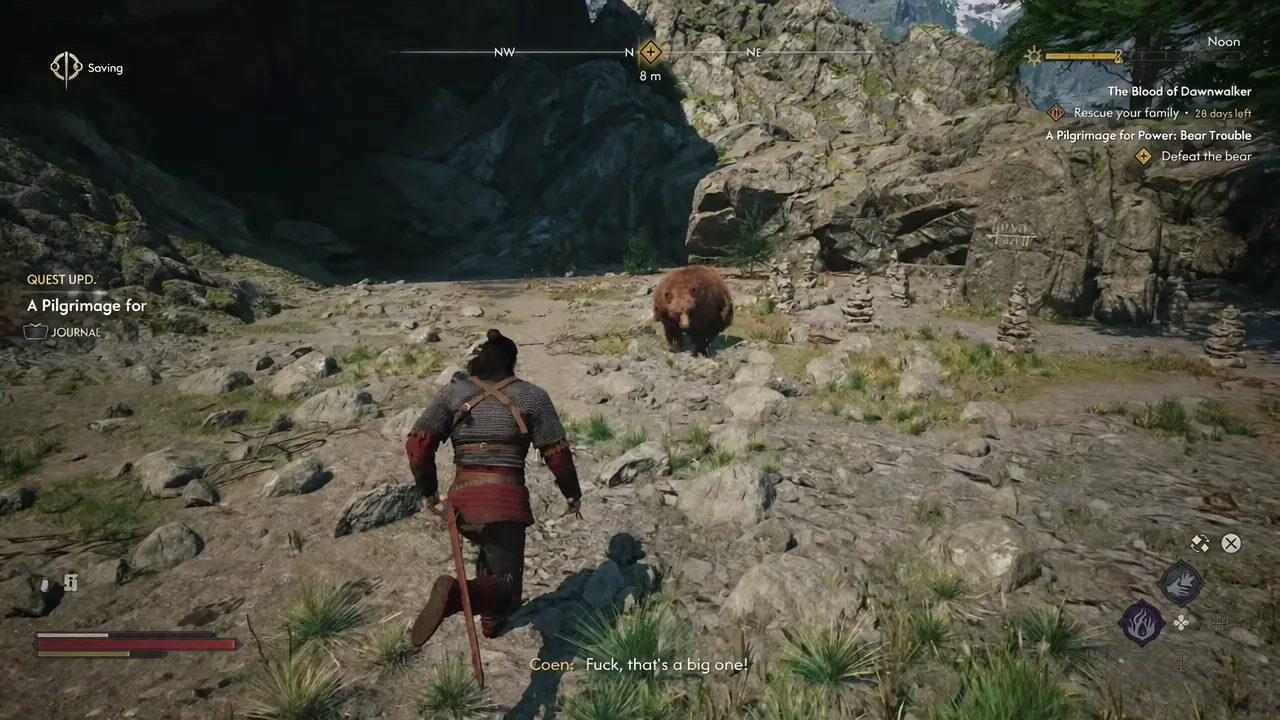
Bear Trouble is the first of four Sacred Stones in The Blood of Dawnwalker, and it is the one most players trip over by accident. There is no NPC handing it out. You simply wander close enough to a mountain path in the Briar Sloughs, the windchimes start ringing, and Coen decides the climb is worth making.
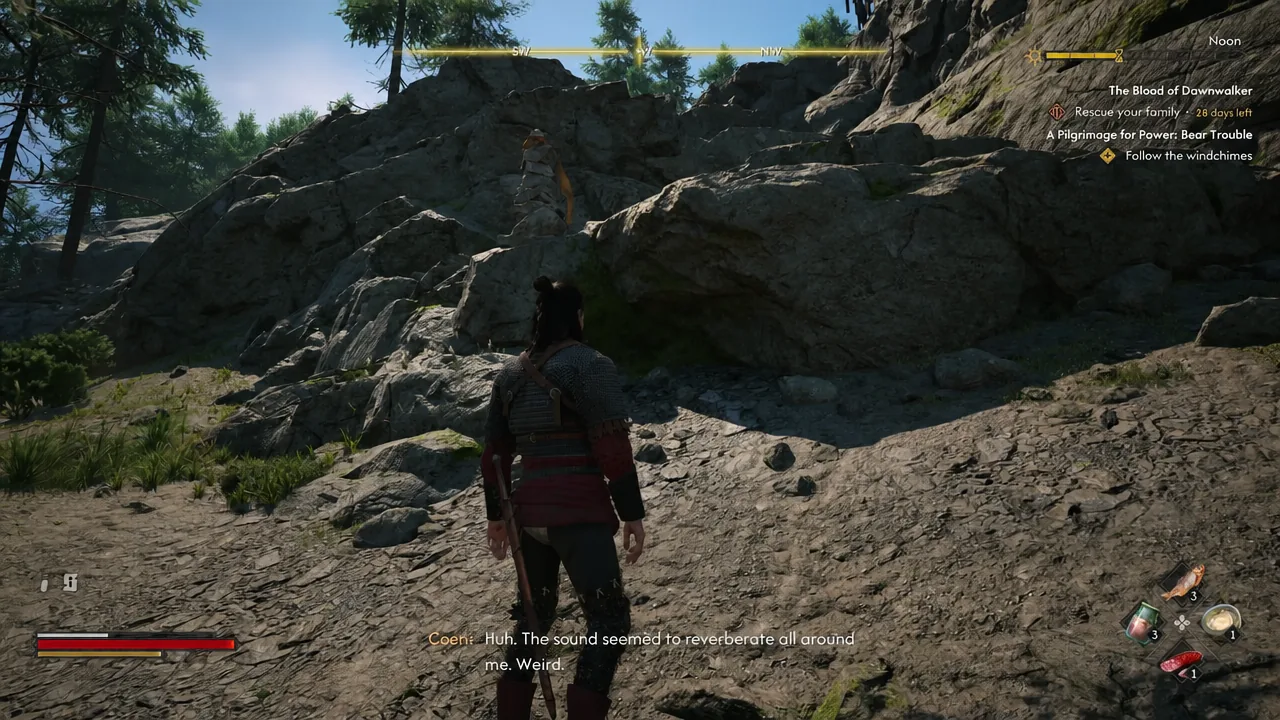
Quick answer: Cross the river west of the Briar Sloughs Scouting Tower, follow the windchimes and cairns to the plateau, kill the Ravenous Bear, inspect the bloody knife and the Uriash corpse, then spend two Time Segments on the carved glyph in the middle of the stone circle to finish the quest.
Bear Trouble requirements, location, and rewards
The quest unlocks after Smoke and Ashes and carries no fail state, so there is no pressure to rush it. Time only moves when you interact with the glyph at the end.
| Detail | Value |
|---|---|
| Starting location | Briar Sloughs, west of the Briar Sloughs Scouting Tower |
| Quest giver | The windchimes themselves |
| Requirement | Complete Smoke and Ashes |
| Fail state | None |
| Enemy | Ravenous Bear |
| Time cost | 2 Time Segments (spent on the glyph) |
| Rewards | 250 XP, Ravenous Flock Manual, Quickcast Amulet |
The journal entry Coen writes when the quest opens sets the tone for the whole climb:
While in the mountains, I found a uriashi path leading towards one of their sacred places. Maybe I should make the climb?
Day or night makes no difference here. The bear behaves the same way and the glyph can be read at any hour.
How to follow the windchimes up the mountain
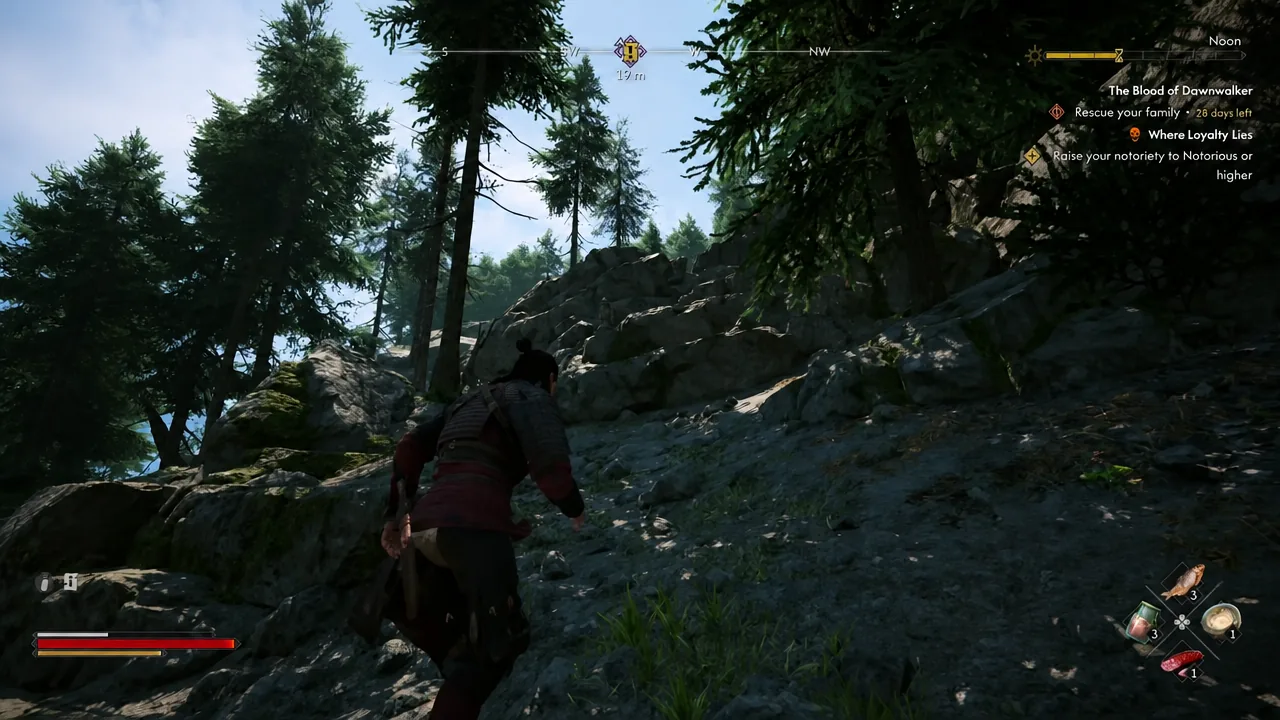
Beating the Ravenous Bear
This is the same enemy type you may have already fought at Outlaw’s Gorge, with an identical moveset. It only has two attacks that matter, and both are unblockable, so parrying is not an option.
- Charge: a straight-line rush that knocks Coen down if it connects.
- Ground slam: the bear rears onto its back legs first, then slams the ground directly in front of it.
Dodge sideways for both. A perfectly timed dodge opens a counterattack window, which is the fastest way to chew through its health. Staying in front of the bear is what gets people killed here, so keep circling.
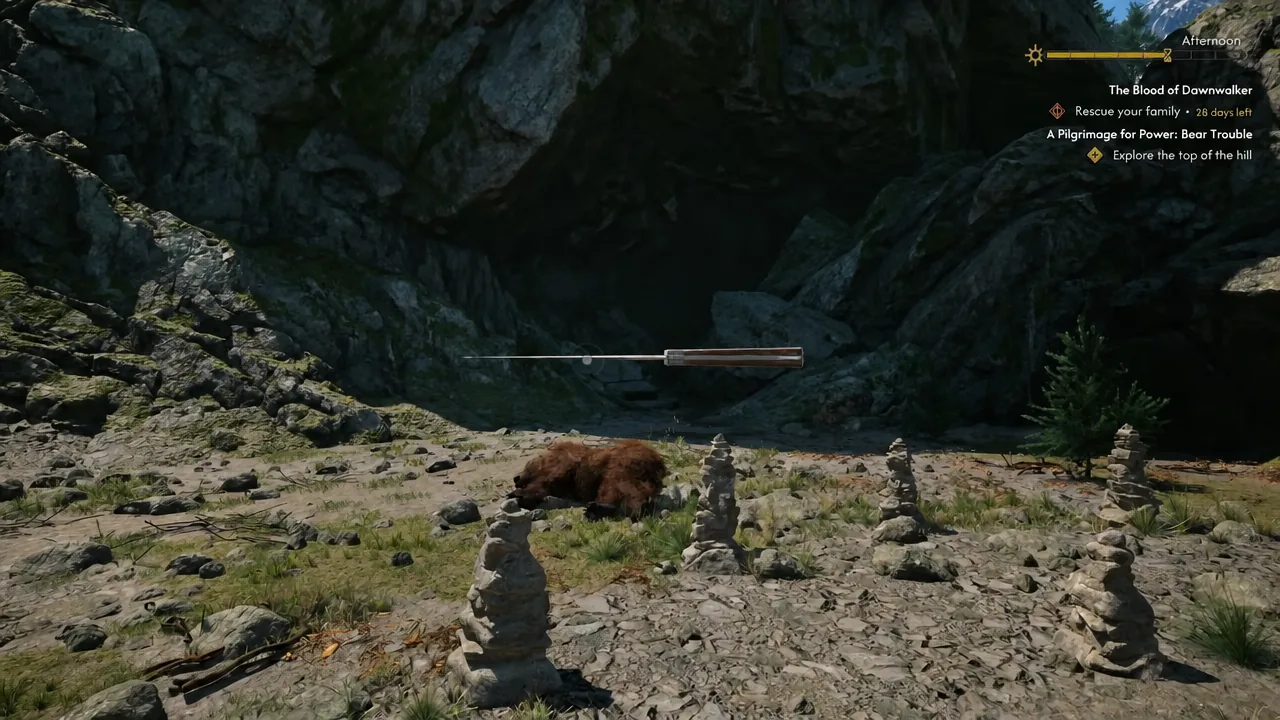
Loot the carcass once it drops. It yields Bear Meat, Bear Liver, and Animal Bones, and a Quickcast Amulet is among the pickups on the plateau.
The three clues at the top of the hill
With the bear dead, the objective flips to exploring the summit. Three things need inspecting, and the first two have to be done before the glyph will read properly.
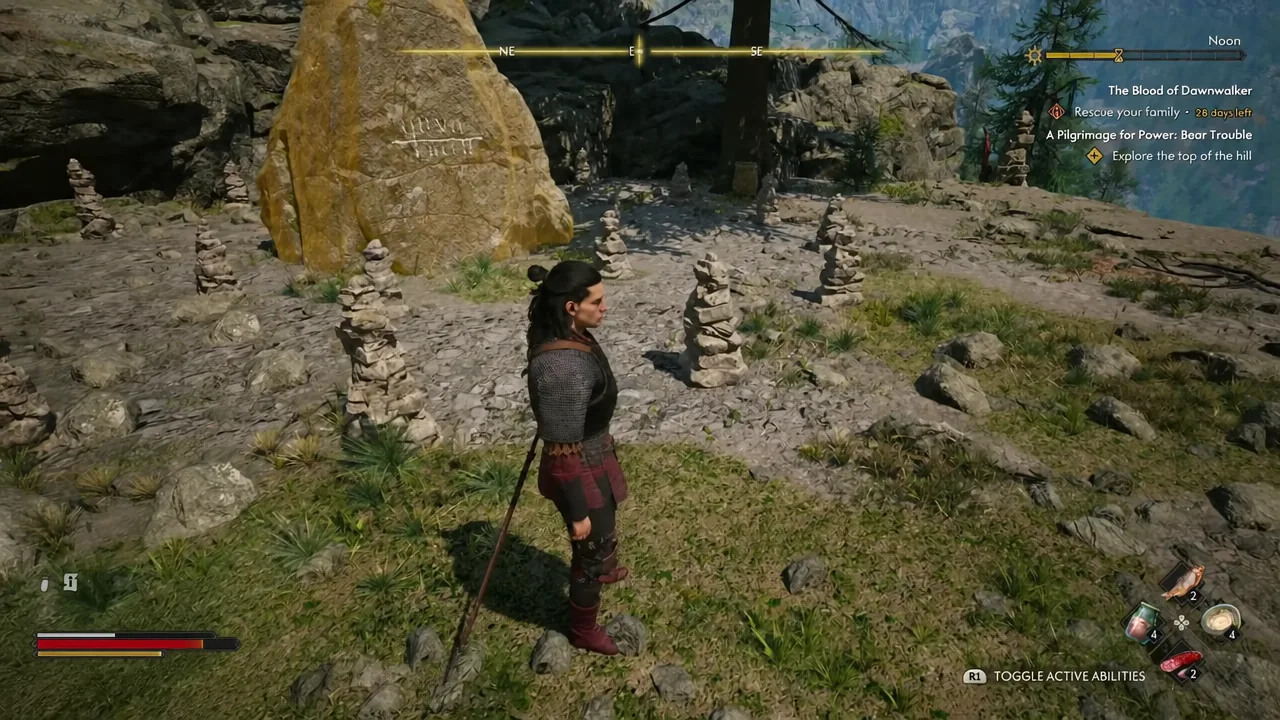
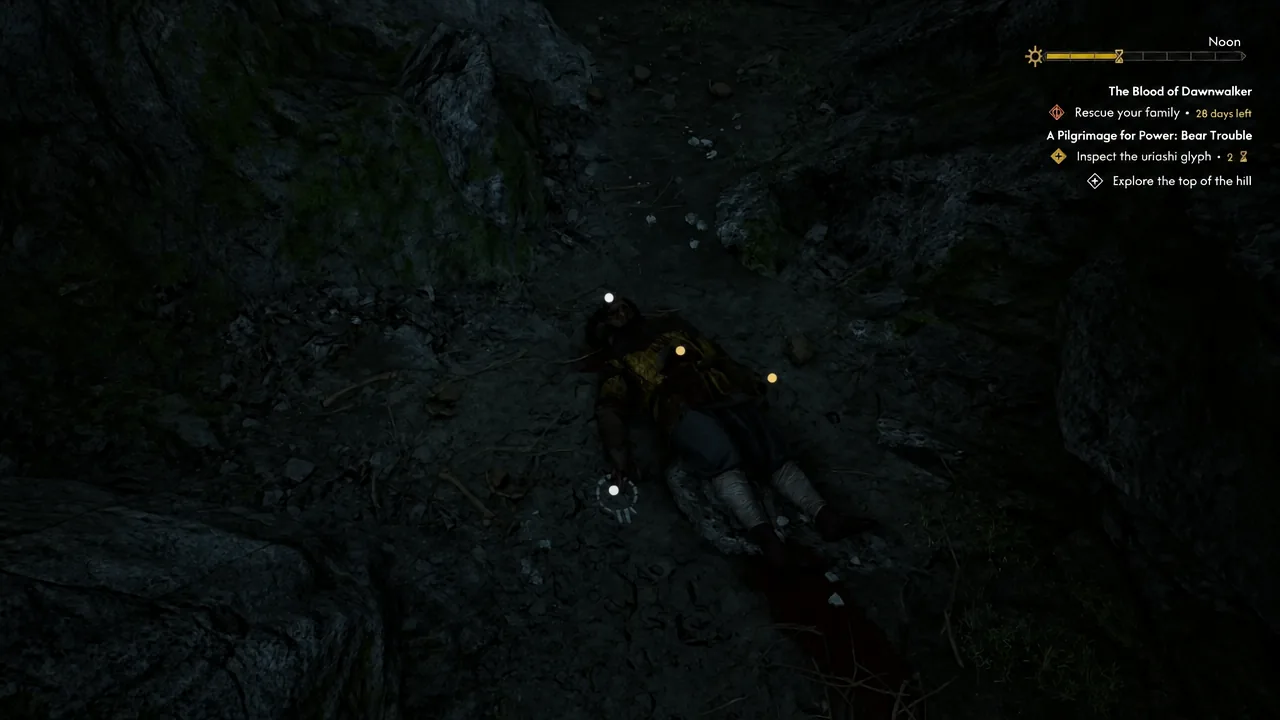
You will know it worked when the quest completion banner appears, 250 XP is awarded, and a Ravenous Flock Manual lands in your inventory. If the glyph prompt does nothing, you have missed either the corpse or the knife, so sweep the west side of the clearing again with Focus Mode before trying it.
Turning the manual into the Ravenous Flock ability
The manual is not the ability. Open your inventory and read the scroll to unlock the next rank of Ravenous Flock, then visit any Shrine and spend the perk to actually put it on your bar. Ravenous Flock is a Witchcraft ability that stuns a target with an area attack and triggers extra area attacks when you hit that target. It costs 2 Activation Charges and 40 percent of Coen’s health per cast.
| Rank | Cost | Effect |
|---|---|---|
| 1 | 1 Skill Point, 1 Time Segment | 15% damage |
| 2 | 1 Skill Point, 1 Time Segment | 50% chance to deal 308 extra damage |
| 3 | 2 Skill Points, 1 Time Segment | 25% damage |
| 4 | 3 Skill Points, 2 Time Segments | 100% chance to deal 308 extra damage |
Bear Trouble covers only the first of those ranks. The other three Sacred Stones are scattered unmarked across the Vale of Sangora, near Westridge Outpost, St. Tyna’s Grove, and the Tantari Woods in the far south, and each hands over another manual and another 250 XP. Completing A Mother’s Plea for the Matriarch marks all of them on your map, which saves a lot of aimless climbing if you intend to max the ability out.