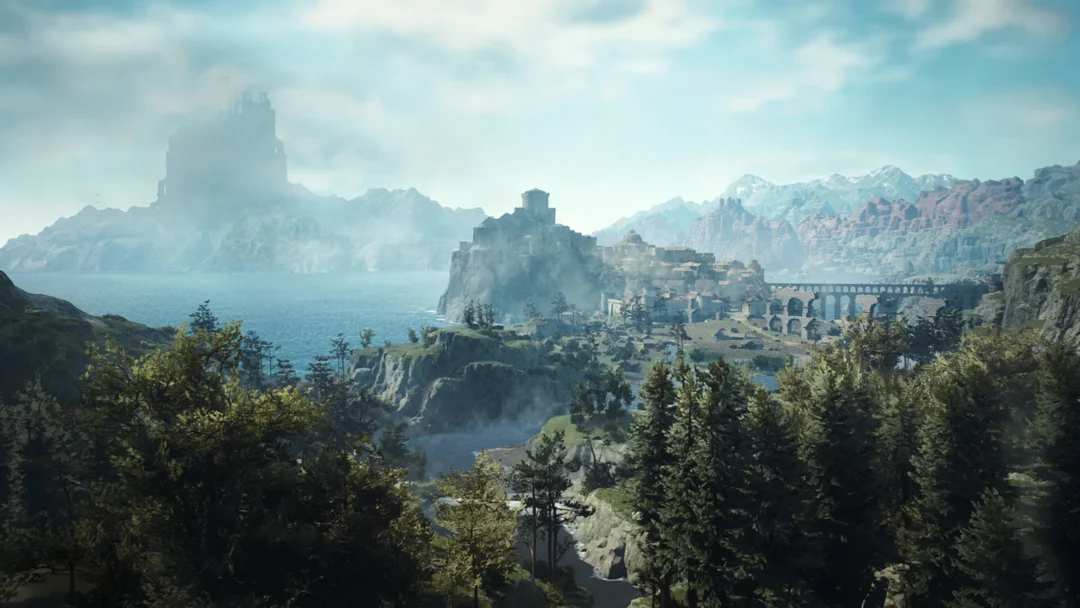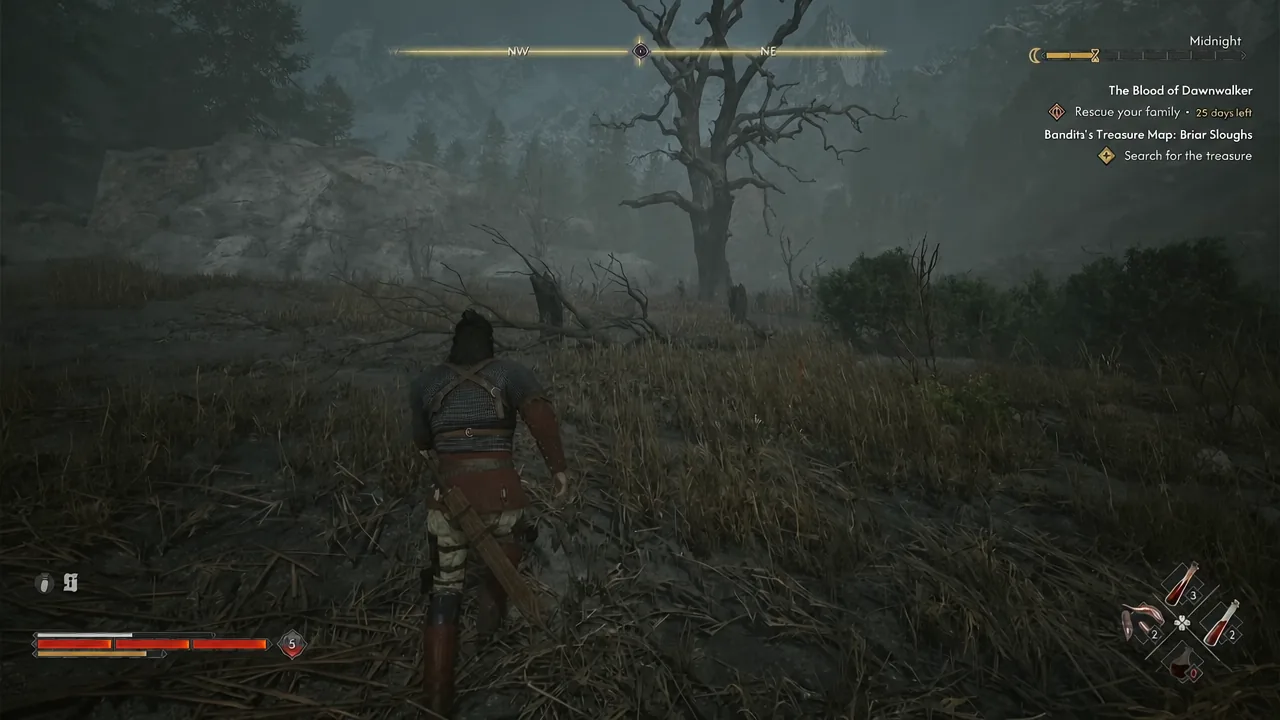
Briar Sloughs hides one of the more straightforward treasure hunts in The Blood of Dawnwalker, but it only starts once you take a bandit camp apart. The map itself sits in a guarded chest, and the buried stash is a short ride away under a single dead tree, watched over by undead that spawn the moment you get close.
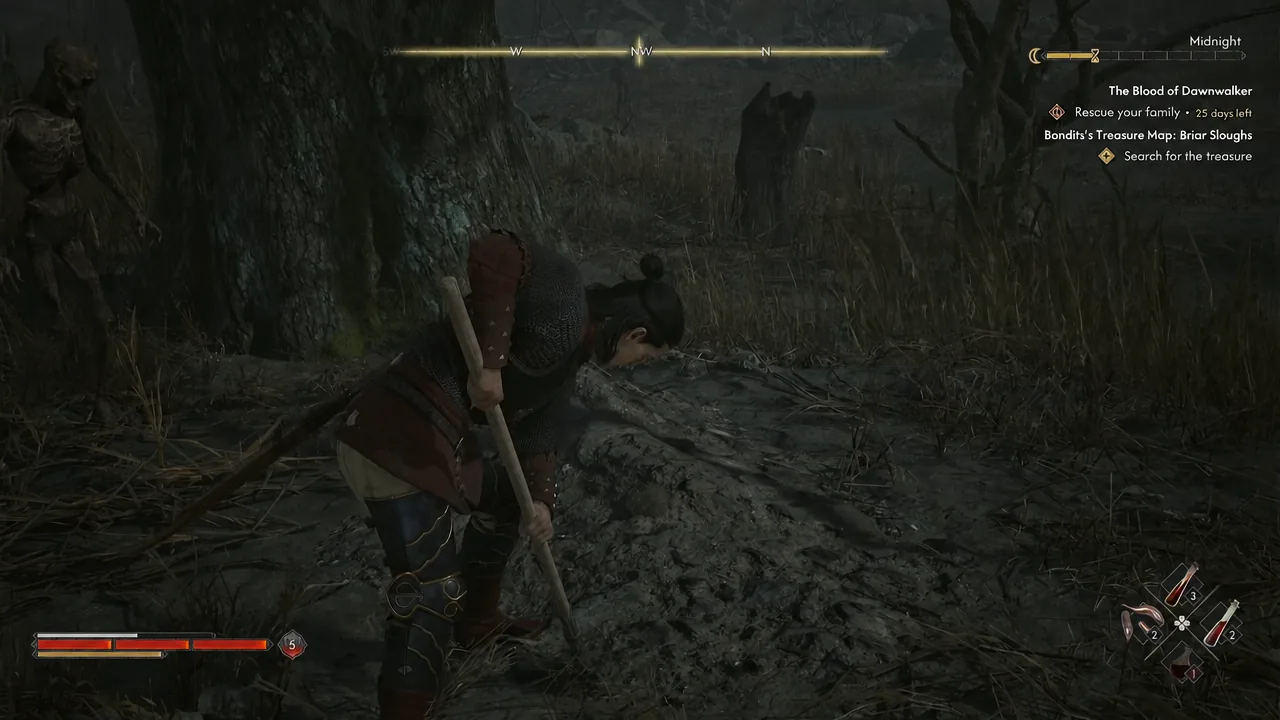
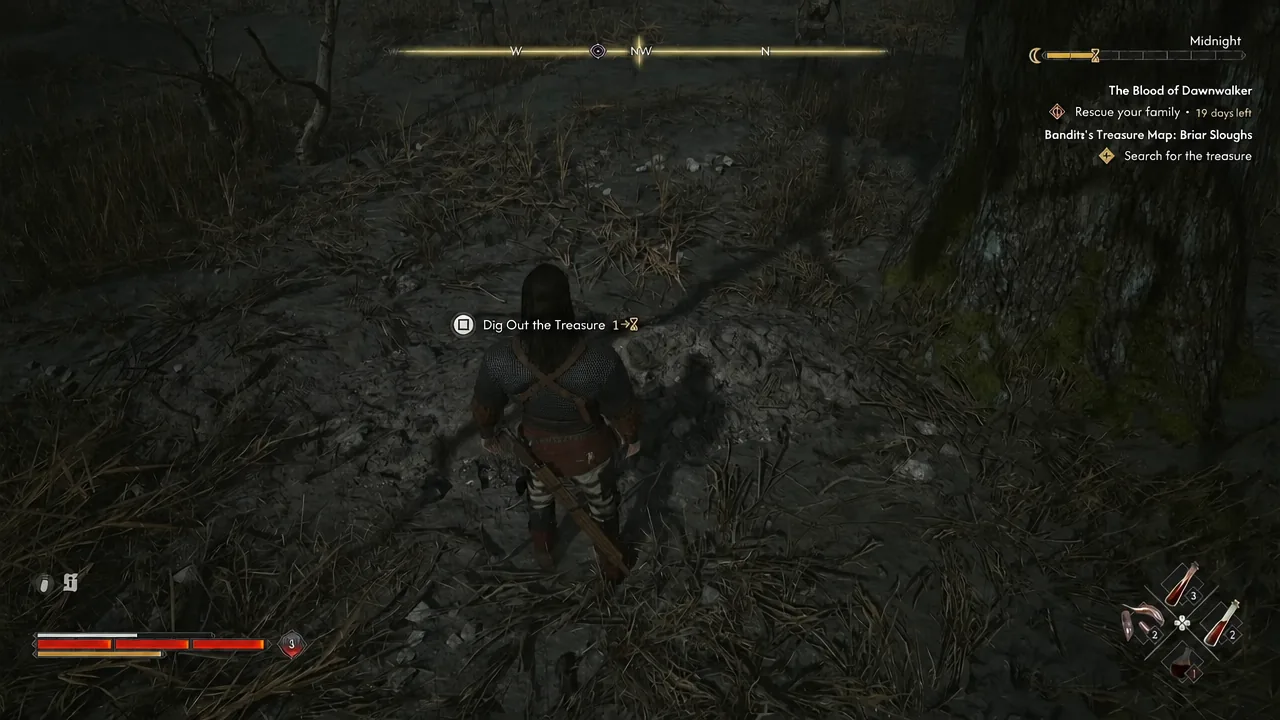
Quick answer: Clear the bandit camp in the northeast of Briar Sloughs and loot the yellow chest to get Treasure Map: Briar Sloughs, then travel east to the dried riverbed at Boar’s Back and dig at the large dead tree inside the yellow search circle.
Where the Treasure Map: Briar Sloughs drops
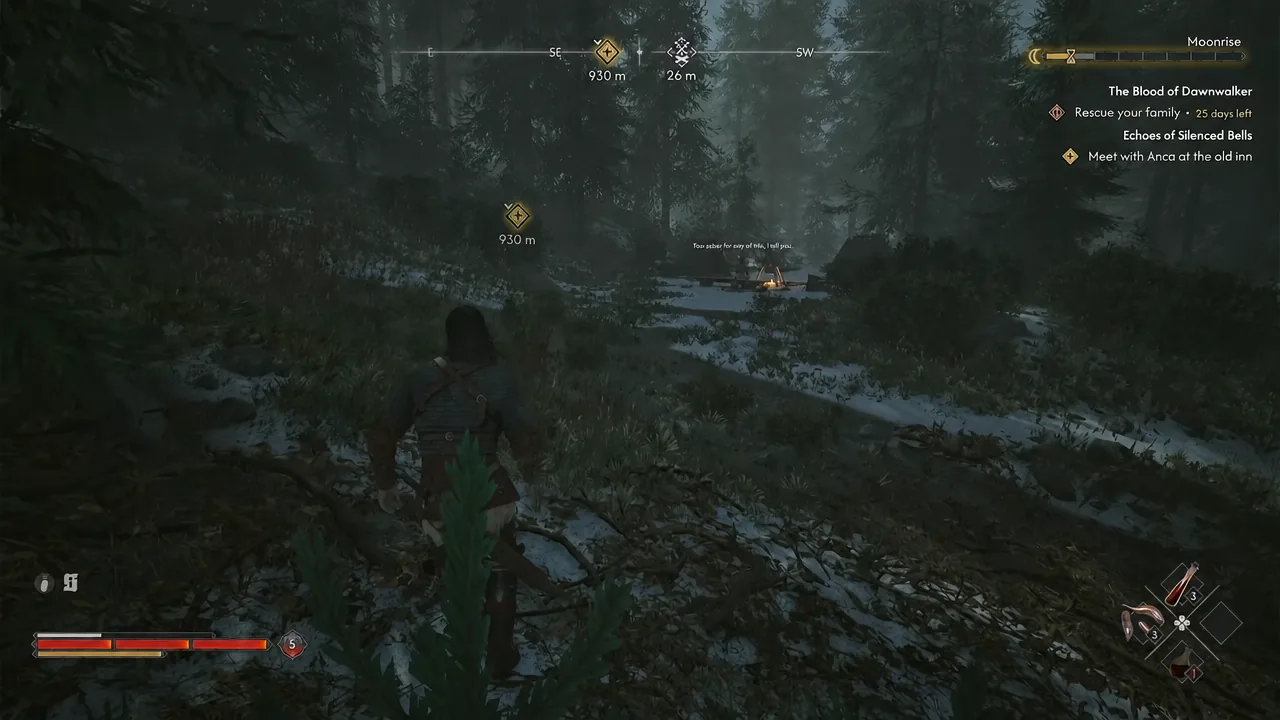
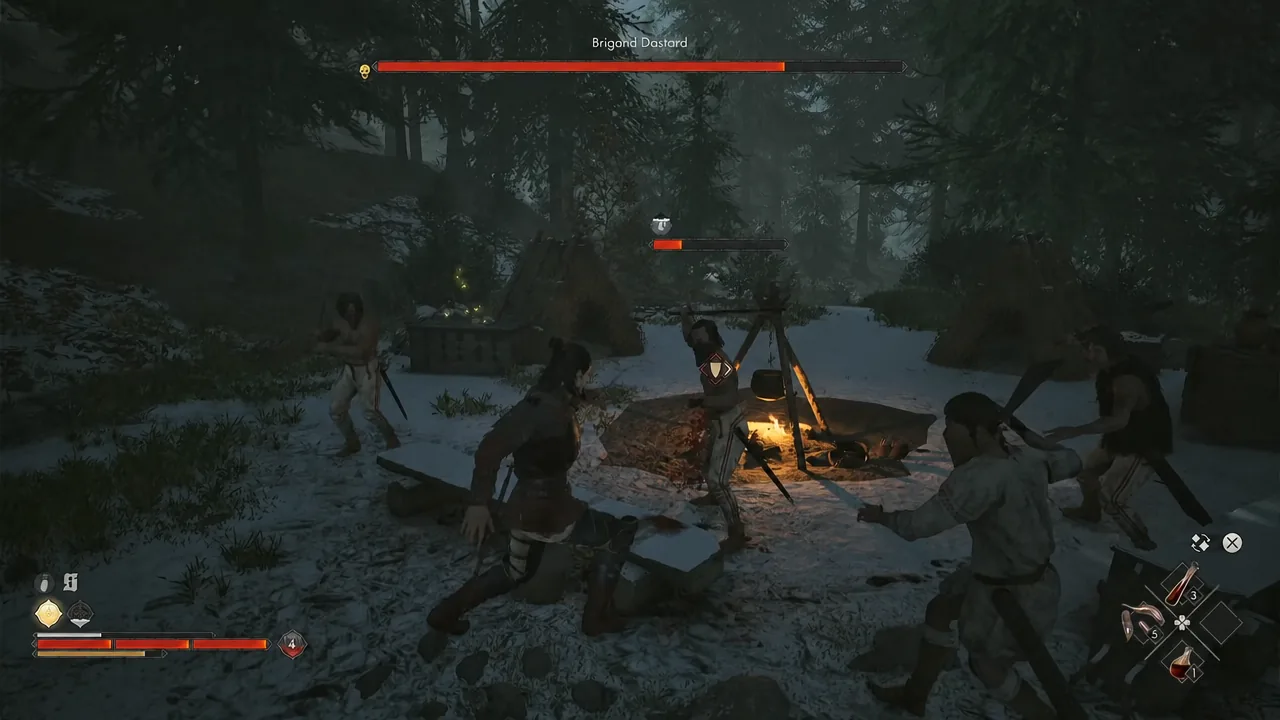
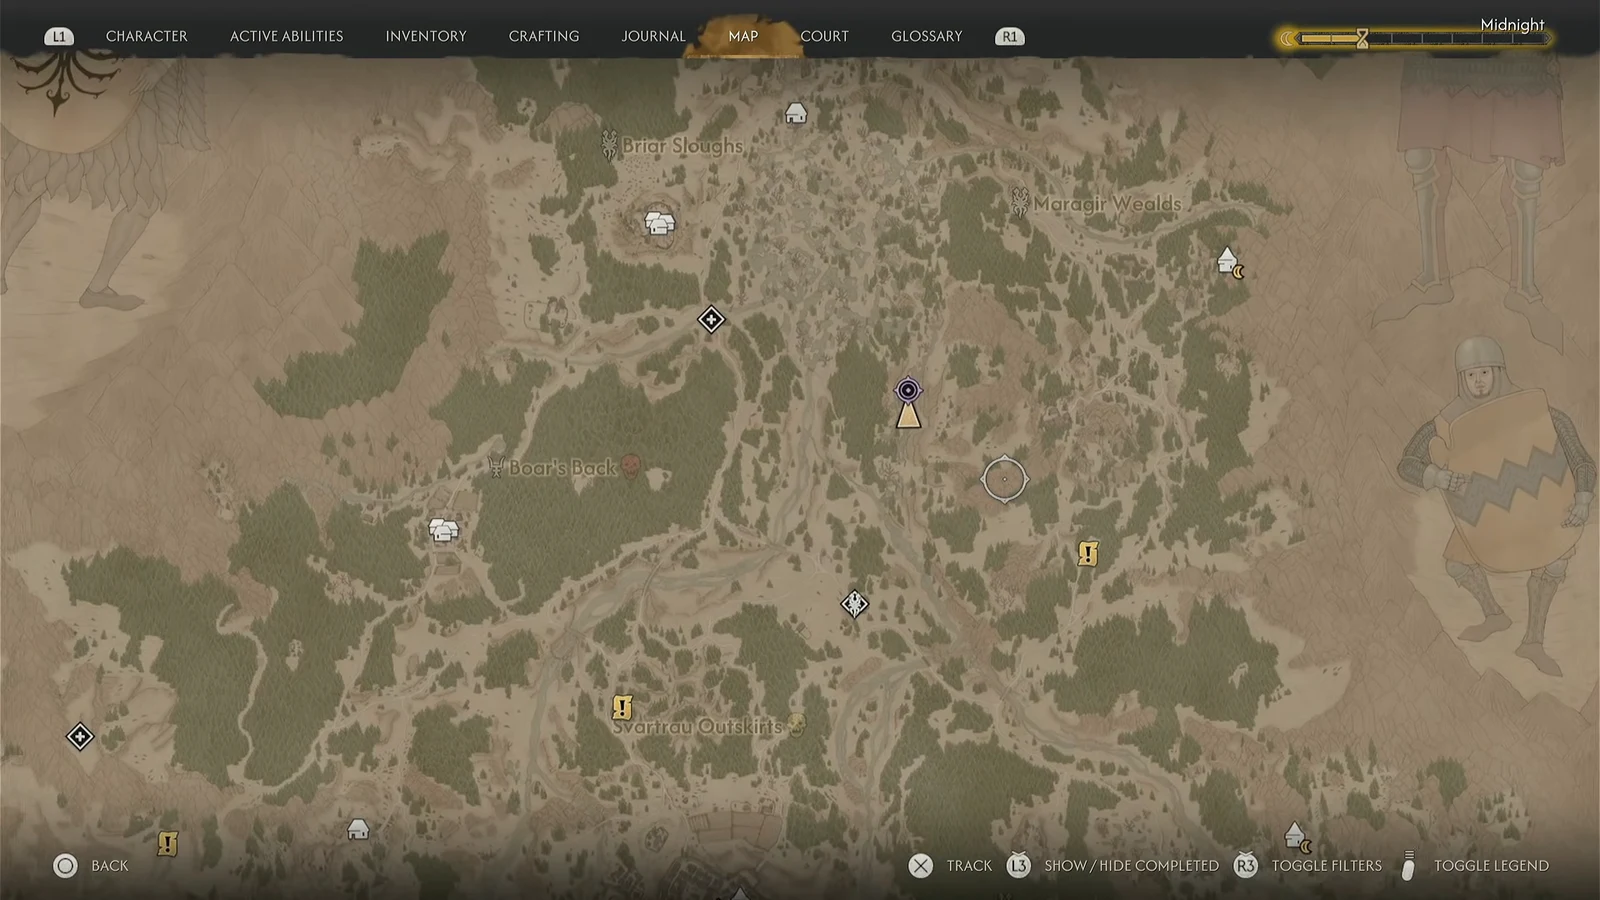
The map is a fixed chest drop, not a random find. It sits in the loot chest at the Bandit Camp in the northeast corner of the Briar Sloughs area, in the Vale Sangora region. The camp shows on the world map as a Bandit Camp icon with the tooltip “The hideout of dangerous outlaws,” and the chest stays locked behind the fight, so there is no way to sneak past the group and grab the map early.
In your inventory the item reads Treasure Map: Briar Sloughs, described as marking a secret stash likely filled with valuables. Picking it up immediately adds the quest entry Bandit’s Treasure Map: Briar Sloughs with the objective “Search for the treasure.”
How to clear the bandit camp and loot the map
Briar Sloughs treasure location at Boar’s Back
The map does not drop a precise pin. It draws a yellow search circle east of the bandit camp, in the Boar’s Back area northeast of Briar Sloughs and just east of the southern shrine. Everything inside that circle is fair game, but only one spot is diggable.
Bandit’s Treasure Map: Briar Sloughs rewards
The unearthed chest mixes coin, a ring, a clothing piece, and a combat manual. Reported contents vary slightly between playthroughs, with the ring appearing consistently.
| Reward | Type |
|---|---|
| Mercenary’s Ring | Accessory |
| 200 Denarius | Currency |
| Brown Well-Fitted Trousers or Leather Boots | Apparel |
| Restless Blade Manual or Counterattack Manual | Skill manual |
Note: the Adrenaline Rush Manual from the camp chest is separate from the buried reward, so you end the hunt with two manuals in total.
How to confirm the quest completed
Completion is tied to the dig, not the map. Once the animation finishes and you loot the chest, the Bandit’s Treasure Map: Briar Sloughs entry closes out and the rewards land in your inventory. If the entry is still sitting on “Search for the treasure,” the stash has not been opened yet.
Two things stop the dig from triggering. Without a shovel in your possession the interaction fails outright, and standing anywhere other than the marked earth at the base of the large dead tree gives you no prompt at all. If both are covered and nothing happens, clear any remaining undead nearby and try again.
The whole run takes only a few minutes once you know the camp sits in the northeast and the dig site sits east in the riverbed. The Mercenary’s Ring and the manual are the real draw, and clearing the camp on the way removes one of the tougher enemy groups in the area at the same time.