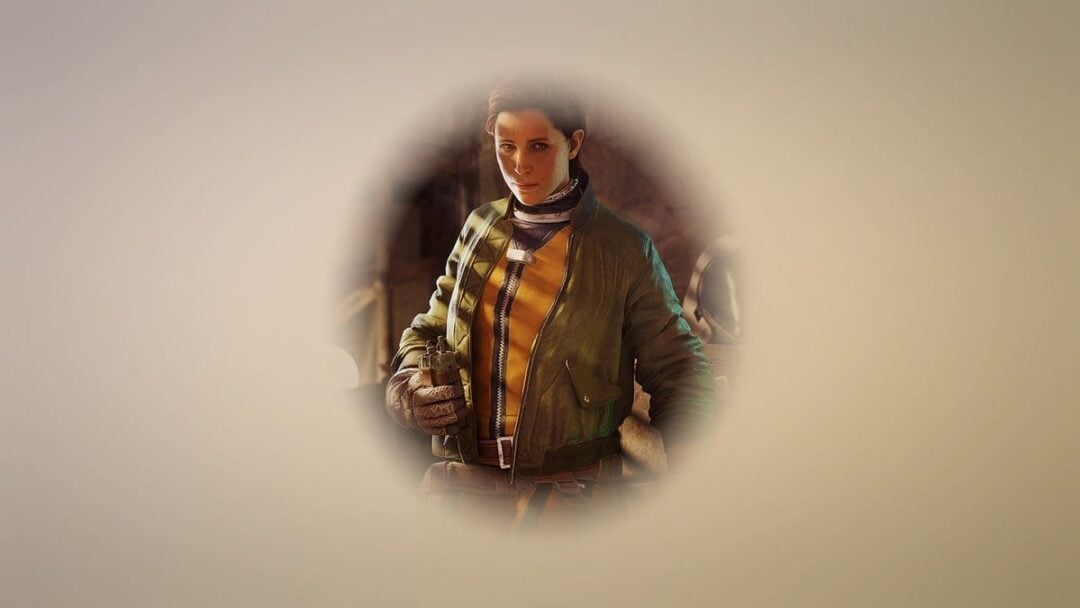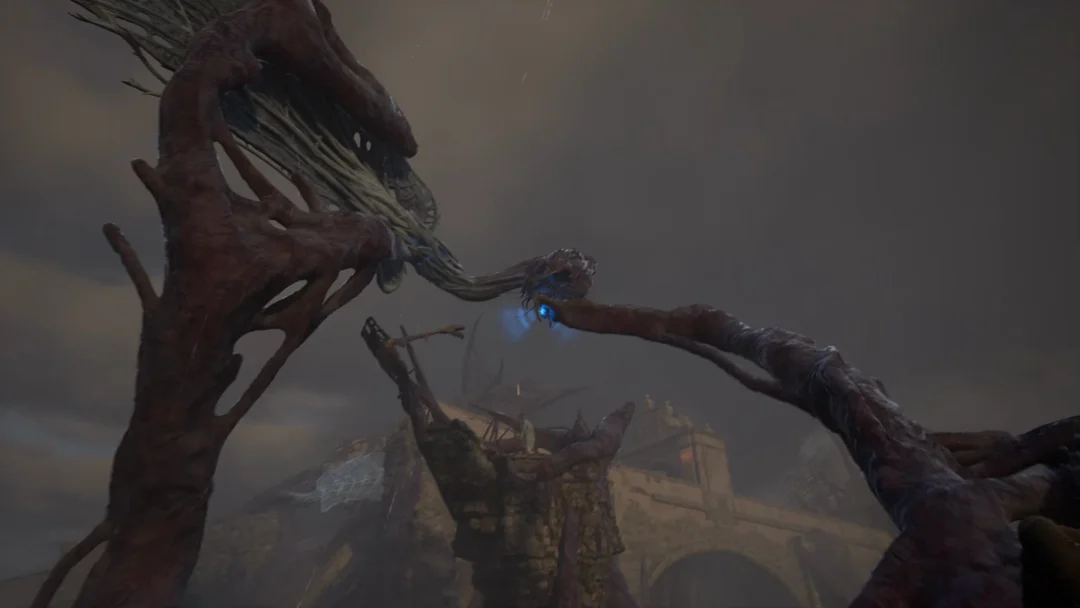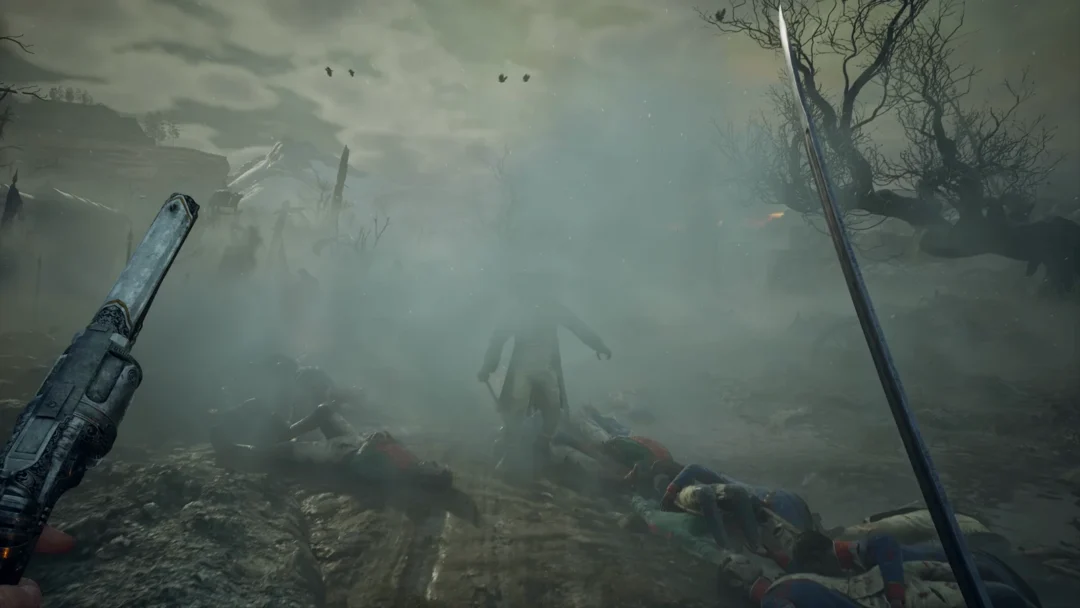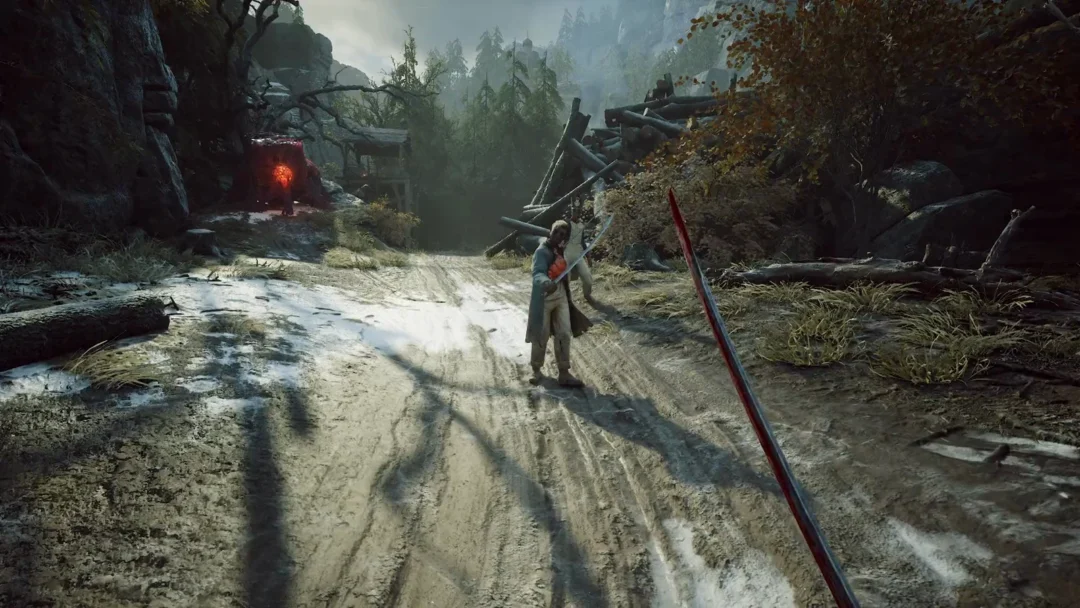
Legendary equipment in The Blood of Dawnwalker is scattered across Vale Sangora in fixed spots, not random drops. Five of the easiest pieces to secure early cover a weapon, a pair of heavy trousers, medium bracers, and two rings. Four of them sit in chests you can walk to. One of them disappears forever if you pick the wrong line of dialogue.
Quick answer: The Gladius is in the cave under Mount Balour, the Ancient Greaves drop from the shattered Font of Life pedestal during “Stronger Than Achilles,” the Ring of Quick Strikes is behind the locked door in The Highland Grave, the Wolven Bracers are in the wolf cave off Riverside Trail, and the Arbiter’s Ring is in a chest inside Kobold’s Nest. Only the Ancient Greaves can be permanently missed.
All five legendary items, levels, and sources
Levels look low on some of these, but that is not a reason to leave them behind. Blacksmiths and armorers can upgrade legendary gear later, so an item you pick up at level 23 stays usable deep into the campaign. Filling every equipment slot with legendary items also unlocks the Gear of the Gods trophy.
| Item | Type and level | Where it comes from |
|---|---|---|
| Gladius | Shortsword, Level 26, 337 DPS | Chest deep in the Beast of Balour’s cave, Mount Balour |
| Ancient Greaves | Heavy trousers, Level 30, 272 Armor | Sack under the destroyed pedestal, “Stronger Than Achilles” |
| Ring of Quick Strikes | Ring, Level 23 | Chest behind the locked door, The Highland Grave |
| Wolven Bracers | Medium bracers, Level 23, 127 Armor | Chest in the wolf cave, “Of Wolves and Men” |
| Arbiter’s Ring | Ring, Level 23 | Chest inside Kobold’s Nest, south of Tantari Woods |
Ancient Greaves location: destroy the Font of Life (missable)
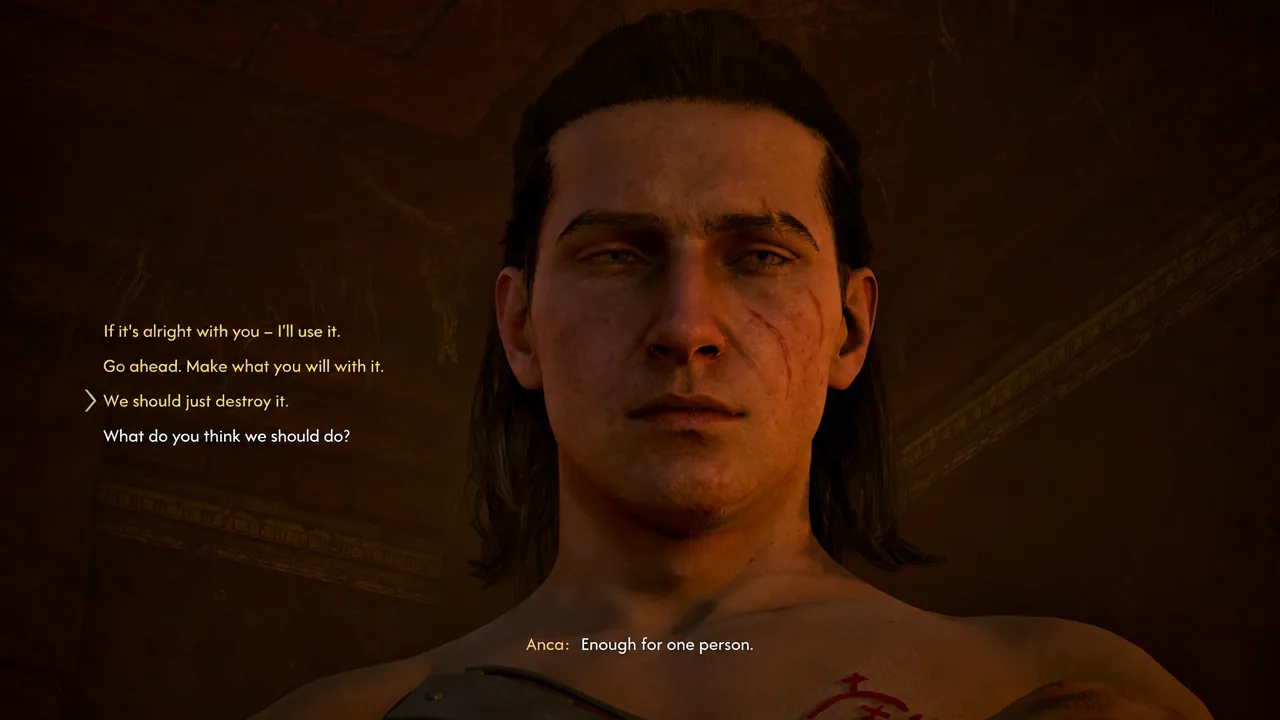
Start with this one, because it is the only piece here tied to a choice. The Ancient Greaves appear near the end of Anca’s “Stronger Than Achilles” quest, and they only exist if you break the font instead of preserving it. Pick anything else and the sack never spawns.
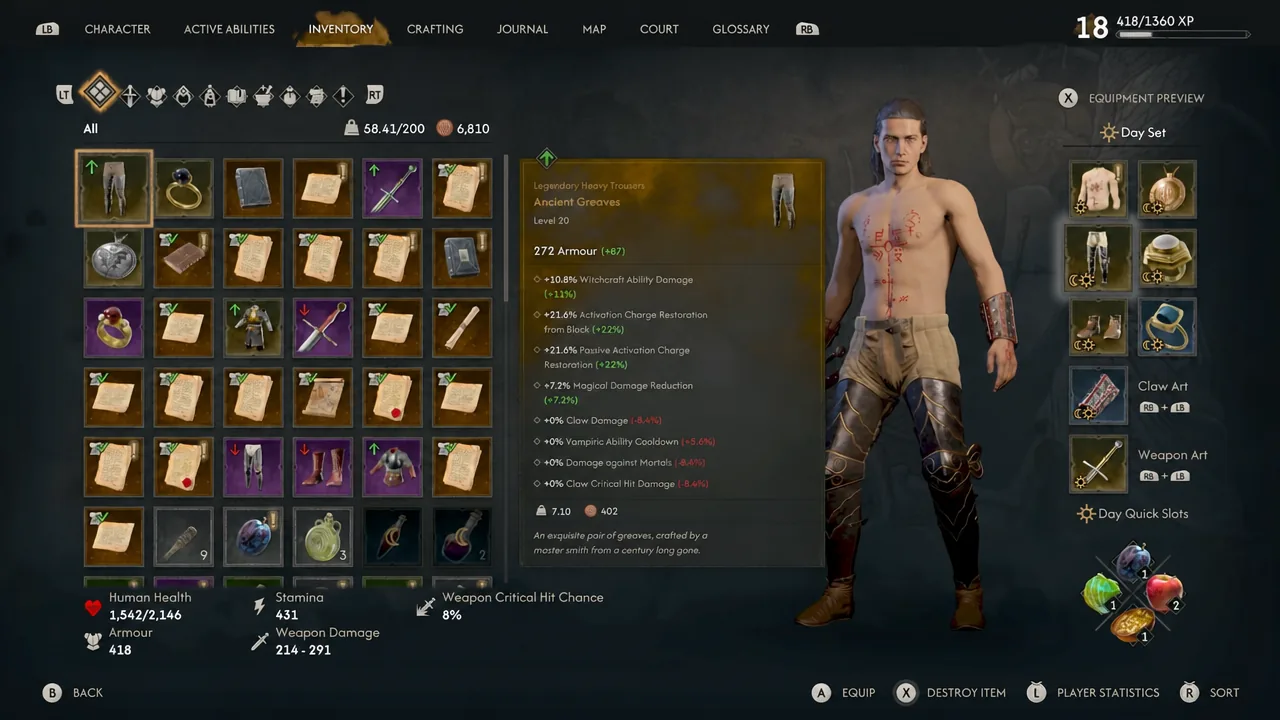
Open your inventory to confirm the pickup. The greaves read as Legendary Heavy Trousers at Level 30 with 272 Armor, and they carry witchcraft ability damage, AC restoration on block, passive AC restoration, and magical damage reduction. Note that heavy armor needs the matching proficiency before you can equip it.
Ring of Quick Strikes location: The Highland Grave and the Scholar’s Key
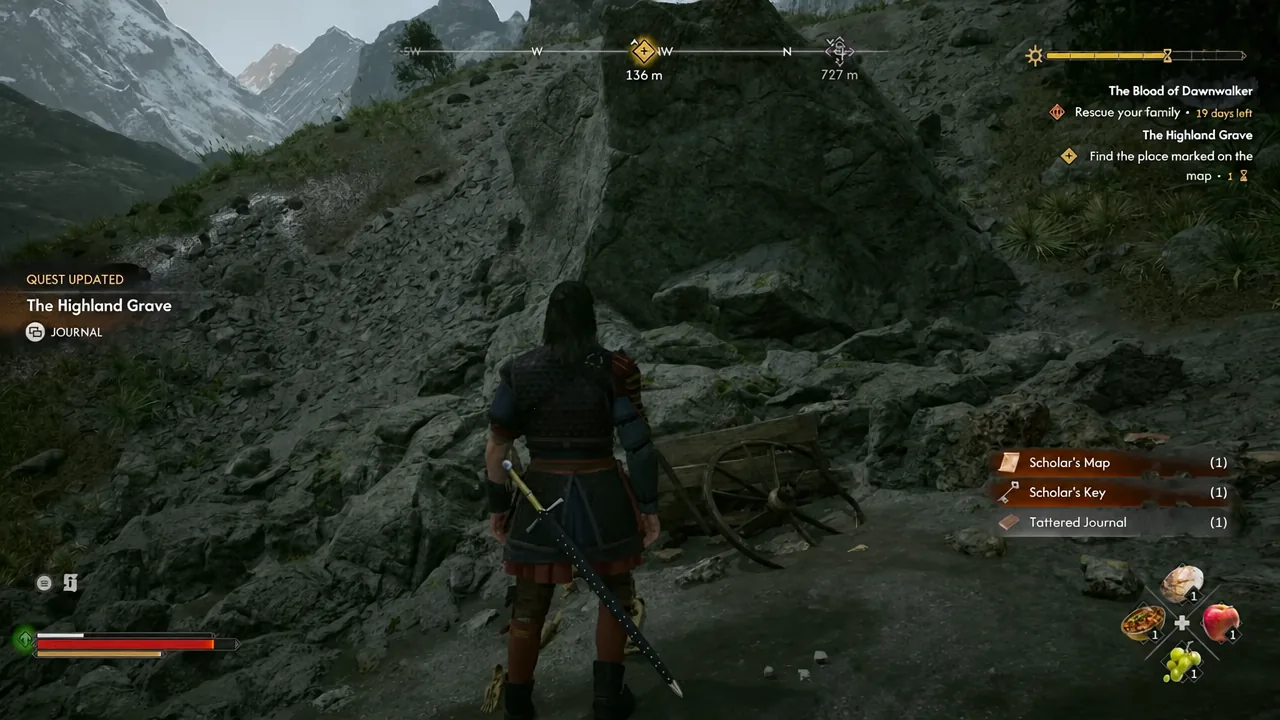
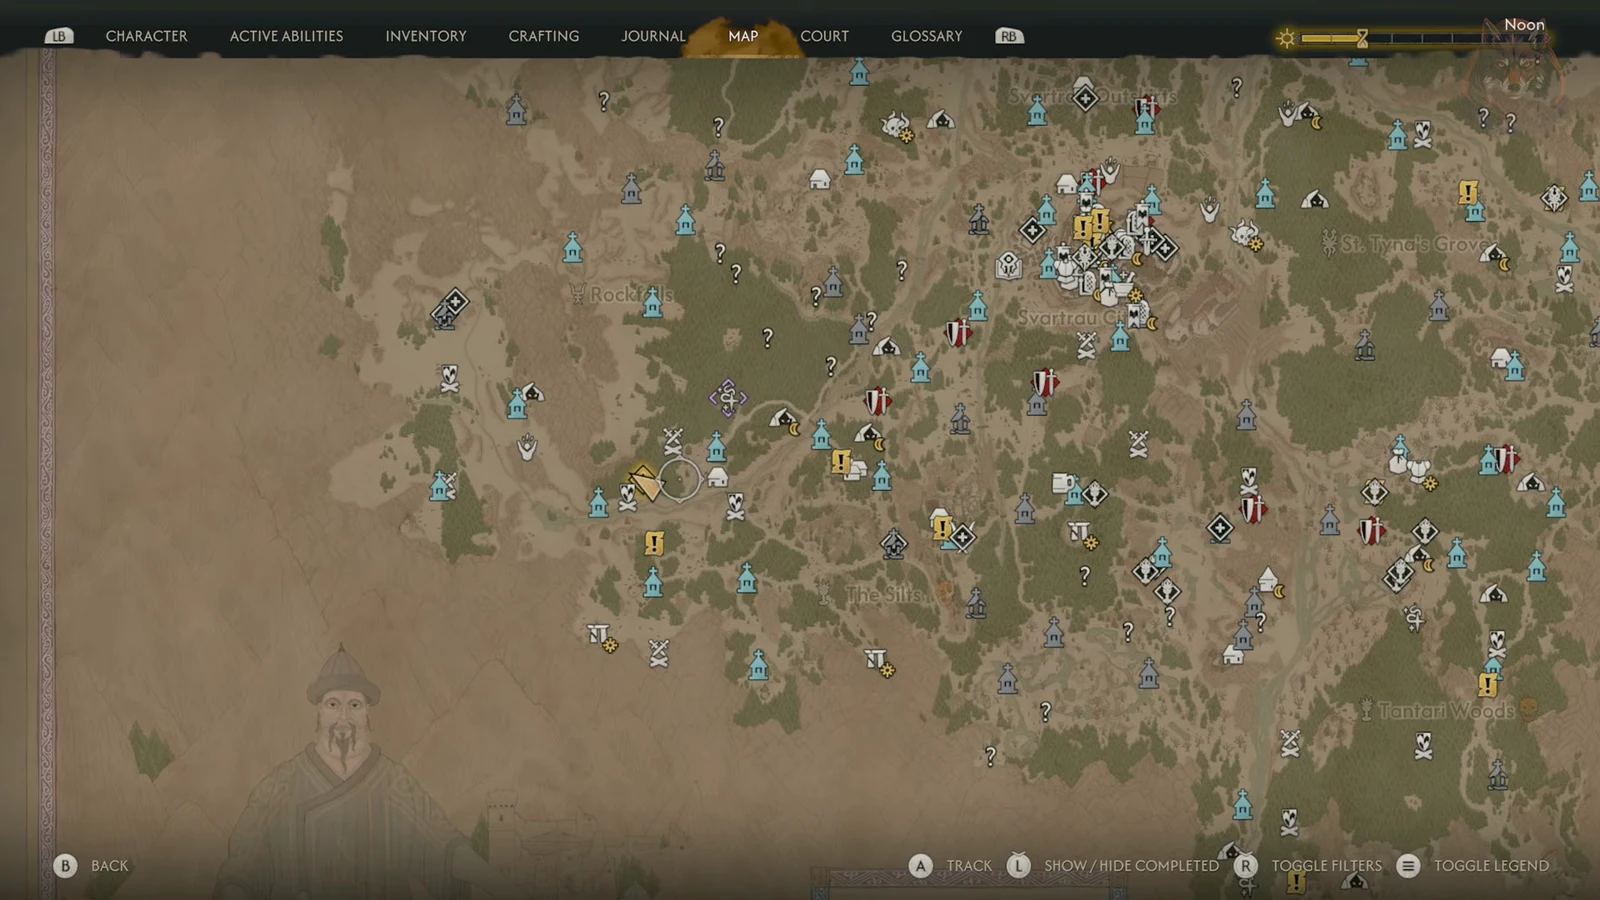
This ring is gated behind a key, and the key is easy to walk past. The chain starts at a landslide in the far west of the map, along the road near the mountain range.
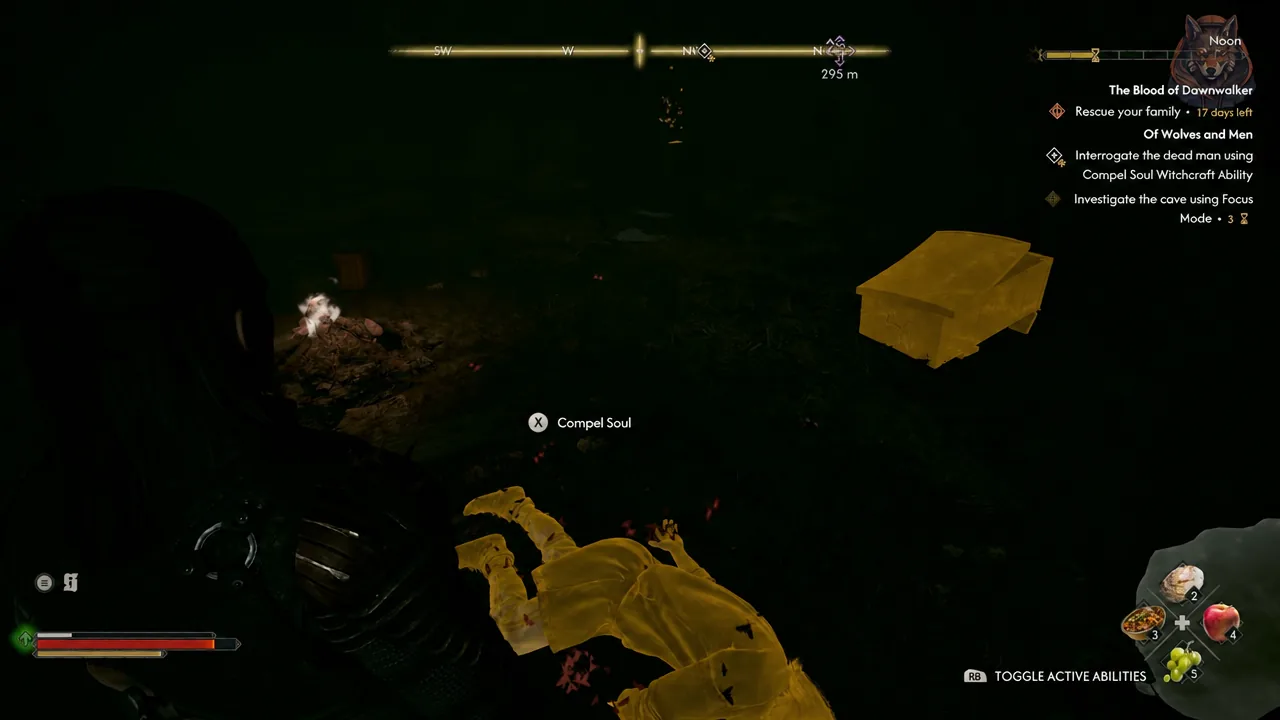
Wolven Bracers location: follow the blood trail in “Of Wolves and Men”
The bracers are built for claw builds, with claw damage, claw critical hit chance, claw critical hit damage, and bonus damage against animals. The quest begins with blood spatter on the road near the Riverside Trail.
Gladius location: the Beast of Balour cave at Mount Balour
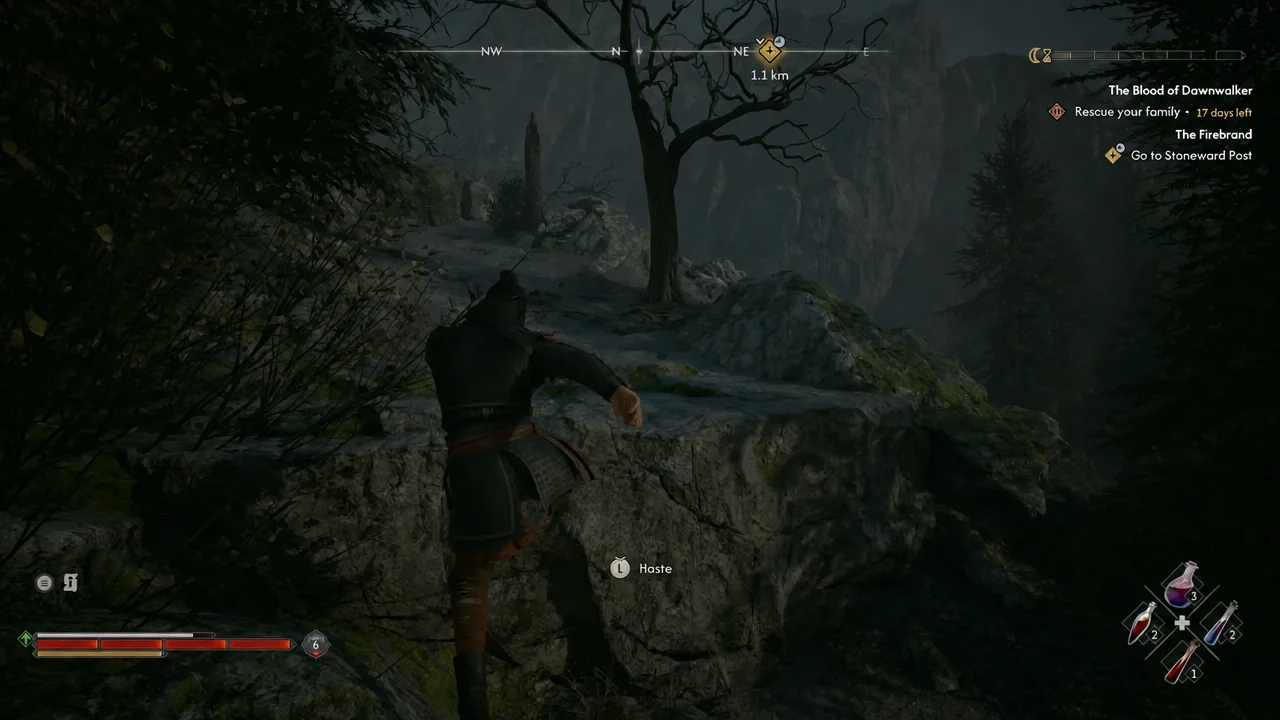
Mount Balour sits west of Parlita, and the run up it is a night activity. The reward is a Level 26 Legendary Shortsword at 337 DPS that once belonged to Brencis, with maximum vampiric health, damage against mortals, critical hit chance, and critical hit damage.
Arbiter’s Ring location: Kobold’s Nest south of Tantari Woods
This is the fastest of the five. Kobold’s Nest sits in the south of the Tantari Woods, and there is no quest to start and no key to track down.
Why a pickup fails to appear
Each of these has one specific blocker, and it is almost always the same handful of mistakes.
- No sack under the pedestal: you did not select “We should just destroy it.” during “Stronger Than Achilles.” The greaves cannot be recovered later.
- The sturdy door in The Highland Grave will not open: you skipped the skeleton under the crushed cart and never picked up the Scholar’s Key.
- The chest in the wolf cave stays shut: you have not used Compel Soul on the body next to it.
- No chest after the Beast of Balour: you left at ground level. The Gladius sits past a wall you have to Shadowstep or Planeshift up to.
- Nothing happens at Mount Balour: the climb and the quest are tied to night, so advance time and return.
Each item lands directly in your inventory with the Legendary tag, so a quick check of the relevant slot confirms it worked before you move on. Take the Ancient Greaves first if Anca’s questline is anywhere near the font, then mop up the other four in any order you like.