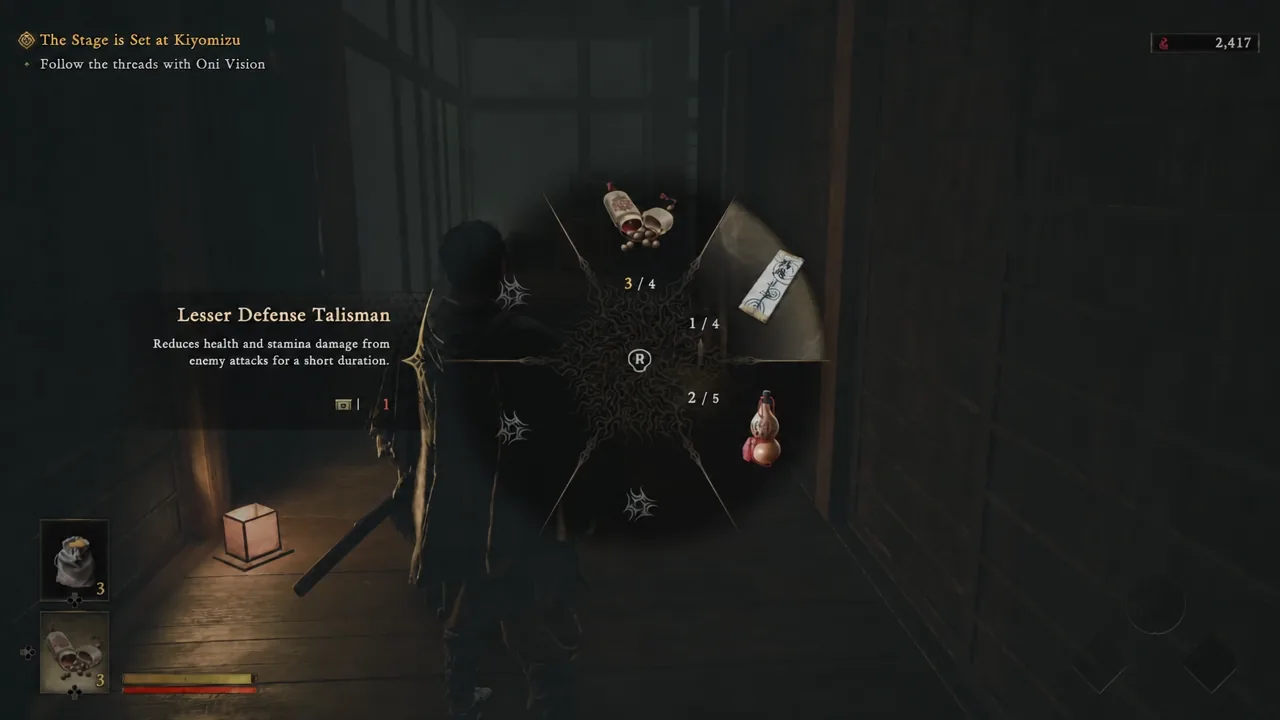
Healing in Onimusha: Way of the Sword does not happen from a pause menu. Consumables like the Mild Restorative live on a radial item wheel that you open and fire off in real time, while Genma are still swinging at you. The whole exchange takes two button presses, but they are split across two different directions on the D-pad, which is what trips up most players in their first hour.
Quick answer: Press the Left Directional Button to open the item wheel and highlight the item you want, then press the Down Directional Button to consume it.
Item wheel controls in Onimusha: Way of the Sword
Two inputs cover everything. Left opens the wheel and changes your selection; Down uses whatever is currently selected. Because Down works without opening the wheel, you can re-use the same item repeatedly during a fight without touching the radial menu again.
| Input | What it does |
|---|---|
| Left Directional Button (D-pad Left) | Opens the item wheel and cycles the highlighted item |
| Down Directional Button (D-pad Down) | Consumes the currently selected item |
How to select and consume an item
How to confirm the item was used
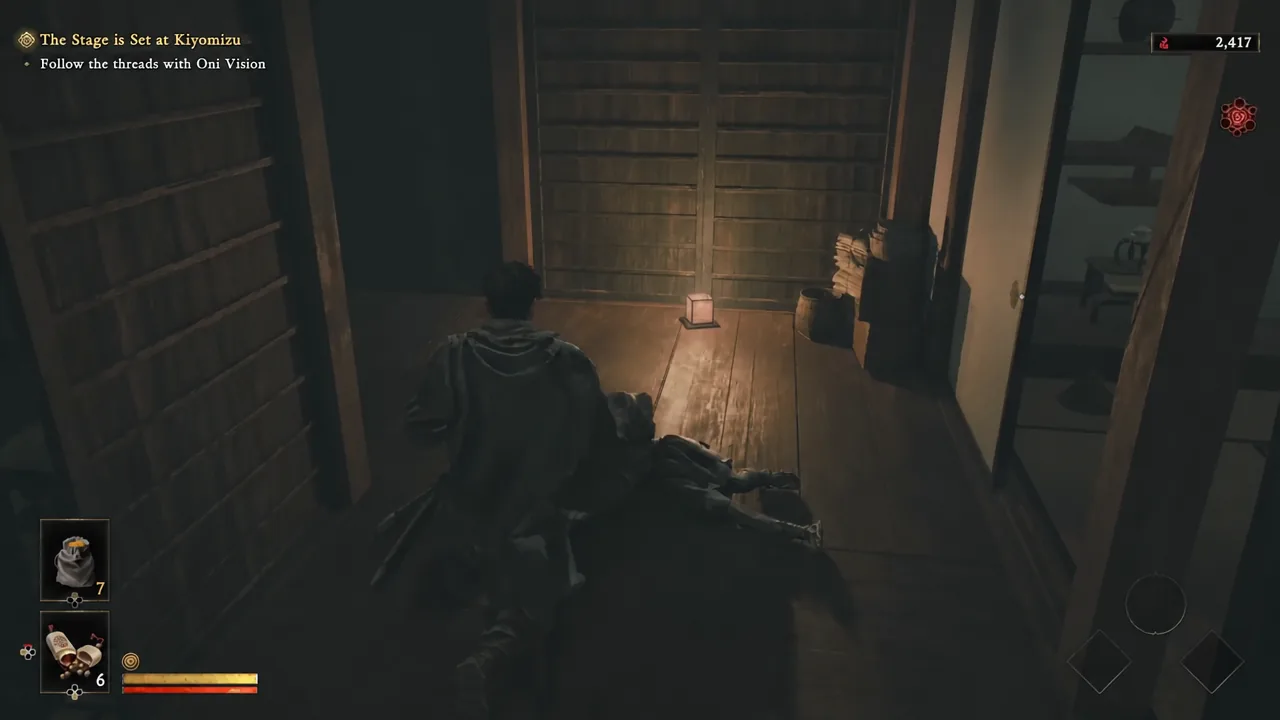
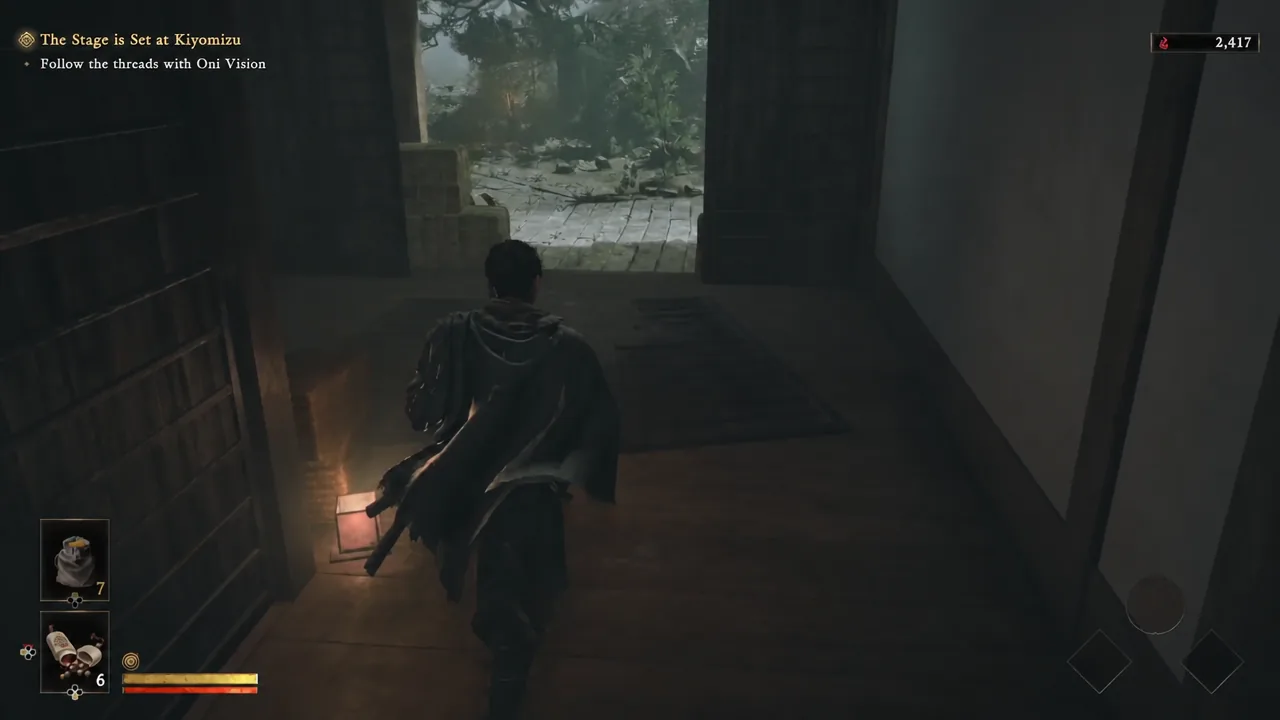
Three things change at once, and all of them are visible without opening a menu. The kneeling animation plays, the effect starts applying, and the stock counter attached to that item drops by one.
That counter is written as a current-over-maximum pair, so a Mild Restorative slot reading 4 / 4 becomes 3 / 4 after a use. Other slots follow the same format at different capacities, such as 1 / 5 or 1 / 1. If the number does not move, the input did not register and the item was not spent.
Consumables worth keeping on the wheel
The wheel holds both healing and defensive consumables, and they are used through the exact same two inputs. Timing is the only difference in practice — a heal is a reaction, a talisman is something you set up before a duel starts.
| Item | Effect |
|---|---|
| Mild Restorative | Gradually restores health for a short duration |
| Lesser Defense Talisman | Reduces health and stamina damage from enemy attacks for a short duration |
Note: because both effects are timed rather than instant, using one mid-combo is usually wasted. Create space first, then commit.
Charms are equipped, not used from the item wheel
Charms strengthen Musashi’s abilities, but they are not consumables and never appear as something you trigger with the D-pad. You swap them on the Equipment screen, which unlocks separately as the story progresses. Sword appearances are handled elsewhere again, through Change Appearance in the Spirit Mirror menu, and they are purely cosmetic.
Item stock carries into New Game+
Anything tied to your consumable loadout survives a second run. Items, Hozuki Pouches and Pouch Enhancements, and Charms and Charm Enhancements all transfer into New Game+, alongside Awakened Oni Abilities and enhanced basic and special Skills. Sword and Gauntlet Enhancements, Clothing, and Red Souls do not.
There are nine Hozuki Pouches scattered across Kyoto, tracked by the Medical Marvel trophy. Collecting them is worth doing on the first playthrough, since the progress follows you forward rather than resetting.
Once the two D-pad inputs become muscle memory, the wheel stops being a menu and starts behaving like part of your combat kit — open with Left, confirm with Down, and watch the counter tick down so you always know exactly how many restoratives stand between you and the next Genma encounter.