

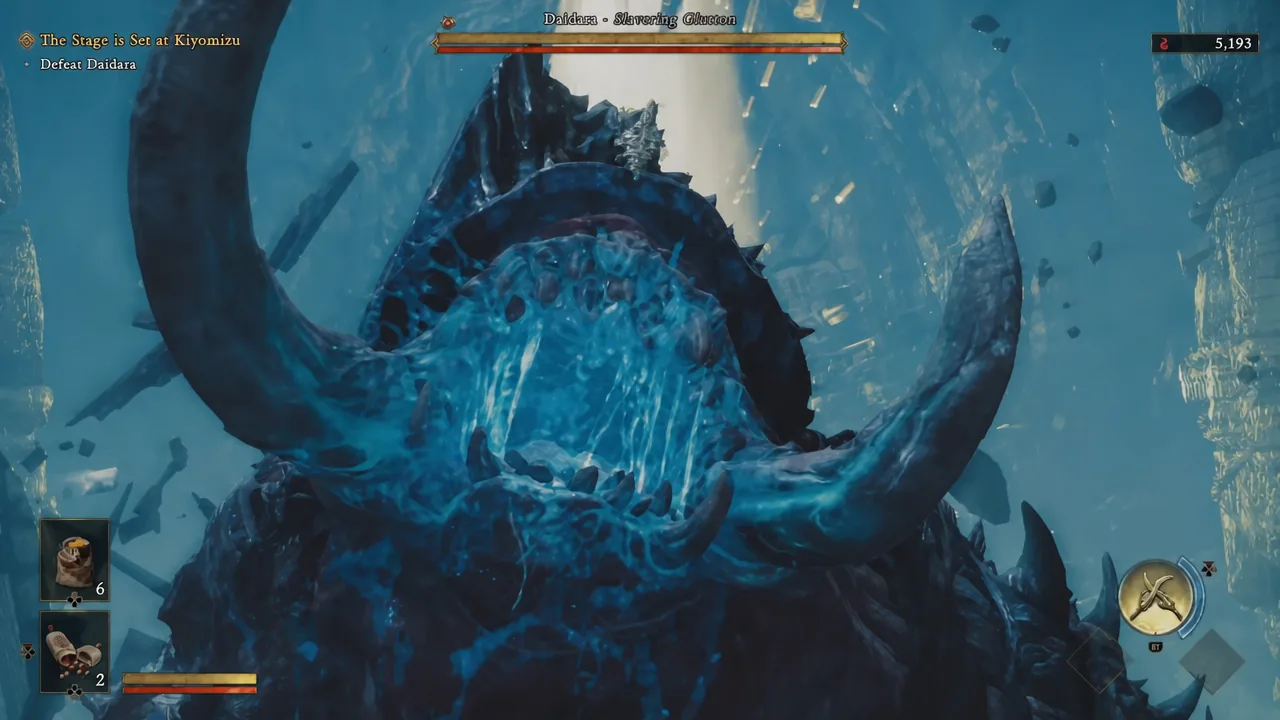
Daidara – Slavering Glutton is the giant Genma that closes out The Stage is Set at Kiyomizu in Onimusha: Way of the Sword. He shows up after the duel with Sasaki Ganryu, once Musashi follows him into the Dark Realm, and he is built around one idea: he wants the souls you drop, and every soul he swallows makes him hit harder. The club swings are slow enough to read, so the fight is decided less by raw damage and more by whether you keep the arena clean.
Quick answer: Absorb every soul with the Oni Gauntlet the moment it drops, reflex dodge his charge instead of blocking it, and parry the final hit of his club combo — that stagger opens a damage window of roughly five seconds.
The soul rule that decides the Daidara fight
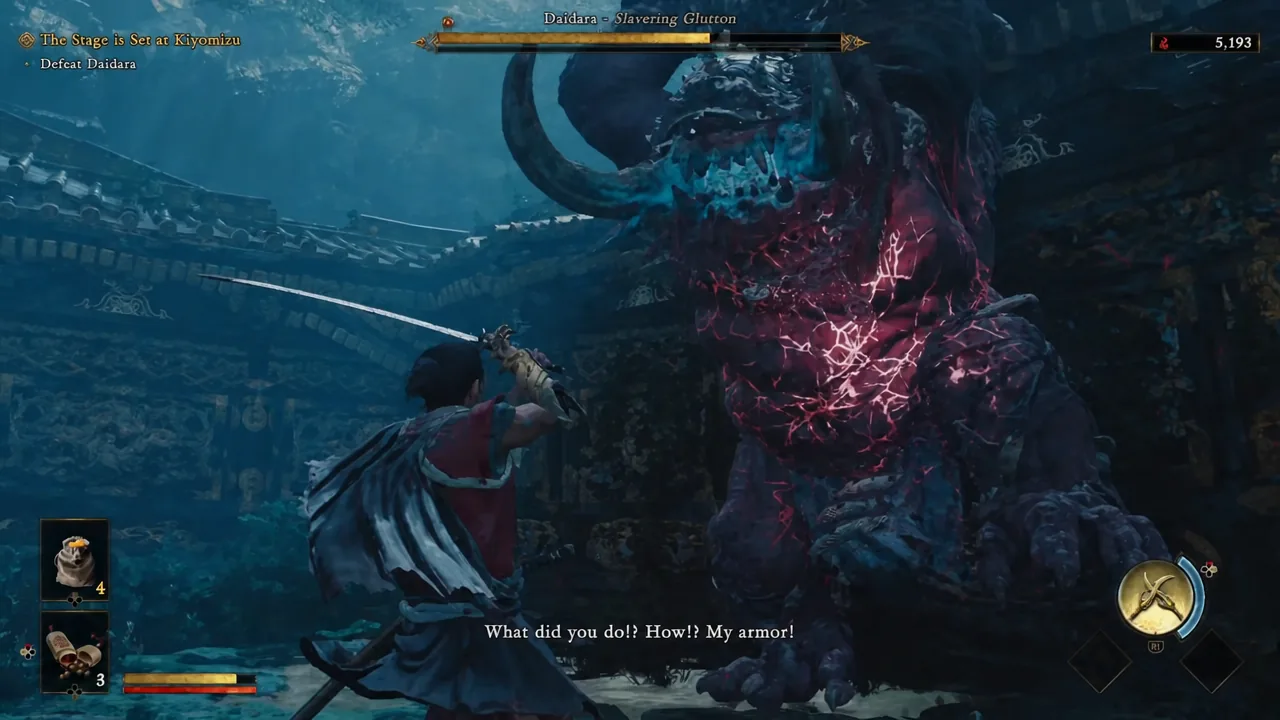
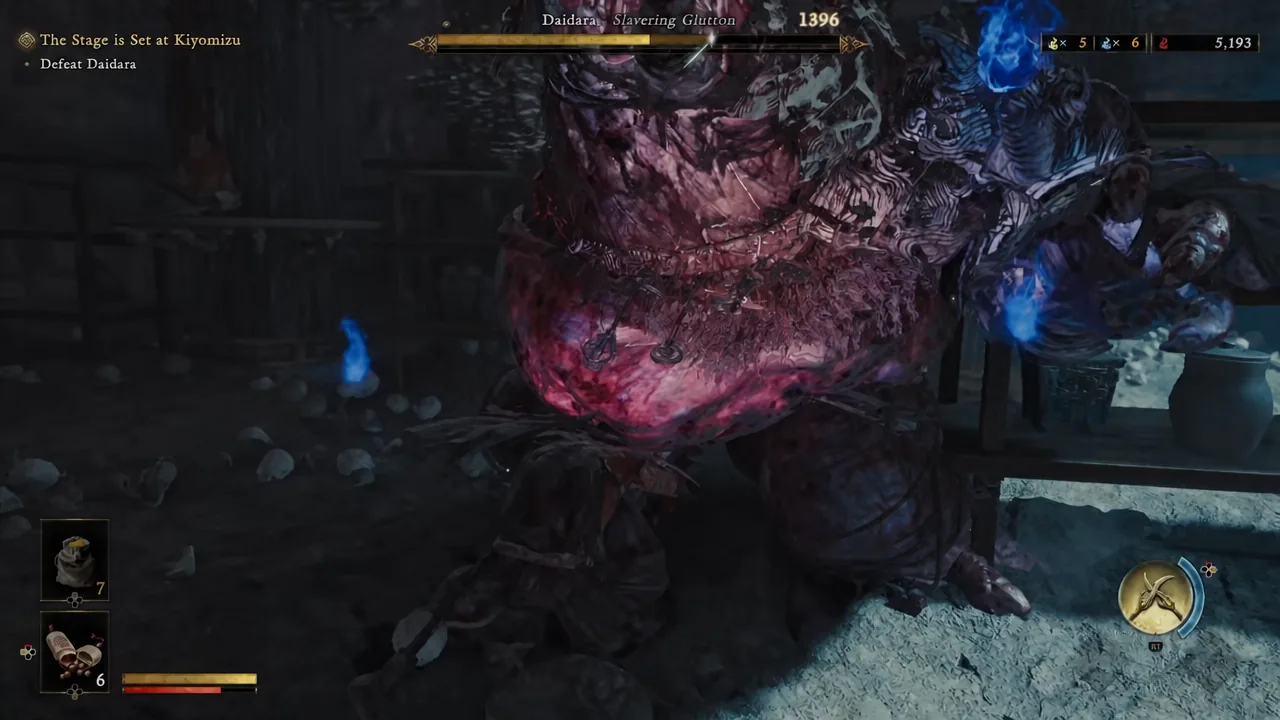
Combat generates souls, and those souls sit on the ground until someone takes them. Daidara will eat anything you leave lying around, and when he does, he enters an enhanced state. You can spot it easily — his belly and mouth start glowing, and his attacks start taking much larger chunks of your health.
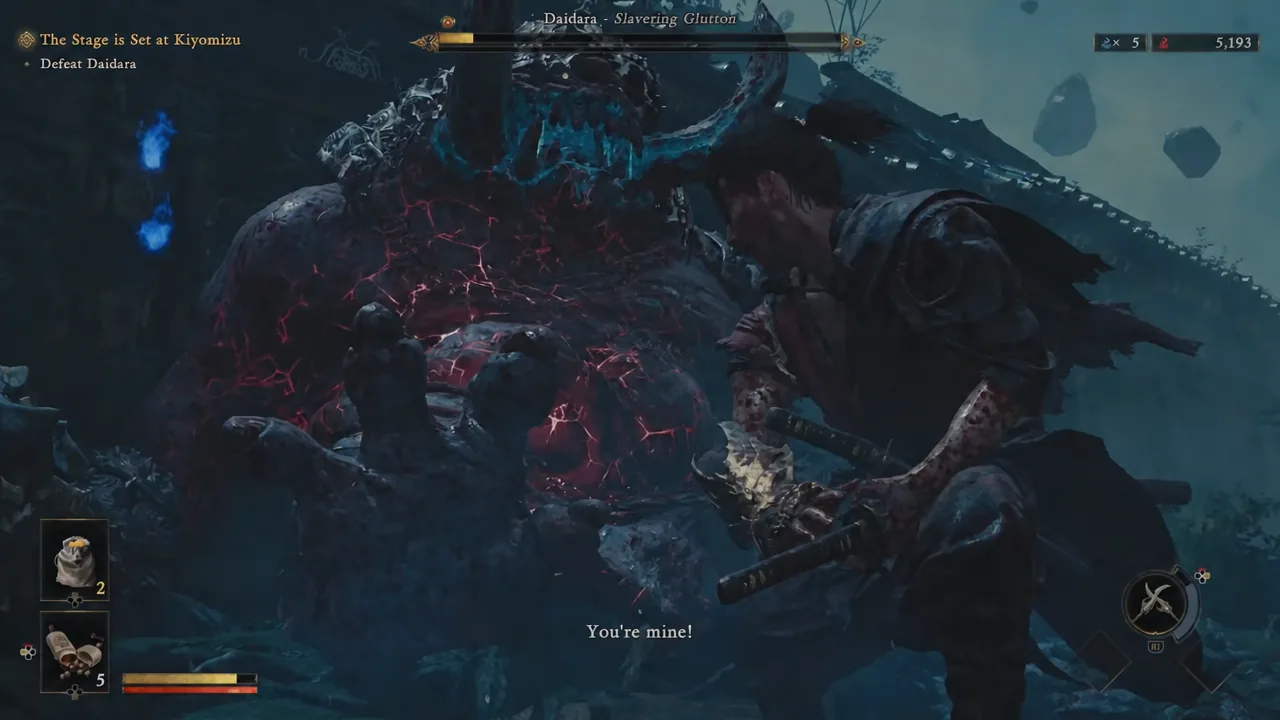
The counter is simple but demands discipline. Whenever souls appear, hoovering them up with the Oni Gauntlet takes priority over extending a combo. Hit him two or three times, back off, collect, then re-engage. Souls also feed your equipment upgrades and abilities outside of combat, so anything he swallows is a resource you never get back.
His grab makes this worse. If it connects, he drains souls directly from you, and that costs you health, Stamina Gauge, and Oni Gauge at once. A perfect dodge is the reliable answer, and it is far safer than trying to eat the hit.
Daidara’s moveset and how to counter each attack
His whole kit is slow, telegraphed, and heavy. The two attacks that catch most players are the ones with a hidden final hit.
| Attack | How to handle it |
|---|---|
| Running combo (four hits) | He charges in with his right hand raised. The third hit turns him around and a fourth follows — parry that last swing and he is open for 5+ seconds. |
| Basic club chain (three swings) | Every swing can be parried, including the second and third if you miss the first. Parrying the final strike staggers him. |
| Charge / Dash | He stomps his feet on the spot before launching. Stand near a wall or pillar and dodge late so he slams into it and staggers. |
| Grab | Slow wind-up compared to later bosses. Perfect dodge it, or break it with an Oni Armament if your Oni Gauge is full. |
| Long sweep | Heavily delayed, hits wide and far in front of him. Rotate to his left to walk out of it almost entirely. |
| Overhead combo | Two overhead slams followed by a wrap-around swing. The wrap-around is the hit that sends you flying — expect it. |
| Overhead slam | Single slam that sends a shockwave forward, so distance alone will not save you. |
| Overhead leap | Used when you back off far enough. He jumps the gap and lands on you. |
| Stomp | Straightforward foot drop on Musashi’s position. Dodge sideways. |
| Rock throw | Ranged option when you play far away — he smashes the ground and sends debris at you. |
| Jump back sweep | A sweep that carries him backwards if unparried, resetting spacing and setting up a charge. |
Note: getting clipped by the first hit of a chain leaves you staggered and vulnerable to the rest of it, which is also how souls end up on the floor for him to eat. If your parry timing is shaky, dodging out entirely and chipping his health is the safer trade.
Phase 1: Strip his armor and punish the charge
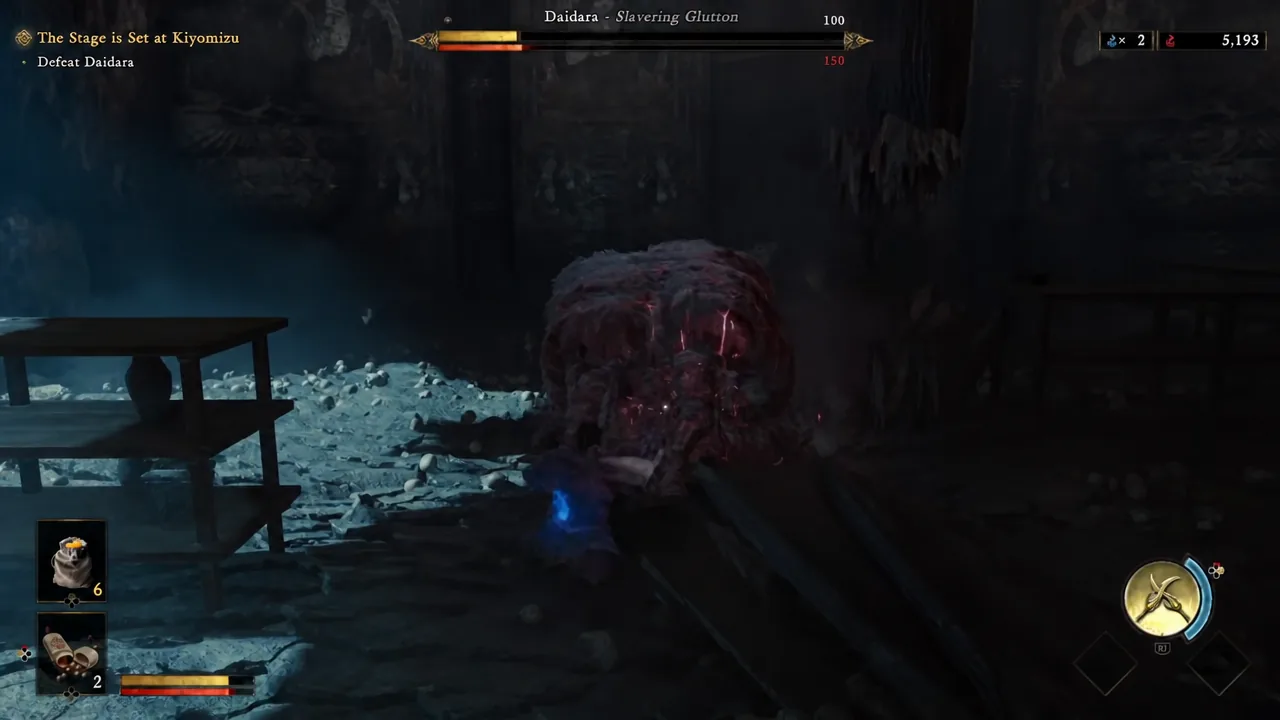
Phase 2: Fighting Daidara in the skull room
The transition is scripted. Daidara grabs Musashi, the two of you crash through the floor, and the fight restarts inside a dark chamber lined with skulls. Re-apply the bow routine here — his armor is a fresh target at the start of the new phase, and stripping it again keeps your damage respectable.
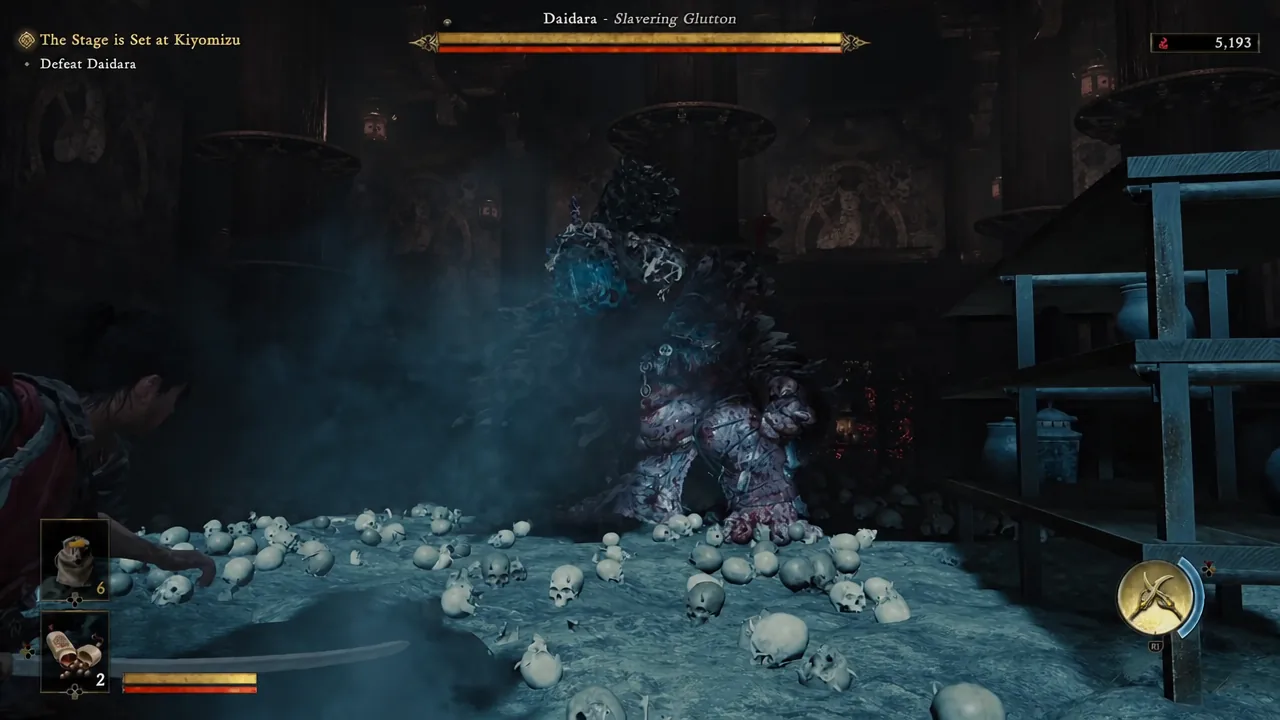
His attack list barely grows, but the pacing does. The three-swing chain becomes a four-hit combo with a deliberate pause between the third and fourth strike, and he gains a straight dash. The pause is the trap — impatient players swing into the gap and eat the last hit.
Positioning matters more than in the open arena. Staying close and rotating around his left side takes you out of the long sweep almost automatically. If you would rather keep space, letting him charge into the pillars and shelving clears the room out, which makes it far easier to see souls and track his wind-ups later. Either way, keep checking what is behind you — getting pinned against a pillar during an overhead combo is how this phase ends badly.
When to spend the Oni Gauge, Break Issen, and Oni Strength
A full Oni Gauge is your emergency button. Firing the Oni Armament, The Two Celestials, cuts through the momentum of his grab and his charged attacks, so it doubles as both damage and a bailout when a read goes wrong.
Oni Strength is the heavy Oni ability, built to break through enemy defenses. Save it for a clear opening rather than throwing it out mid-pressure, since long animations are what get punished here.
Targeting priority shifts as the fight goes on. Early, when his stamina bottoms out, take the souls first so he never gets a chance to power up. Later, once he is close to dead and losing the odd soul matters less, put those hits into his head for the biggest damage.
The core defensive controls are worth committing to muscle memory: dodge on Circle, parry on L1, and deflect by holding L1 and pressing X.
Confirming the kill and the mission rewards
The final slash triggers a cutscene where Daidara dissolves and his souls scatter across the chamber. From there, The Stage is Set at Kiyomizu completes and the results screen hands over your rewards.
| Reward | Amount |
|---|---|
| Charm of the Healer | 1 |
| Johari Shard | 1 |
| Whetstone | 1 |
| Iron | 1 |
| Fine Silk Cloth | 1 |
Why the fight drags on longer than it should
- Souls are being left on the ground. Every one he eats pushes him toward the enhanced state and inflates his damage.
- You skipped the bow opener. Leaving his armor intact means his defense stays high through the entire phase.
- You are swinging into the fourth hit. Both the running combo and the overhead combo end with a delayed strike that punishes early attacks.
- You are blocking charges instead of dodging them. Taking a hit staggers Musashi and drops souls right in front of him.
- Combos are running too long. Short bursts followed by a retreat let you cover the arena and keep collecting.
Daidara sits early in Onimusha: Way of the Sword for a reason. Where Ganryu drills your parry timing, this fight exists to teach reflex dodging and to make soul management feel urgent, and both lessons carry straight into the bosses that follow. Once you stop treating the souls on the floor as loot to grab later and start treating them as ammunition you are denying him, the Slavering Glutton is a fairly predictable opponent with a very large club.





