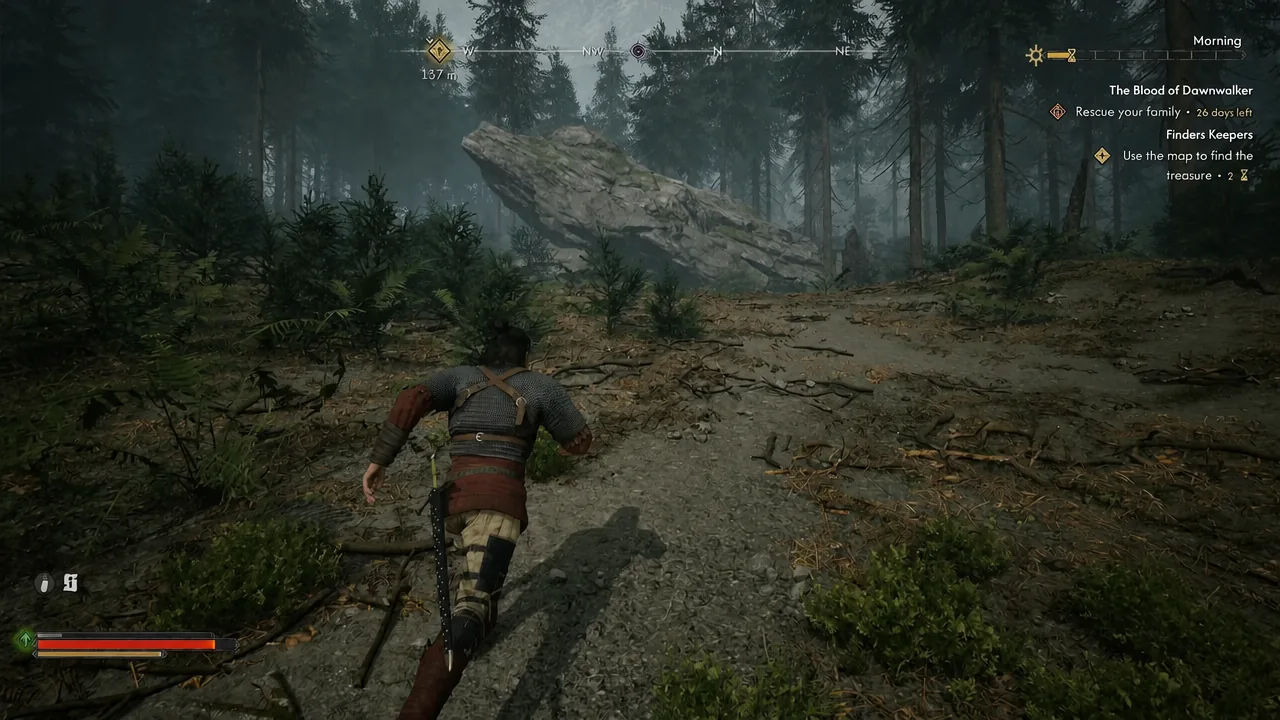
The Silver Cache is one of the easier payouts in The Blood of Dawnwalker, but only if you know what the hand-drawn map is pointing at. The sketch shows a slanted rock with a hollow underneath it, and there are roughly a dozen slanted rocks in the woods around Briar Sloughs. The one you want sits uphill from a shrine, guarded by a wolf pack.
Quick answer: Loot the Treasure Map: Silver Cache from a broken barrel during The Cursed Chasm, then travel to the Briar Slough Hillock Shrine, head northwest uphill to the sloped rock with a shallow cave at its base, kill the Pack Leader and its wolves, and dig at the disturbed earth inside the cave with a shovel.
How to get the Treasure Map: Silver Cache
The map is not sold, given, or dropped by a named enemy. It is loose loot inside the ravine you explore during The Cursed Chasm, the quest you pick up from the innkeeper on the western edge of Altenarkt in Svartrau City, or from the cathedral chronicle. You will need Smoke and Ashes finished before Finders Keepers becomes available.
The Cursed Chasm sends you to the collapsed mountain bridge at Rockfalls, west of the Coward’s Path Shrine. Climb down into the chasm below Greifberg Castle and clear out Echo, her wraiths, and the wolves prowling the bottom. Fighting at night helps here, since the wraiths often outlevel you, and the wolves double as a health source.
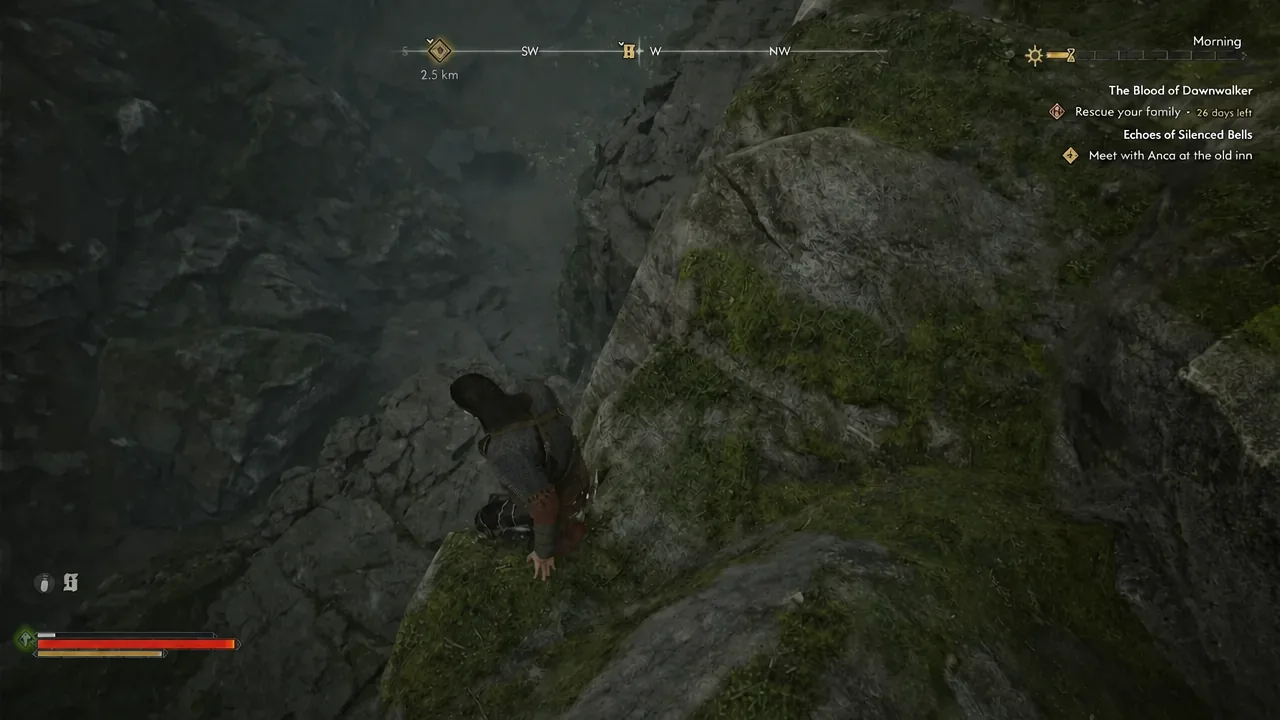
Once the fighting stops, search the corpses, the debris, and the barrels scattered through the wreck site. One of the broken barrels holds the Treasure Map: Silver Cache. Picking it up drops Finders Keepers straight into Coen’s journal, so there is no quest giver to talk to afterwards.
Open the map in your inventory before you leave. It draws a rough path ending at an X over a cave mouth tucked under a leaning rock, which is the landmark you will be scanning the treeline for later.
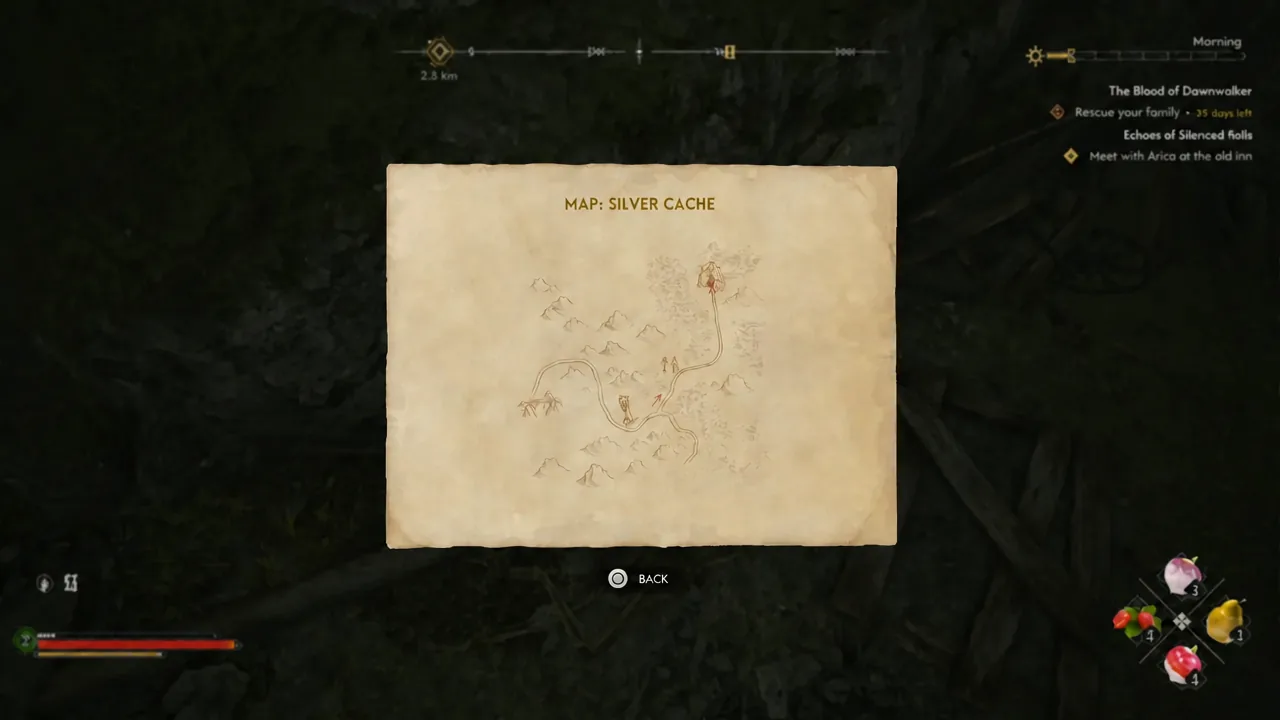
Route to the Silver Cache from the Coward’s Path Shrine
With the quest active, the game feeds you search zones rather than a pin. The first zone drops you at the Coward’s Path Shrine, on the road leading to the broken bridge. Everything below runs from there.
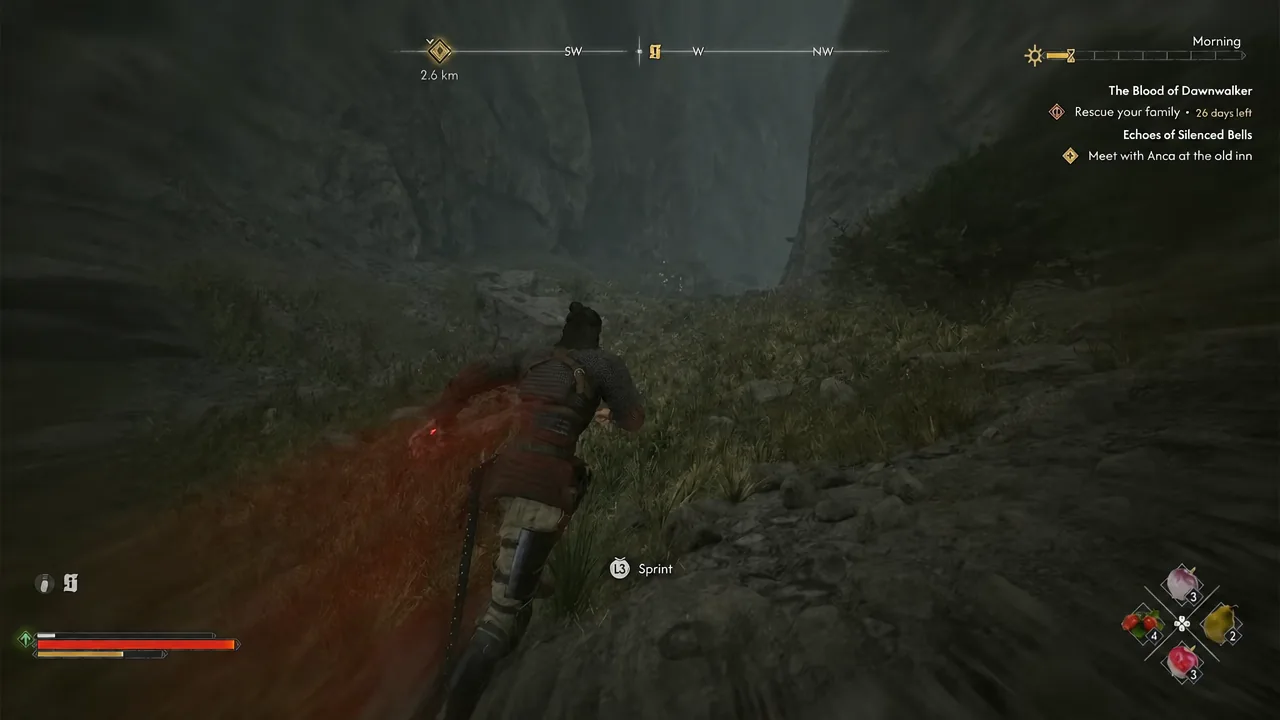
Note: the shrine is the single most useful landmark on this run. Touching it gives you a fast travel point a short walk from the dig, which matters if you plan to save and reload around the excavation.
Pack Leader fight at the sloped rock
Around half a dozen wolves patrol the ground in front of the rock, led by a Pack Leader miniboss. It has a boss health bar but no special mechanics — it is a bigger, harder-hitting wolf, and it folds quickly to a strong weapon. If you walked out of the chasm with Durandal, the Level 20 legendary longsword, this fight is short.
Clear every wolf before you approach the cave. Enemies aggroing mid-dig will cancel the interaction, and re-entering combat next to a dig prompt is the most common reason this quest stalls.
Digging up the Silver Cache
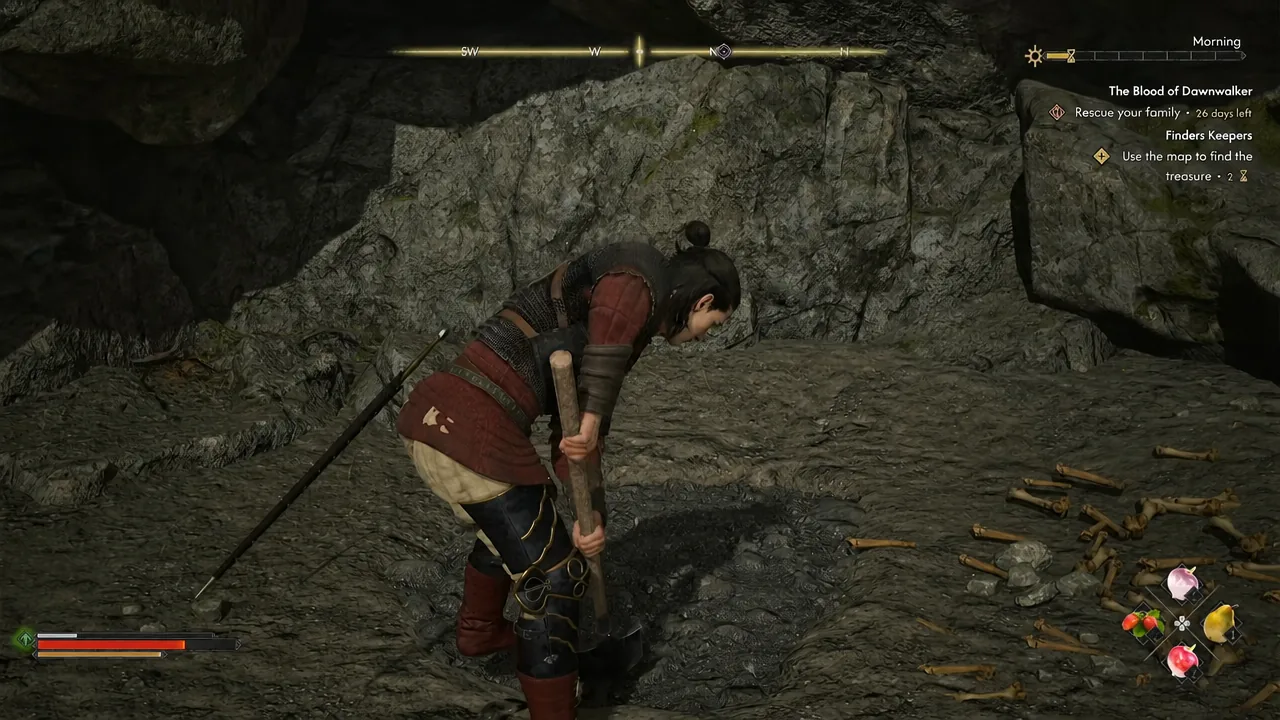
Step into the shallow cave under the rock and look for the patch of disturbed earth. Focus Mode makes it obvious if the ground is blending into the shadows. You need a shovel in Coen’s inventory to interact with it, so pick one up before making the trip if you are not carrying one.
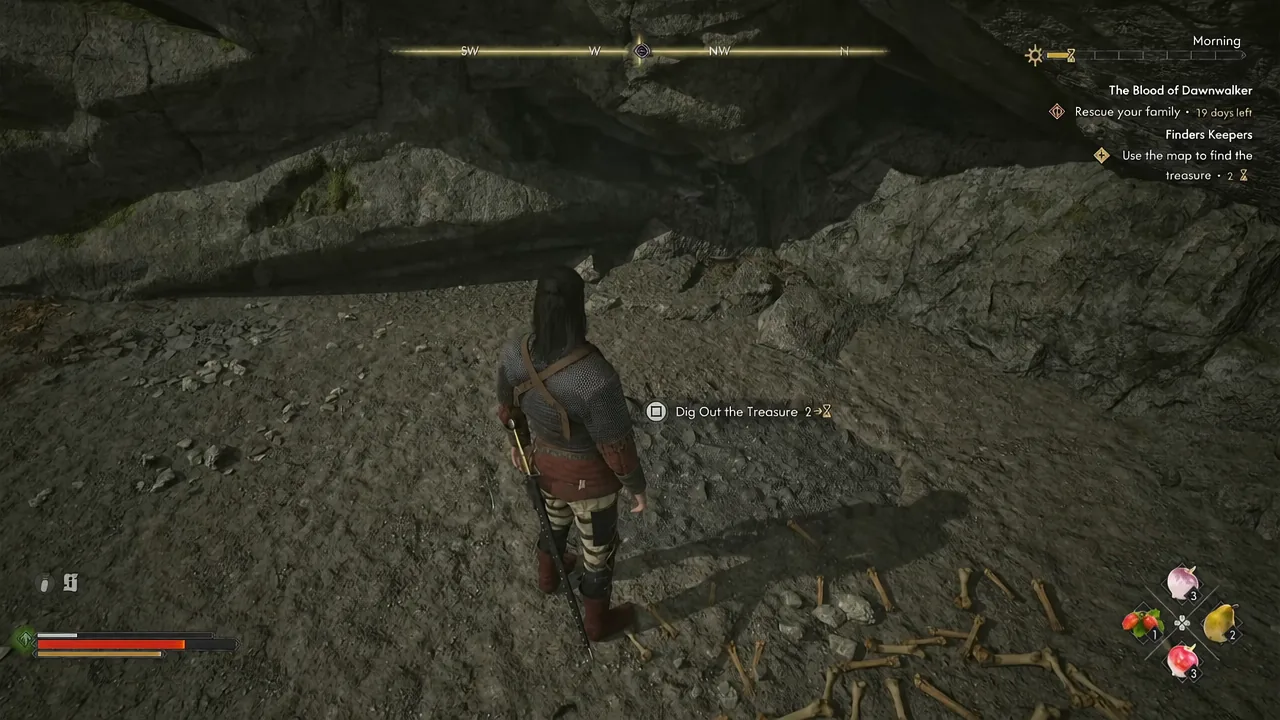
The dig costs 2 time segments, and Finders Keepers is listed as a 2 time segment quest overall. Since time is a finite resource in The Blood of Dawnwalker, it is worth saving right before you dig so you can reload if the haul does not suit your build.
When the excavation finishes, a buried chest appears at the dig site and the Finders Keepers objective closes out on its own. Looting the chest is the confirmation that the quest is done — you should see the experience and skill point award land at the same time.
Silver Cache contents and Finders Keepers rewards
| Reward | Detail |
|---|---|
| Silver Cache Letter | Lore note explaining who the silver belongs to |
| Lump of Silver | Trade good |
| Silver Cross | Trade good |
| Silver Chalice | Trade good |
| Silver Bowl | Trade good |
| Denarius | 41 |
| Quest completion | 100 EXP and 1 skill point |
The letter claims the hoard belongs to the rightful ruler of Vale Sangora, spells out that it is earmarked for the war against the Vrakhiri, and threatens anyone who spends it on themselves. Coen can obviously ignore all of that. Because the haul is almost entirely silver goods rather than coin, the payout is only as good as your access to a silver trader — there is one in Svartrau City, and unlocking it turns this chest into real money.
If the dig prompt never appears, the cause is almost always one of three things: no shovel on Coen, wolves still alive nearby, or the wrong rock. The correct one leans at an angle with a genuine walk-in hollow beneath it, north of the path between the graveyard and the Briar Slough Hillock Shrine. Every other boulder in that stretch is solid.