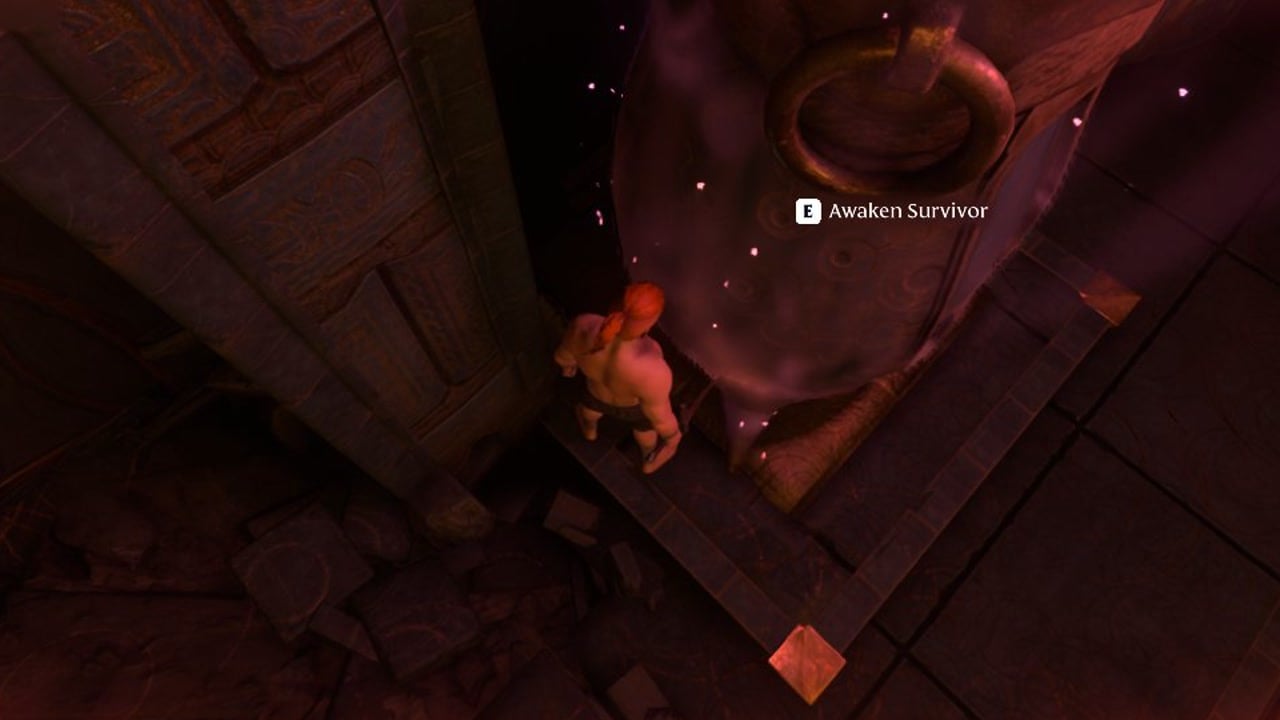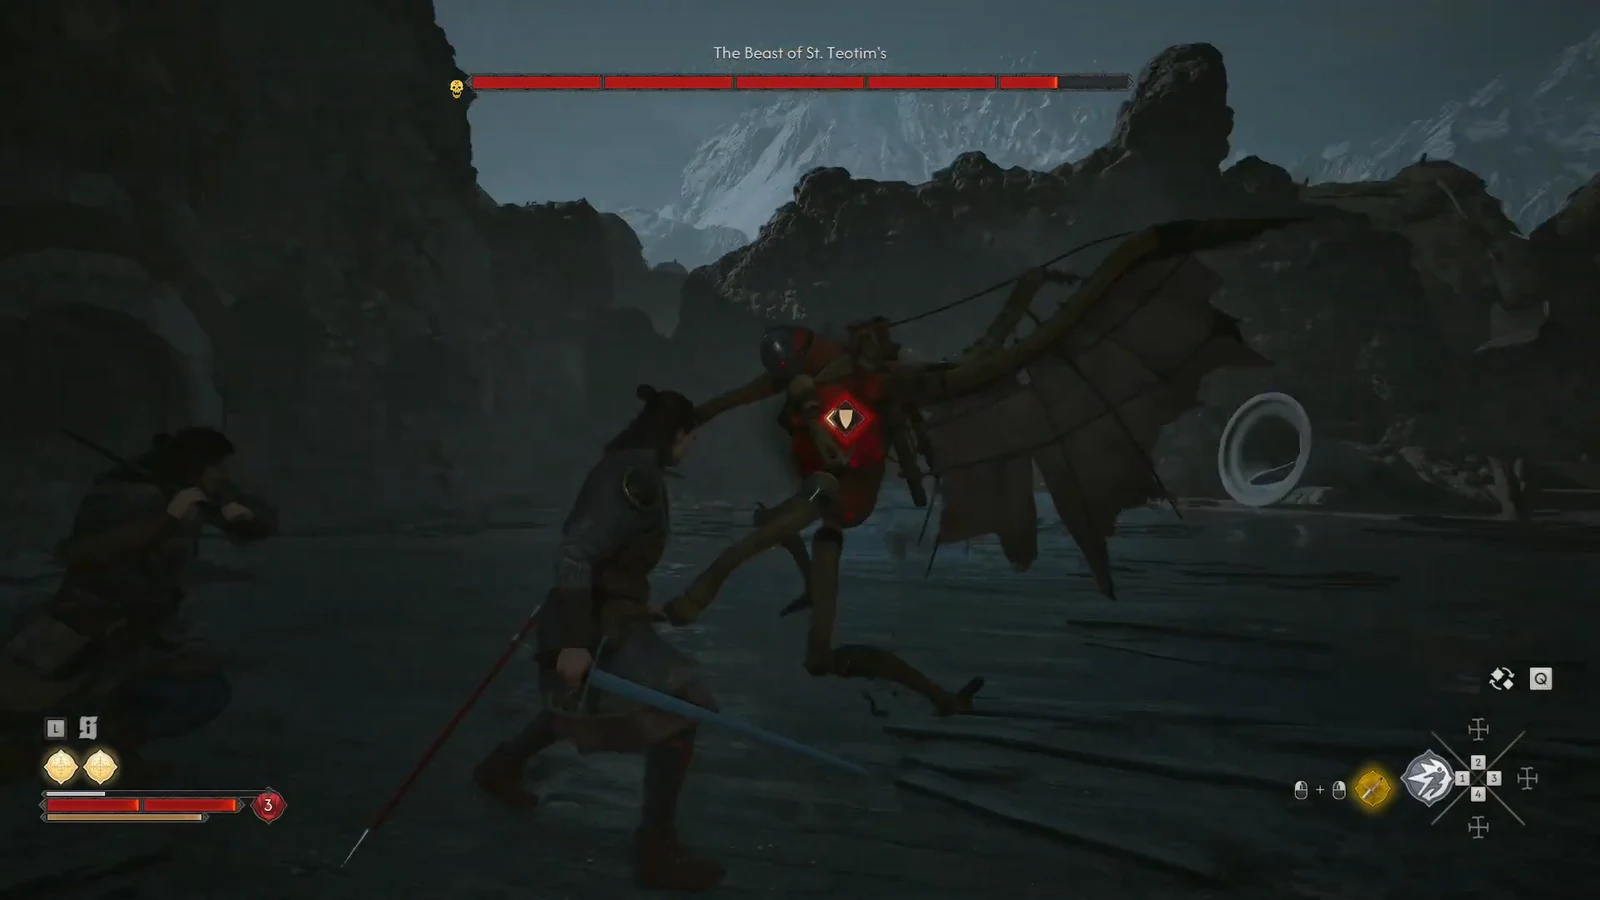
The Beast of St. Teotim’s is the boss waiting behind the belltower doors during the What Hunts the Night quest in The Blood of Dawnwalker, and it opens the fight the moment you pull the doors open. It hits hard, has a large health pool, and recovers from its own swings fast enough that most deaths come from trying to squeeze in one extra hit.
Quick answer: Dodge sideways whenever the beast leaps or shows a skull icon, only counterattack after a perfect block, spend your active sword abilities on those openings, then switch to claws to close out the last stretch of its health bar.
Where the Beast of St. Teotim’s fight starts
What Hunts the Night begins right after Where Loyalty Lies wraps up. You head back into the city, drop into the cellar of Crake’s house, and talk to him to formally start the quest. The fight itself is gated behind nightfall.
Once night arrives, Sara joins you, and the three of you investigate the scouts’ deaths in the churchyard. Following the stains on the ground leads to the belltower doors. Opening them triggers the encounter immediately, so make sure your healing items and abilities are ready before you interact with the door.
Read the attack indicators: block or dodge
The beast telegraphs everything through the same indicator system the rest of the game uses, and it leans heavily on the unblockable side. Getting this one distinction right is most of the fight.
| Indicator | What to do |
|---|---|
| Skull icon | Unblockable. Dodge or step fully out of range — your guard will not save you. |
| Shield icon | Blockable or parryable. Hold your block and aim for a perfect block to open a counter window. |
| Leaping attack | Dodge to the side rather than backward. Backing up rarely creates enough distance. |
The important quirk is recovery. Even after a clean perfect block, the beast repositions and swings again quickly, so treat your counter window as a single short combo rather than a free damage phase. Land one or two hits, then reset your guard.
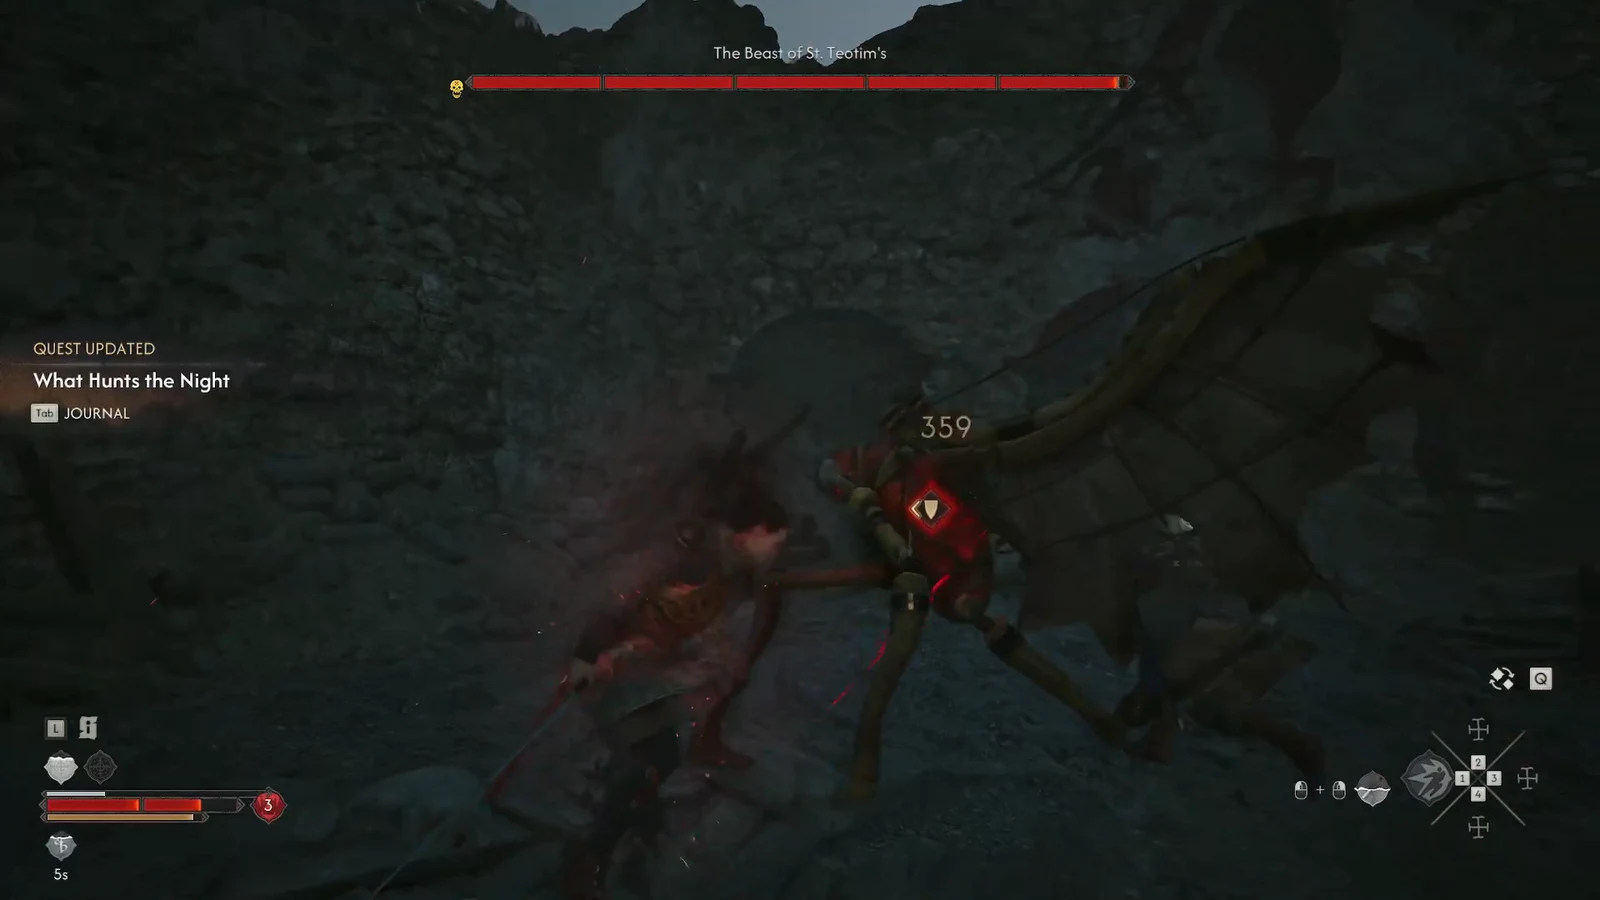
Damage plan: sword abilities first, claws to finish
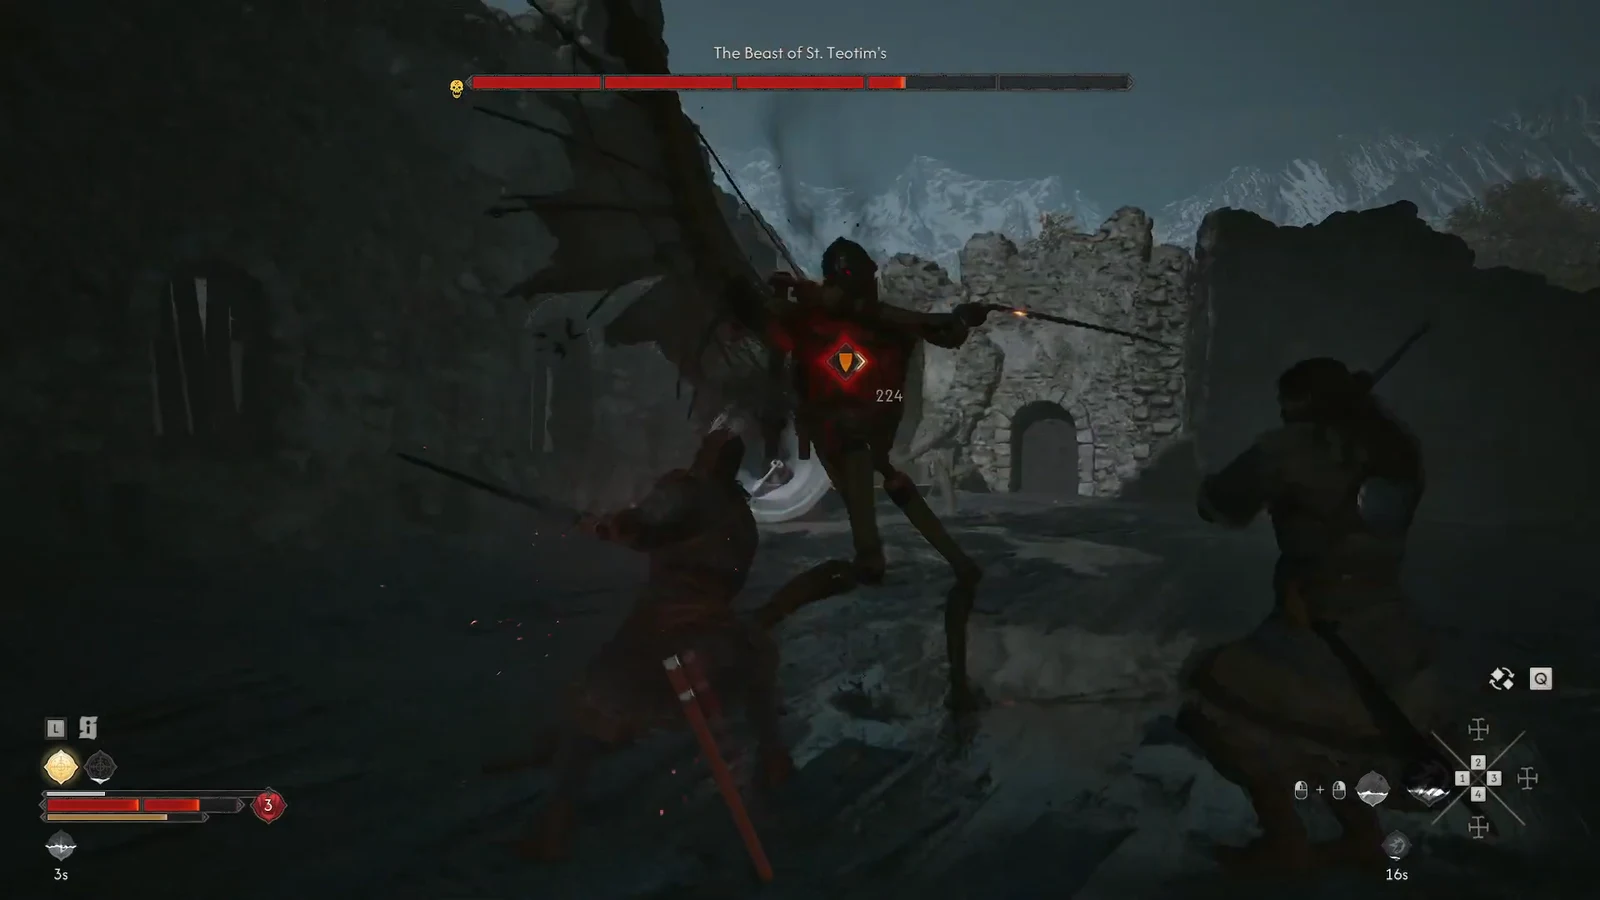
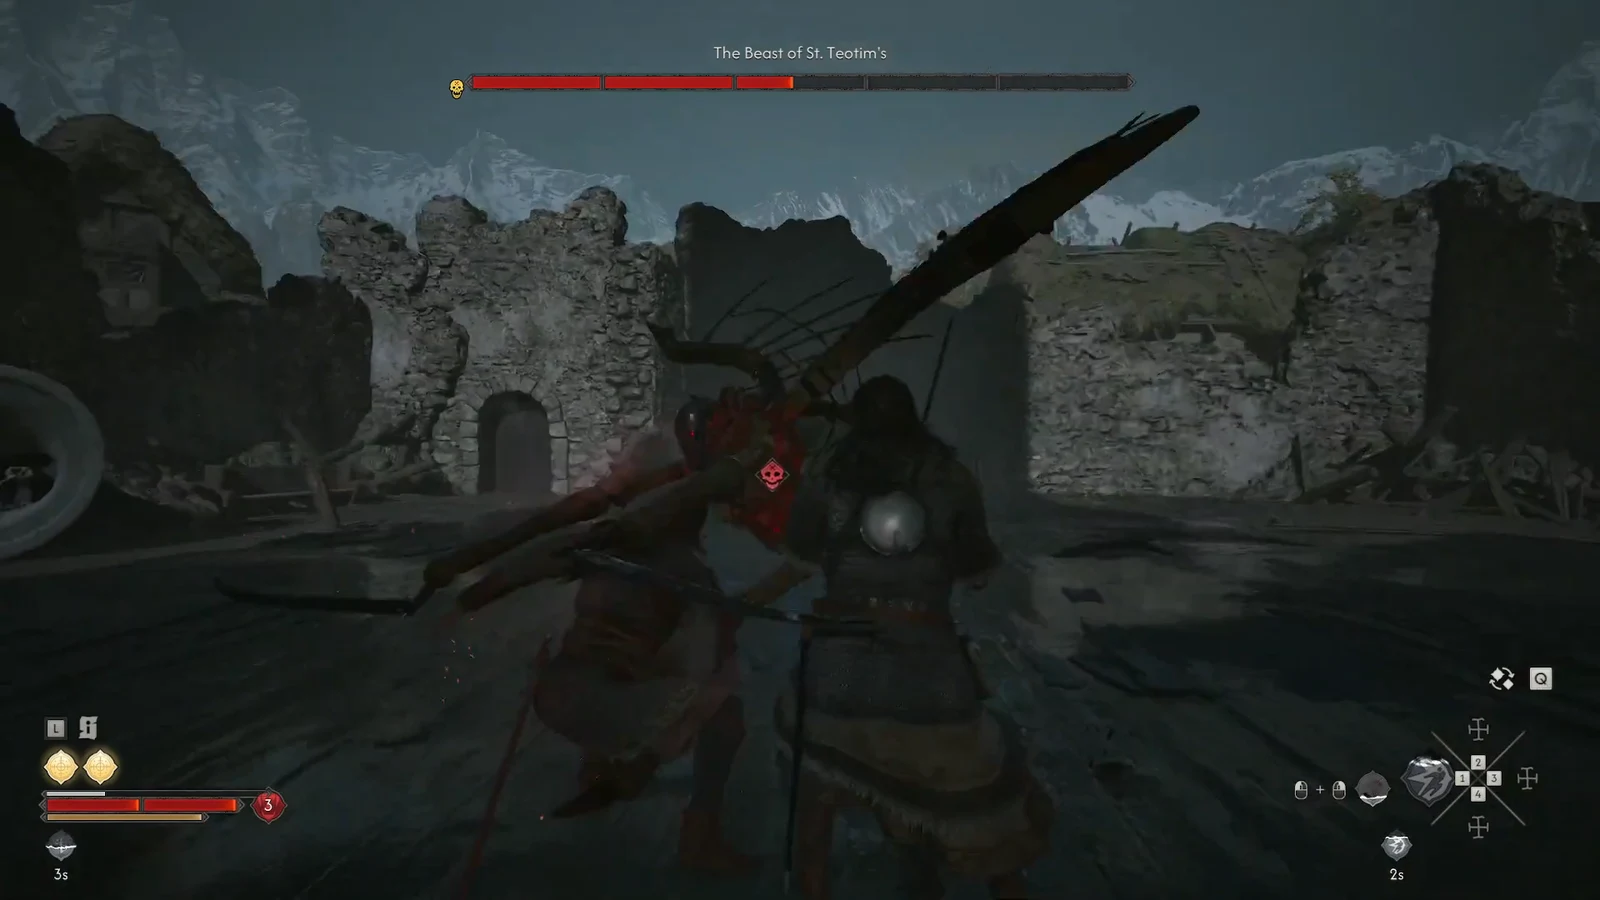
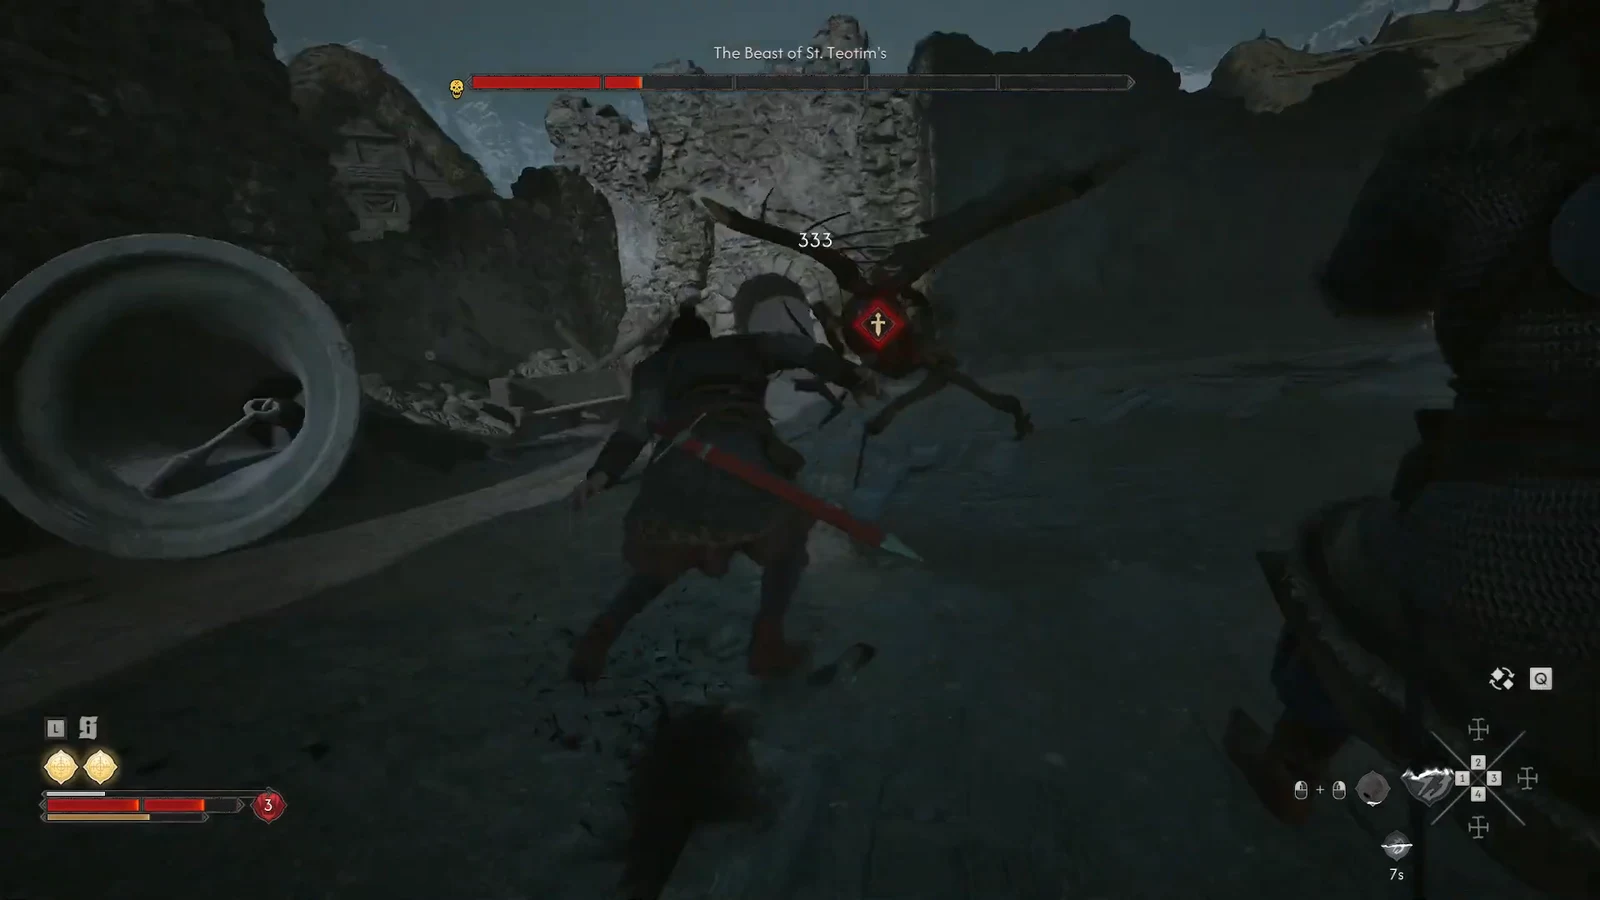
Note: Sara fights alongside you here, which pulls aggro off you at useful moments. Use those seconds to heal or reposition instead of forcing extra attacks.
Why the fight goes wrong
Almost every failed attempt traces back to a small number of habits, and they are easy to correct once you spot them.
- Blocking a skull-marked attack. Those swings go straight through your guard and need a dodge.
- Extending your combo after a perfect block. The beast recovers fast and punishes the extra hit.
- Dodging backwards out of a leap. Sideways dodges clear the attack; backwards ones often don’t.
- Saving abilities for a phase that never comes. Spend charges as openings appear rather than holding them.
Multiple attempts are normal. The encounter is tuned around learning its openings, not around out-damaging it early.
How to confirm the boss is dead
You’ll know it worked without checking the health bar. The kill cuts straight into a cutscene in which Crake finds a woman still alive, and Sara comes out of the fight injured. Control returns to you afterwards with the quest tracker updated.
Two objectives appear once the scene ends, telling you to talk with Crake and to inspect the monster’s remains. A new glossary entry for Gargoyle also unlocks at the same moment, which is the clearest confirmation the encounter has fully resolved rather than reset.
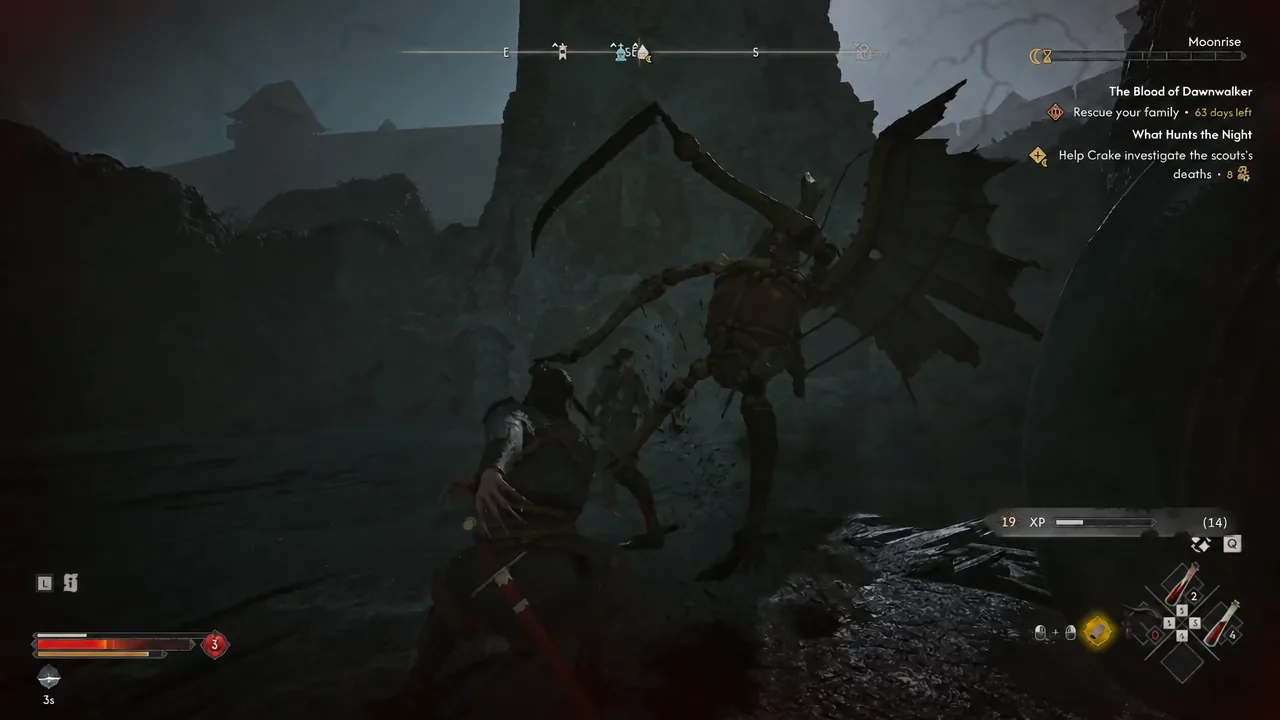
The corpse has several examinable points, and you need to work through them to pull the clue the quest is looking for. Missing one leaves the objective sitting in your journal, so sweep the whole body before moving on.
After the remains are inspected, What Hunts the Night shifts into an escape sequence. You run with Crake through an area crawling with hostile guards, fight your way to a locked gate, climb over it, and open it from the other side so he can follow. A short conversation later, Crake leads you to Mevasser, and the quest closes out once the two of them have spoken.