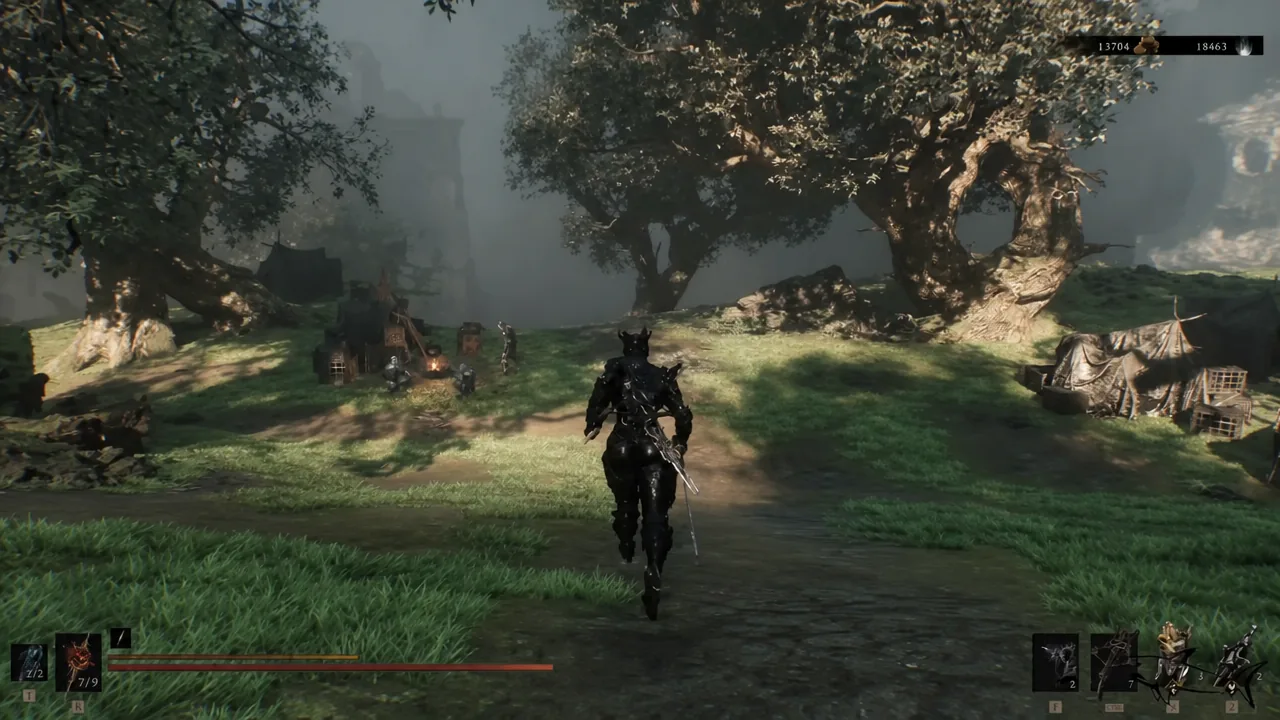
The Spoiled Mortuary is one of the smaller dungeons in the Ruins of Mammon, and it is easy to walk past entirely. There is no fog gate to announce it and no boss waiting at the bottom. What it does have is a pair of coffin mimics, one chest, and an illusory wall that hides the only piece of loot most players miss.
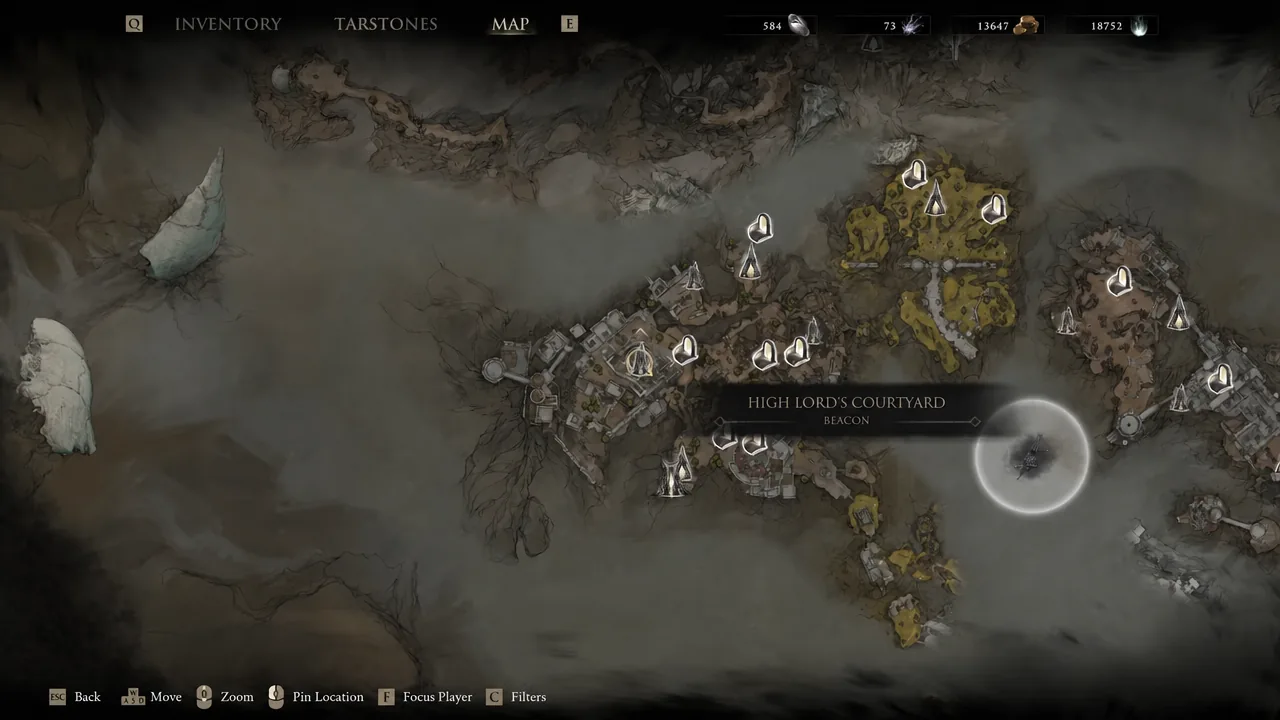
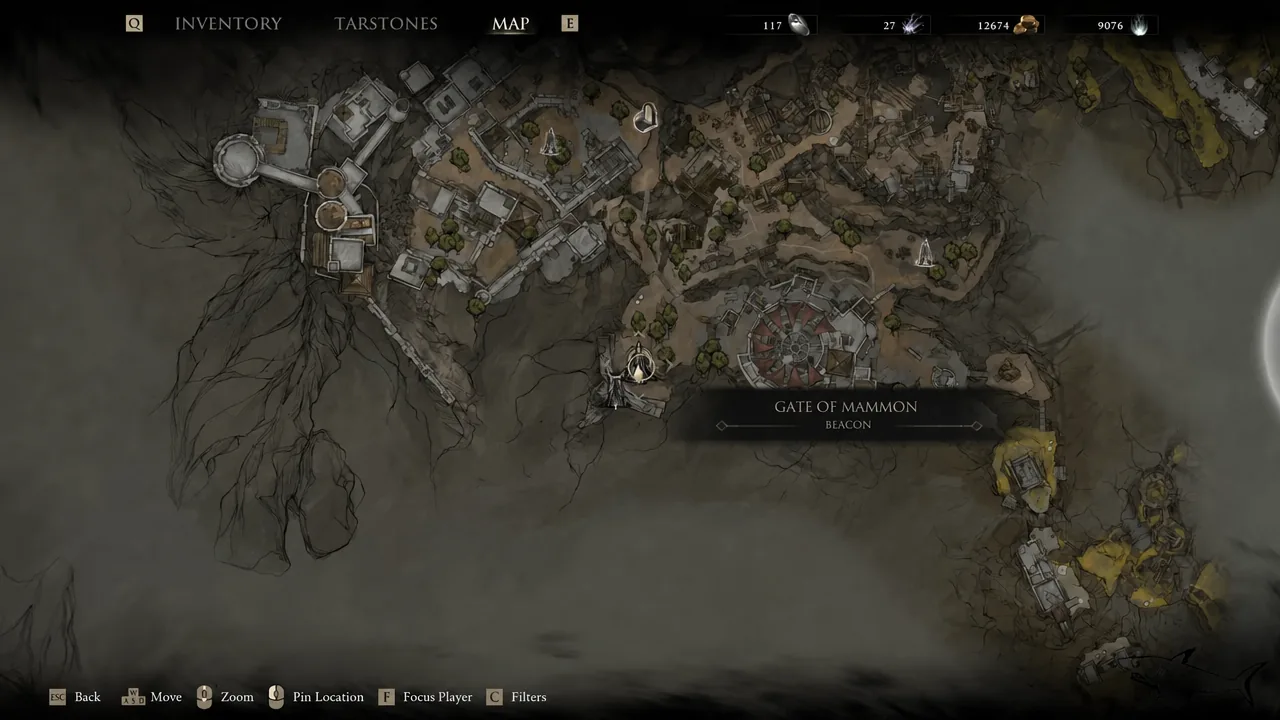
Quick answer: Travel to the Gate of Mammon beacon, continue to Lonesome Spire, climb the wooden platform, and drop into the pool of silver liquid. Ride the elevator down and the Spoiled Mortuary banner will appear.
Spoiled Mortuary location in the Ruins of Mammon
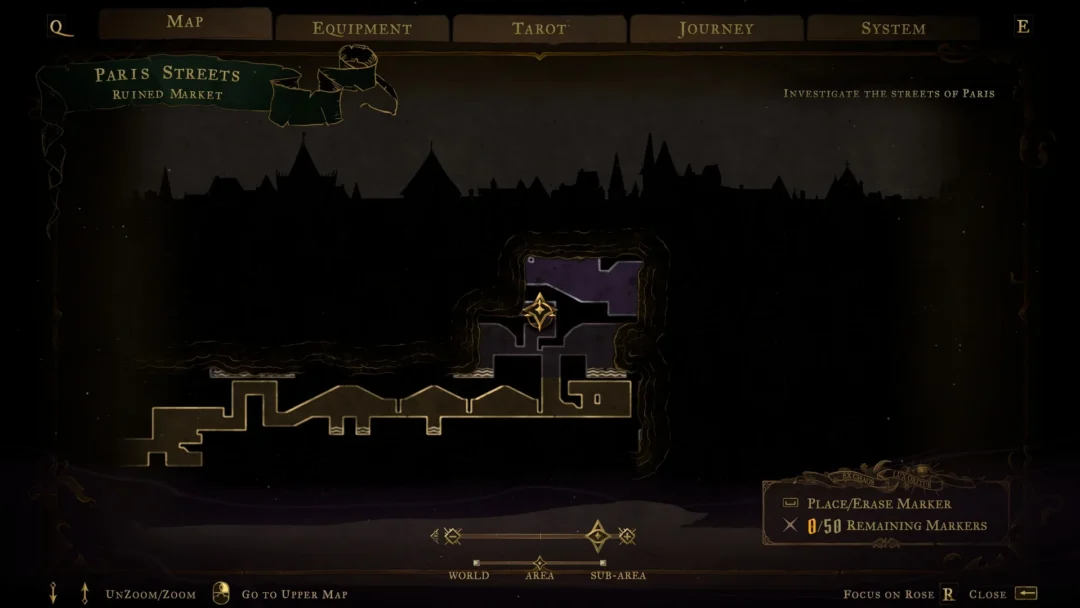
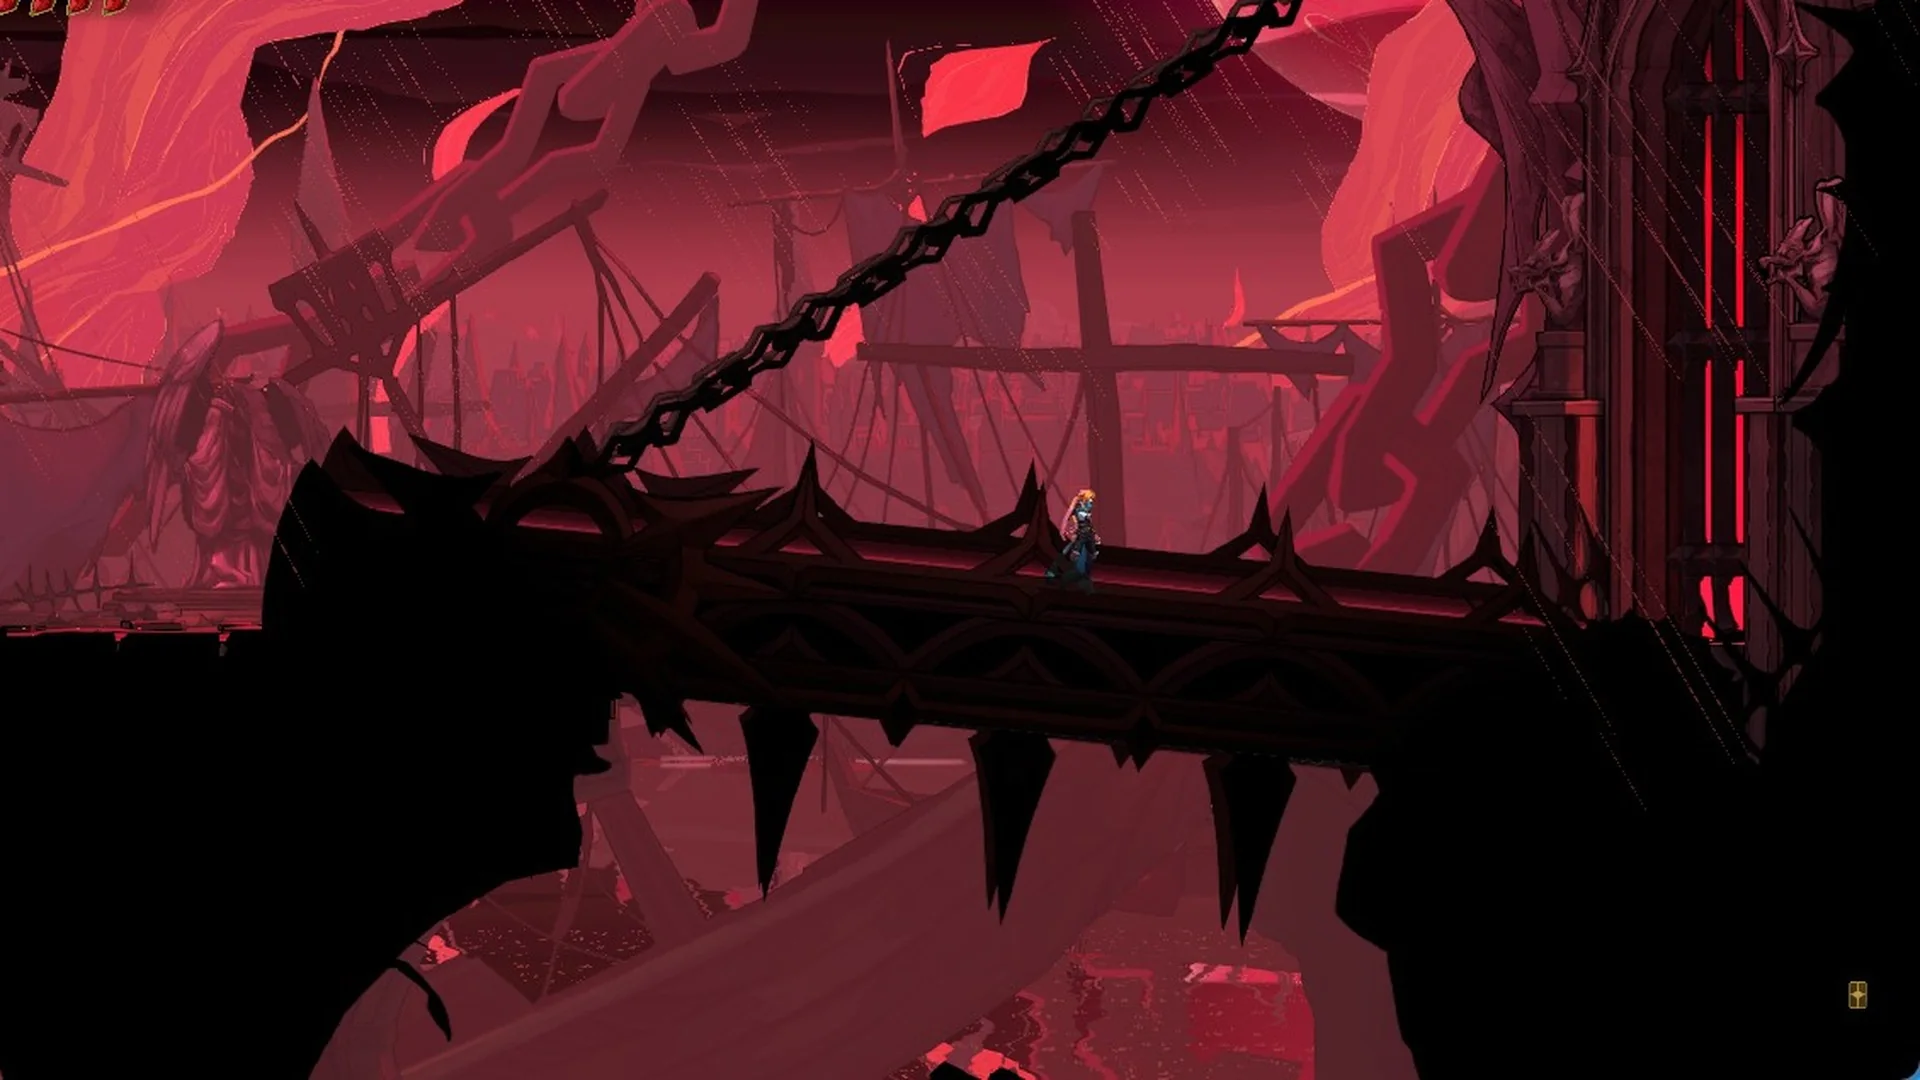
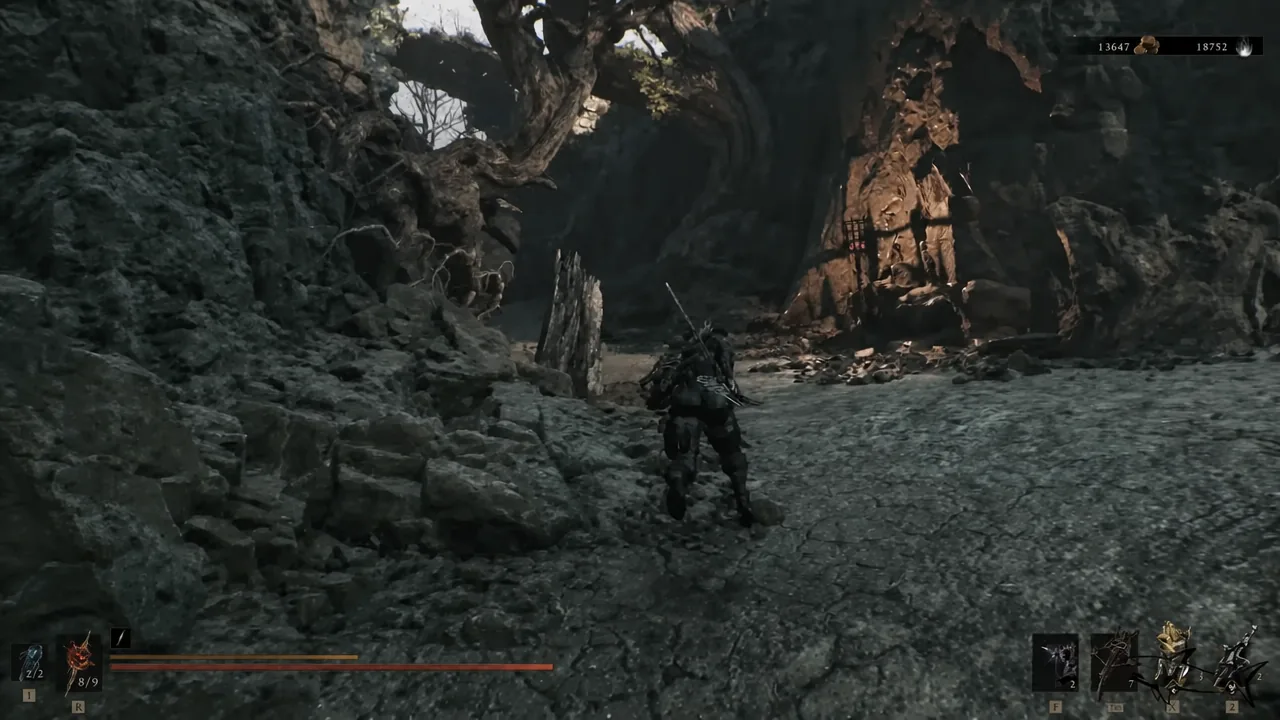
The entrance sits inside the Lonesome Spire area, northeast of the Revered Beacon, past the stone steps that run up the outside of the structure. The way in is not a door. It is a pool of silver liquid on the floor that you drop through, which puts you in a short corridor leading to a wooden elevator platform.
Nothing here is missable. Every dungeon in the game stays open after the final boss, so you can come back in free roam before starting New Game+.
Route to the entrance from the Outskirts of Mammon beacon
Enemies inside: two Ravenous Flesh coffin mimics
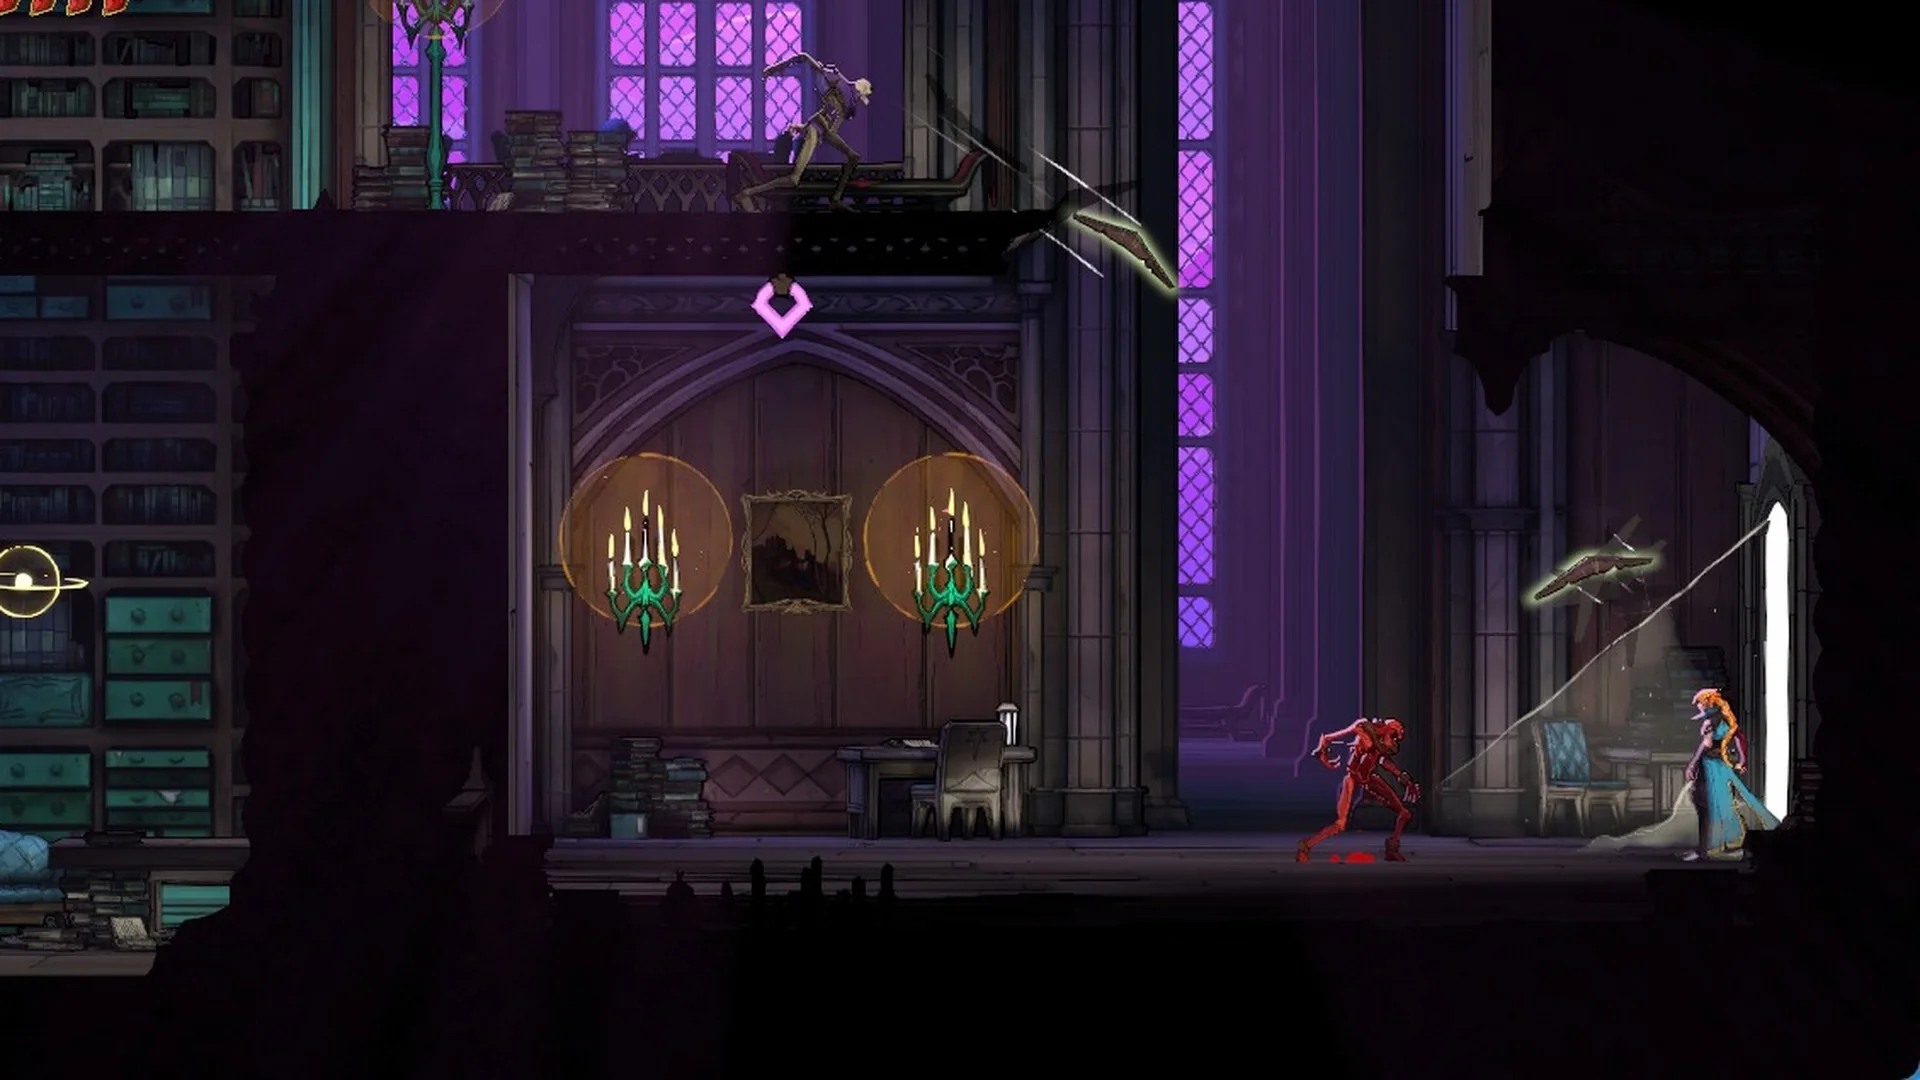
The dungeon holds exactly two enemies, and both are Ravenous Flesh — mimics disguised as coffins and sarcophagi. The first opens up the moment you step off the elevator and descend into the main chamber. The second waits in the adjoining room, next to the chest.
Because they ambush from a standstill, a ranged opener with a sidearm is the cleanest way to bait the first swing before you close in. Once both are dead, nothing else spawns and you can loot the place at your own pace.
All loot in the Spoiled Mortuary
There is one chest, a stone altar, and a handful of floor pickups scattered between the shattered coffins. Sweep the corners and the rubble piles before you leave — a few materials sit low to the ground and are easy to run straight past.
| Item | Where to find it |
|---|---|
| Coin of Mammon | Dungeon chest, guarded by the second Ravenous Flesh |
| Urn of Memories | Central sarcophagus in the main chamber |
| Laterite | Floor pickup in the candlelit chamber |
| Core of Mammon | Break the stone altar |
| Gloombound Stone | Break the stone altar |
| Dorsalite / Dreadfite | Hidden room behind the illusory wall |
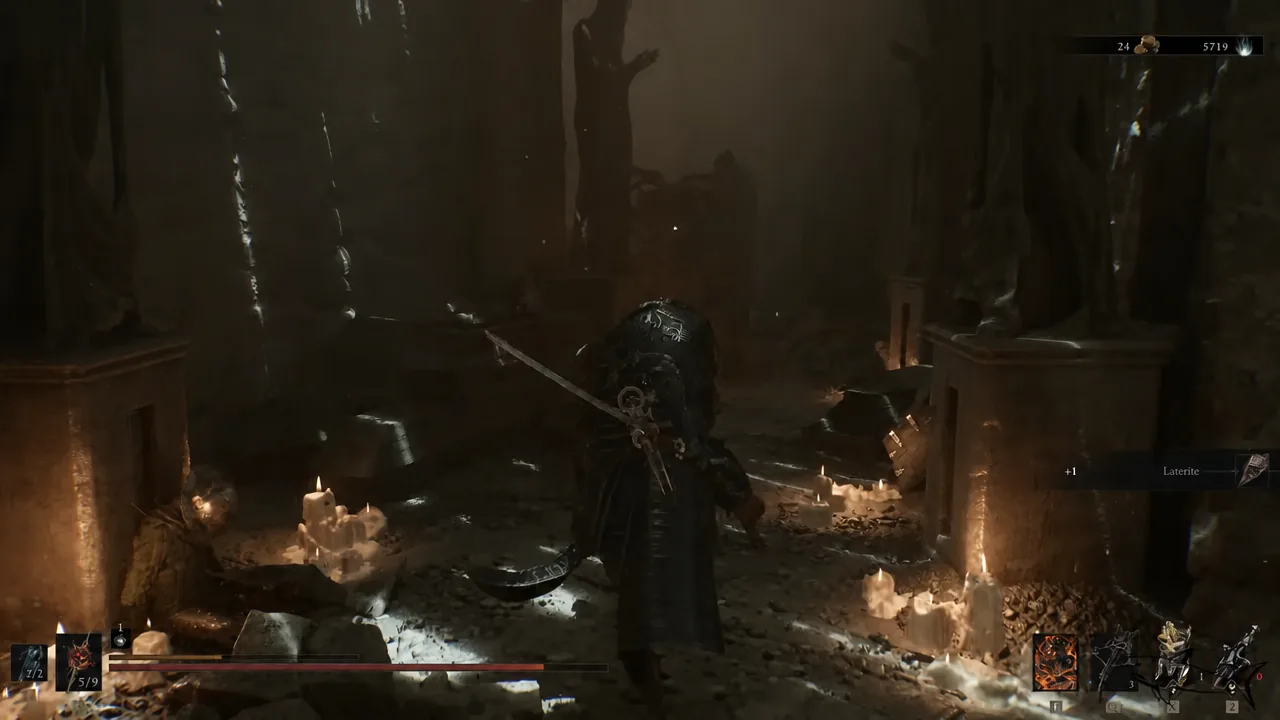
The illusory wall and hidden throne room
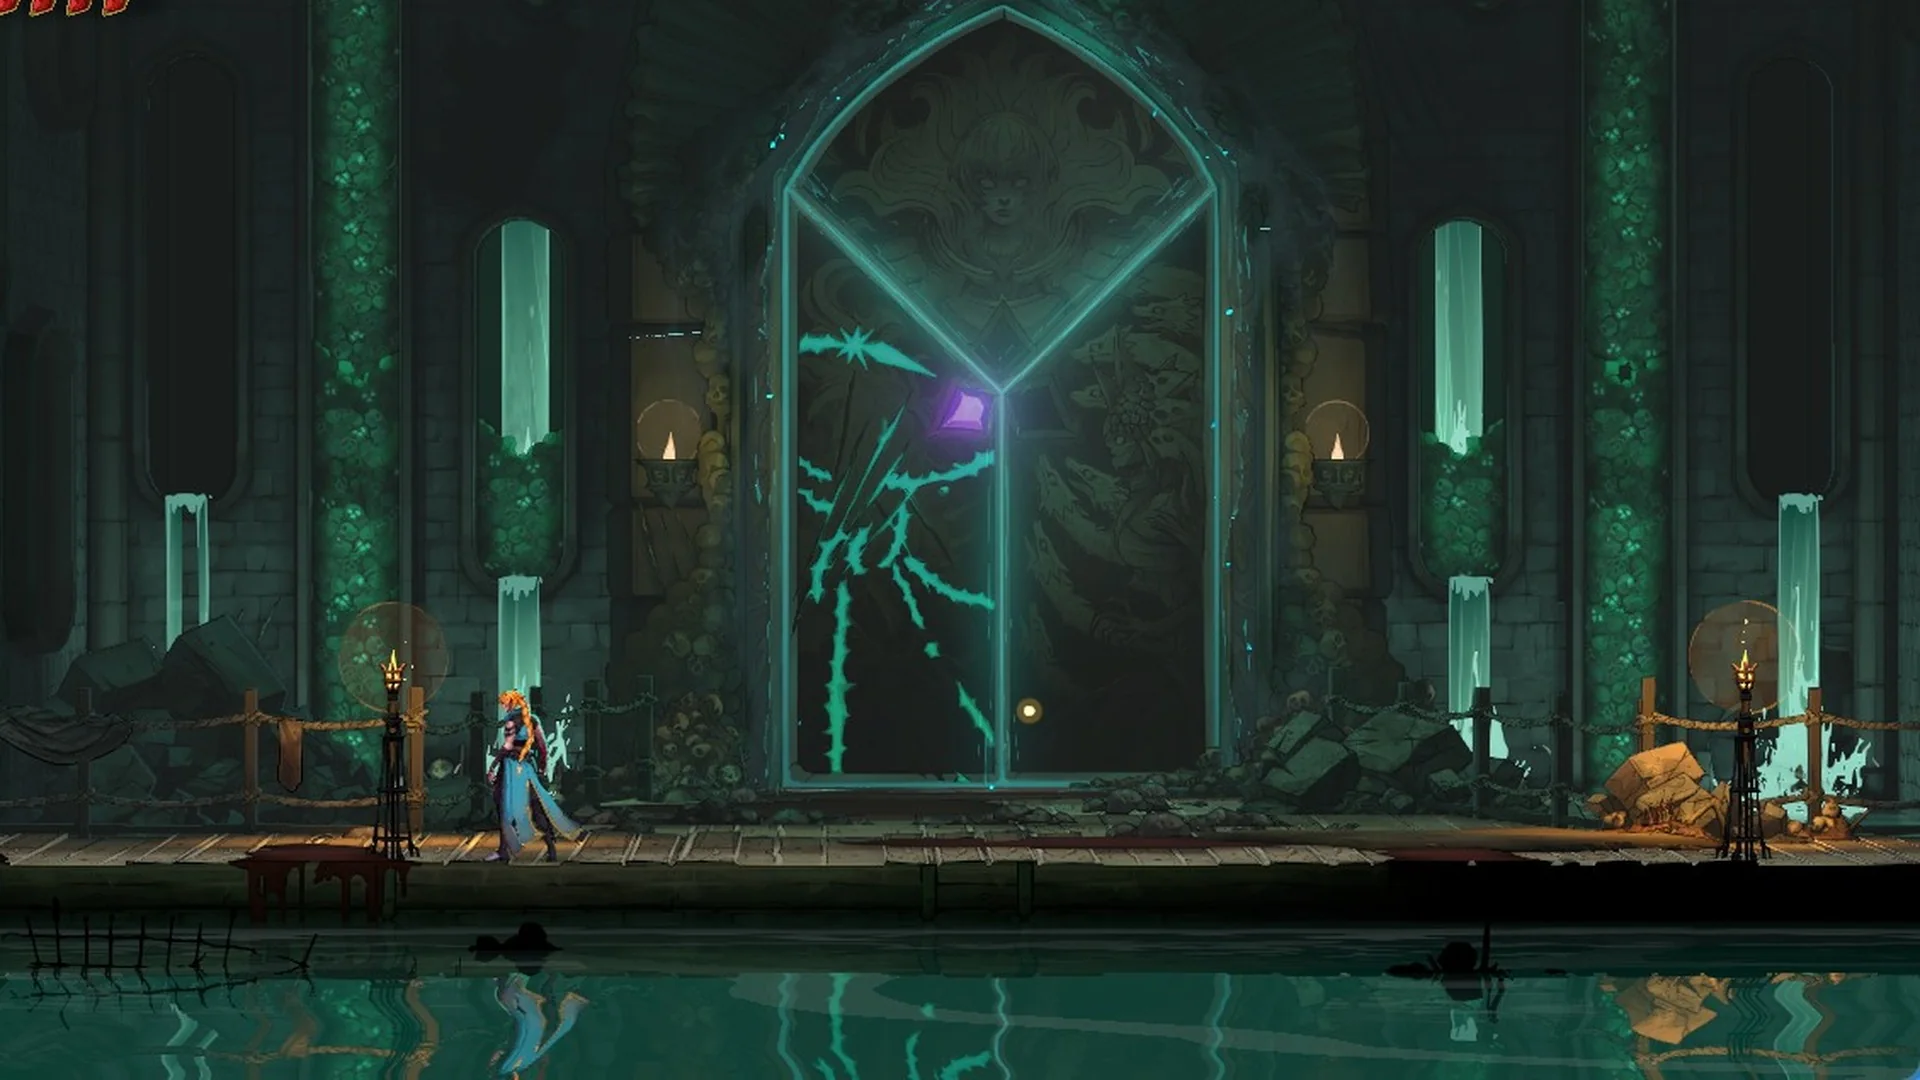
The one real secret is a plain stone wall to the left of the chest. It looks like solid geometry with no crack, no symbol, and no prompt. Hit it once with any weapon and it dissolves, opening onto a small chamber built around a stone throne.
The glowing item resting on the throne is the reward. Grab it, then check the surrounding walls and climb over the broken coffins, since a couple of loose materials sit in the corners of this room too.
Note: the throne has a circular socket set into its upper section. Firing a sidearm into it is the interaction players tend to test here, and the room is small enough that you can check it in a few seconds before heading back.
Gloombound Stone: stats and when it breaks
The Gloombound Stone is a fragile Tarstone, which means it has a durability pool that drains as you use it rather than a permanent effect. It is a farming tool, not a build piece, and it will eventually destroy itself.
| Property | Value |
|---|---|
| Type | Tarstone (Fragile) |
| Effect | Obtain +30% Gloom from foes |
| On break | 1,000 Gloom |
| Durability | 10,000 / 10,000 |
| Durability loss | Decreases as Gloom is gained |
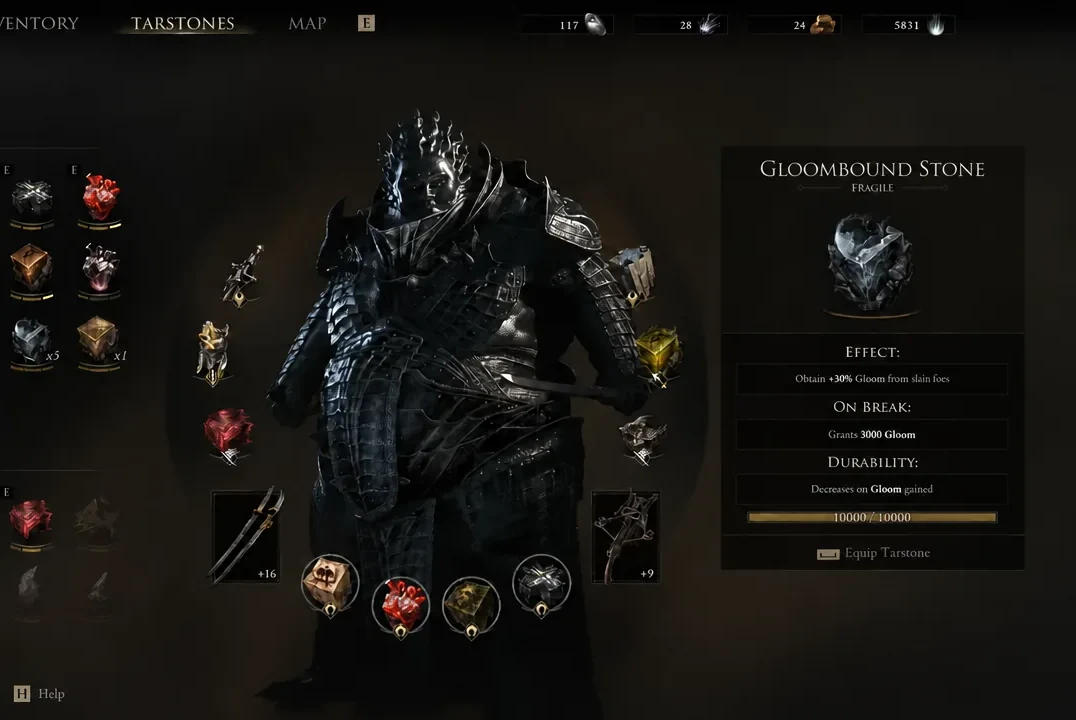
Equip it before a farming loop and take it off when you are just travelling. Every point of Gloom you collect while it is slotted eats into that 10,000 durability.
How to confirm you cleared it 100%
You have cleared everything when four things are true: both Ravenous Flesh are dead, the chest is open, the altar is broken, and the illusory wall on the left of the chest has been opened and looted. The layout is a single loop, so there is no second floor or side branch to double back for.
The exit is the same elevator you rode in on. Take it up, climb the stone stairs, and walk out through the archway into the open landscape. The dungeon icon appears on your map once you have been inside.
One thing worth knowing: the game does not track dungeon completion for you. To mark it off, open the map, move the cursor over the Spoiled Mortuary icon and press the stick in to change the icon. That is a manual toggle, so if you are working through all 36 dungeons, get into the habit of doing it the moment you surface — otherwise you will be running the same corridors twice.