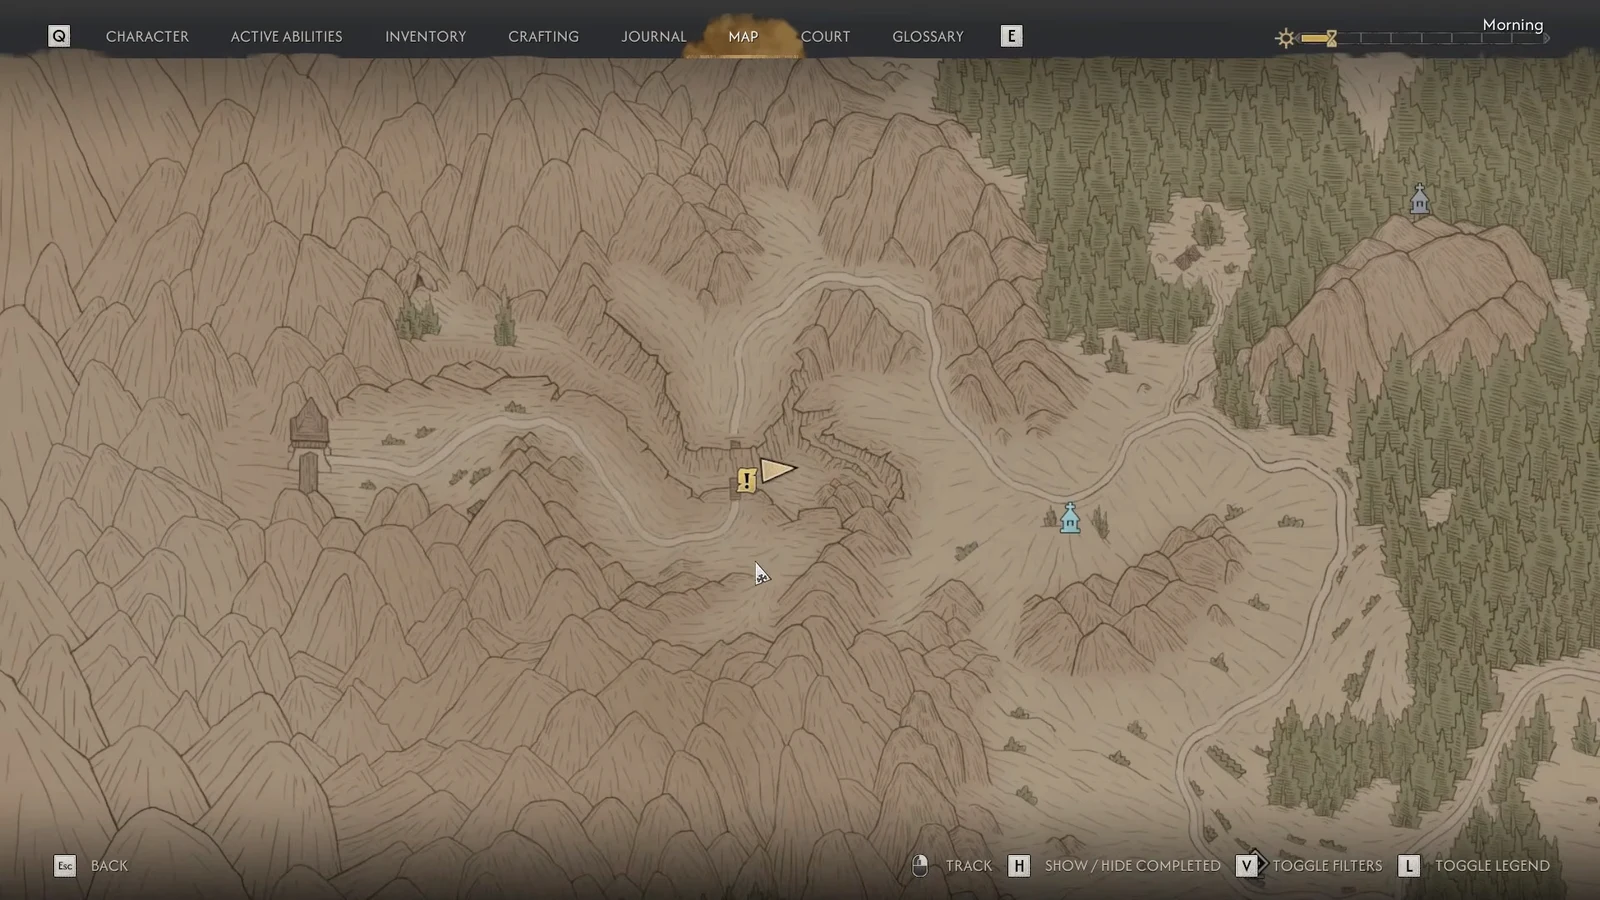
The Silver Cache is one of the few treasure maps in The Blood of Dawnwalker that hands you a real payout rather than a handful of junk. Picking it up starts the side quest Finders Keepers, and the map itself is deliberately vague — it sketches a roadside shrine, a fork in the road, crosses in the woods, and a cave marked with an X. Translated onto the actual world map, that chain of landmarks runs from Coward’s Path Shrine up into the Briar Sloughs.
Quick answer: Grab the Treasure Map: Silver Cache during The Cursed Chasm, then travel to Coward’s Path Shrine, follow the road northeast to the fork, head north past the wrecked house and graves, continue northeast toward Briar Slough Hillock Shrine, then climb northwest to the sloped rock. Kill the Pack Leader and its wolves, and dig at the disturbed earth in the shallow cave underneath.
Where to get the Treasure Map: Silver Cache
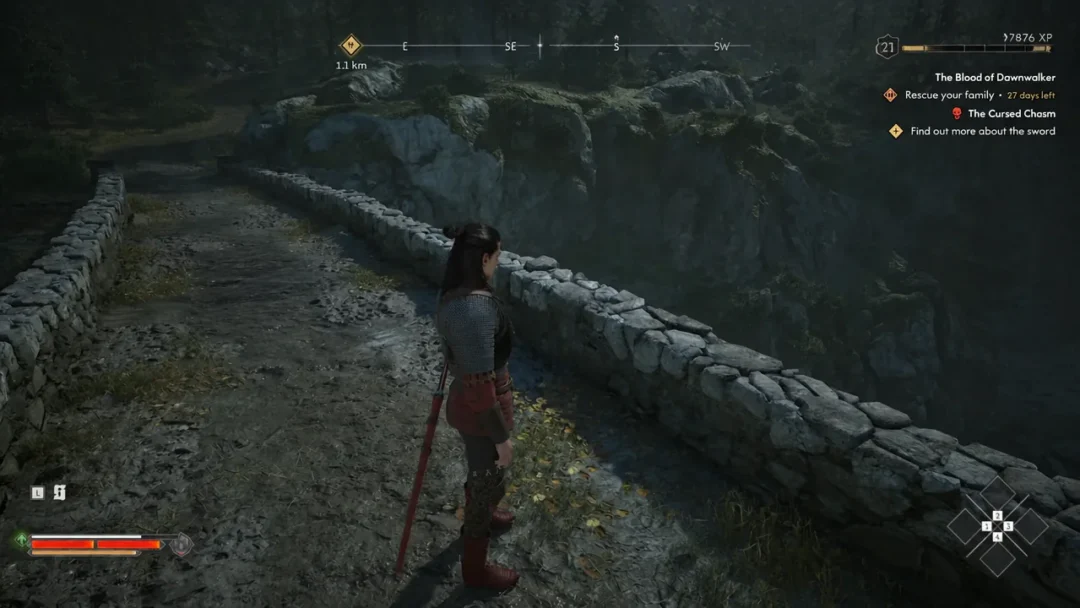
The map is not a standalone pickup. It drops during The Cursed Chasm, the quest you can take from the innkeeper along the western edge of Altenarkt in Svartrau City, or from the cathedral chronicle. That quest sends you to the collapsed bridge at Rockfalls, where you climb down into the chasm and clear out Echo, her wraiths, and the wolves prowling the bottom.
Once the fight is over, sweep the corpses and debris scattered around the chasm floor. The Treasure Map: Silver Cache is tucked into a broken barrel west of the Coward’s Path Shrine side of the route. Picking it up adds Finders Keepers to your journal automatically — there is no NPC to talk to and nothing to accept.
If you are underleveled, the wraiths guarding the chasm will outclass you on anything above story difficulty. Fighting at night helps, and leaving a couple of wolves alive gives you something to feed on when your health drops.
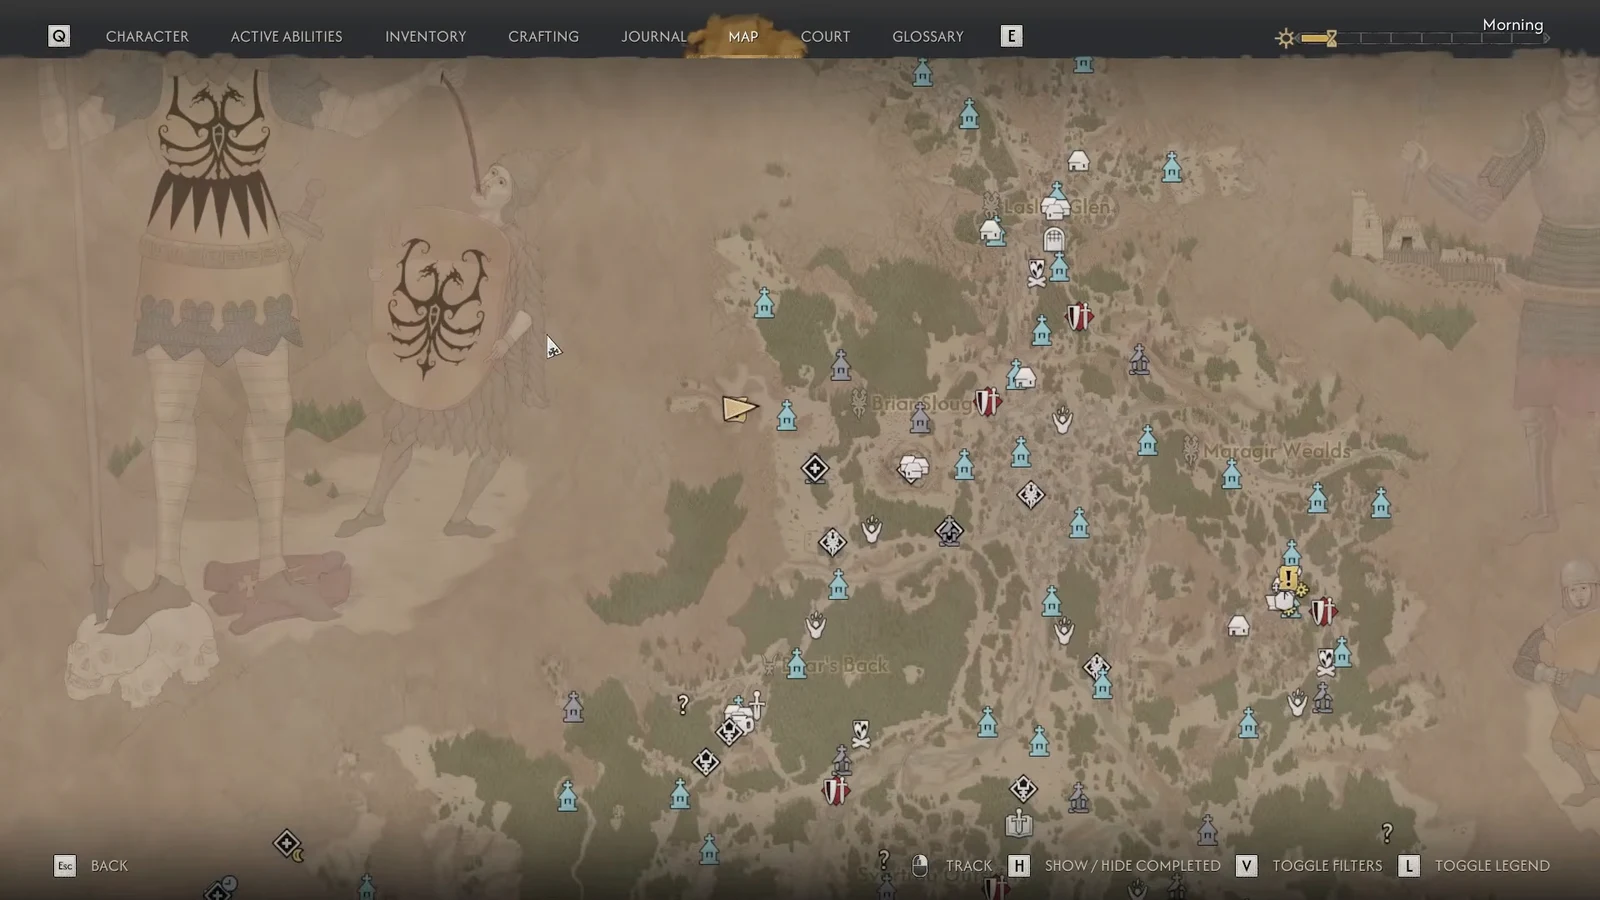
Route from Coward’s Path Shrine to the Silver Cache
Fast travel to Coward’s Path Shrine, which sits on the road leading to the broken bridge you investigated at the start of The Cursed Chasm. Everything from here is a single connected walk, and Coen comments on a couple of the landmarks as you pass them.
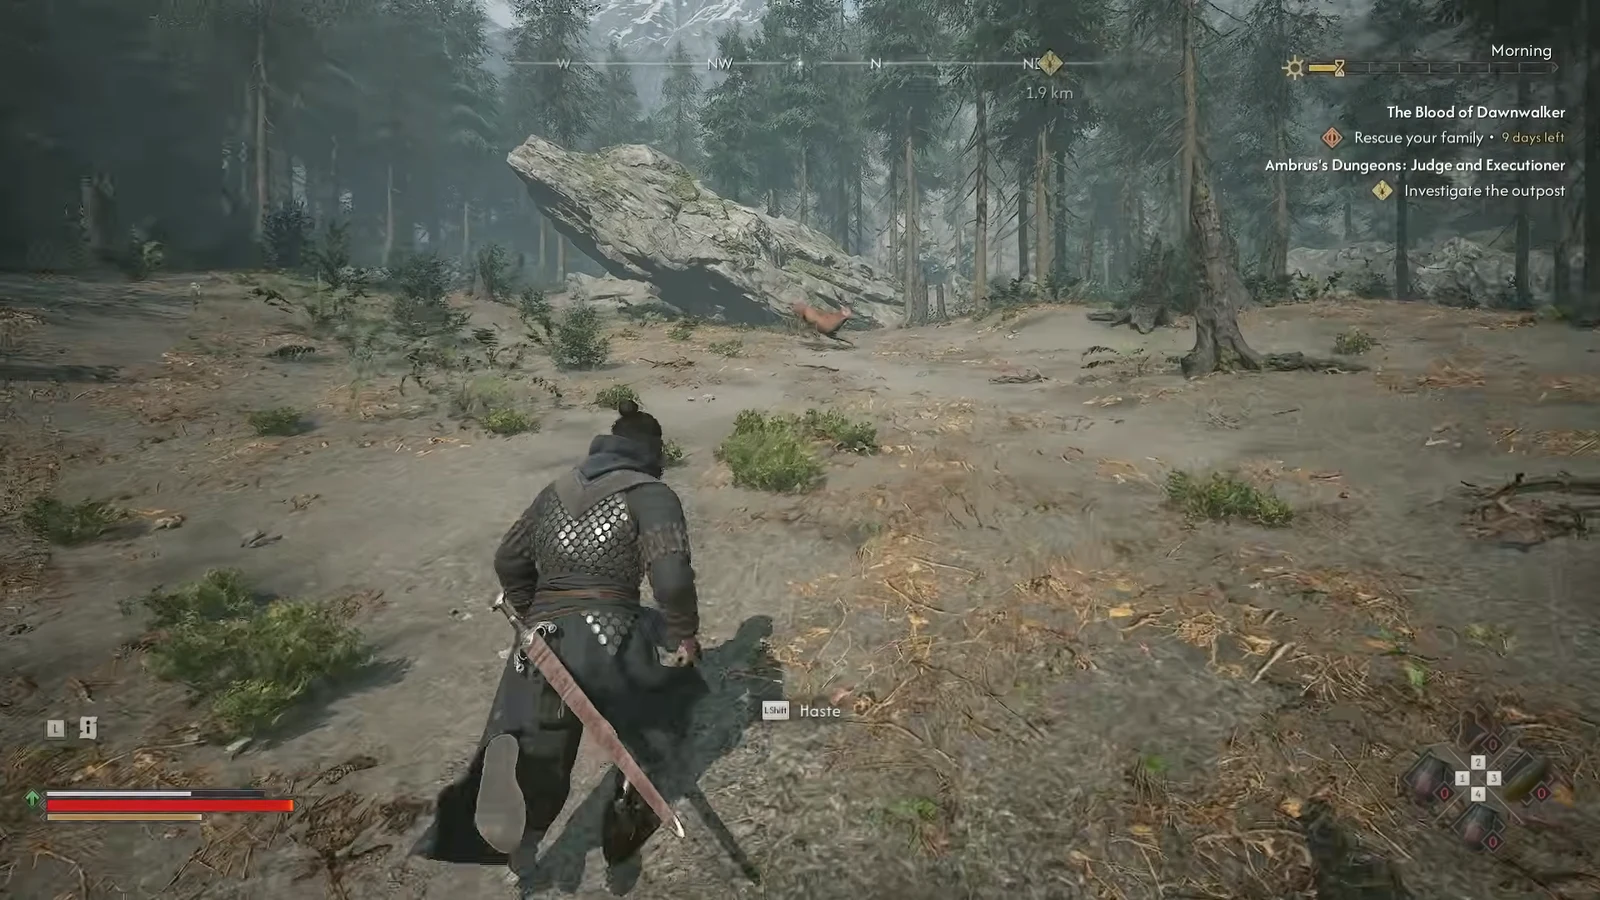
Beating the Pack Leader at the cache site
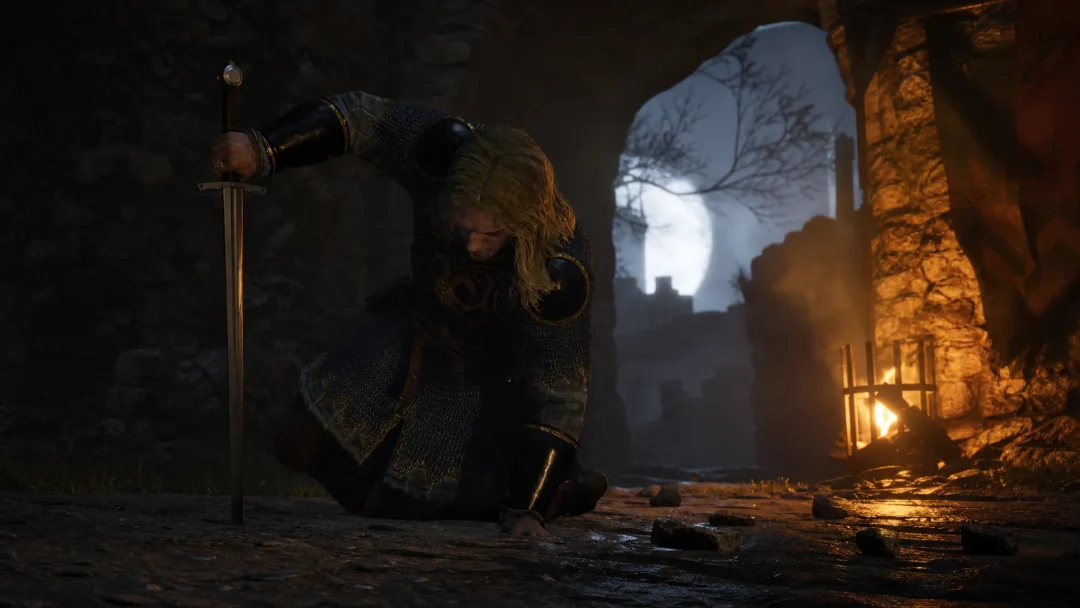
Around half a dozen wolves patrol the ground in front of the sloped rock, led by a Pack Leader miniboss. It carries a boss healthbar, but it fights like an oversized wolf — no unblockable gimmicks, just faster lunges and more health than the regular pack. Durandal, the legendary longsword you can pull out of the Cursed Chasm, chews through the whole group.
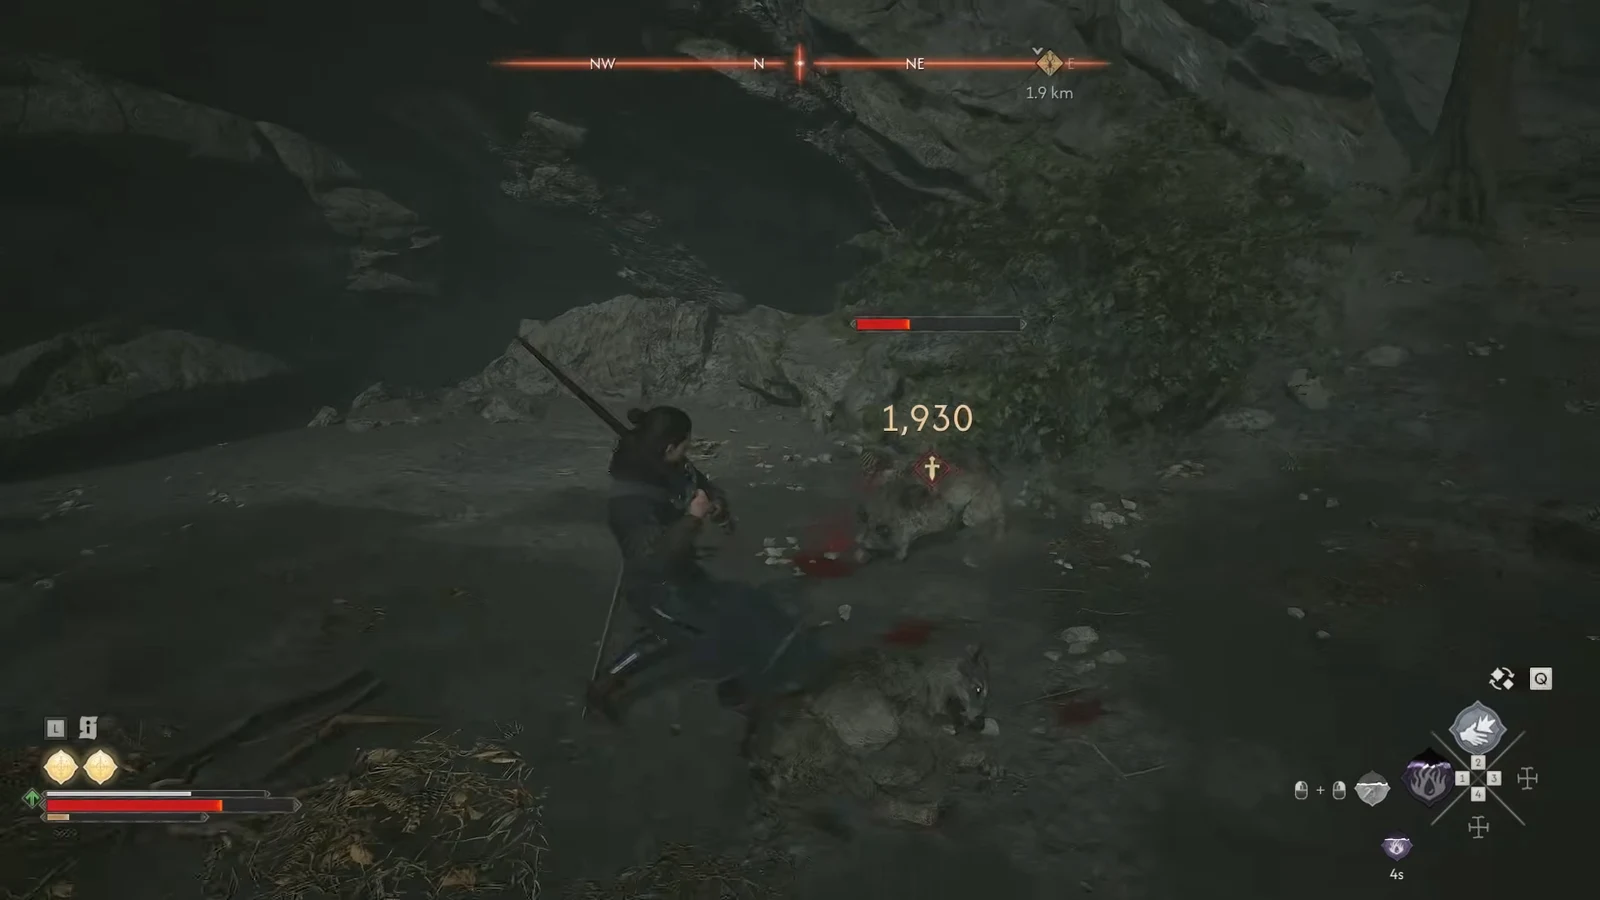
Clear every wolf before you go anywhere near the dig spot. Stragglers will interrupt the digging animation, and re-entering the interaction after being knocked out of it is the most common reason players think the cache is bugged.
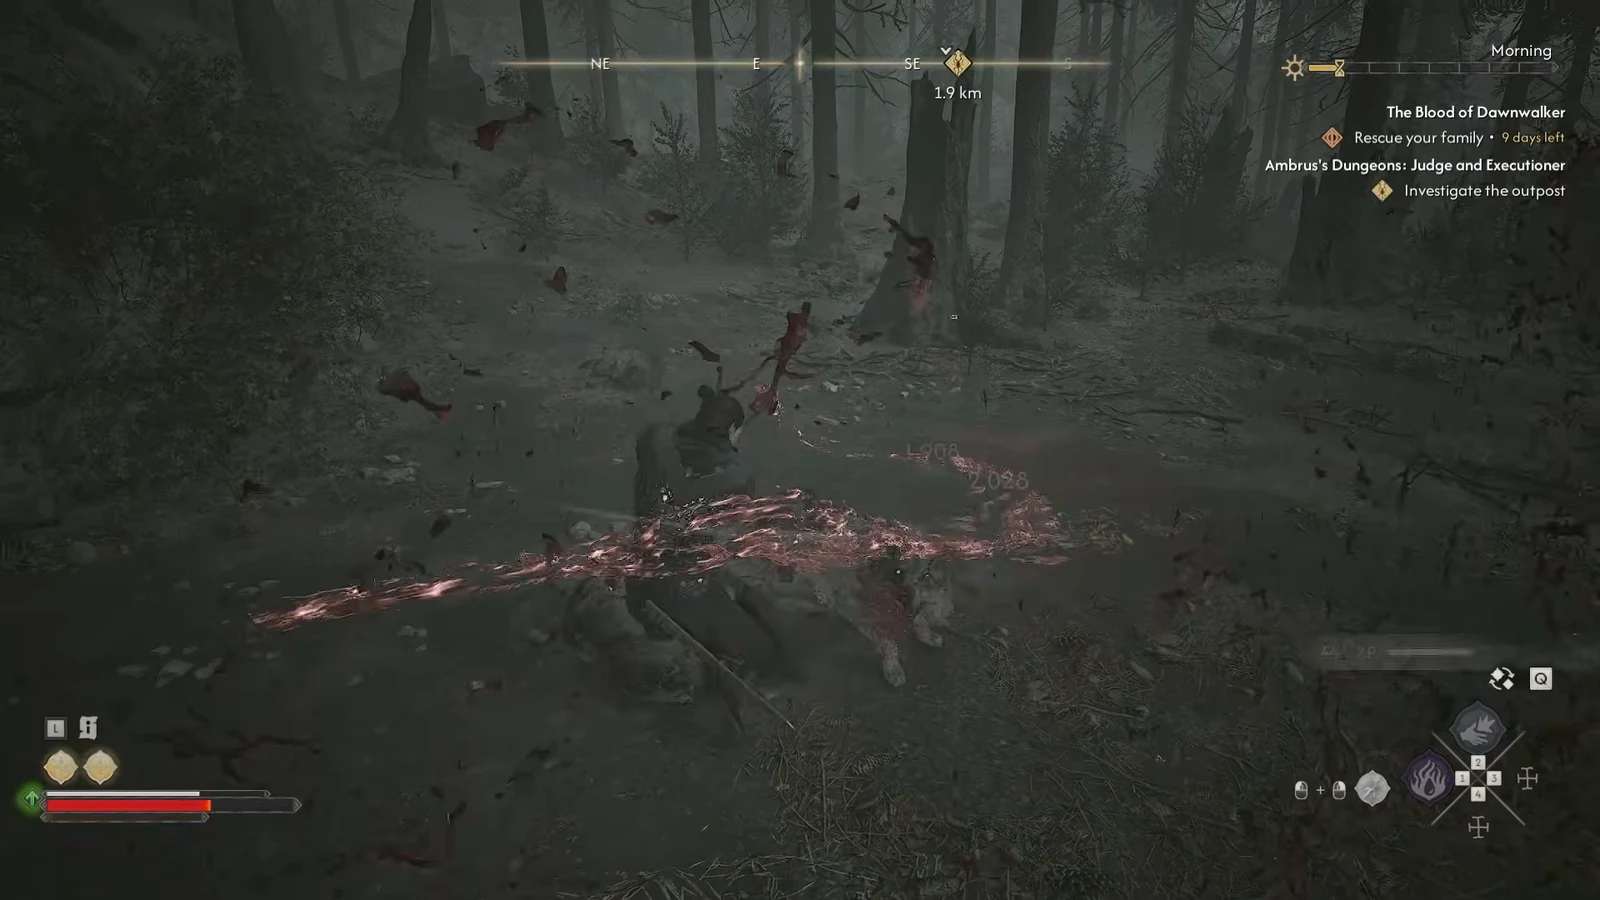
Digging up the cache: shovel and time cost
The treasure sits in the shallow cave under the sloped rock. Step inside and look for the mound of disturbed earth on the floor. Focus Mode highlights it instantly if the lighting makes it hard to spot.
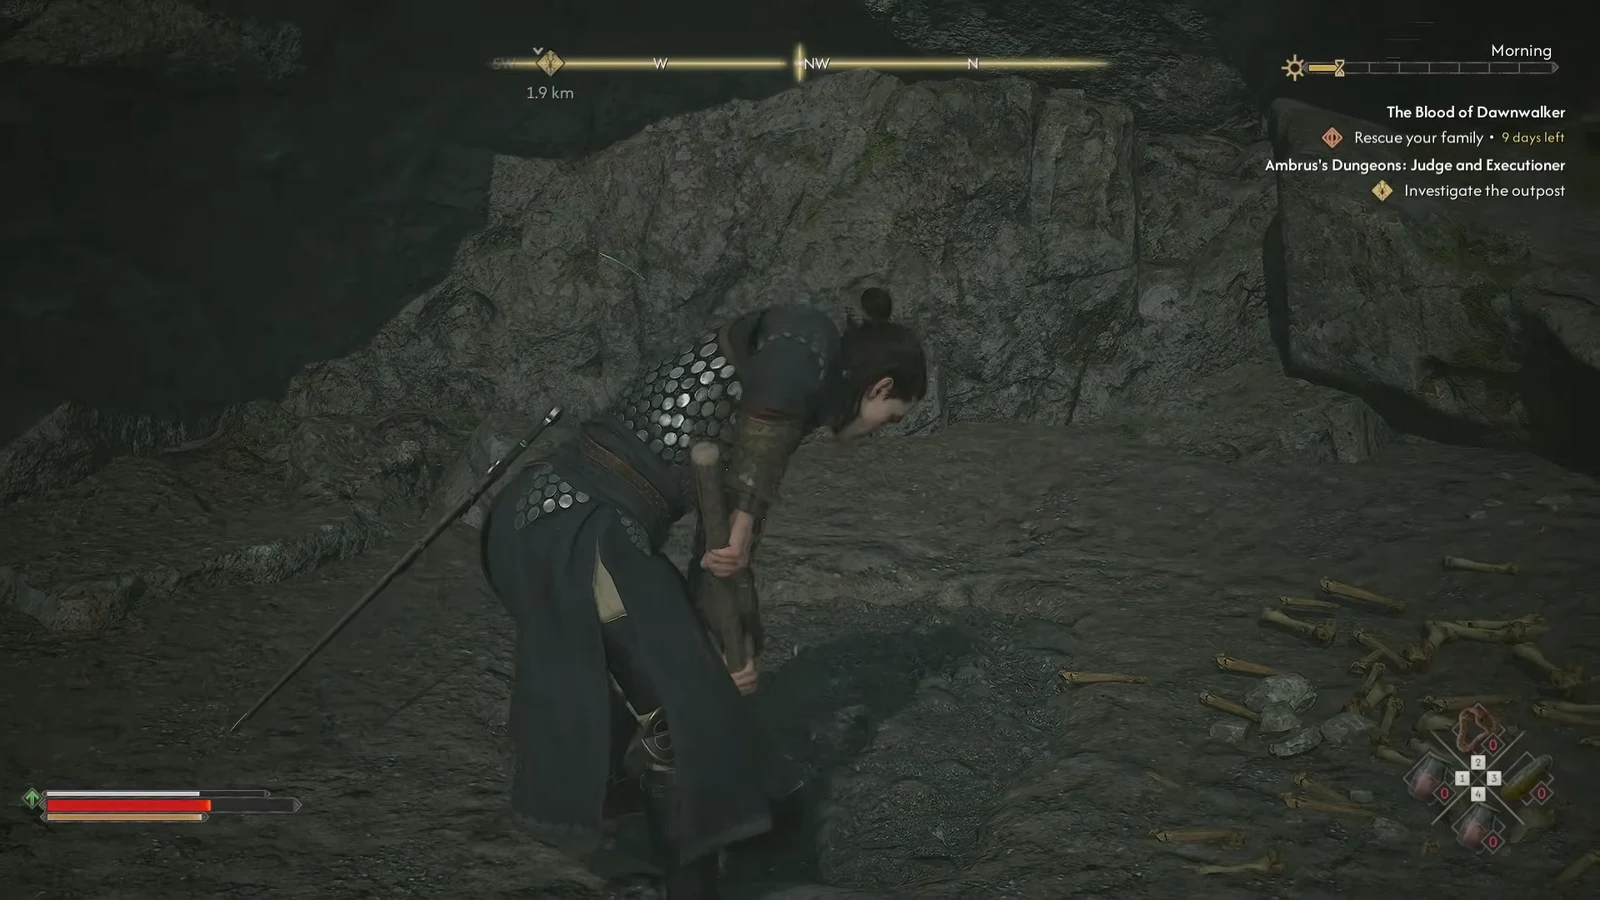
You need a shovel in your inventory to interact with the mound. Excavating consumes 2 time segments, which matters because the clock in this game is a hard resource tied to the four days you have to rescue your family. Saving before you dig is a reasonable habit if you want the option to reload and spend that time elsewhere.
Once the animation finishes, a container appears in the hole. Loot it and Finders Keepers closes out on the spot.
Silver Cache contents and quest rewards
| Item | Notes |
|---|---|
| Silver Cache Letter | Explains who the silver belongs to and what it was meant for |
| Lump of Silver | Raw silver, sells well |
| Silver Cross | Silver valuable |
| Silver Chalice | Silver valuable |
| Silver Bowl | Silver valuable |
| Denarius | Roughly 41–46 coins |
| Skill Point | +1 on quest completion |
| XP | Awarded on completion alongside the Skill Point |
The Skill Point is the real draw. Everything else in the chest is silver, which is why the cache is worth holding onto rather than dumping at the first merchant you pass — the letter frames the hoard as funding for the fight against the Vrakhiri, and silver has obvious uses against Brencis and his creatures later on.
Note: if you would rather convert the trinkets into coin, a dedicated silver trader operates in Svartrau City and pays properly for this kind of haul.
Why the dig sometimes fails to trigger
Three things stop the excavation from starting. You do not have a shovel, in which case the prompt on the mound will not appear at all. A surviving wolf is still aggroed and cancels the interaction mid-animation. Or you are standing at the wrong rock — the correct one is uphill and northwest of Briar Slough Hillock Shrine, with a low overhang you can walk under, not simply a boulder beside the trail.
You will know it worked when the quest tracker updates and Finders Keepers moves to your completed list with the Skill Point notification. If the journal entry is still open after you loot the container, you opened a different container nearby rather than the buried one.