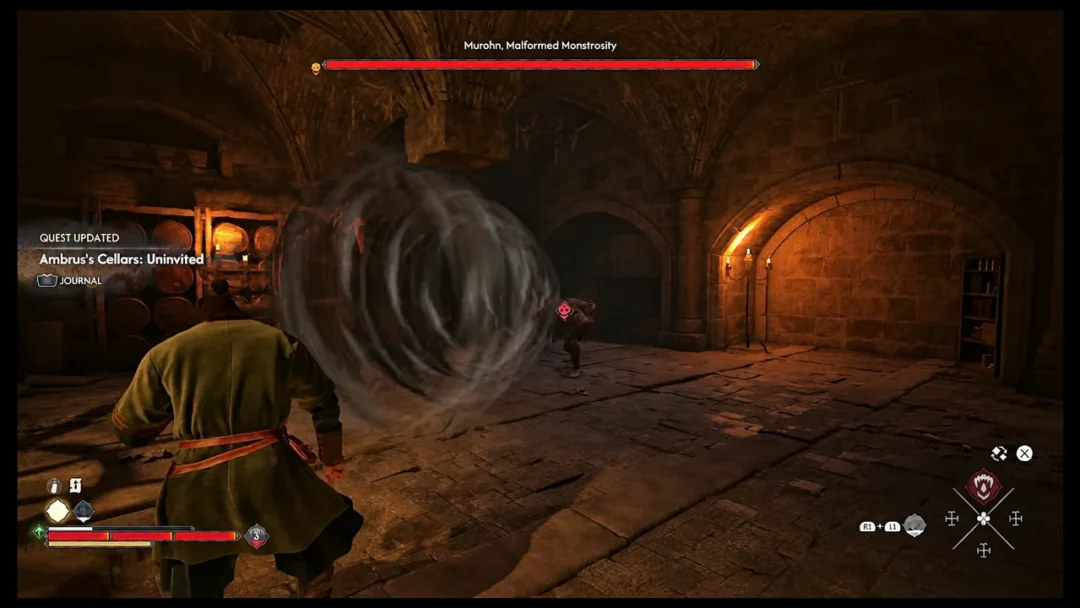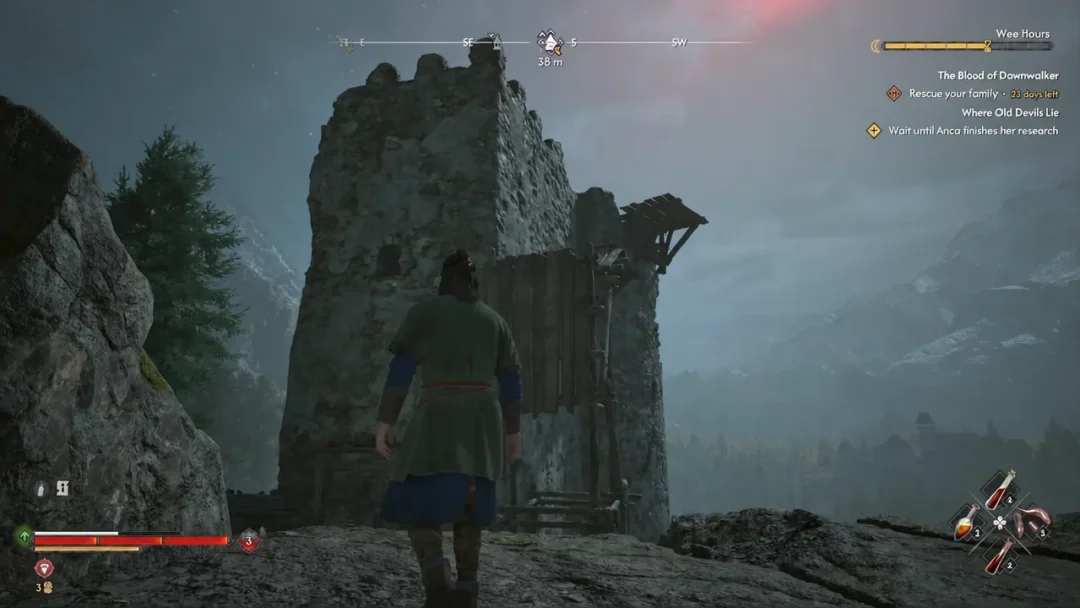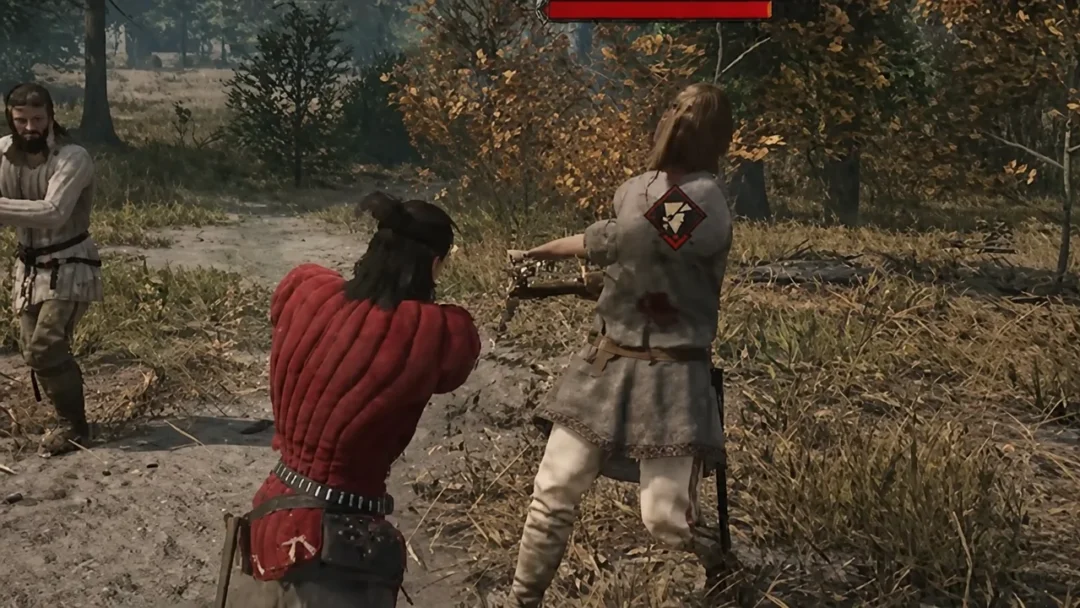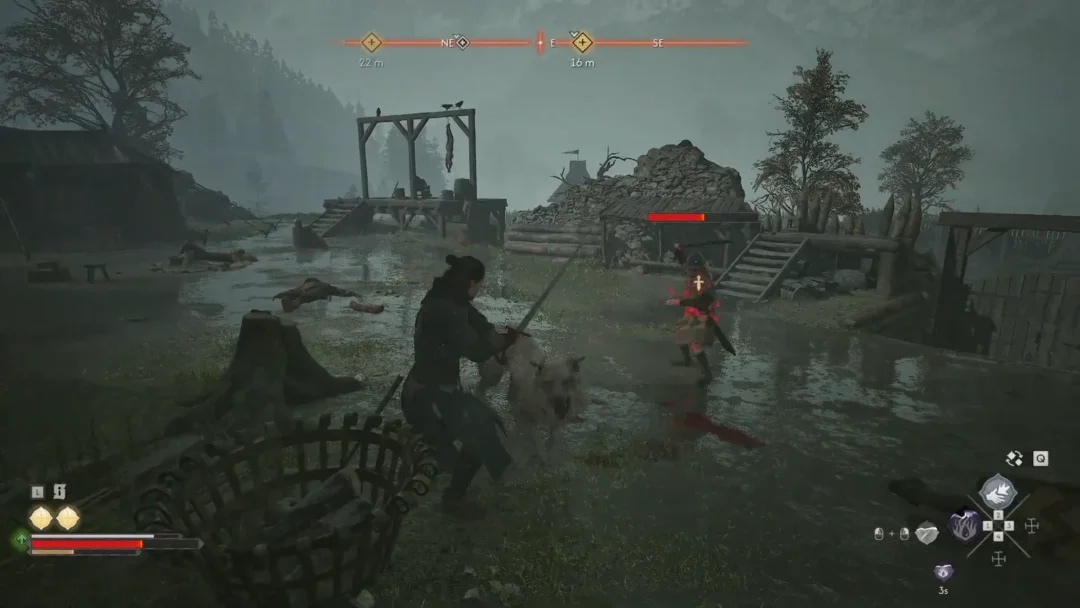
Some of the strongest gear in Vale Sangora never shows up on your quest log unless you go looking for it. Five legendary pieces in particular sit behind optional side quests, a bloodstain nobody tells you to examine, and a cave hidden behind a waterfall. Coen can finish the campaign without ever seeing any of them.
Quick answer: Durandal comes from The Cursed Chasm at Coward’s Path, the Imbued Sword of St. Mihai from the Forge It Anew chain, the Arbiter’s Medallion from a skeleton in the waterfall cave southeast of Parlita, Pieter’s Garb from Buried Past with Volk, and the Wolven Bracers from Of Wolves and Men.
Where each legendary item comes from
| Item | Type | Source |
|---|---|---|
| Arbiter’s Medallion | Legendary Amulet | Skeleton in the cave behind the waterfall, southeast of Parlita |
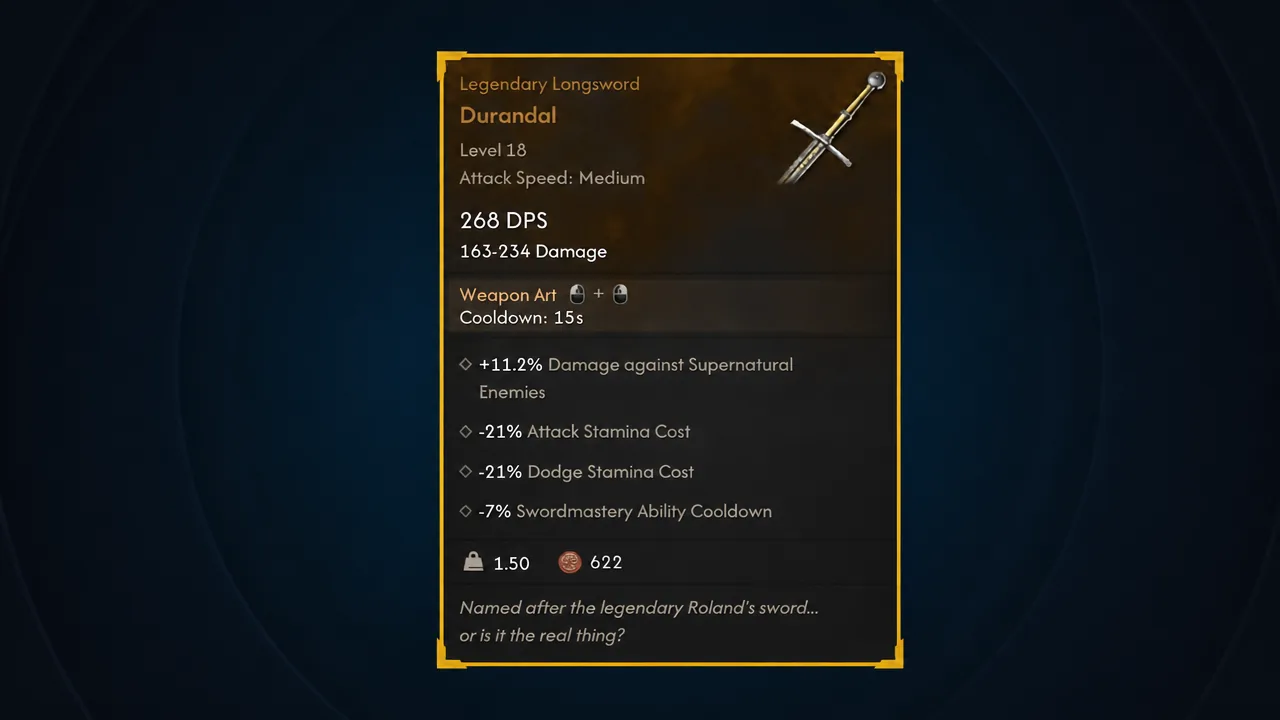
| Durandal | Legendary Longsword | Loot spot at the end of The Cursed Chasm |
| Wolven Bracers | Legendary Medium Bracers | Chest in the hidden cave during Of Wolves and Men |
| Pieter’s Garb | Legendary Light Chestpiece | Dug up at the Glade during Buried Past |
| Imbued Sword of St. Mihai | Legendary Greatsword | Forge It Anew questline, after the ritual |
Arbiter’s Medallion location: the cave behind the waterfall near Parlita
This one needs no quest at all, which is exactly why it gets skipped. From Parlita in Boar’s Back, head to the bridge to the southeast and look toward the river junction. A waterfall is tucked into the rock face there, roughly northwest of the Sandy Gorge shrine.
Walk straight through the falling water. Inside the cavern is a skeleton holding the Arbiter’s Medallion, along with the largest pile of silver in the game — lumps of silver, a platter, a chalice, and a cross. Take all of it and sell what you do not need to the Silver Trader in Svartrau City for coin.
| Bonus | Value |
|---|---|
| Maximum Stamina | +33% |
| Attack Stamina Cost | -33% |
| Block Stamina Cost | -33% |
| Physical Damage Reduction | +6.6% |
The stamina numbers are the reason to detour for it. A third off attack and block costs changes how long you can stay aggressive in a duel, and the medallion keeps pace with you because its level is set when you pick it up.
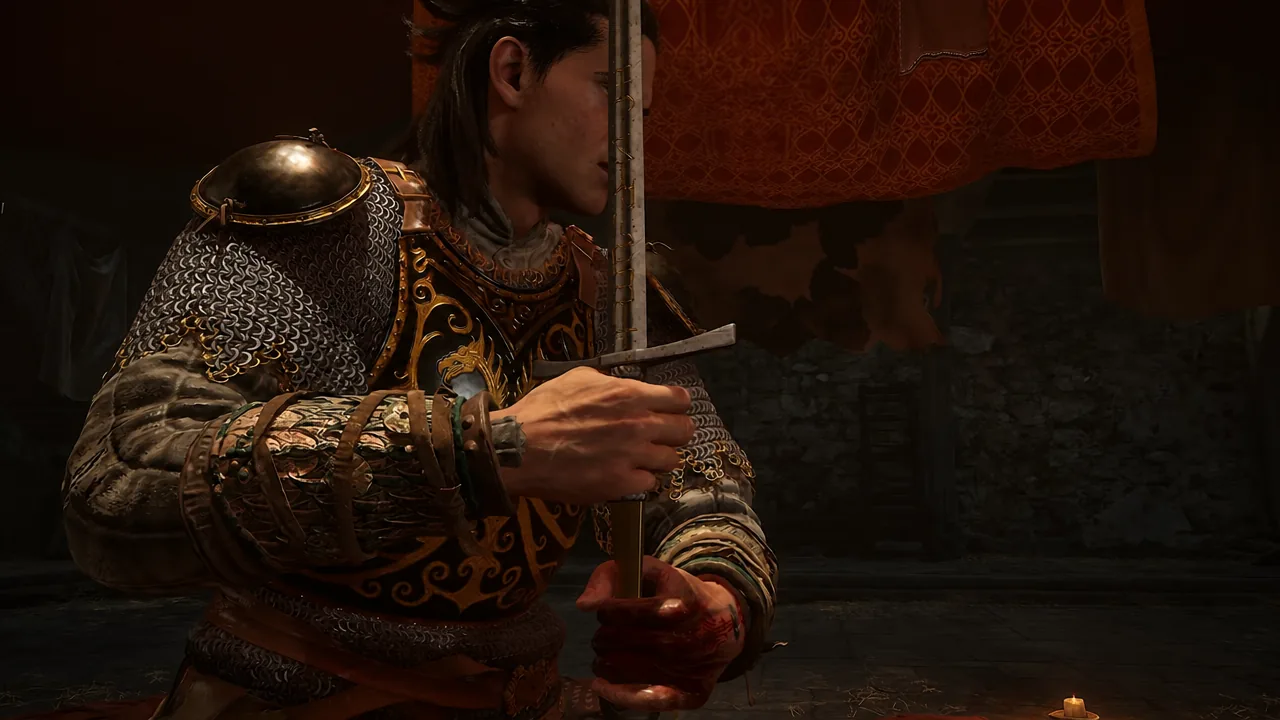
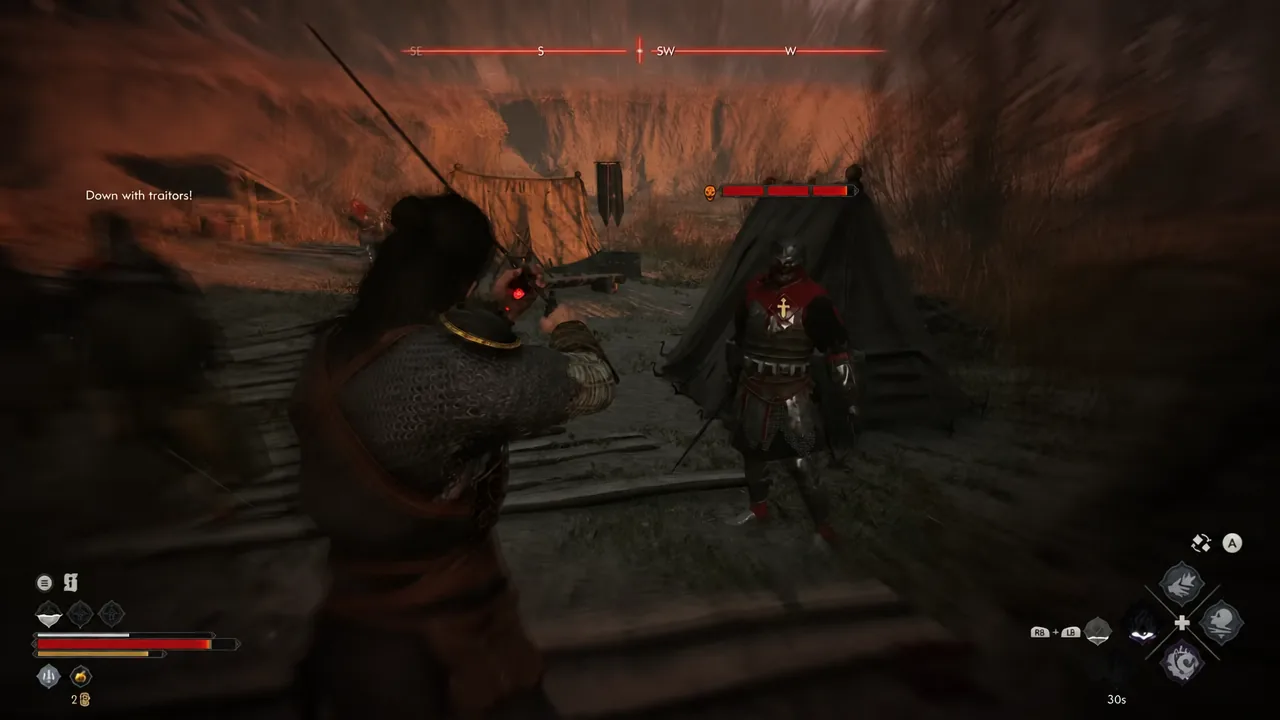
Durandal: How to trigger The Cursed Chasm at Coward’s Path
| Bonus | Value |
|---|---|
| Damage against Supernatural Enemies | +11.2% |
| Attack Stamina Cost | -21% |
| Dodge Stamina Cost | -21% |
| Swordmastery Ability Cooldown | -7% |
Durandal swings at medium speed with a 15-second cooldown. At level 15 it reads 234 DPS and 143–205 damage; picked up at level 18, the same sword lists 268 DPS and 163–234 damage.
Wolven Bracers: Following the blood trail in Of Wolves and Men
Of Wolves and Men does not appear until you examine a bloodstain in the southwest of the map. Nothing marks it in advance, so if you have never seen the quest, that interaction is the missing step.
After the quest starts, follow the trail of blood away from the stain. It leads to a hidden cave with a campsite inside, and the chest there holds the Wolven Bracers.
| Bonus | Value |
|---|---|
| Claw Damage | +9.7% |
| Damage against Animals | +9.7% |
| Claw Critical Hit Chance | +6.5% |
| Claw Critical Hit Damage | +9.7% |
Picked up around level 27, the bracers sit at 130 Armour. Every bonus on them feeds claw attacks, so they are worth equipping specifically on a vampiric build rather than a sword-focused one.
Pieter’s Garb and the Artery Strike skill: Buried Past with Volk
Volk, the Oath Breaker lives at the Ruined Hut, and his questline unfolds over repeat visits rather than in one sitting. Do the chores he asks for and sit through his stories about your father.
On your third visit, he tells you about the treasure buried at the Glade. Agree to dig it up, head to the secret glade, and open the chest to receive Pieter’s Garb. Volk also offers a training match, and beating him teaches you the Artery Strike skill.
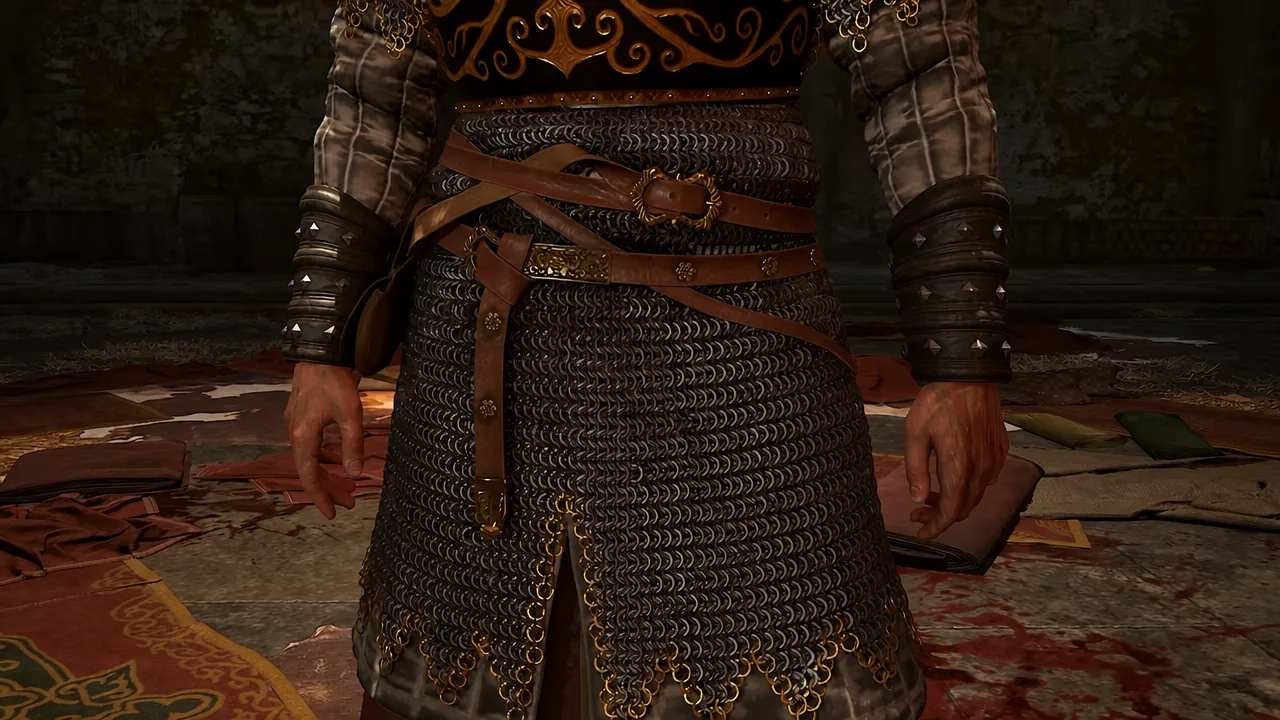
| Bonus | Value |
|---|---|
| Maximum Human Health | +23.4% |
| Human Health Restoration | +23.4% |
| Weapon Critical Hit Chance | +7.2% |
| Weapon Critical Hit Damage | +14.4% |
At level 26 the chestpiece provides 248 Armour. It is light armor with a health pool attached, which makes it a reasonable pick for daytime play where you are relying on human health rather than blood.
Note: skipping the dig or leaving before the third visit means no chest and no Artery Strike, so treat both as part of the same trip.
Imbued Sword of St. Mihai: Shards, hilt, and the ritual in Forge It Anew
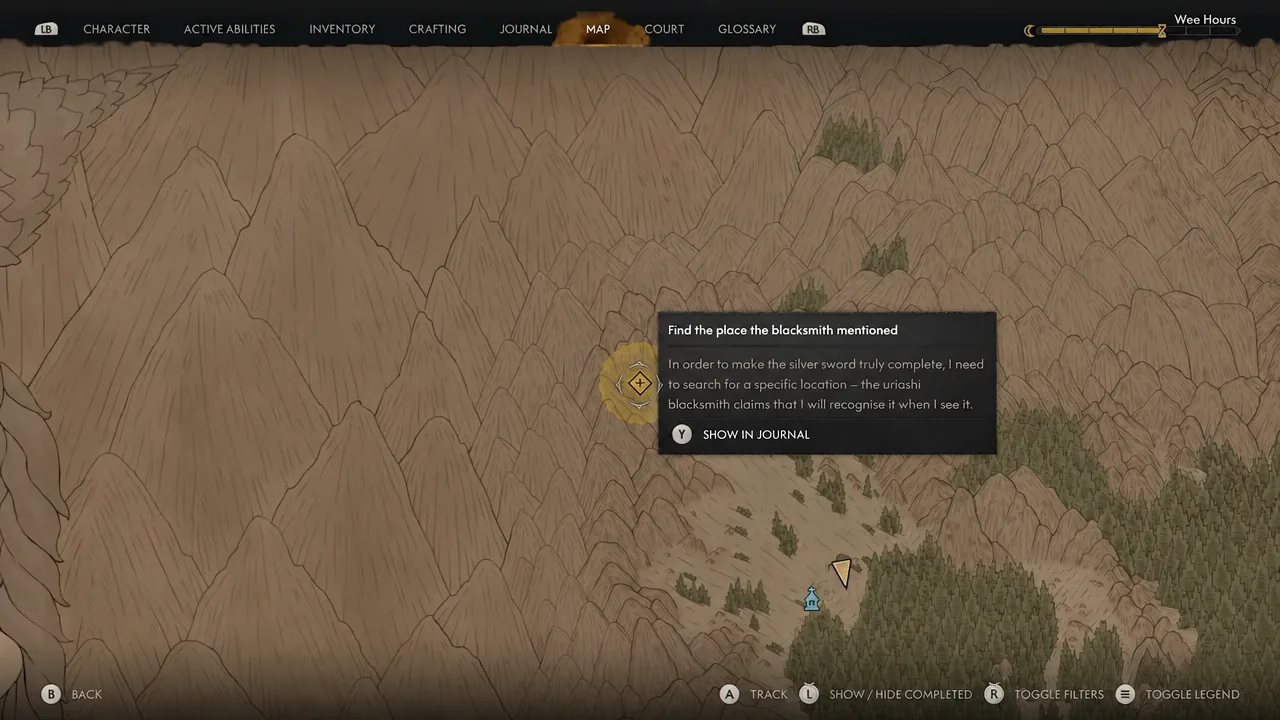
This greatsword takes the most work by a wide margin. It runs across two chains, A Monk and a Saint and Forge It Anew, and you need every component before a blacksmith will do anything for you.
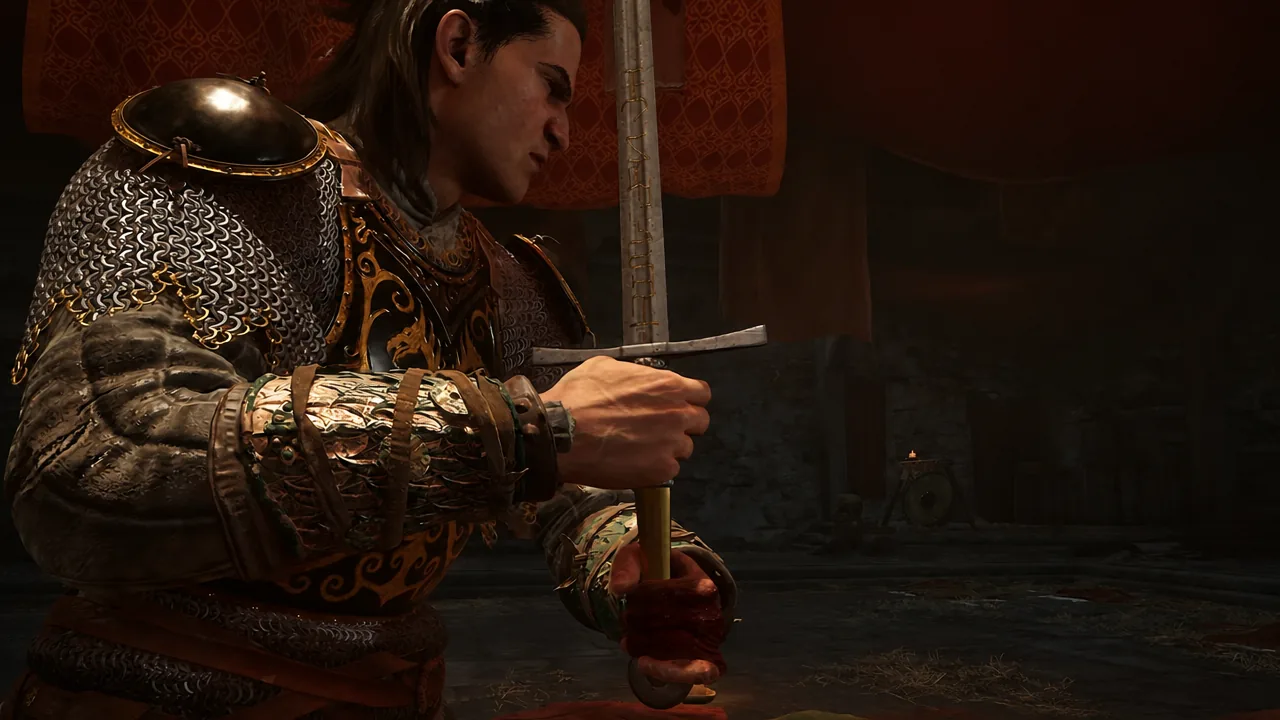
| Bonus | Value |
|---|---|
| Damage against Supernatural Enemies | +17.6% |
| Weapon Critical Hit Damage | +16.5% |
| Weapon Critical Hit Chance | +11% |
| Swordmastery Ability Cooldown | -11% |
At level 32 the greatsword lists 466 DPS with 305–441 damage per swing, at slow attack speed. If you stop after the forging step, you keep the Restored Sword of St. Mihai instead — usable, but not the legendary version.
Item levels, upgrades, and the Gear of the Gods trophy
Every one of these items is assigned a level based on where you are when you claim it, which is why the same sword can read 234 DPS for one player and 268 for another. Grabbing something early does not lock you out of using it later, though, since blacksmiths and armorers can upgrade legendary gear to keep it relevant.
Legendary equipment is the top tier in the game, and filling out a complete set of it unlocks the Gear of the Gods trophy and achievement. Most legendary pieces are tied to a single quest or hiding spot and can only be obtained once, though a few show up rarely in merchant stock or chests, so duplicates are possible for some items but not all.
All five of these are worth clearing before the endgame stretch, and the two swords in particular carry damage bonuses against supernatural enemies that pay off in the fights that matter most. If you only have time for one detour, make it the waterfall cave — the medallion needs no quest, no timer, and no combat to claim.