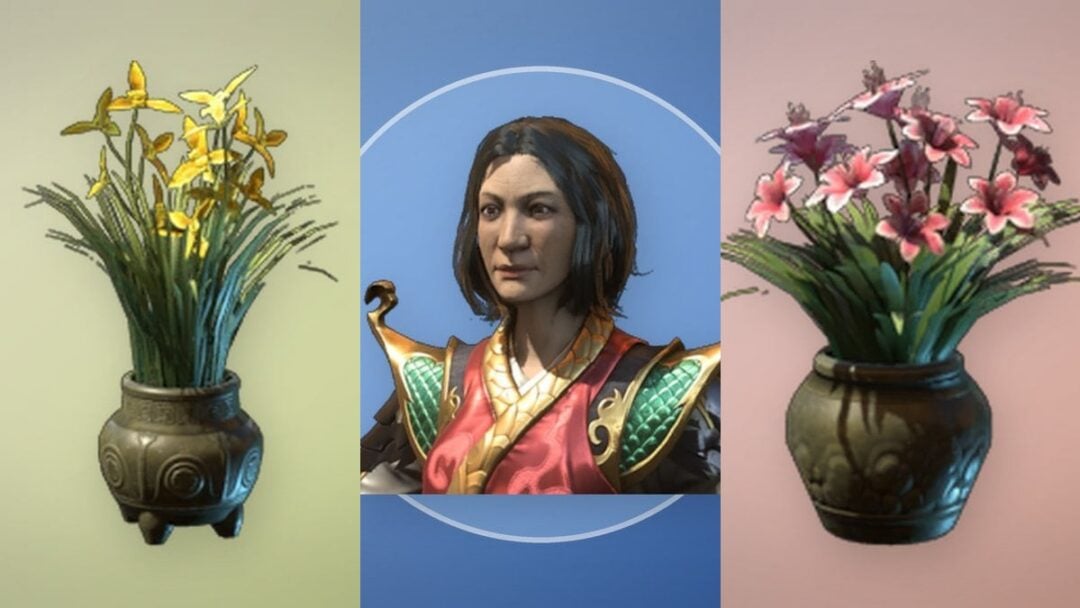
The Sanzhani are a rare fairy-like race scattered across Vale Sangora, and they are the only known way to buy yourself more time in The Blood of Dawnwalker. Help every one of them and their queen, Sanzhani Tsarina, will delay Brencis’ coronation, stretching Coen’s 30-day clock by a full day. Along the way, each completed task earns a letter from Lunka in the cells of Greifberg Castle.
Quick answer: Start Good Home in the Svartrau Outskirts, pay Sanzhani Tsarina three Shiny Teeth, then complete Burrow Sorrows, Come Hither, Pearly and Precious, and Tiny Dancer. Return to Tsarina’s burrow after the fifth to push the coronation back one day and unlock The Tsarina’s Favourite Human trophy.
What helping the Sanzhani actually rewards
Every Sanzhani task you finish opens one message exchange with your imprisoned sister. Lunka’s replies describe the layout of Greifberg Castle and what Coen should expect when he infiltrates it, so the letters have practical value beyond story flavor. Each fairy you rescue also relocates to Tsarina’s burrow, which is how you can count your progress at a glance.
| Reward | Condition |
|---|---|
| Letter from Lunka (Greifberg Castle intel) | One per completed Sanzhani task |
| Sanzhani joins Tsarina’s burrow | Each fairy you help |
| The Tsarina’s Favourite Human trophy/achievement | All five Sanzhani helped |
| Brencis’ coronation delayed by one full day | Speak to Tsarina after the fifth |
Because letters are gated behind completions, run this line early. Finish it too close to the end of the 30 days and there is no room left for Lunka’s replies to matter.
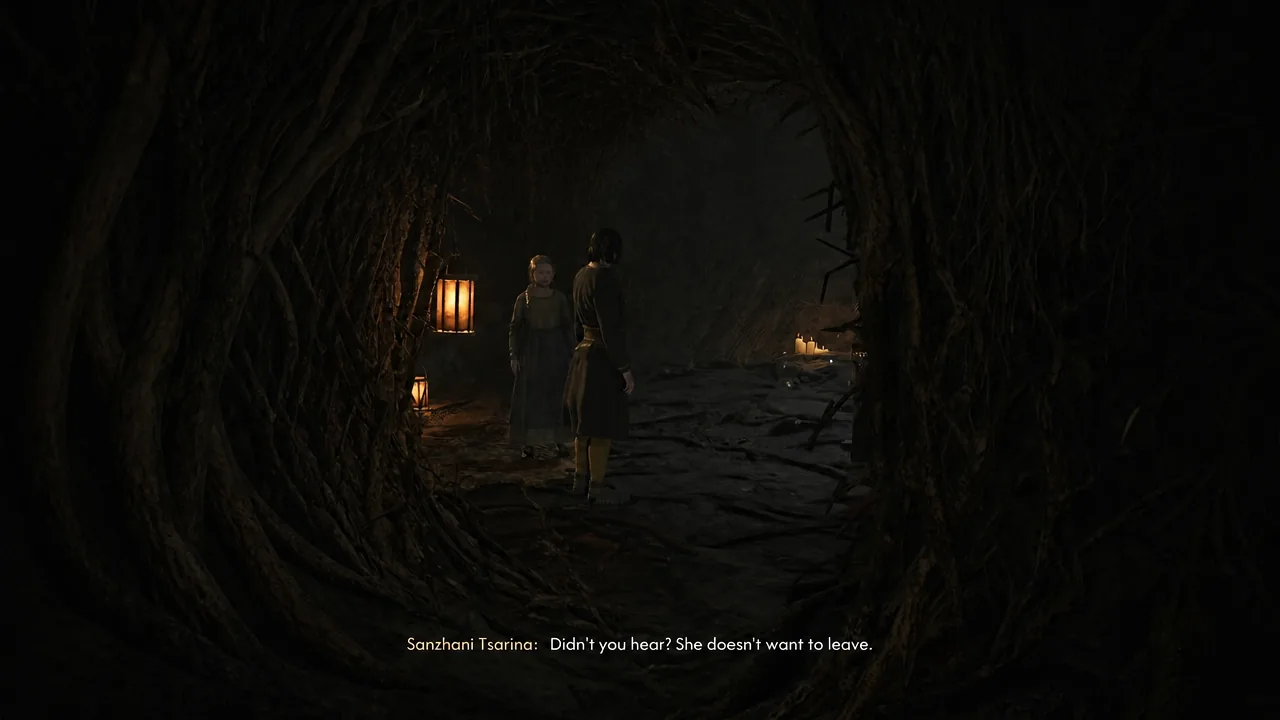
Good Home: Find Sanzhani Tsarina in the Svartrau Outskirts
Nothing else in the questline exists until you meet the Tsarina. The other four Sanzhani only spawn in the world after this first encounter, so treat Good Home as the gate.
Where to get three Shiny Teeth
Shiny Teeth are a drop from humans and the undead, not a crafted or purchased item. The fastest route is to clear hostile camps already marked on your map and loot the bodies afterward. Renegade camps and soldier camps both work, and a boss-tier enemy such as a Renegade Bruiser is a reliable source for the first one.
Three separate camps will comfortably cover the quota. Hand all three teeth to Tsarina and she releases Heile, agrees to carry messages to Lunka, and unlocks the rest of the Sanzhani tasks across the map.
The four remaining Sanzhani and their locations
| Quest | Where it starts | What it asks |
|---|---|---|
| Burrow Sorrows | North of the Boarback Trail Shrine, northwest of Shrike’s Crag | Clear a Kobold den and take a charm |
| Come Hither | North of the Vedera March Guardpost Shrine | Kill the monster living in her burrow |
| Pearly and Precious | Over the bridge at the Small Bridge Shrine, southeast of the Military Camp | Wipe out the bandits dumping bodies |
| Tiny Dancer | Rooftops in central Svartrau, night only | Free a caged Sanzhani |
Burrow Sorrows: Clear the Kobold den
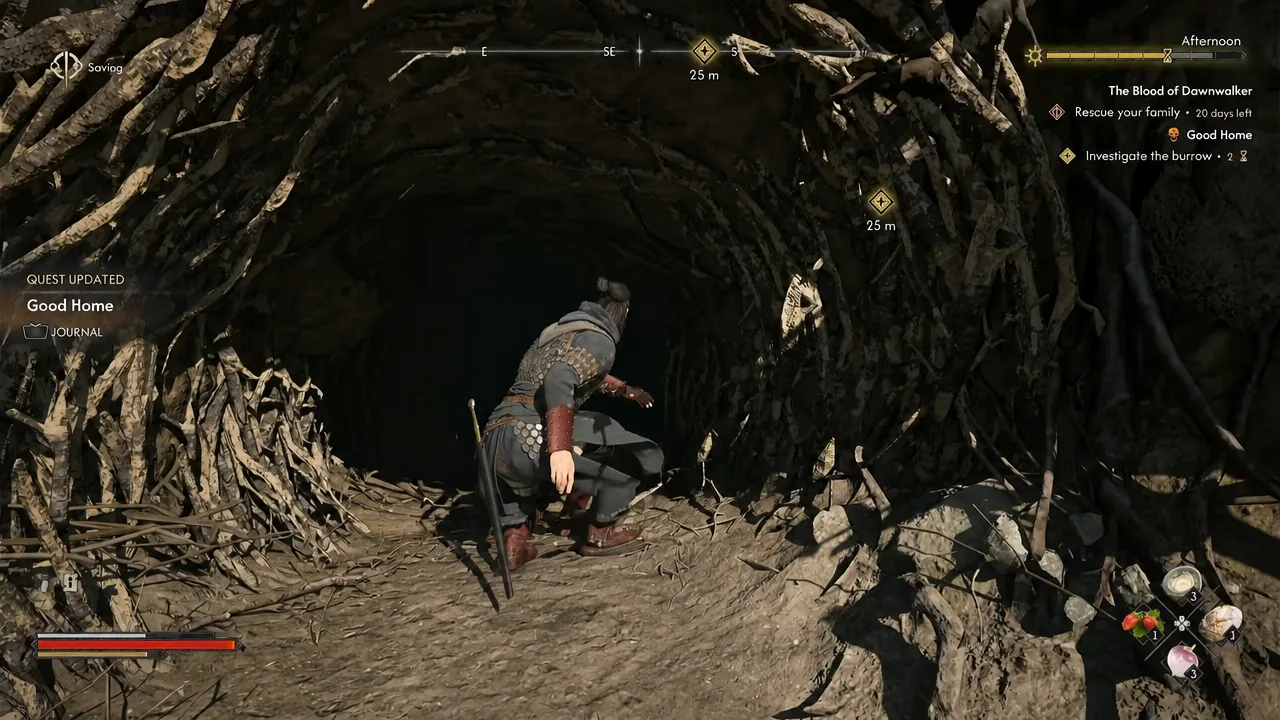
This Sanzhani claims Kobolds have overrun her home and demands you deal with them. Head north from her position to find the den entrance, then crouch to squeeze inside. Fight through the Kobolds in the deeper chambers, and before you leave, take the Sunbringer’s Pendant from their crude shrine.
Step outside and she admits she lied. The den was never hers, she simply wanted it emptied, and now it is hers. She lets Coen keep the pendant, which is the only tangible payment for the trip.
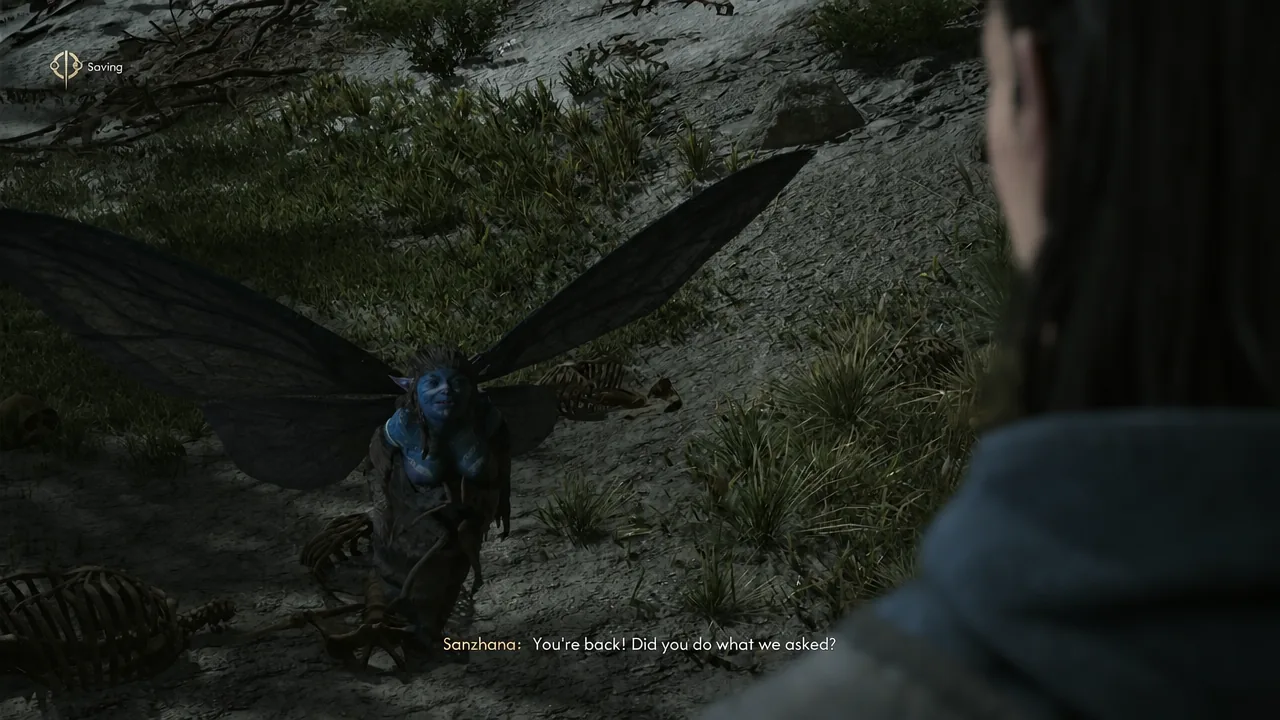
Come Hither: Defeat Murohn, Malformed Monstrosity
A Sanzhani north of the Vedera March Guardpost Shrine begs Coen to save her sisters from whatever moved into their burrow. Enter the cave and you will find the sisters are already dead. The creature responsible is Murohn, Malformed Monstrosity, and killing it is the only objective left. Report back and she can at least live in the burrow in peace.
Pearly and Precious: Hunt the bandits at the ditch
Cross the bridge at the Small Bridge Shrine and you will find an abandoned camp with drag marks leading away from it. Follow the trail and you will come across bodies in a ditch, plus a Sanzhani calmly harvesting teeth from them. The corpses are dumped there by a bandit crew operating nearby.
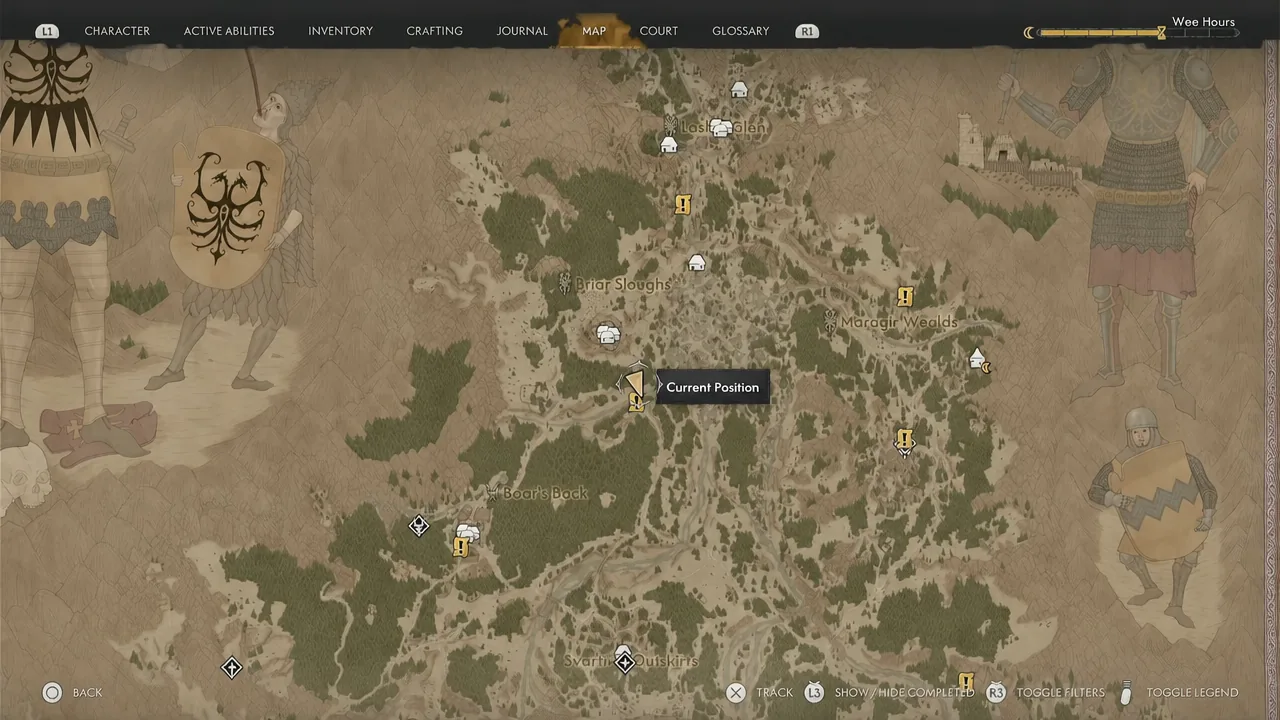
Travel southwest from the Sanzhani to reach the bandit camp and kill them all, then return to her to close the quest. It also confirms what the questline has been hinting at from the start: the Sanzhani have been trading gold to bandits for the teeth of their victims.
Tiny Dancer: Free the caged Sanzhani in Svartrau
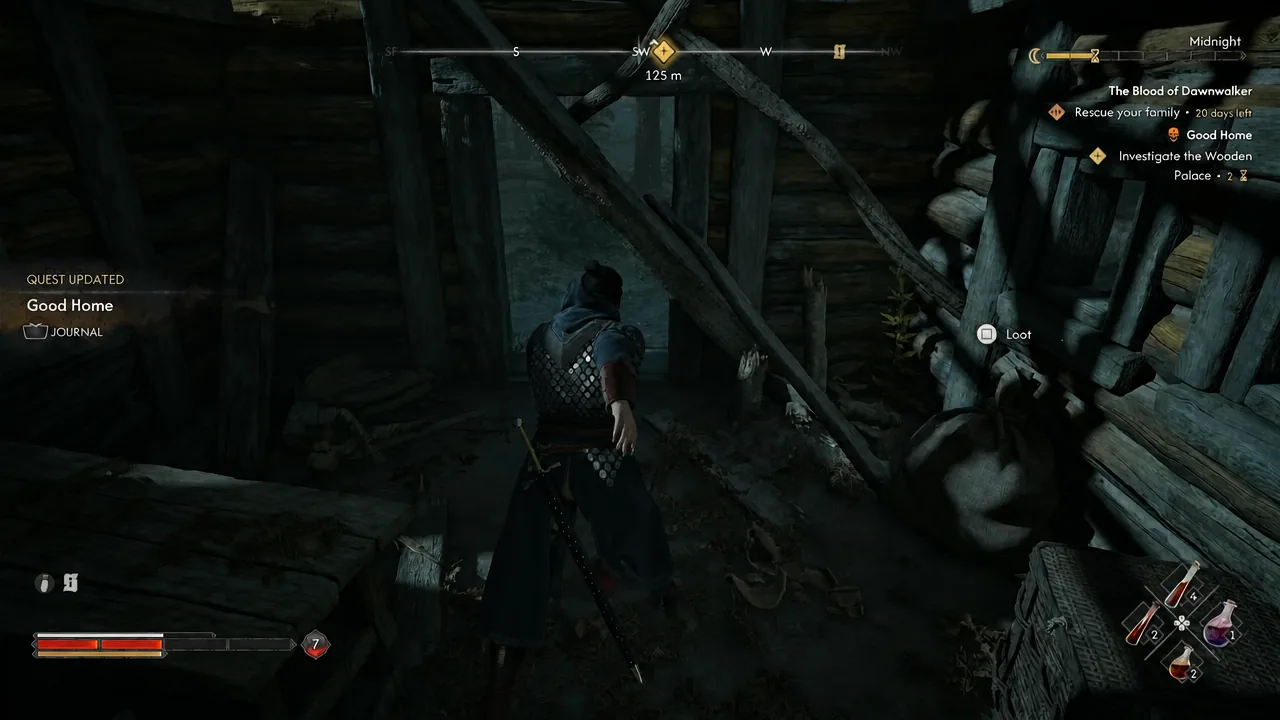
This one only triggers at night, inside Svartrau itself. Move across the rooftops in the center of town until Coen comments that he hears something. Switch to Focus Mode and the sound resolves to the upper floor of a nearby house.
Enter through the balcony on the east side of the building. Inside you will find a caged Sanzhani and the key sitting on a desk in the same room. Grab the key, open the cage, and the freed fairy points you toward silver stashed in an adjoining room. This is the fifth and final Sanzhani.
How to confirm all five are done
Return to the Yawning Burrow and look around the chamber. Every Sanzhani you have helped relocates there, so five extra fairies alongside Tsarina means the set is complete. Talk to her and the conversation will offer the coronation delay, and The Tsarina’s Favourite Human trophy pops at that point.
If the delay option does not appear, the usual cause is a task you started but never reported back on. Each of the four side quests only counts once you have returned to that specific Sanzhani after the fighting is over, and the letter to Lunka is your receipt for each one.
The extra day is small in absolute terms, but on a clock where every quest and several dialogue choices spend time like currency, it is the one bit of breathing room the world hands back. Spend it on whatever the run needs most before the countdown reaches Brencis.