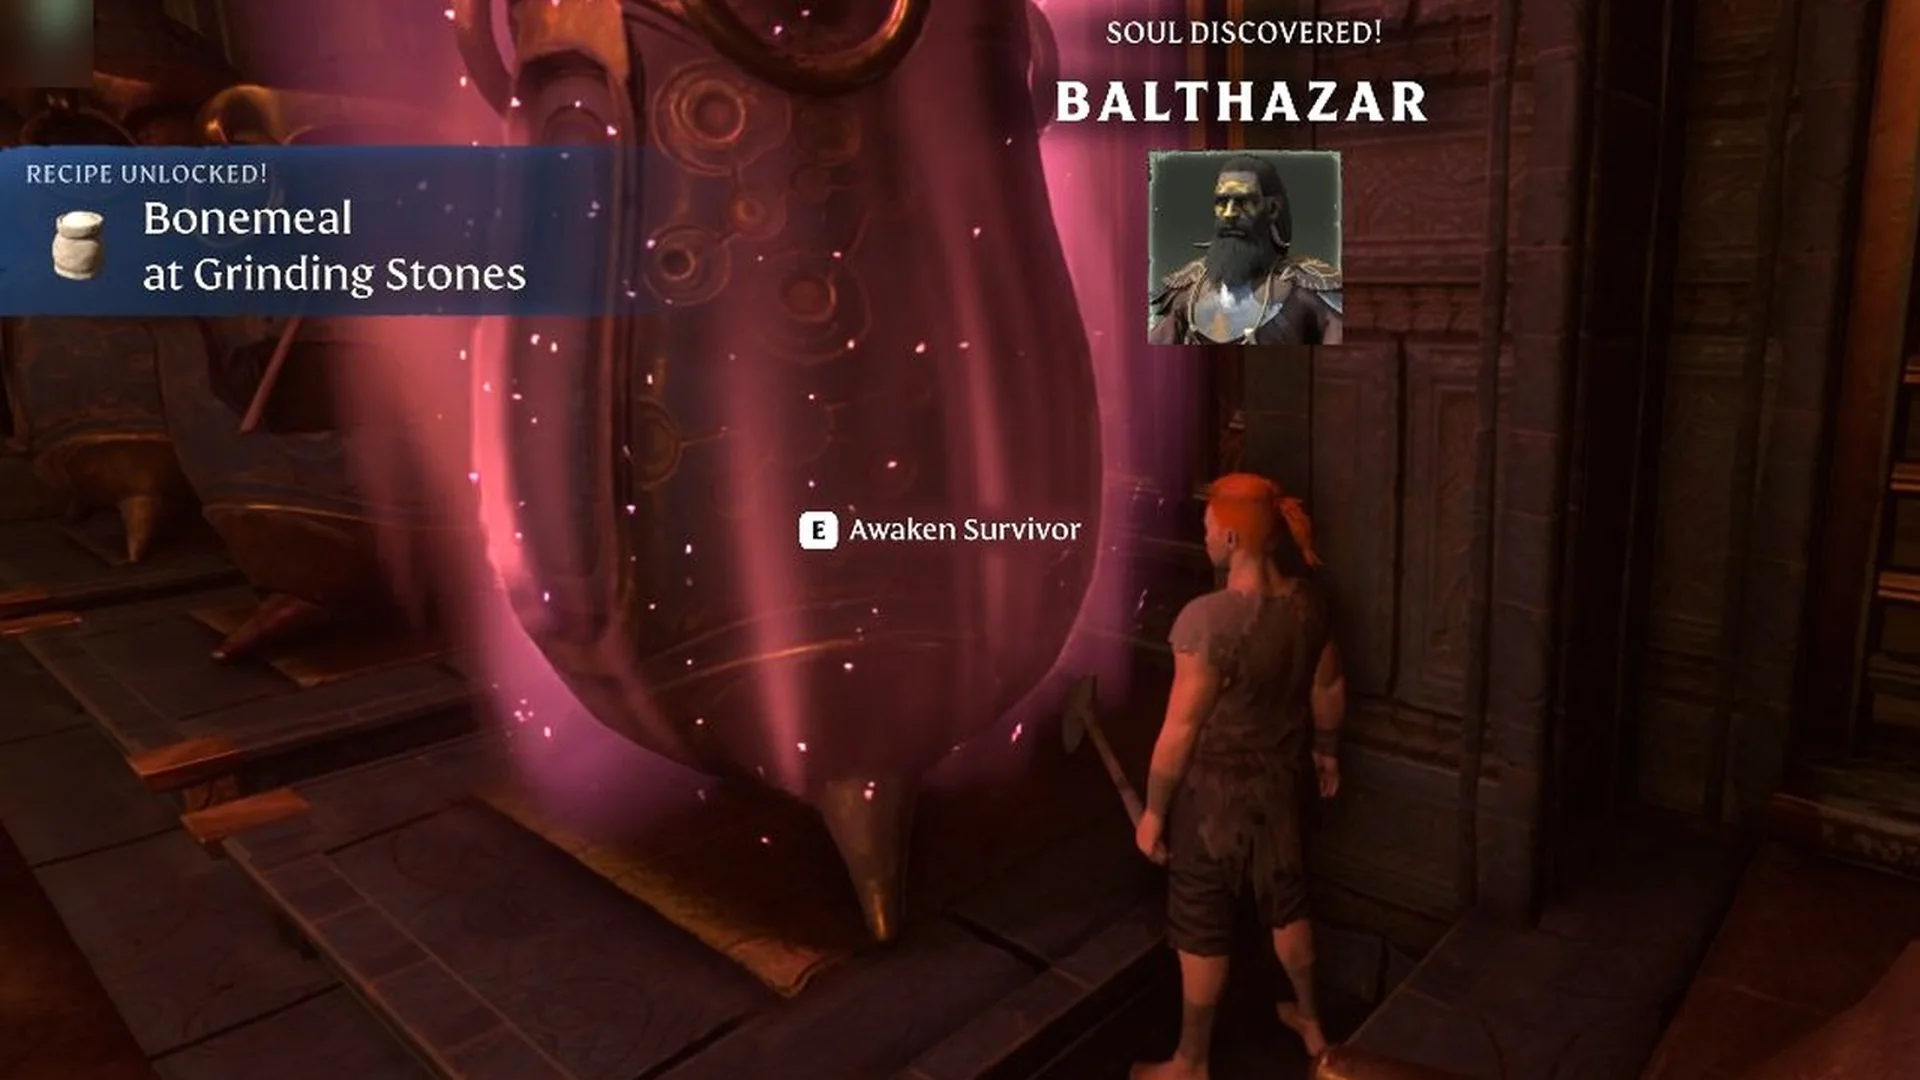
Lone Thistle is the ruined old home of Balthazar, the Alchemist, in the Revelwood. Two of his quests send you there, “The Alchemist’s Mortar” and “Cat Search”, and the route from the Springlands Ancient Spire is in our guide on how to reach the Alchemist’s Tower in Lone Thistle.
Quick answer: Lone Thistle is where you find the Alchemist’s Mortar, which unlocks Mana Potions and more at the Alchemist, and Tyger the cat; the Alchemist Tower stands about 60 m east of the Lone Thistle map marker.
The Alchemist’s Mortar quest at Lone Thistle
These are the five steps of “The Alchemist’s Mortar” with their journal text:
| Step | Journal text |
|---|---|
| 1. Reach The Alchemist’s Tower | Find the Alchemist’s Mortar in order to unlock more crafting recipes. It’s hidden in the Alchemist Tower in Lone Thistle, somewhere below the surface. |
| 2. Search The Alchemist’s Basement | You’ve reached the Alchemist’s tower! Search his basement to find his laboratory! |
| 3. Find A Way Inside The Laboratory | The door to the Alchemist’s underground laboratory seems to be locked, but his Mortar should be inside. There must be some sort of hidden mechanism to open it somewhere in the tower. |
| 4. Gather The Mortar | You’ve discovered a button in the Alchemist’s tower! Perhaps this button has opened the door to the basement downstairs? Proceed onwards and gather the mortar from the basement! |
| 5. Place The Mortar | The Mortar was found inside the Alchemist’s hidden laboratory behind a closed door. It should be returned to its rightful owner. Placing the Mortar in the base will enable new crafting recipes. |
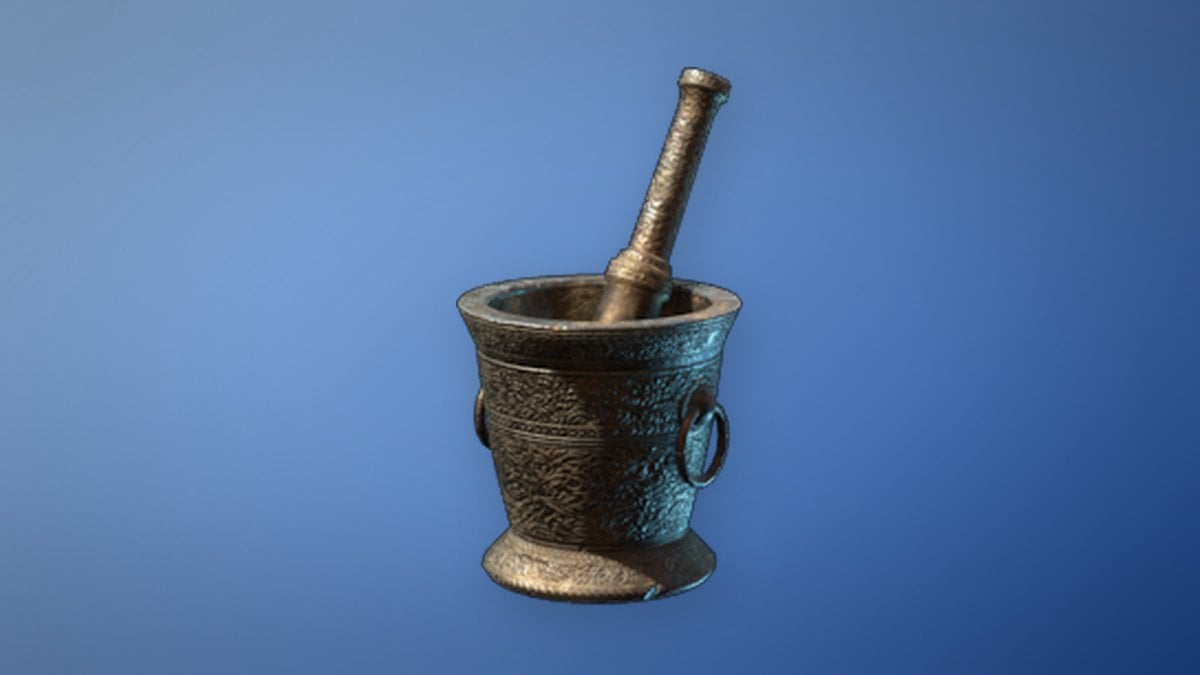
The quest gives you the Mortar and 200 XP. The Mortar’s item text reads:
A fine mortar. This should enable an Alchemist to broaden their crafting spectrum when placed within their reach.
What the Mortar unlocks at the Alchemist
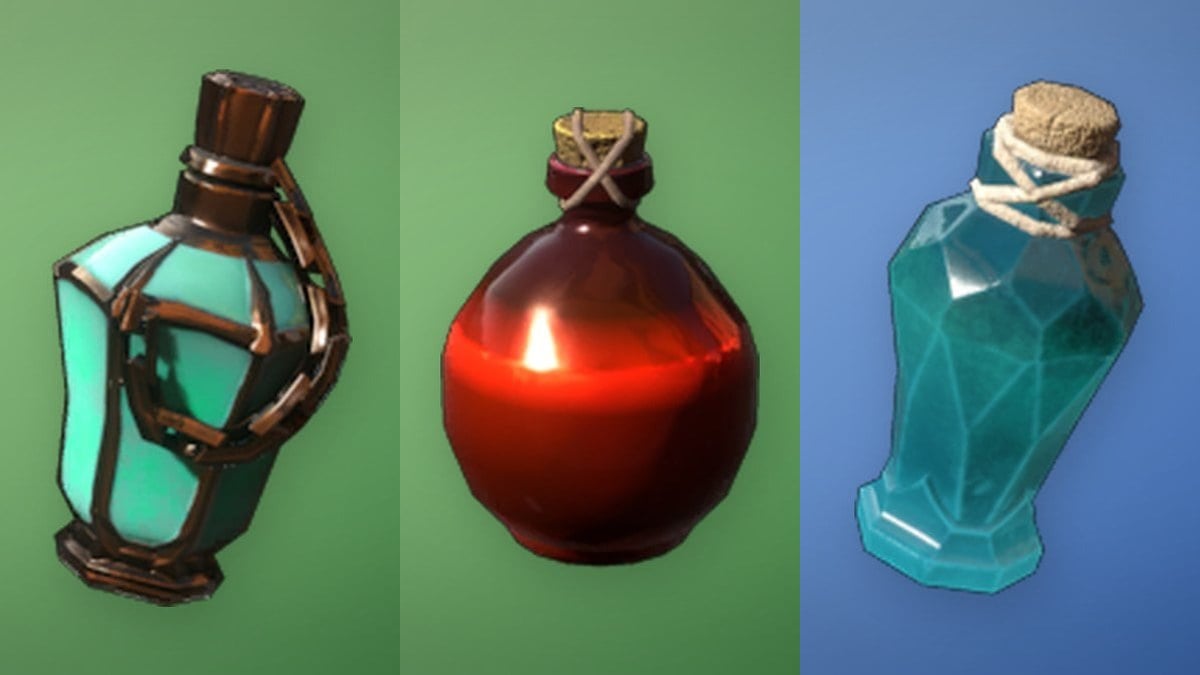
Once you have the Mortar, the Alchemist can craft these six recipes, including a replacement Mortar. Mana Potion + also needs the Mana Potion recipe known:
| The Alchemist crafts | Materials |
|---|---|
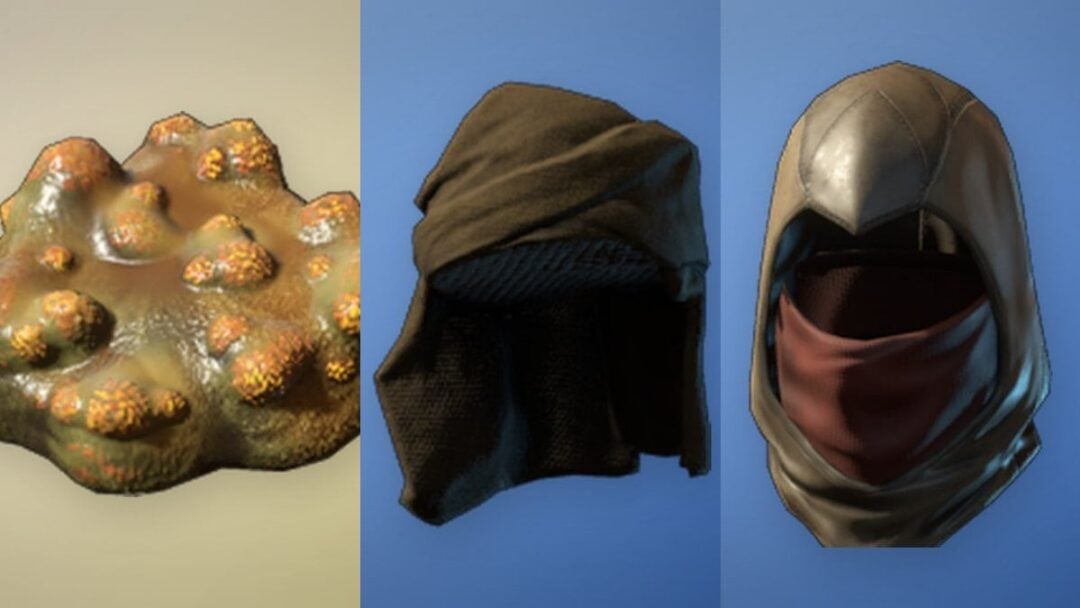
| Mortar (x1) | 10 Lump of Clay, 3 Sulfur, 2 Nitrate, 5 Charcoal, 5 Sand, Fine Sand, Veilwater Basin Sand or Cinder’s Cradle Sand |
| Mana Potion (x1) | 2 Azure Russula |
| Mana Potion + (x1) | 1 Moth, 1 Mana Potion |
| Greater Health Potion (x1) | 1 Honey, 1 Purple Berries, 1 Chamomile |
| Flask of the Fell (x1) | 10 Active Mycelium, 1 Strawberry, 10 Shroud Mushroom |
| Wisp of Light (x1) | 3 Bug Dust, 2 Glow Dust, 1 Resin |
Honey for the Greater Health Potion comes from a beehive (see how to get Honey).
Cat Search: how to get Tyger from Lone Thistle
“Cat Search” is the Alchemist’s second quest at the tower. These are its five steps:
| Step | Journal text |
|---|---|
| 1. Craft Cat Food Bait | The Alchemist mentioned that his old home in Lone Thistle attracted cats because of a rat infestation. Even after all these years, there’s a chance that some cats still populate the area. Craft cat food bait with the Farmer for taming a stray cat to proceed! |
| 2. Reach The Alchemist’s Tower | You’ve crafted the cat food needed to tame a stray cat. Now go to Lone Thistle and search the Alchemist’s tower above the Shroud to find and tame a cat! |
| 3. Find And Tame A Stray Cat | You’ve reached the Alchemist’s tower. Search inside for a stray cat! |
| 4. Place The Cat In Your Home | You’ve picked up the stray cat from the Alchemist’s tower! Place it in your home to welcome it! |
| 5. Craft A Cat Bowl And A Cat Bed | You’ve placed the cat in your home! Now craft a cat bowl and a cat bed to make your new pet happy! |
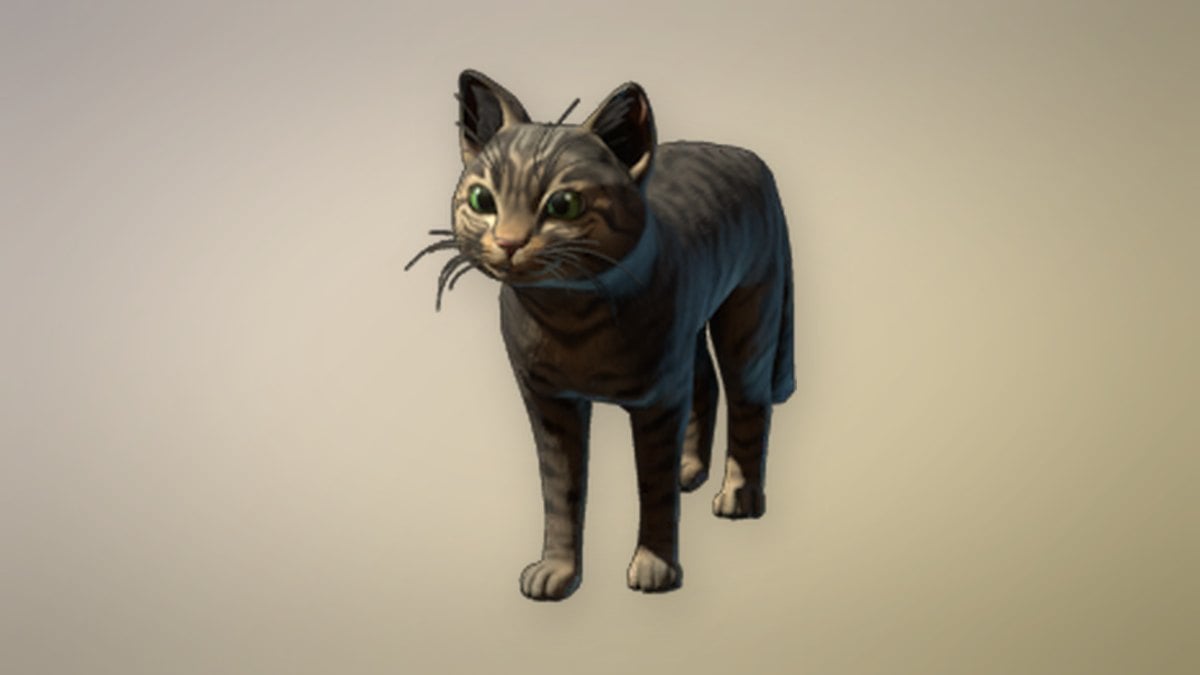
The reward is Tyger and 150 XP. Tyger’s item text reads:
This striped cat is a fearsome hunter, always on the prowl. It’s quiet, graceful, independent — and proud to present its spoils of war to you after a successful hunt! After a long day of adventuring though, it loves nothing more than to snuggle and sleep.
The cat food bait is a Farmer recipe. The other five pets and the farm animals are in where to find all 6 pets.
Chests, lore and unique items at Lone Thistle
Distances are from the Lone Thistle map marker:
| What | Kind | Where |
|---|---|---|
| Alchemist Tower | Map marker | About 60 m east of the Lone Thistle map marker |
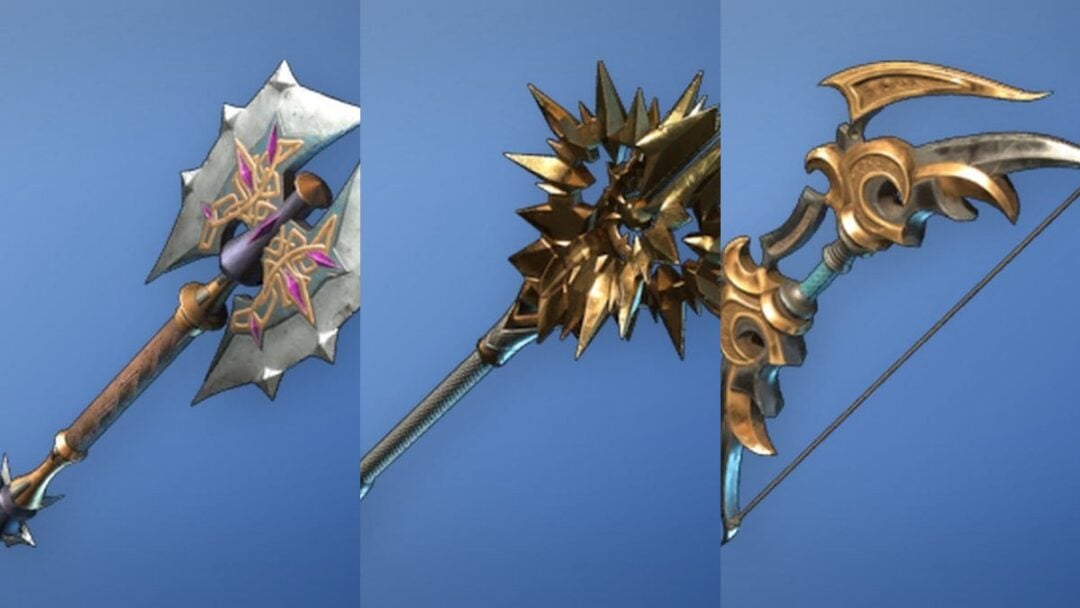
| Hailscourge | One-handed sword, on a skeleton | About 30 m south-west of the Lone Thistle map marker |
| Silver Chest (Level 11) | Chest | About 20 m north-east of the Lone Thistle map marker |
| Silver Chest (Level 11) | Chest | About 30 m east of the Lone Thistle map marker |
| Silver Chest (Level 11) | Chest | About 70 m north-east of the Lone Thistle map marker |
| Wooden Chest (Level 11) | Chest | About 30 m east of the Lone Thistle map marker |
| Wooden Chest (Level 11) | Chest | About 30 m west of the Lone Thistle map marker |
| Wooden Chest (Level 11) | Chest | About 50 m north-east of the Lone Thistle map marker |
| Wooden Chest (Level 11) | Chest | About 60 m east of the Lone Thistle map marker |
| Wooden Chest (Level 11) | Chest | About 80 m north-east of the Lone Thistle map marker |
| I Said Let Go! | Lore note | About 20 m east of the Lone Thistle map marker |
| Never Enough | Lore note | About 60 m north-east of the Lone Thistle map marker |
| This Was Not A Good Idea | Lore note | About 60 m north-east of the Lone Thistle map marker |
| Glider | Lore note | About 70 m north-east of the Lone Thistle map marker |
| Puzzle | Puzzle | About 80 m north-east of the Lone Thistle map marker |
| Flame Shrine | Flame Shrine | About 110 m east of the Lone Thistle map marker |
| Pikemead’s Bulwark | Shield, in a gold sarcophagus chest in the Shroud | About 210 m south of the Lone Thistle map marker |
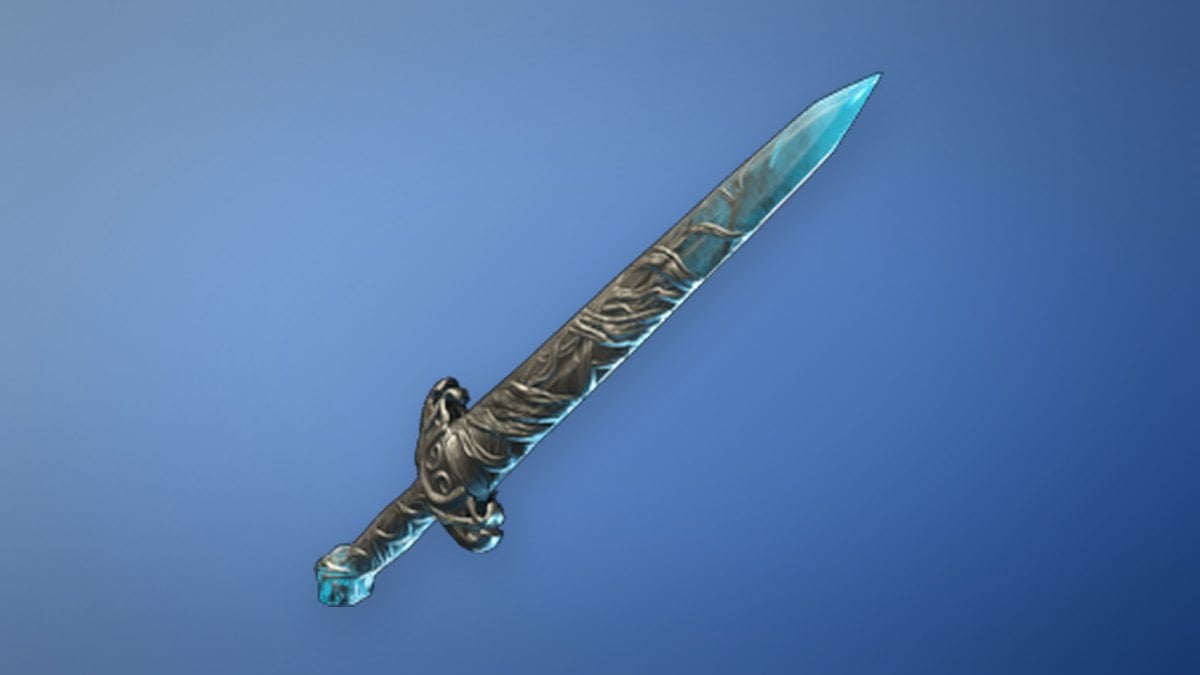
Hailscourge is a one-handed sword that deals cut and ice damage. Its item text reads:
A blade that’s cold to the touch. It weighs heavily on the mind.
It suits the early warrior build, and every other fixed weapon and shield is in every unique weapon and ring. Rats roam the ruins about 60 m north-east of the marker.
Plants around Lone Thistle
Within about 250 m of the ruins, our Revelwood map shows Active Mycelium, Shroud Mushroom, Chamomile, Forest Beet, Penny Bun, Purple Berries, Azure Russula, Aureolin Flower, Strawberry, Hazelnut and Flax. That covers the Azure Russula for Mana Potions and the Chamomile and Purple Berries for Greater Health Potions, and the Active Mycelium, Shroud Mushroom and Strawberry for the Flask of the Fell.
More on these: how to get Active Mycelium, Shroud Mushroom locations, the all quests list and our Blackmire guide.