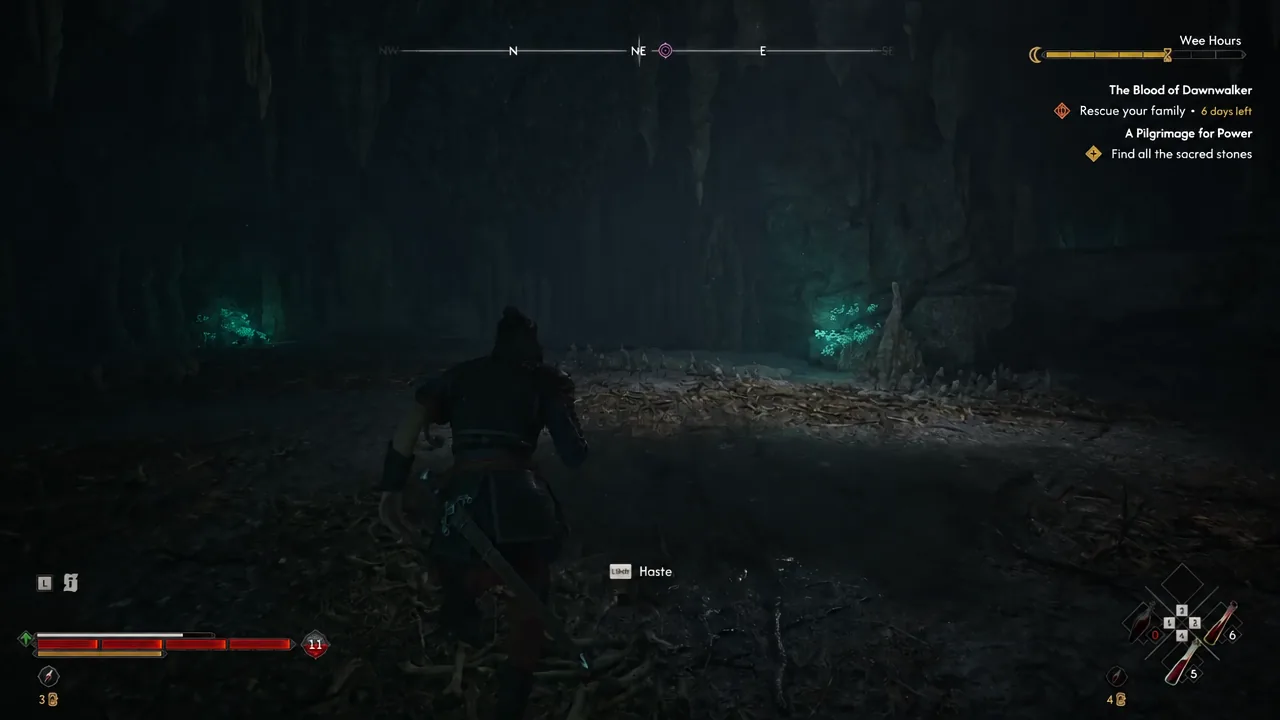
The Moult of a Large Lizard is one of four components you need for the Arbiter armour set in The Blood of Dawnwalker, and it is the only one that isn’t tied to a quest chain, a boss fight, or a merchant. It sits on the ground in a cave that never appears on your map, which is why so many players sweep the swamp and come away empty-handed.
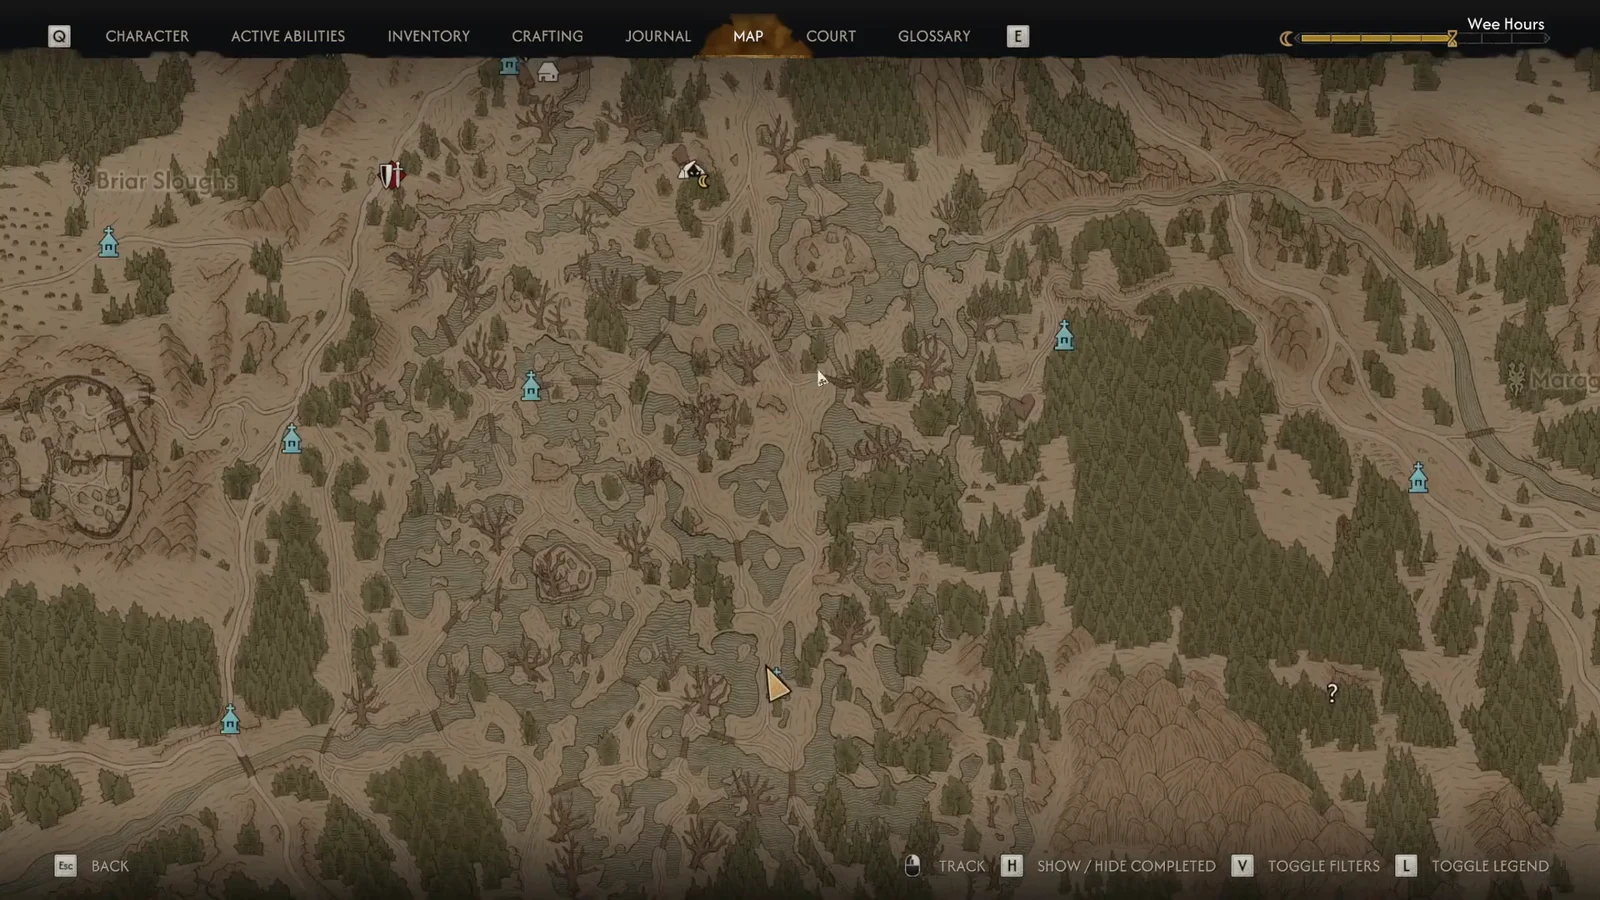
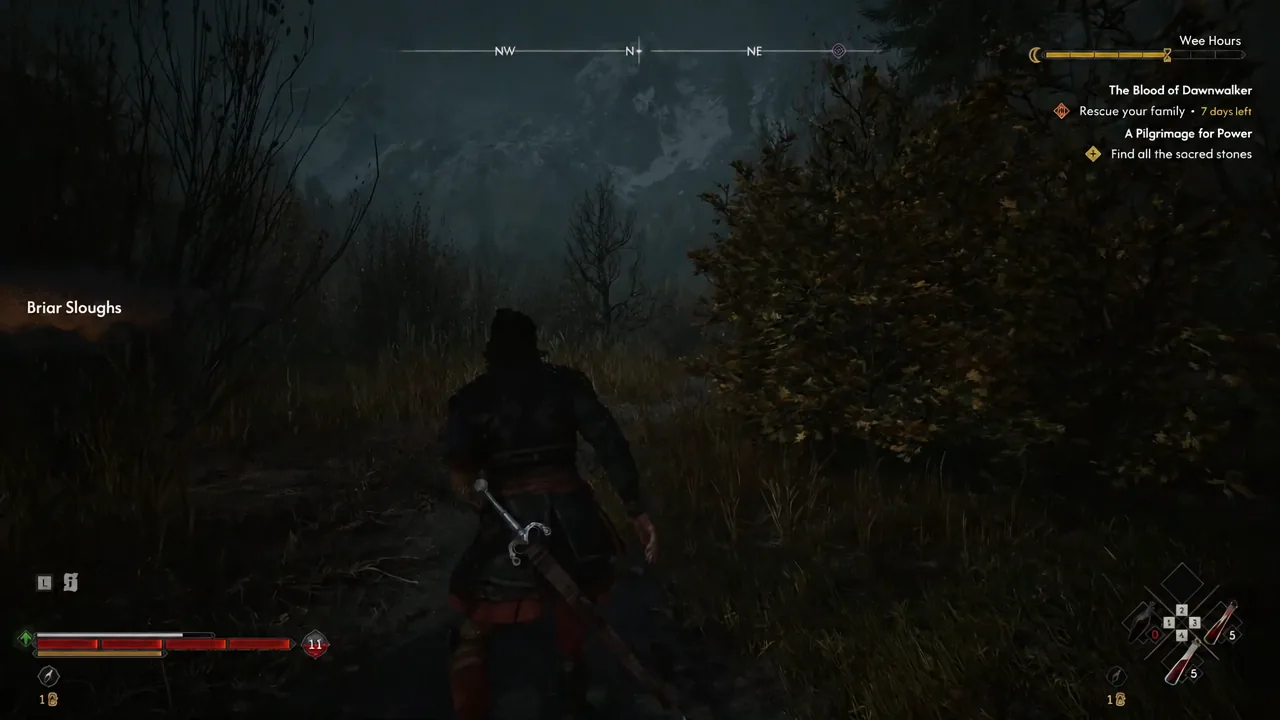
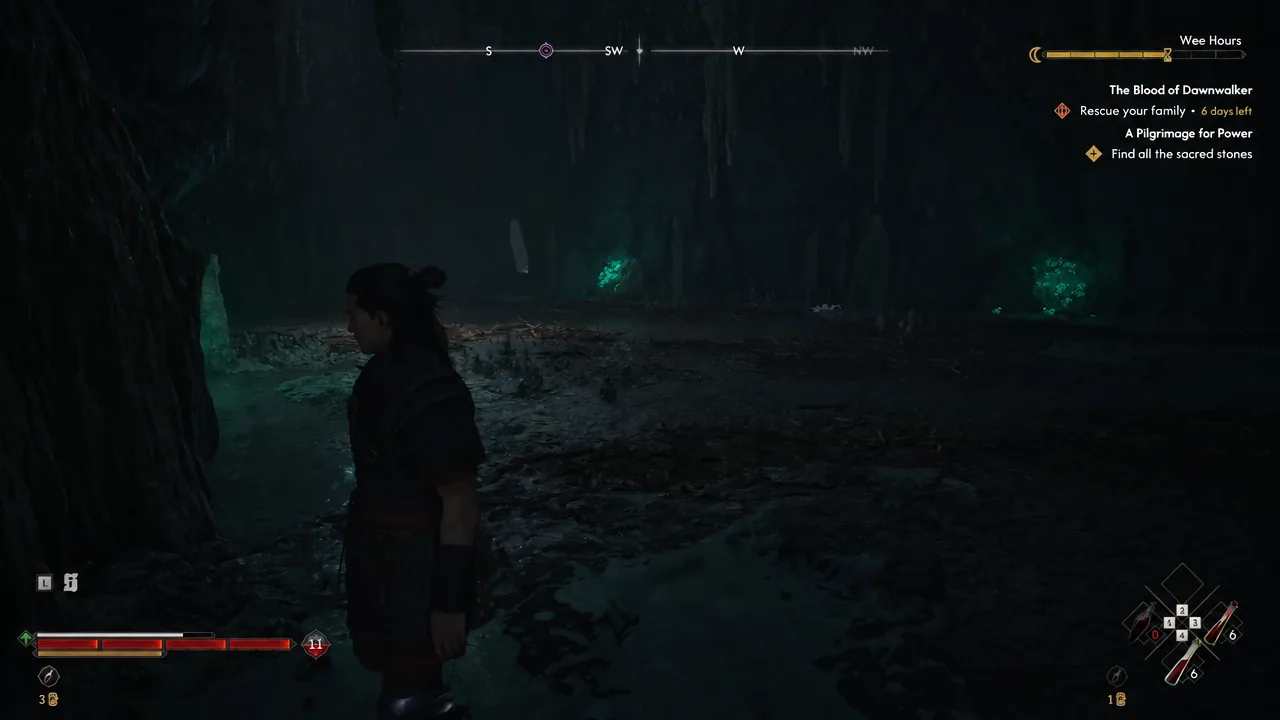
Quick answer: Fast travel to the Muddy Trail shrine in Briar Sloughs, run east to the rocky cliffs, squeeze through the narrow crack in the rock wall, and pick the Moult of a Large Lizard off the floor at the far end of the cave.
Moult of a Large Lizard location in Briar Sloughs
The cave sits in the marshland along the boundary between Briar Sloughs and Maragir Wealds, south of the witchcraft vendor Vera. The entrance is a thin crack in a cliff face rather than a proper cave mouth, and there is no marker for it, so the reliable way in is to line yourself up from a fixed point on the map.
| Detail | Value |
|---|---|
| Region | Briar Sloughs, south of Lasgler Glen |
| Nearest fast travel | Muddy Trail shrine |
| Direction from shrine | Straight east, toward the rocky cliffside |
| Entrance type | Unmarked crack in the rock wall |
| Item rarity | Quest item |
| Used for | A Bulwark Against Darkness (Arbiter armour set) |
Note: you do not need the quest active to grab it. The moult can be collected long before Anca or a messenger hands you the letter, and it will still count when you bring the components to the uriashi blacksmith.
How to reach the cave from the Muddy Trail shrine
How to confirm you picked up the right item
The pickup registers as a quest item, so it lands in the quest items category of your inventory with the orange background used for story-critical objects. Its description reads, “It wasn’t easy to kill its previous owner.” If A Bulwark Against Darkness is already active, the “Find the moult of a large lizard” objective ticks off the moment you loot it.
If your inventory shows nothing new, you almost certainly walked past the item rather than through the wrong cave. The moult lies flat on the cave floor at the end of the path, not on a table or in a container, so approach the back wall directly and watch for the loot prompt.
Common reasons players miss the cave entrance
- Looking for a map marker. The cave is not marked, and it will not appear even after you have been inside, so navigating by icon will not work.
- Starting from the wrong shrine. Only the Muddy Trail shrine puts the cliffs directly east of you. From other swamp shrines the heading is wrong and you end up in open bog.
- Searching at night without lining up the cliff. The crevice is a shadowed vertical seam. Run along the rock face at close range instead of trying to spot it from across the marsh.
- Stopping at the first chamber. The moult is at the opposite end of the cave from the entrance, tucked behind a rock.
Where the moult fits into the Arbiter armour set
The moult is one of four materials the uriashi blacksmith needs before she can begin the forging ritual. The other three are a relic of a saint, a bundle of silk threads, and a flask of quicksilver. Handing over all four at the Uriash Hermitage shrine in the northwest of the map starts the ritual, and surviving the fight that follows completes A Bulwark Against Darkness and awards the enhanced Arbiter set.
Because the moult carries no prerequisites of its own, it is worth grabbing on your first pass through Briar Sloughs. Doing so leaves you with only the quest-gated components to chase once the letter finally arrives.