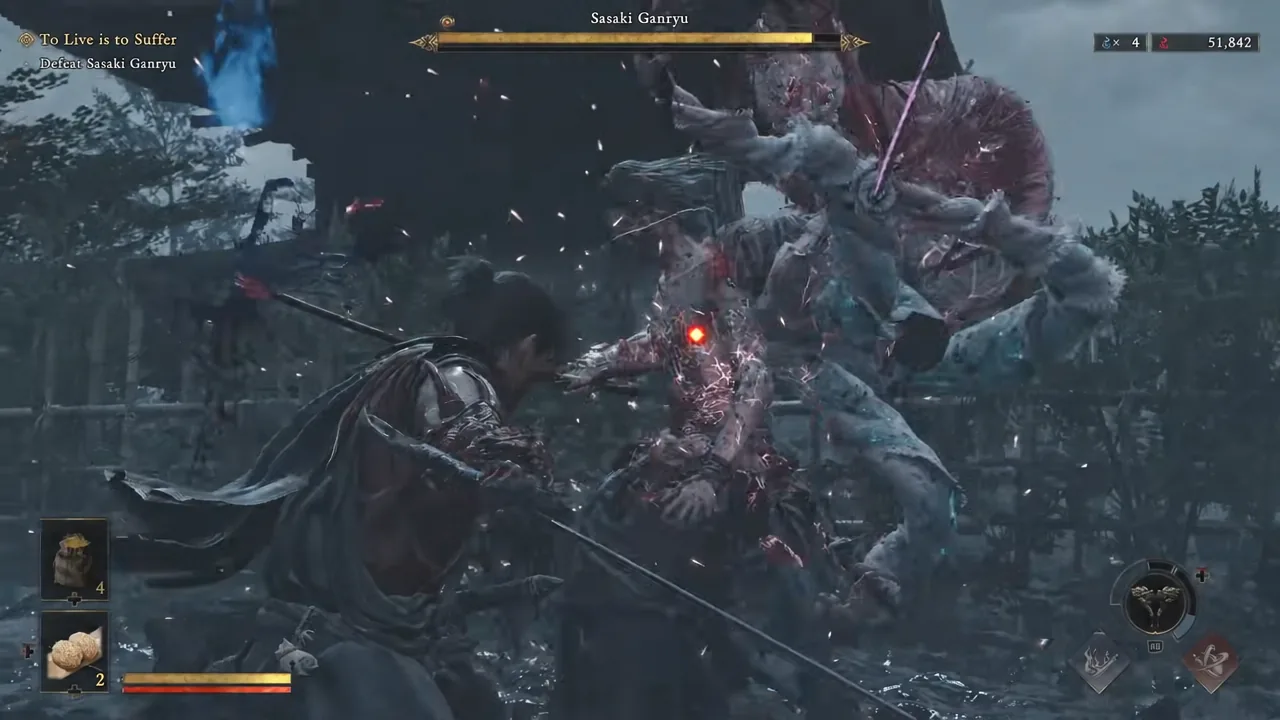
Sasaki Ganryu returns as the thirteenth boss of Miyamoto Musashi’s run through Onimusha: Way of the Sword, and the rematch is a different animal from the temple duel that opened the game. This version of Musashi’s rival fights inside the mission “To Live is to Suffer,” and he attacks in long, fast, multi-hit strings that punish anyone still treating him like an early-game parry lesson.
Quick answer: Sprint to the bodies at the start of the arena and land a fully charged hammer strike for heavy posture damage, then play defensively and deflect his combos instead of parrying them, aim every critical grapple at his head rather than the snake attachment, and dodge his jump attacks outright.
Where the Sasaki Ganryu rematch takes place
The fight is gated behind the “To Live is to Suffer” mission, with the on-screen objective reading simply “Defeat Sasaki Ganryu.” By this point Ganryu has merged with Gioh, the Oni residing in his gauntlet, so the boss you face is a corrupted version of the duelist rather than the human swordsman from the Kiyomizu-dera encounter. Expect constant taunting mid-fight — his voice lines cue several of his transitions.
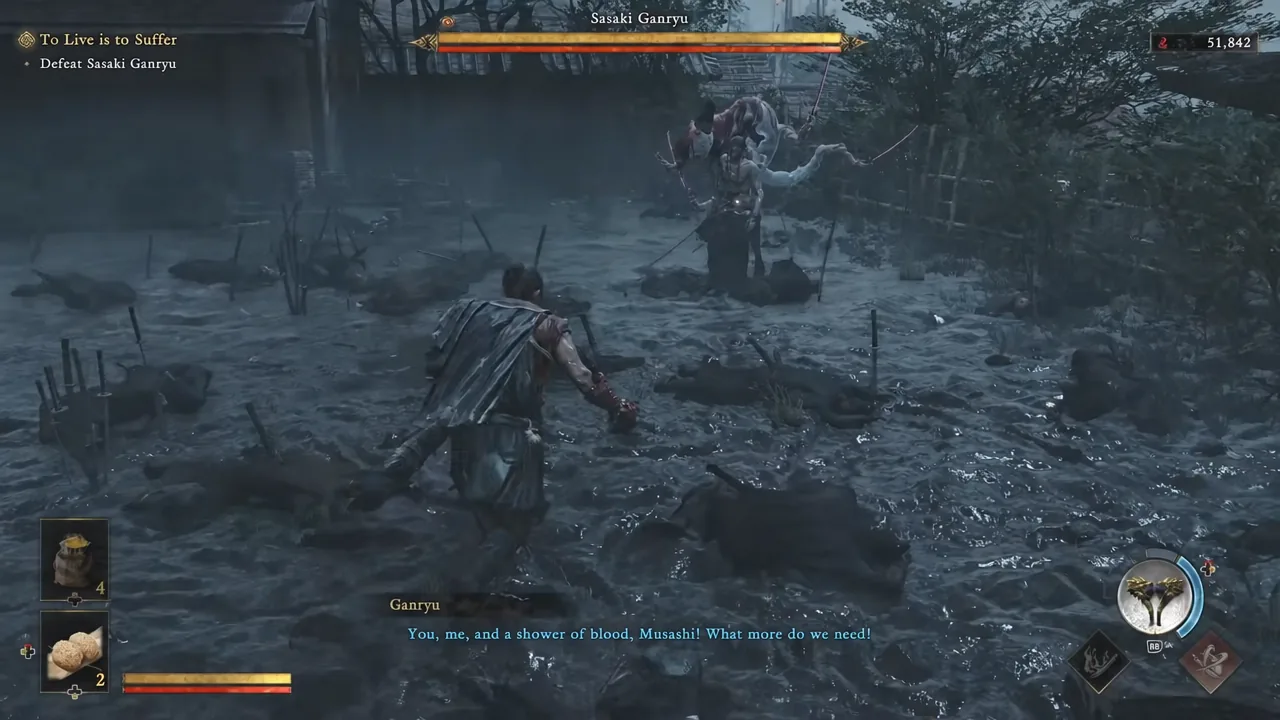
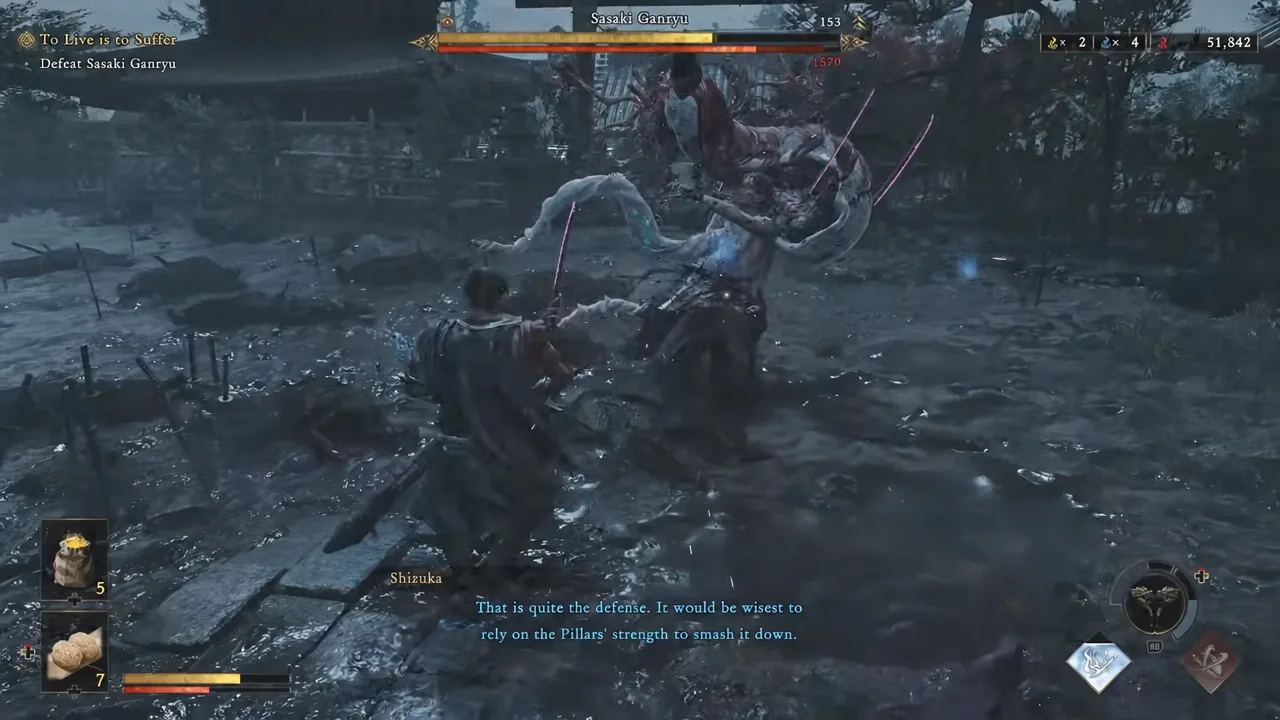
Open with a charged hammer strike for free posture damage
The arena gives you a small head start, and it is worth using. Ganryu does not immediately close the gap, which leaves room for one big, slow attack before the real fight begins.
Deflect Ganryu’s combos instead of parrying them
Ganryu is relentless here, and that changes which defensive tool you should lean on. A parry is a single-hit read that boosts your damage when it lands, but Ganryu rarely throws single hits — he throws chains. Deflecting handles those rapid strings far more reliably and builds stagger on him while it does, so a missed read costs you a little chip damage instead of a full combo to the face.
Practically, that means you should stop trying to open with attacks and let him come to you. Hold your defensive stance, deflect through the string, and only swing during his recovery. Trying to trade with him mid-combo is the fastest way to die in this fight.
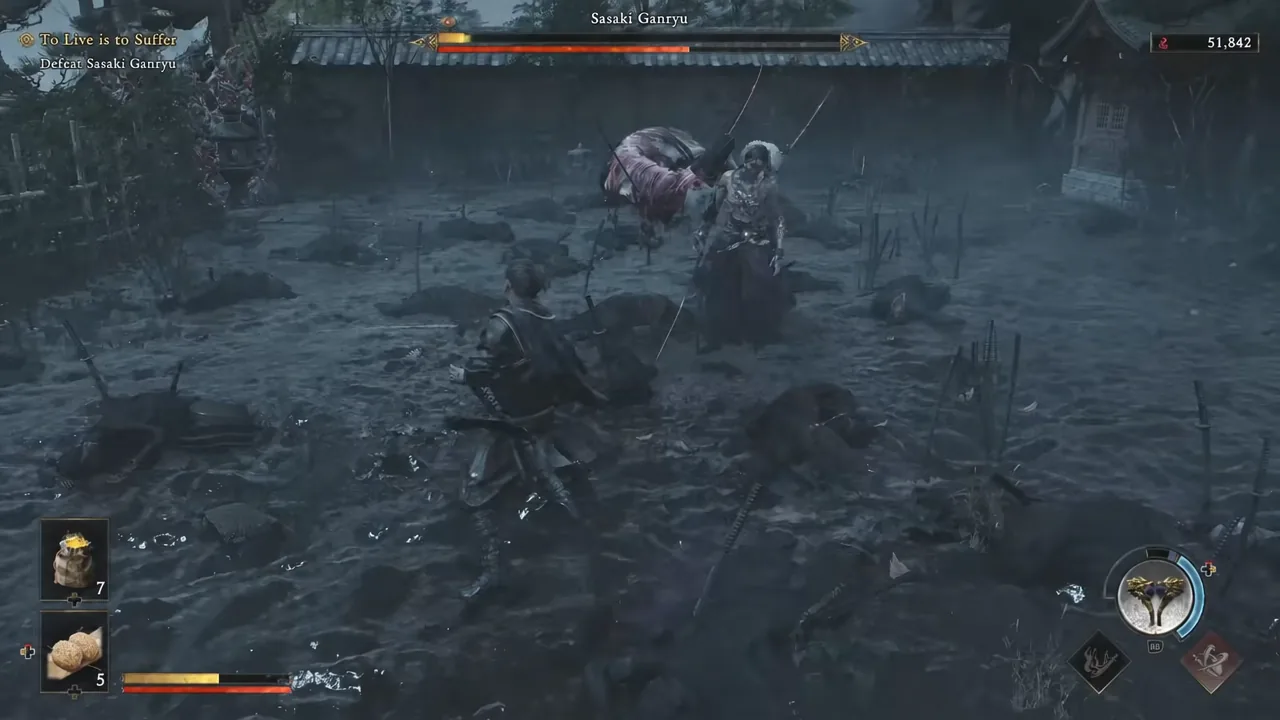
Aim every critical strike at Ganryu’s head
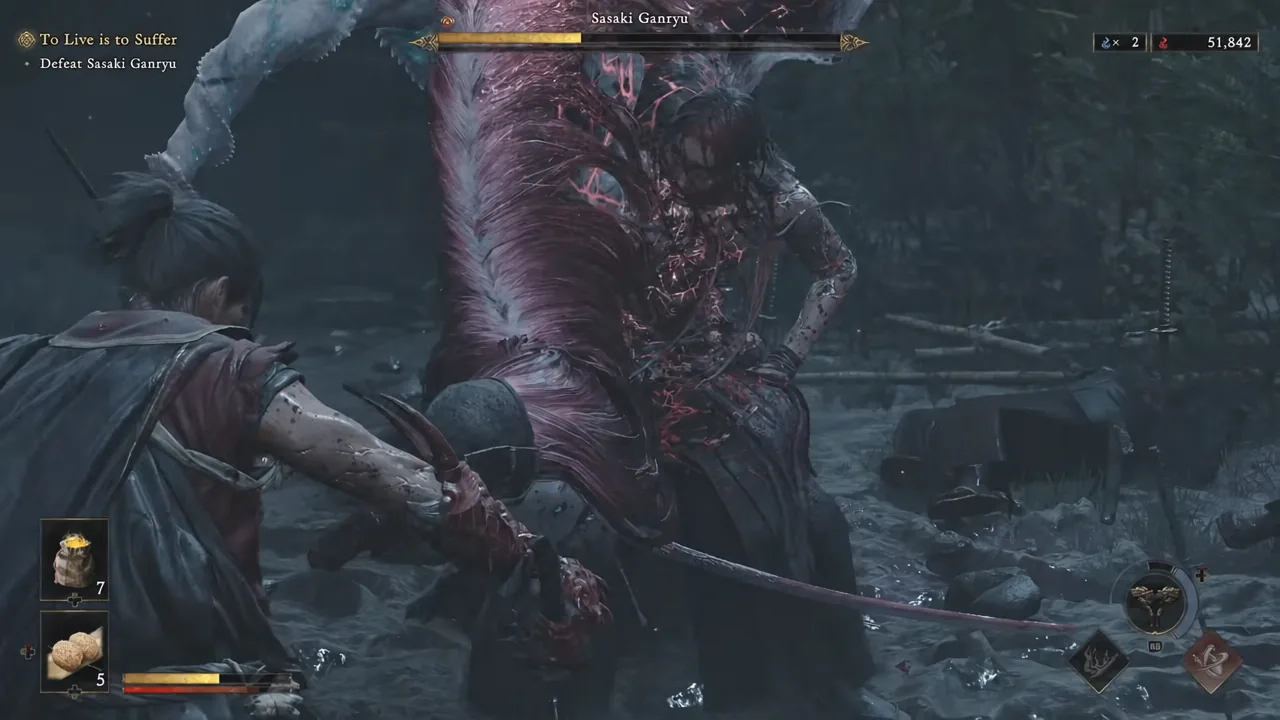
Successful deflections break his posture and open a critical grapple opportunity, marked by the red lock-on reticle. When that window appears you can pick a target, and the choice matters: the head deals far more damage than the snake attachment on his body. Take the head every single time.
These head-targeted criticals are where the majority of your damage comes from. Two or three of them, spread across the fight, do more than a long stretch of chipping away at him with regular swings.
Phase 2: what changes below half health
Around the halfway mark on his health bar, Ganryu escalates. His multi-hit sequences get noticeably faster, and he adds a delayed grab that is designed to catch you the moment you commit to a defensive input too early. The delay is the whole point of the move, so do not react to the wind-up — wait for the actual lunge.
Your plan does not change in this phase, it just gets tighter. Keep deflecting, keep punishing only during his recovery frames, and resist the urge to squeeze in an extra hit at the end of a string.
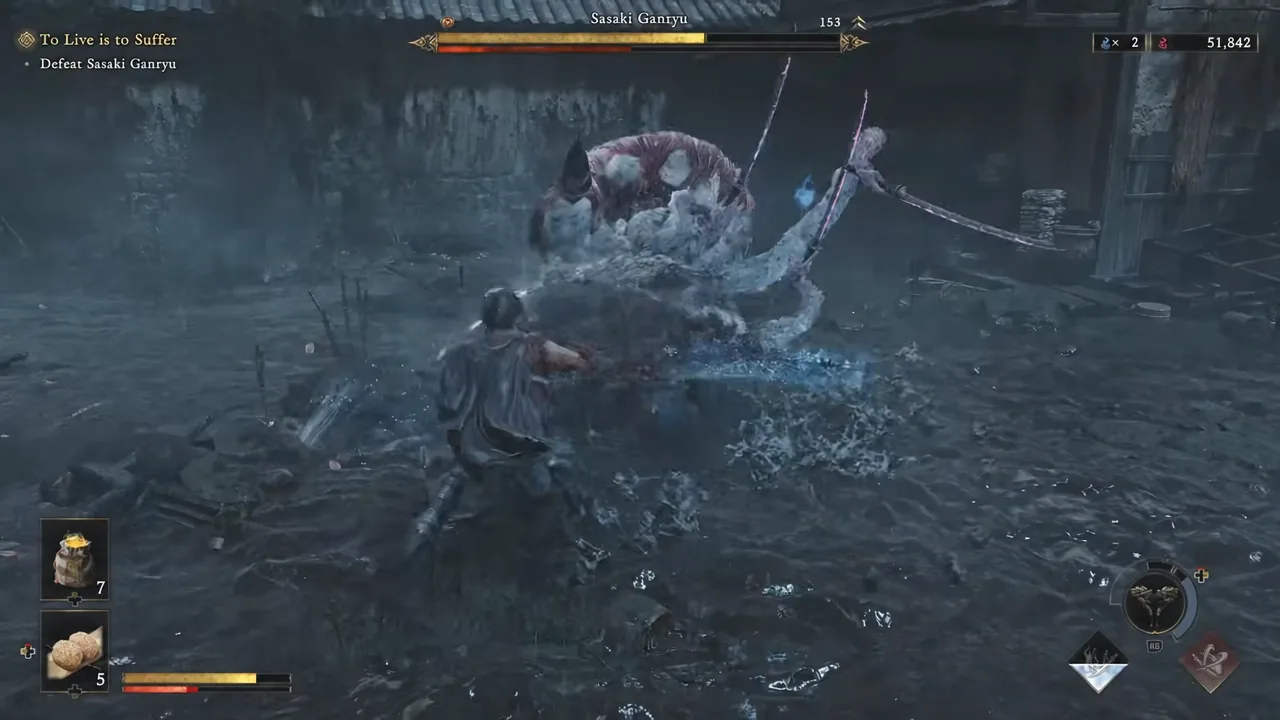
Response cheat sheet: when to deflect, dodge, or heal
The one move you should never try to answer with your guard is the jump attack. It tracks you and its timing does not line up with a normal deflect window, so roll out of it instead and reset your spacing.
| Ganryu’s action | Your response |
|---|---|
| Rapid multi-hit sword combos | Deflect through the whole string, then punish on recovery |
| Jump attack | Dodge — do not block or try to deflect it |
| Delayed grab (below half health) | Wait out the delay, then dodge the lunge |
| Posture broken, red reticle showing | Critical grapple, targeting the head |
| Your health bar dropping low | Eat a rice ball during a gap, never mid-combo |
Keep rice balls equipped for the missed reads
You will not deflect everything, and the chip damage from blocking his longer strings adds up quickly. Go into the fight with rice balls equipped and use them as soon as the red portion of your health bar starts running low, rather than saving them for an emergency that arrives mid-combo.
Note: heal during his recovery windows only. Committing to a heal animation while he is still swinging is the most common way this fight ends badly, especially after he speeds up.
In his final stretch of health Ganryu keeps the pressure on rather than backing off, so hold the same rhythm you have used all fight — deflect, punish, head criticals — and the boss bar empties on its own. Clearing him closes out “To Live is to Suffer,” and the deflection timing you build here carries directly into Shuten Doji and the third Ganryu duel later in Musashi’s run.